


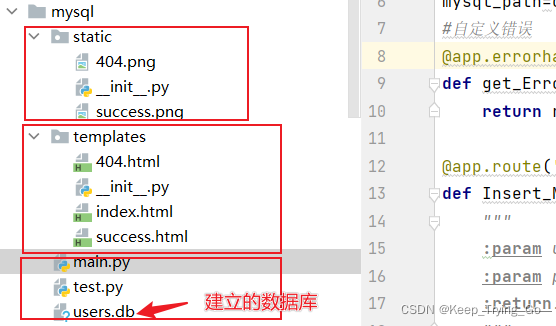
1.文件结构:
其中html文件放置的文件名必须是templates,图片放置的文件名必须是static:
2.使用的数据库可视化工具DB Browser for sqlite下载:
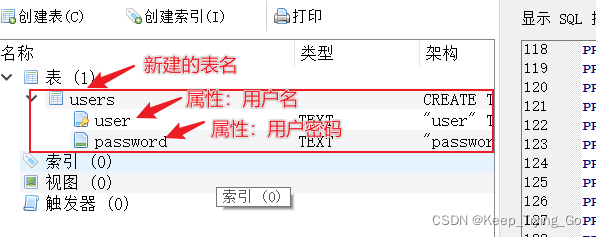
3.使用DB Browser for sqlite新建表users.db:
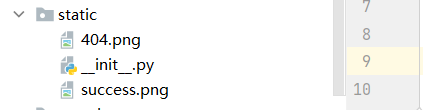
图片放置的文件:
4.主页面index.html文件:
<!DOCTYPE html>
<html lang="en">
<head>
    <meta charset="UTF-8">
    <title>Submit User&Password</title>
    <style>
        div {
            width: 200px;
            height: 130px;
            margin: auto;
            padding: 10px;
            margin-top: 200px;
            background: #FFFFFF;
            font-size: 15px;
            font-weight: bolid;
            border: 2px solid #000;
            color: #000000;
        }
    </style>
</head>
<body>
  <div>
    <form action="" method="POST">
      账号:
      <input type="text" name="user">
      <br>
      密码:
      <input type="password" name="password">
      <br>
      <input type="submit" name="submit" value="submit">
    </form>
  </div>
</body>
</html>
5.插入数据出错页面404.html文件:
<!DOCTYPE html>
<html lang="en">
<head>
    <meta charset="UTF-8">
    <title>Failure</title>
    <style>
        img {
            width:1500px;
            height:700px;
        }
    </style>
</head>
<body>
    <img src="./static/404.png">
</body>
</html>
6.插入数据成功显示的页面success.html文件:
<!DOCTYPE html>
<html lang="en">
<head>
    <meta charset="UTF-8">
    <title>Success Accept</title>
    <style>
        img {
            width:1500px;
            height:700px;
        }
    </style>
</head>
<body>
<!--这里不能使用绝对路径,只能使用http://127.0.0.1:5000/static/success.png方式或者根路径-->
    <img src="http://127.0.0.1:5000/static/success.png">
</body>
</html>
7.主main.py文件:
import os
import sqlite3 as lite
from flask import Flask,jsonify,render_template,request,abort,redirect,url_for
app=Flask(__name__)
mysql_path=os.path.join(os.getcwd(),'users.db')
#自定义错误
@app.errorhandler(404)
def get_Error_Handel(error):
return render_template('404.html'),404
@app.route('/<string:user>/<string:password>',methods=['POST','GET'])
def Insert_Mysql(user,password):
"""
:param user: 插入的账号
:param password: 插入的密码
:return:
"""
print('Insert_Mysql')
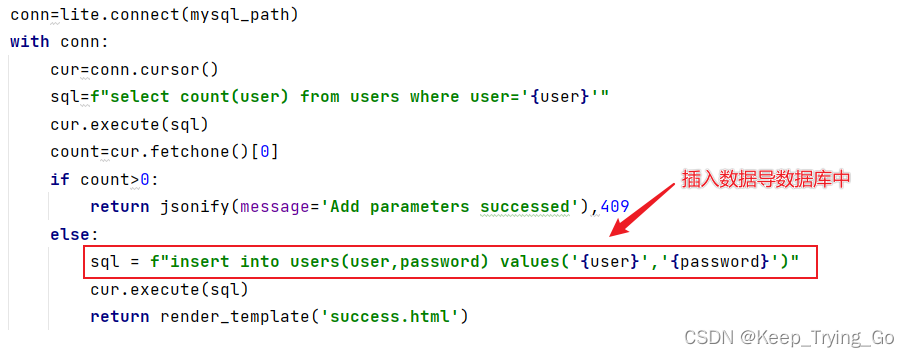
conn=lite.connect(mysql_path)
with conn:
cur=conn.cursor()
sql=f"select count(user) from users where user='{user}'"
cur.execute(sql)
count=cur.fetchone()[0]
if count>0:
return jsonify(message='Add parameters successed'),409
else:
sql = f"insert into users(user,password) values('{user}','{password}')"
cur.execute(sql)
return render_template('success.html')
@app.route('/index',methods=['POST','GET'])
def request_User_Password():
if request.method=='POST':
user=request.form.get('user')
password=request.form.get('password')
if user=='admin':
abort(404)
else:
print('user {}'.format(user))
print('password: {}'.format(password))
return redirect(url_for("Insert_Mysql",user=user,password=password))
if request.method=='GET':
return render_template('index.html')
if __name__ == '__main__':
app.run(debug=True)


 2326
2326


 被折叠的 条评论
为什么被折叠?
被折叠的 条评论
为什么被折叠?
 到【灌水乐园】发言


