


背景
前段时间看到Spring推出了SpringAI,可以方便快速的接入ChatGPT等国外的大模型,现在阿里巴巴也紧追脚步推出了Spring Cloud Alibaba AI,Spring Cloud Alibaba AI 目前基于 Spring AI 0.8.1 版本 API 完成通义系列大模型的接入。通义接入是基于阿里云 灵积模型服务,灵积模型服务建立在“模型即服务”(Model-as-a-Service,MaaS)的理念基础之上,围绕 AI 各领域模型,通过标准化的API提供包括模型推理、模型微调训练在内的多种模型服务。
介绍
Spring Cloud Alibaba AI 以 Spring AI 为基础,并在此基础上提供阿里云通义系列大模型全面适配,让用户在 5 分钟内开发基于通义大模型的 Java AI 应用。
官网链接:https://sca.aliyun.com/docs/2023/user-guide/ai/quick-start/
推荐查看官网资料,很详细。

意义
各大公司都推出了自己的大模型,这里不评各家大模型的优劣,而且大模型的建设所需要的极大成本不是普通人一台电脑就能搞定的,但是在此之外,大模型的其他方向的创新也很重要。
所以除了模型的训练,我们还可以在数据的收集和应用的创新上去开拓新的领域。ChatGPT收集的人类数据也不过一点点,如果提供的数据更多,未来会发生什么?现在大模型已经很多,但是AI应用其实还是缺乏的,未来的社交、电商、短视频等各个领域会不会被大模型给重构?可以期待一下。
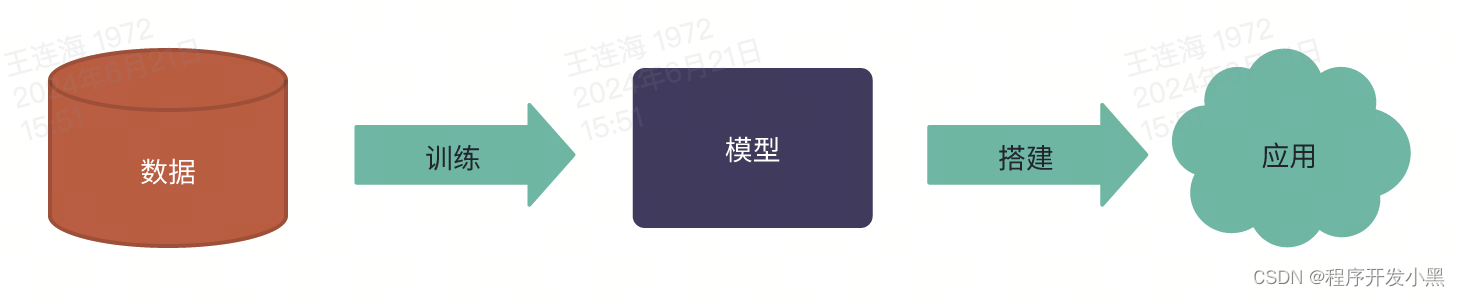
现在也都在倡导不要再卷大模型了,要去多开发大模型应用,随着技术的积累,大模型的应用开发门槛也越来越低了。下面我们跟着阿里巴巴提供的Spring Cloud Alibaba AI去搭建一个自己的大模型应用。
体验第一个大模型应用开发
跟随阿里官方指导教程,搭建一个在线聊天应用。
开发聊天对话应用
step1: 在项目 pom.xml 中加入 2023.0.1.0 版本 Spring Cloud Alibaba 依赖:
<dependencyManagement>
  <dependencies>
    <dependency>
      <groupId>com.alibaba.cloud</groupId>
      <artifactId>spring-cloud-alibaba-dependencies</artifactId>
      <version>2023.0.1.0</version>
      <type>pom</type>
      <scope>import</scope>
     </dependency>
   </dependencies>
</dependencyManagement>

<dependencies>
  <dependency>
      <groupId>com.alibaba.cloud</groupId>
      <artifactId>spring-cloud-starter-alibaba-ai</artifactId>
  </dependency>
</dependencies>
step2: 在 application.yml 配置文件中加入以下配置:
spring:
  cloud:
    ai:
      tongyi:
        chat:
          options:
            # Replace the following key with a valid API-KEY.
            api-key: sk-a3d73b1709bf4a178c28ed7c8b3b5axx
step3: 编写聊天服务实现类,由 Spring AI 自动注入 ChatClient、StreamingChatClient,ChatClient 屏蔽底层通义大模型交互细节。
@Service
public class TongYiSimpleServiceImpl extends AbstractTongYiServiceImpl {

  private final ChatClient chatClient;

  private final StreamingChatClient streamingChatClient;

  @Autowired
  public TongYiSimpleServiceImpl(ChatClient chatClient, StreamingChatClient streamingChatClient) {
    this.chatClient = chatClient;
    this.streamingChatClient = streamingChatClient;
  }
}
step4: 提供具体聊天逻辑实现
@Service
public class TongYiSimpleServiceImpl extends AbstractTongYiServiceImpl {

  // ......

  @Override
  public String completion(String message) {

    Prompt prompt = new Prompt(new UserMessage(message));

    return chatClient.call(prompt).getResult().getOutput().getContent();
  }

  @Override
  public Map<String, String> streamCompletion(String message) {

    StringBuilder fullContent = new StringBuilder();

    streamingChatClient.stream(new Prompt(message))
        .flatMap(chatResponse -> Flux.fromIterable(chatResponse.getResults()))
        .map(content -> content.getOutput().getContent())
        .doOnNext(fullContent::append)
        .last()
        .map(lastContent -> Map.of(message, fullContent.toString()))
        .block();

    log.info(fullContent.toString());

    return Map.of(message, fullContent.toString());
  }

}
step5: 编写Spring入口并启动应用
@SpringBootApplication
public class TongYiApplication {
  public static void main(String[] args) {
    SpringApplication.run(TongYiApplication.class);
  }
}
至此,便完成了最简单的聊天 AI 应用开发,与普通的 Spring Boot 应用开发步骤完全一致!
验证效果
浏览器地址栏输入:http://localhost:8080/ai/example
返回如下响应:
{
    "Tell me a joke": "Sure, here's a classic one for you:\n\nWhy was the math book sad?\n\nBecause it had too many problems.\n\nI hope that made you smile! If you're looking for more, just let me know."
}
申请通义API-KEY
为使示例能够正常接入通义大模型,需要在阿里云开通 DashScope 灵积模型服务,申请有效的 API-KEY 并更新到应用配置文件。具体操作步骤可参见如下文档:
https://help.aliyun.com/zh/dashscope/developer-reference/activate-dashscope-and-create-an-api-key


 被折叠的 条评论
为什么被折叠?
被折叠的 条评论
为什么被折叠?
 到【灌水乐园】发言


