


嗨,大家好,我是徐小夕,之前和大家分享了很多可视化低代码的最佳实践,今天和大家分享一下我基于实际场景开发的小工具——BubbleMap。
demo地址:http://wep.turntip.cn/design/bubbleMap
开发背景
之前在公司做图表开发的时候涉及到了气泡图的开发,但是由于运营部对这种图需求比较大,所以每次都要找研发人员来支持,做图表数据更新。长此以往就导致研发小伙伴占用了很多琐碎的时间来做这种基础任务,运营小同学也觉得很不方便。
基于这样的场景,我就想到了能不能提供一种可视化的方案,让运营人员全权接管这类需求,然后我就开始规划,其实只需要几步:
气泡图谱实现
在线编辑数据
实时更新图表
最后基于不断的演算推理+实践,这款小工具也成功上线,如果大家有类似的需要,也可以直接免费使用。接下来我就和大家分享一下它的实现思路。(PS: 如果大家想参考实现源码,可以在趣谈前端公众号回复气泡源码)
实现思路
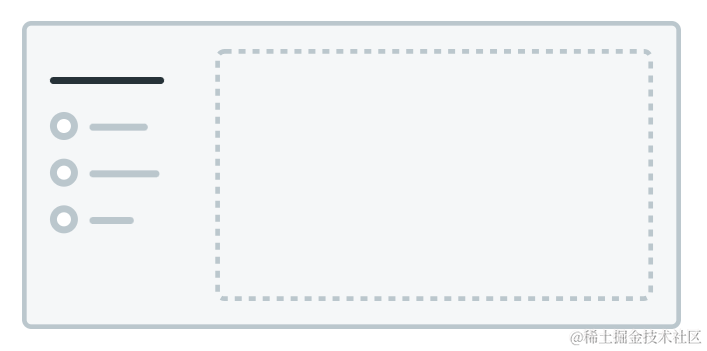
整个工具其实只需要分为两部分:
画布图表区
数据编辑区
画布图表区用来预览图表效果,我们可以使用市面上比较成熟的开源图表库比如Echart,Antv来实现,这里我选择了蚂蚁的Antv。

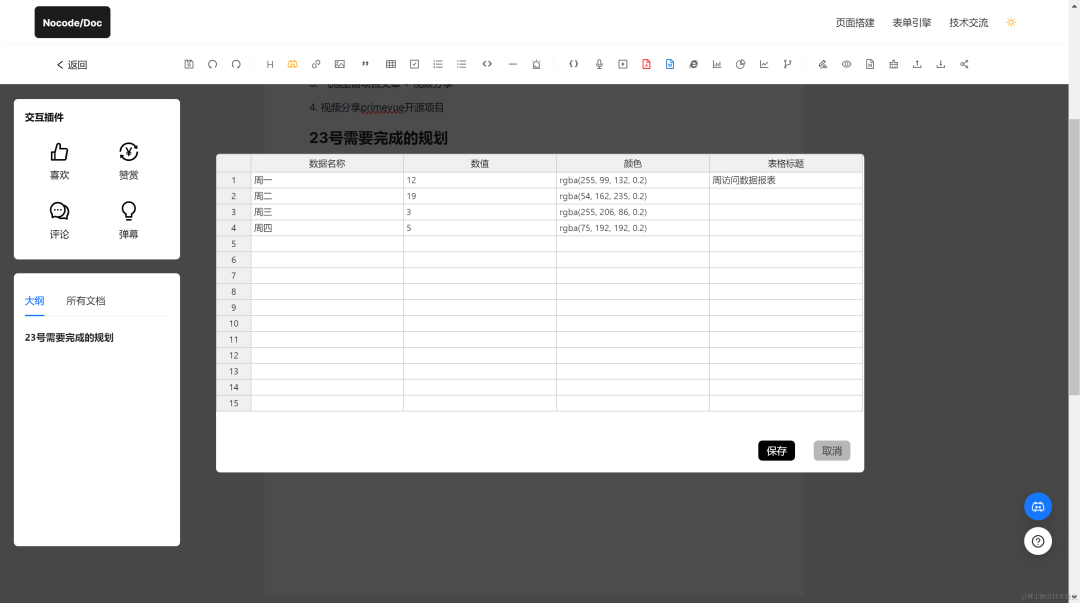
对于数据编辑区,我们可以用很多方式来实现,比如:
表格组件
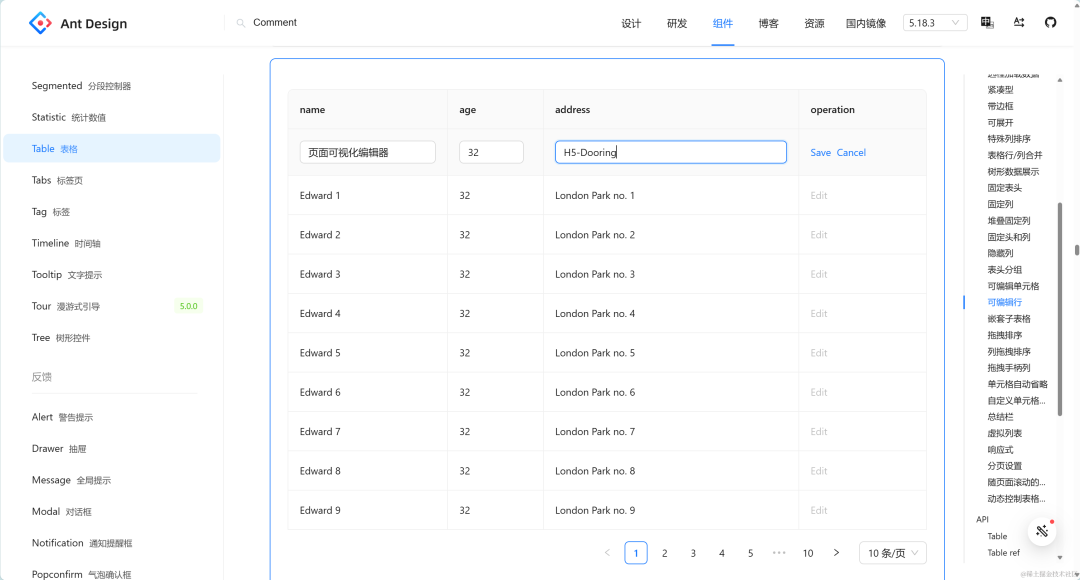
首先想到的就是 antd 的可编辑表格组件,它提供了完整的案例demo,我们直接基于源码改吧改吧就能用。
电子表格
电子表格也是不错的选择,我们可以用 excel 的表格编辑方式来编辑数据, 比如常用的表格开源项目handsontable.js。
嵌套表单
当然这种方式成本也很低,前端小伙伴们可以用antd的form组件或者其他UI组件库实现类似的效果。我在实现气泡图谱工具的时候就是采用的这种方案。
嵌套表单代码案例如下:
import React from 'react';
import { MinusCircleOutlined, PlusOutlined } from '@ant-design/icons';
import { Button, Form, Input, Space } from 'antd';

const onFinish = (values: any) => {
  console.log('Received values of form:', values);
};

const App: React.FC = () => (
  <Form
    name="dynamic_form_nest_item"
    onFinish={onFinish}
    style={{ maxWidth: 600 }}
    autoComplete="off"
  >
    <Form.List name="data">
      {(fields, { add, remove }) => (
        <>
          {fields.map(({ key, name, ...restField }) => (
            <Space key={key} style={{ display: 'flex', marginBottom: 8 }} align="baseline">
              <Form.Item
                {...restField}
                name={[name, 'name']}
                rules={[{ required: true, message: '请输入字段名称' }]}
              >
                <Input placeholder="字段名称" />
              </Form.Item>
              <Form.Item
                {...restField}
                name={[name, 'value']}
                rules={[{ required: true, message: '请输入字段值' }]}
              >
                <Input placeholder="字段值" />
              </Form.Item>
              <MinusCircleOutlined onClick={() => remove(name)} />
            </Space>
          ))}
          <Form.Item>
            <Button type="dashed" onClick={() => add()} block icon={<PlusOutlined />}>
              Add field
            </Button>
          </Form.Item>
        </>
      )}
    </Form.List>
    <Form.Item>
      <Button type="primary" htmlType="submit">
        Submit
      </Button>
    </Form.Item>
  </Form>
);

export default App;当然气泡图我这里采用的是antv/g6:

由于g6学习有一定成本,这里简单介绍一下使用。
我们先注册一个气泡的节点:
G6.registerNode(
          'bubble',
          {
            drawShape(cfg: any, group: any) {
              const self: any = this;
              const r = cfg.size / 2;
              // a circle by path
              const path = [
                ['M', -r, 0],
                ['C', -r, r / 2, -r / 2, r, 0, r],
                ['C', r / 2, r, r, r / 2, r, 0],
                ['C', r, -r / 2, r / 2, -r, 0, -r],
                ['C', -r / 2, -r, -r, -r / 2, -r, 0],
                ['Z'],
              ];
              const keyShape = group.addShape('path', {
                attrs: {
                  x: 0,
                  y: 0,
                  path,
                  fill: cfg.color || 'steelblue',
                },
                // must be assigned in G6 3.3 and later versions. it can be any string you want, but should be unique in a custom item type
                name: 'path-shape',
              });

              const mask = group.addShape('path', {
                attrs: {
                  x: 0,
                  y: 0,
                  path,
                  opacity: 0.25,
                  fill: cfg.color || 'steelblue',
                  shadowColor: cfg.color.split(' ')[2].substr(2),
                  shadowBlur: 40,
                  shadowOffsetX: 0,
                  shadowOffsetY: 30,
                },
                // must be assigned in G6 3.3 and later versions. it can be any string you want, but should be unique in a custom item type
                name: 'mask-shape',
              });

              const spNum = 10; // split points number
              const directions: number[] = [],
                rs: number[] = [];

              self.changeDirections(spNum, directions);
              for (let i = 0; i < spNum; i++) {
                const rr = r + directions[i] * ((Math.random() * r) / 1000); // +-r/6, the sign according to the directions
                if (rs[i] < 0.97 * r) rs[i] = 0.97 * r;
                else if (rs[i] > 1.03 * r) rs[i] = 1.03 * r;
                rs.push(rr);
              }
              keyShape.animate(
                () => {
                  const path = self.getBubblePath(r, spNum, directions, rs);
                  return { path };
                },
                {
                  repeat: true,
                  duration: 10000,
                },
              );

              const directions2: number[] = [],
                rs2: number[] = [];
              self.changeDirections(spNum, directions2);
              for (let i = 0; i < spNum; i++) {
                const rr = r + directions2[i] * ((Math.random() * r) / 1000); // +-r/6, the sign according to the directions
                if (rs2[i] < 0.97 * r) rs2[i] = 0.97 * r;
                else if (rs2[i] > 1.03 * r) rs2[i] = 1.03 * r;
                rs2.push(rr);
              }
              mask.animate(
                () => {
                  const path = self.getBubblePath(r, spNum, directions2, rs2);
                  return { path };
                },
                {
                  repeat: true,
                  duration: 10000,
                },
              );
              return keyShape;
            },
            changeDirections(num: number, directions: number[]) {
              for (let i = 0; i < num; i++) {
                if (!directions[i]) {
                  const rand = Math.random();
                  const dire = rand > 0.5 ? 1 : -1;
                  directions.push(dire);
                } else {
                  directions[i] = -1 * directions[i];
                }
              }
              return directions;
            },
            getBubblePath(r: number, spNum: number, directions: number[], rs: number[]) {
              const path = [];
              const cpNum = spNum * 2; // control points number
              const unitAngle = (Math.PI * 2) / spNum; // base angle for split points
              let angleSum = 0;
              const sps = [];
              const cps = [];
              for (let i = 0; i < spNum; i++) {
                const speed = 0.001 * Math.random();
                rs[i] = rs[i] + directions[i] * speed * r; // +-r/6, the sign according to the directions
                if (rs[i] < 0.97 * r) {
                  rs[i] = 0.97 * r;
                  directions[i] = -1 * directions[i];
                } else if (rs[i] > 1.03 * r) {
                  rs[i] = 1.03 * r;
                  directions[i] = -1 * directions[i];
                }
                const spX = rs[i] * Math.cos(angleSum);
                const spY = rs[i] * Math.sin(angleSum);
                sps.push({ x: spX, y: spY });
                for (let j = 0; j < 2; j++) {
                  const cpAngleRand = unitAngle / 3;
                  const cpR = rs[i] / Math.cos(cpAngleRand);
                  const sign = j === 0 ? -1 : 1;
                  const x = cpR * Math.cos(angleSum + sign * cpAngleRand);
                  const y = cpR * Math.sin(angleSum + sign * cpAngleRand);
                  cps.push({ x, y });
                }
                angleSum += unitAngle;
              }
              path.push(['M', sps[0].x, sps[0].y]);
              for (let i = 1; i < spNum; i++) {
                path.push([
                  'C',
                  cps[2 * i - 1].x,
                  cps[2 * i - 1].y,
                  cps[2 * i].x,
                  cps[2 * i].y,
                  sps[i].x,
                  sps[i].y,
                ]);
              }
              path.push(['C', cps[cpNum - 1].x, cps[cpNum - 1].y, cps[0].x, cps[0].y, sps[0].x, sps[0].y]);
              path.push(['Z']);
              return path;
            },
            // @ts-ignore
            setState(name: string, value: number, item: any) {
              const shape = item.get('keyShape');
              if (name === 'dark') {
                if (value) {
                  if (shape.attr('fill') !== '#fff') {
                    shape.oriFill = shape.attr('fill');
                    const uColor = unlightColorMap.get(shape.attr('fill'));
                    shape.attr('fill', uColor);
                  } else {
                    shape.attr('opacity', 0.2);
                  }
                } else {
                  if (shape.attr('fill') !== '#fff') {
                    shape.attr('fill', shape.oriFill || shape.attr('fill'));
                  } else {
                    shape.attr('opacity', 1);
                  }
                }
              }
            },
          },
          'single-node',
        );
然后用g6的动画和渲染API来渲染出气泡图谱的动画效果和样式,即可。
最后实现的效果如下:
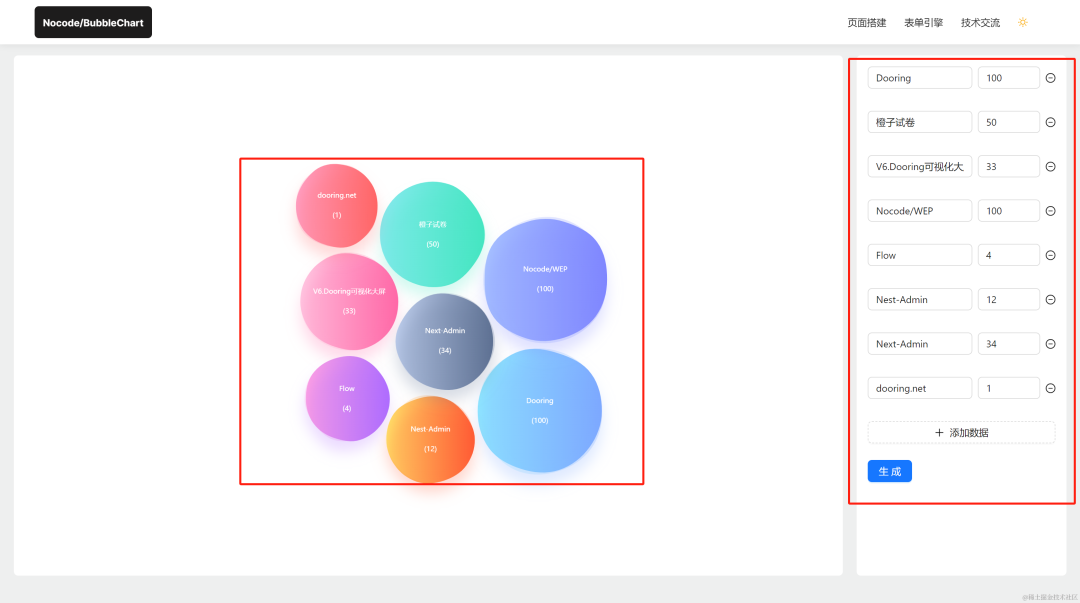
效果演示
在实现好这个小工具之后,我来带大家演示一下:
我们可以在右侧编辑修改数据,点击生成即可更新图谱。
后期展望
后续会持续优化它,来满足更多图表的支持,大家感兴趣的可以体验反馈~
demo地址:http://wep.turntip.cn/design/bubbleMap

往期精彩


 1733
1733


 被折叠的 条评论
为什么被折叠?
被折叠的 条评论
为什么被折叠?
 到【灌水乐园】发言


