


环境:带公网IP的 windows 服务器
1. 下载安装Freeswitch
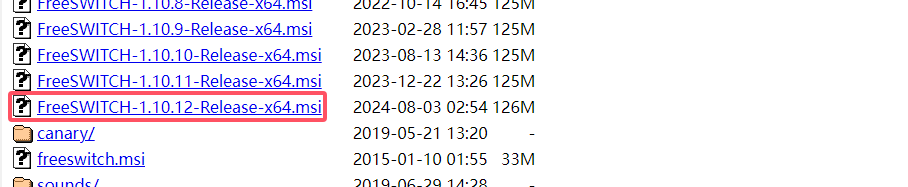
Index of /windows/installer/x64
我选择的版本是1.10.12
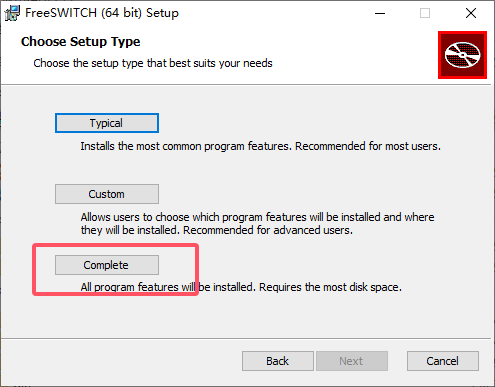
一路下一步就行了
这里我选的完整版

Freeswitch 会安装在 C:\Program Files\FreeSWITCH目录下
2. Freeswitch 配置实现外部通话
配置 C:\Program Files\FreeSWITCH\conf 下的 vars.xml 文件
将内外配置端口地址改成自己想要的(防火墙对应 TCP、UDP 端口别忘了打开)

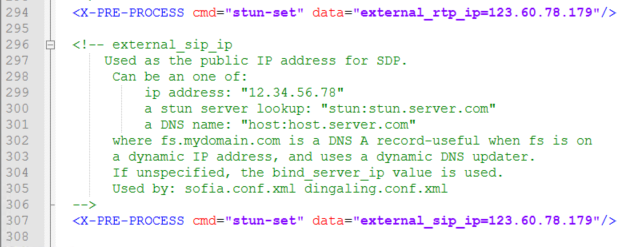
配置外部 rtp、sip 地址
在 C:\Program Files\FreeSWITCH\conf\directory 下创建一个 自己的公网ip.xml文件
<include>
  <domain name="你的公网ip">
    <params>
      <param name="dial-string" value="{presence_id=${dialed_user}@${dialed_domain}}${sofia_contact(external/${dialed_user}@${dialed_domain})}"/>
    </params>
    <users>
      <user id="1000">
        <params>
          <param name="password" value="1000"/>
        </params>
        <variables>
          <variable name="user_context" value="public"/>
        </variables>
      </user>
	  <user id="1001">
        <params>
          <param name="password" value="1001"/>
        </params>
        <variables>
          <variable name="user_context" value="public"/>
        </variables>
      </user>
	  <user id="1002">
        <params>
          <param name="password" value="1002"/>
        </params>
        <variables>
          <variable name="user_context" value="public"/>
        </variables>
      </user>
	  <user id="1003">
        <params>
          <param name="password" value="1003"/>
        </params>
        <variables>
          <variable name="user_context" value="public"/>
        </variables>
      </user>
    </users>
  </domain>
</include>
配置 C:\Program Files\FreeSWITCH\conf\sip_profiles 下的 external.xml 文件
定义 domain,方便用户互相查找
![]()
配置地址为 0.0.0.0 自动匹配本机地址

配置rtp端口范围

配置 C:\Program Files\FreeSWITCH\conf\dialplan 下的 public.xml 拨号路由配置
把原来的转 default 改为直接匹配 external 的用户
<extension name="public_extensions">
<condition field="destination_number" expression="^(10[01][0-9])$">
<action application="bridge" data="sofia/external/${destination_number}"/>
</condition>
</extension>
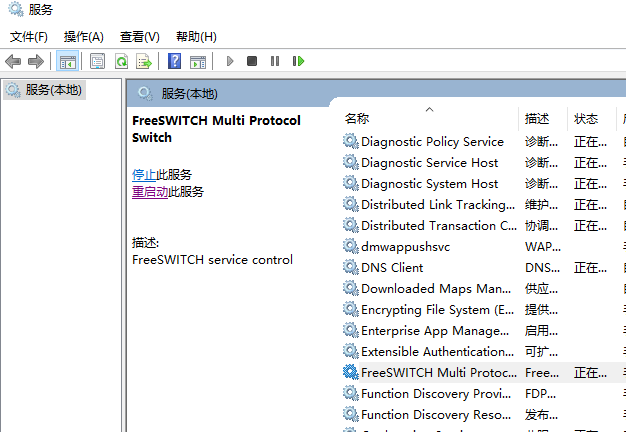
启动 Freeswitch
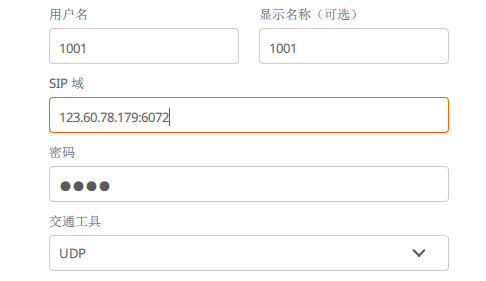
外部通过 linphone 测试是否注册成功
查看 external 下注册的用户
sofia status profile external reg

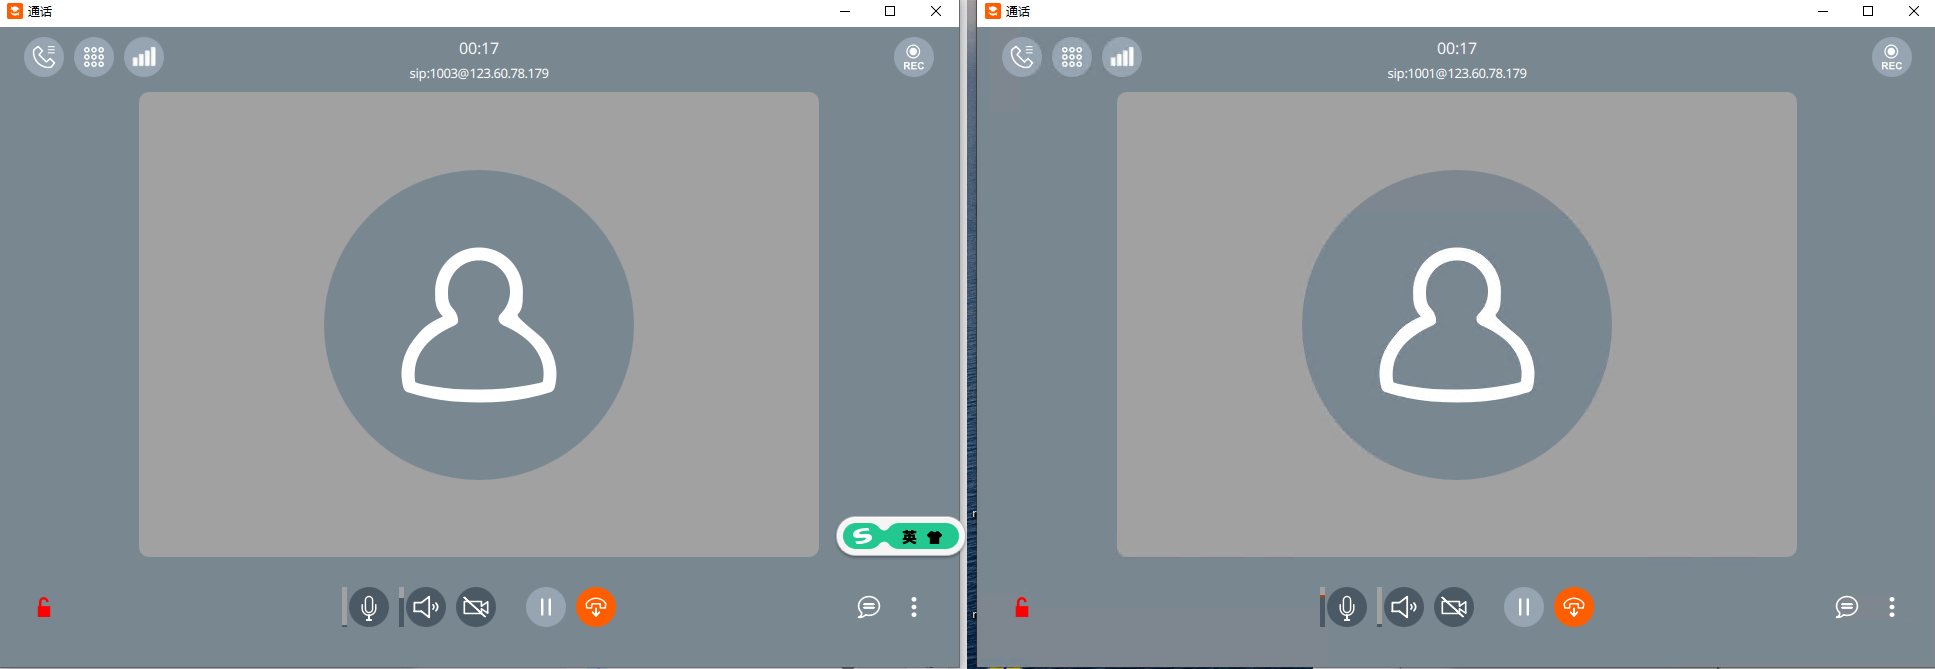
另一个电脑注册1003,或者手机注册,拨号测试是否成功通话
3. Freeswitch + coturn 实现穿透 NAT 配置通话
物联网 (IoT) 卡的设备在很多情况下非常需要 STUN (Session Traversal Utilities for NAT) 服务器来帮助建立可靠的通信连接。 这主要是因为物联网设备通常部署在各种复杂的网络环境中,并且很可能位于 NAT (网络地址转换) 设备之后。
3.1 安装配置 coturn
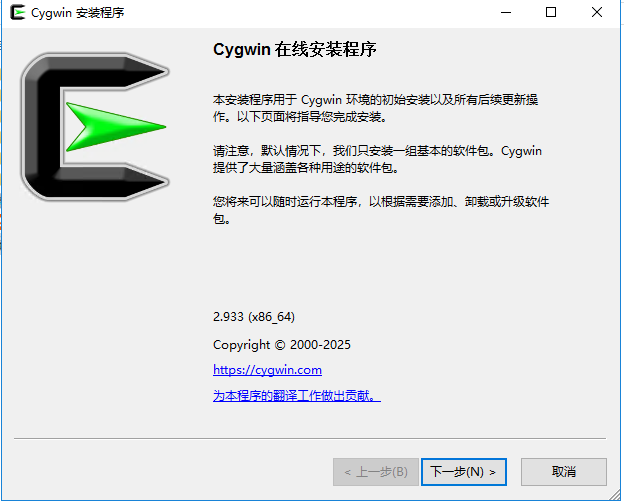
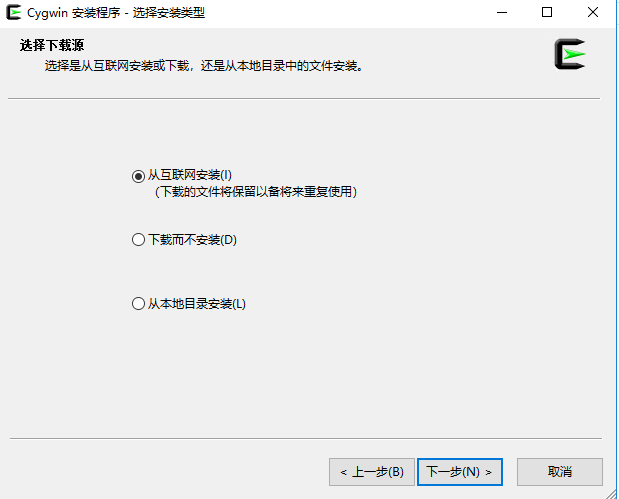
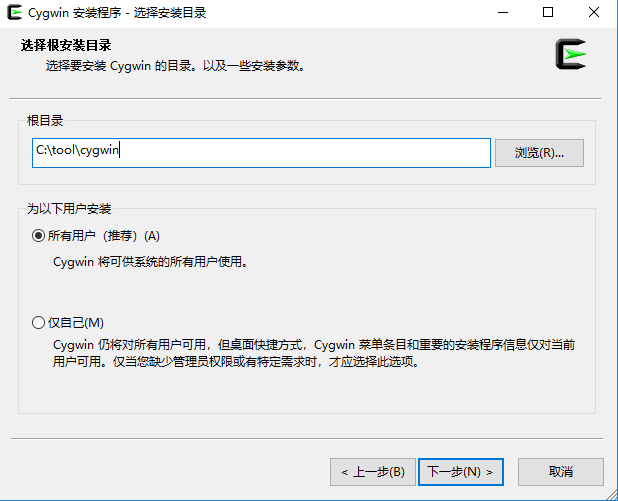
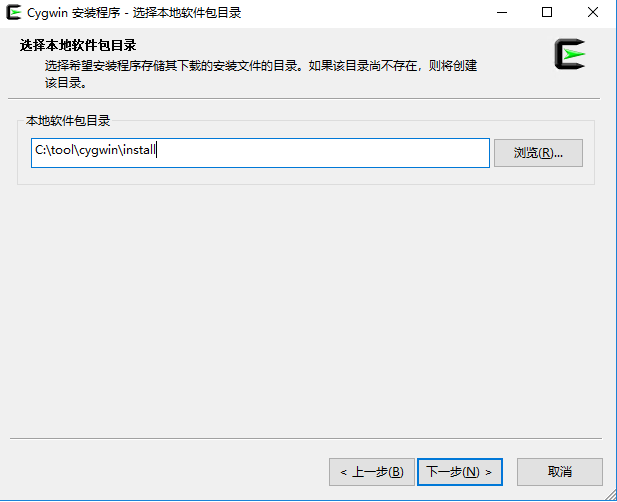
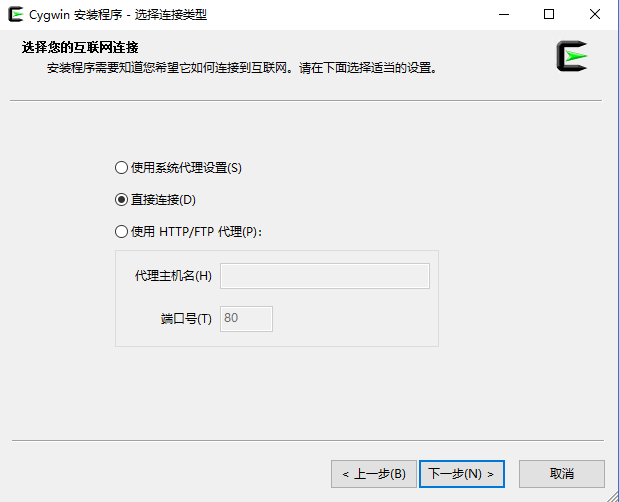
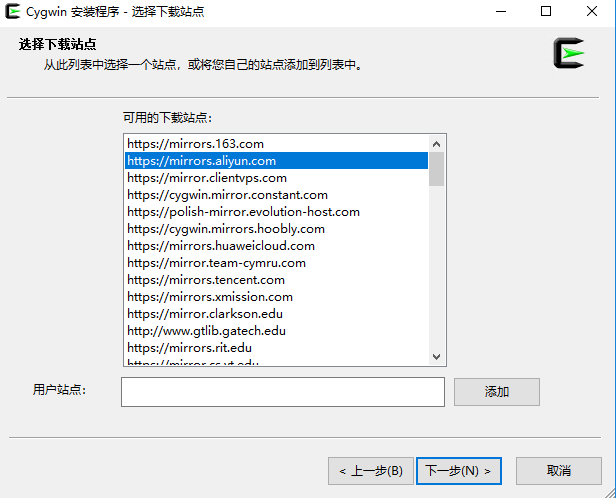
3.1.1 安装 Cygwin
首先安装一个模拟 unix 环境的Cygwin(有linux服务器更好)
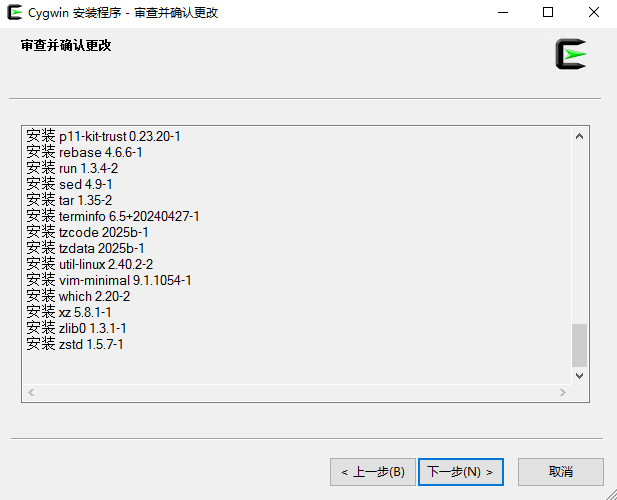
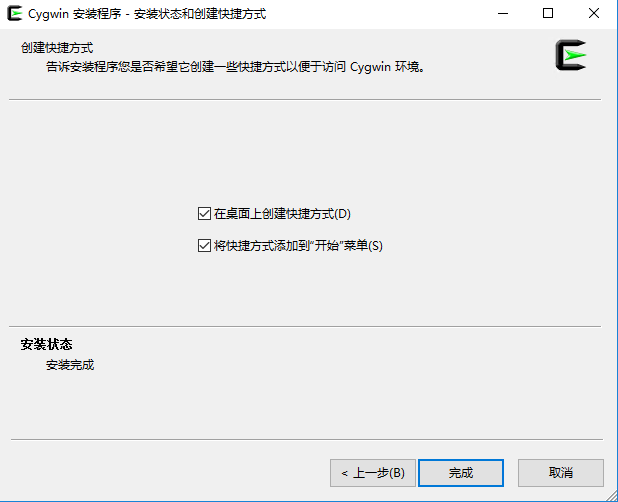
需要安装 make、gcc-core、gcc-g++、libevent-devel、openssl-devel、git、 cmake,然后下一步
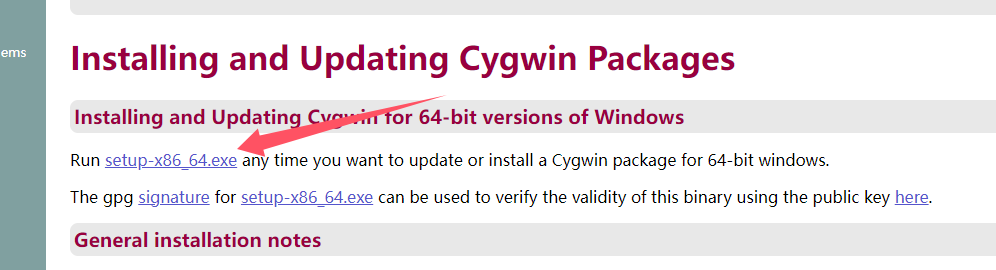
3.1.2 下载安装 coturn
clone coturn 的源代码
git clone https://github.com/coturn/coturn.git
进入 coturn 文件夹
创建 build 文件夹并进入
mkdir build
cd build
使用 CMake 生成构建文件
cmake -DCMAKE_INSTALL_PREFIX=/usr/local ..
执行编译
make
开始安装
make install
复制并修改 coturn 配置文件
cd /usr/local/etc
cp turnserver.conf.default turnserver.conf
vi turnserver.conf
配置的端口别忘了开 (min-max是udp)
listening-port=6074
listening-ip=0.0.0.0
relay-ip=192.168.4.159
external-ip=123.60.78.179
verbose=6
rfc5780
min-port=40200
max-port=50400
user=testuser:testpass
realm=123.60.78.179
lt-cred-mech
log-file=/usr/local/log
no-multicast-peers
fingerprint
给运行程序增加权限
chmod +x /usr/local/bin/turnserver.exe
启动后台运行 coturn
/usr/local/bin/turnserver -c /usr/local/etc/turnserver.conf --daemon
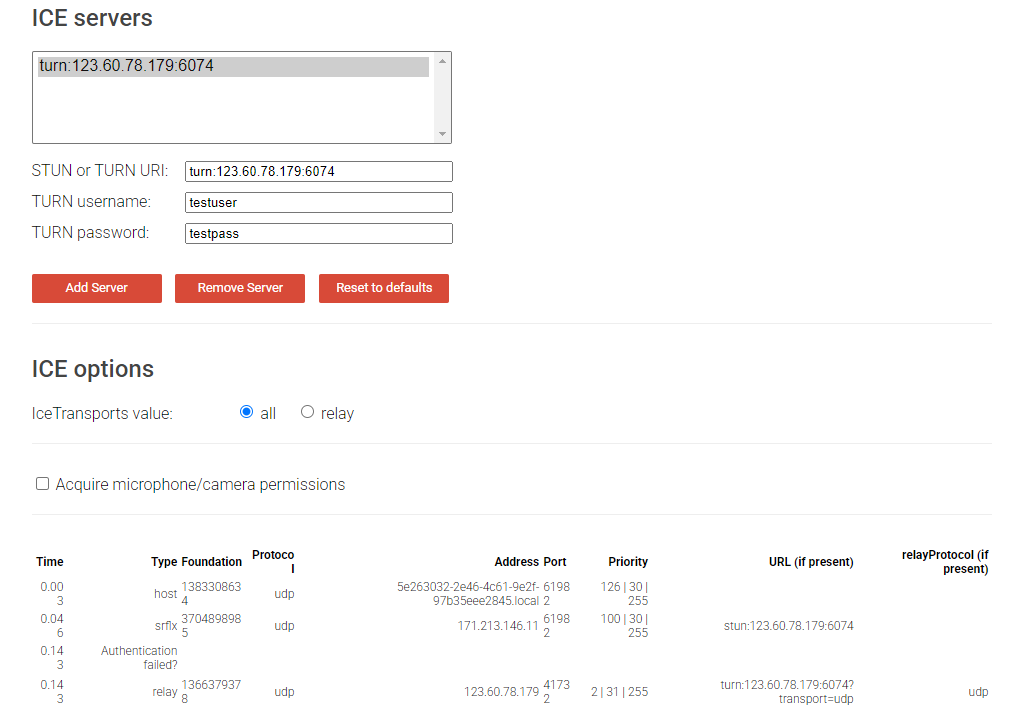
在 Trickle 中测试是否成功
3.2 配置 Freeswitch 链接 coturn
在 external 中配置 turn 的相关信息
<param name="stun-server" value="123.60.78.159:6074"/>
<param name="turn-server" value="123.60.78.159:6074"/>
<param name="turn-username" value="testuser"/>
<param name="turn-password" value="testpass"/>
<param name="ice" value="aggressive"/>
<param name="aggressive-nat-detection" value="true"/>
4.Freeswitch常用命令
使用管理员权限打开 powershell 进入 Freeswitch 所在目录 输入 .\fscli.exe 监看控制台
# 显示sip模块的状态
sofia status
# 设置控制台日志级别(console, info, debug, warning, error, all, none)
console loglevel debug
# 显示可用命令列表
help
# 退出控制台
exit
# 显示当前加载的拨号计划
show dialplan
# 重新加载配置
reload xml
# 查看 external 模块下注册的用户
sofia status profile external reg


 2380
2380

 被折叠的 条评论
为什么被折叠?
被折叠的 条评论
为什么被折叠?
 到【灌水乐园】发言


