


一、使用
导入依赖
<!-- junit-->
        <dependency>
            <groupId>junit</groupId>
            <artifactId>junit</artifactId>
            <scope>test</scope>
        </dependency>
二、问题解决
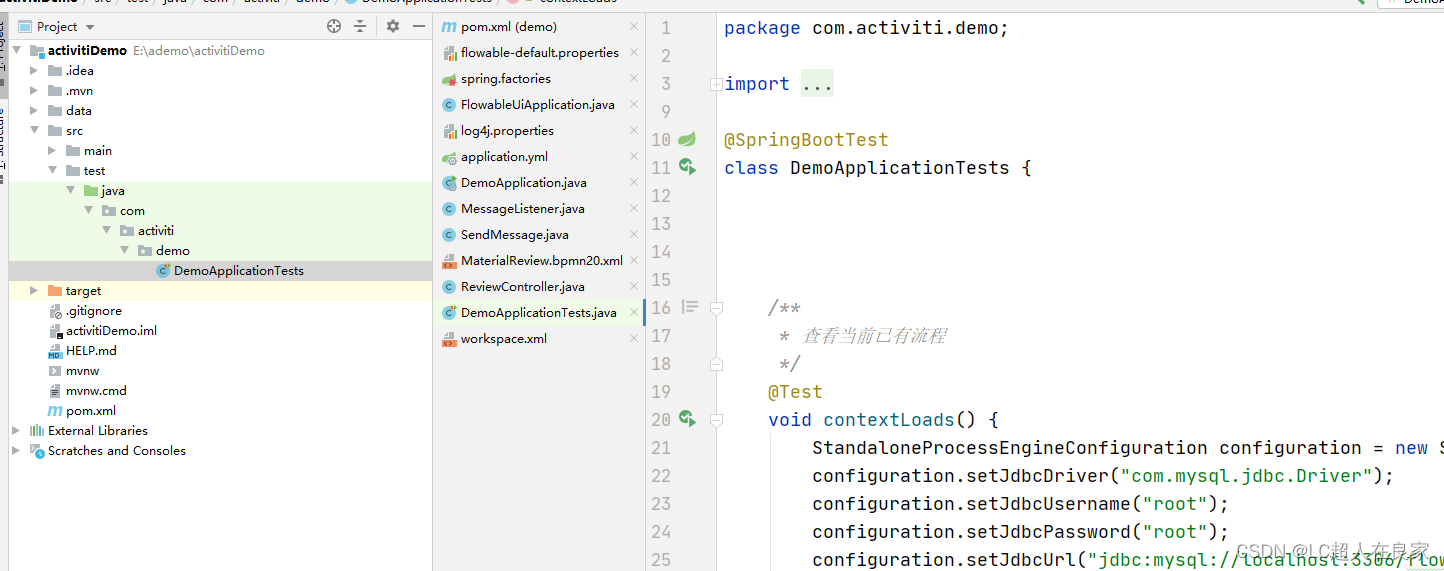
2.1 test启动报错
Command line is too long. Shorten command line for className or also for JUnit defaultconfiguration.


然后再在单元测试的时候有时候出现出现下述问题:
Idea启动项目报错:Command line is too long. Shorten command line for className or also for JUnit defaultconfiguration.
对应解决方法:
在该项目文件夹.idea/workspace.xml中找到
…
然后在其中添加:
然后重新导入该文件配置
2.2 @Test会让bean的注入失效
@Test会让bean的注入失效,这是一个springboot的超级大坑
在Test方法执行的时候,并不会给你创建容器,junit也不知道你是否在使用spring,默认单例模式下没有容器也就不会有@Autowired自动装配有效
package com.lc.redistest.justtest;

import com.lc.redistest.RedisTestApplication;
import org.junit.Test;
import org.junit.runner.RunWith;
import org.springframework.beans.factory.annotation.Autowired;
import org.springframework.boot.test.context.SpringBootTest;
import org.springframework.dao.DataAccessException;
import org.springframework.data.redis.core.RedisOperations;
import org.springframework.data.redis.core.RedisTemplate;
import org.springframework.data.redis.core.SessionCallback;
import org.springframework.stereotype.Component;
import org.springframework.test.context.junit4.SpringJUnit4ClassRunner;


import java.util.concurrent.TimeUnit;

/**
 * @Author LC
 * @Date 2021/7/28
 */
@Component
@RunWith(SpringJUnit4ClassRunner.class)
@SpringBootTest(classes = RedisTestApplication.class)
public class JustTest {

    @Autowired
    private   RedisTemplate redisTemplate;

    // 1、添加  @Test注解   包路径是 import org.junit.Test;注意不要导错包,
    // 2、方法类型必须是 void,没有返回值
    // 3、注意一个坑,和本Test单元测试同类中的其他测试方法也不能添加带返回值的方法,方法类型也必须是void
    @Test
    public void test() {
        // RedisTemplate redisTemplate = new RedisTemplate();
        Object execute = redisTemplate.execute(new SessionCallback() {
            @Override
            public Object execute(RedisOperations operations) throws DataAccessException {
                operations.opsForValue().set("key1", "set1", 10L, TimeUnit.SECONDS);
                Object key1 = operations.opsForValue().get("key1");

                return key1;
            }
        });
        System.out.println(execute.toString());
    }
}
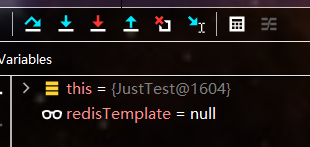
不能注入,在里面你直接new的话会报错,那如何写单元测试呢?
解决方法
单元测试类上加上如下注解
@RunWith(SpringJUnit4ClassRunner.class)
@SpringBootTest(classes = RedisTestApplication.class) // RedisTestApplication 启动类

// 下面两个是其他的配置
@ContextConfiguration(classes = {SpringConfiguration.class})     //注解配置类写法
@ContextConfiguration({"classpath:spring/*.xml"})  //配置文件写法   这两种写法取决于你的spring核心配置是注解形式还是xml形式,选其一就可以了
此时在单元测试类就能使用 @Autowired注解注入IOC容器的组件进行使用了
2.3 @Before不执行
根据其官网说明
在Junit4下使用@Before和@After
而在Junit5下使用@BeforeEach和@AfterEach


 481
481


 被折叠的 条评论
为什么被折叠?
被折叠的 条评论
为什么被折叠?
 到【灌水乐园】发言


