


转自:Create a kernel-mode driver project for Windows Phone
demo视频:http://msdn.microsoft.com/en-us/library/windows/hardware/ff554651%28v=vs.85%29.aspx
Create a kernel-mode driver project for Windows Phone
The following section walks through the process of creating a KMDF driver using the WDK, WPDK, and Visual Studio.
-
Start Visual Studio 2013.
-
On the File menu, choose New > Project.
-
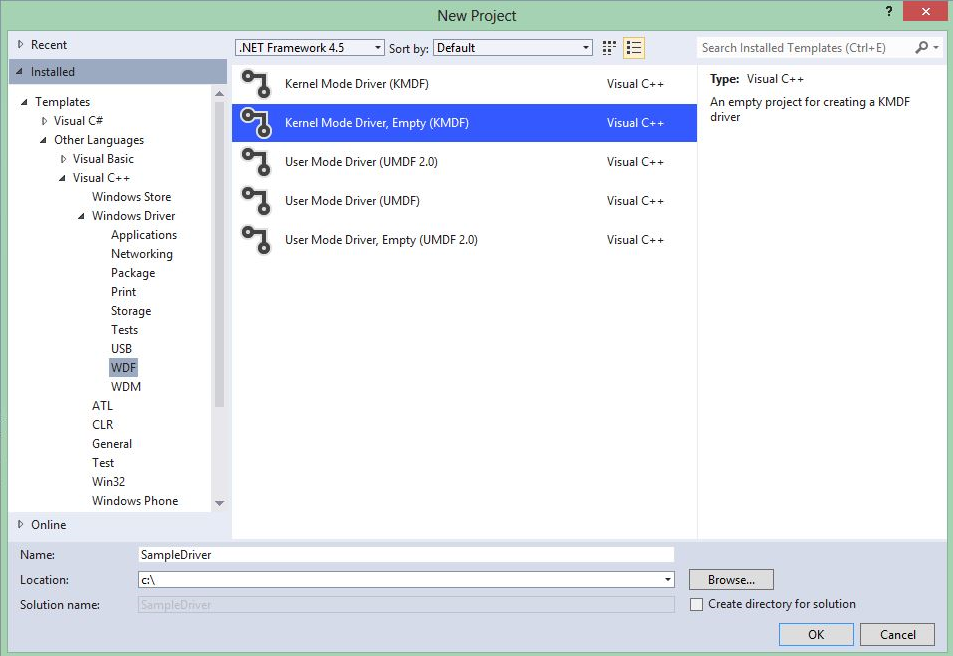
In the New Project dialog box, in the left pane, locate and selectWDF.
-
In the middle pane, select Kernel Mode Driver (KMDF) or Kernel Mode Driver, Empty (KMDF).
-
Type a name for the new project, and optionally choose a different location for the project.
-
Check Create directory for solution. Click OK.
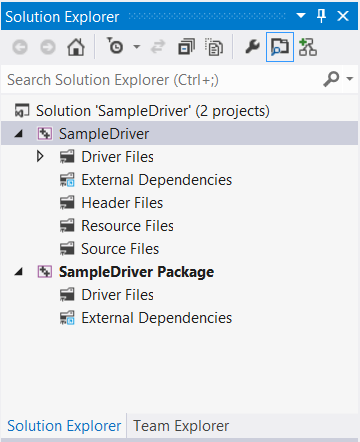
- Microsoft Visual Studio creates two projects and a solution. You can see the solution, the two projects, and the files that belong to each project in theSolution Explorer window, shown in the following screen shot. (If the Solution Explorer window is not visible, chooseSolution Explorer from the View menu.) The solution contains a driver project and a driver package project.
-
-
To add header and source files to the project, in the Solution Explorer window, right-click the driver project and chooseAdd > New Item orAdd > Existing Item.
-
After your project is created, go to the Project menu and clickProperties.
-
In the left pane of the Property Pages dialog box, click on theConfiguration Properties section, and then click theConfiguration Manager… button.
-
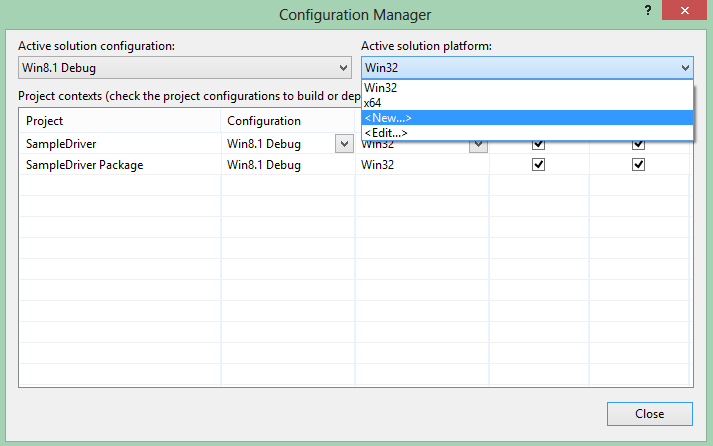
Set the active solution configuration to Win8.1 Debug or Win8.1 Release.
-
In the Configuration Manager dialog box, under the Active Solution Platform: menu, select <New…>.
-
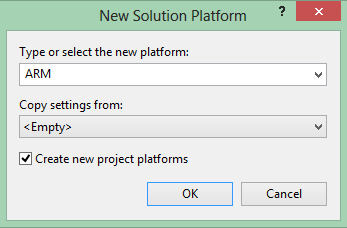
In the New Solution Platform dialog box, select ARM underNew Platform andWin32 under Copy settings from.
-
Click OK.
-
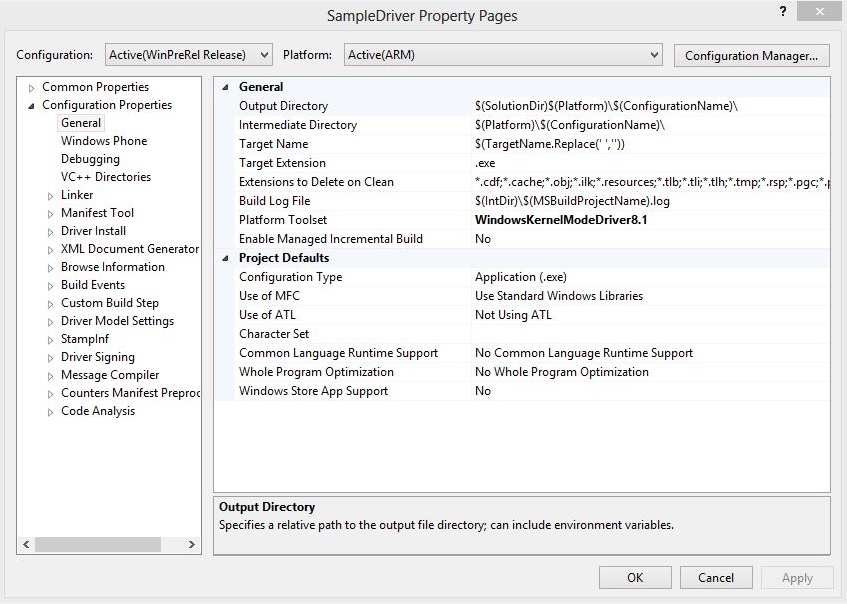
On the General node of the Property Pages dialog box, setPlatform Toolset toWindowsKernelModeDriver8.1 and clickApply.
-
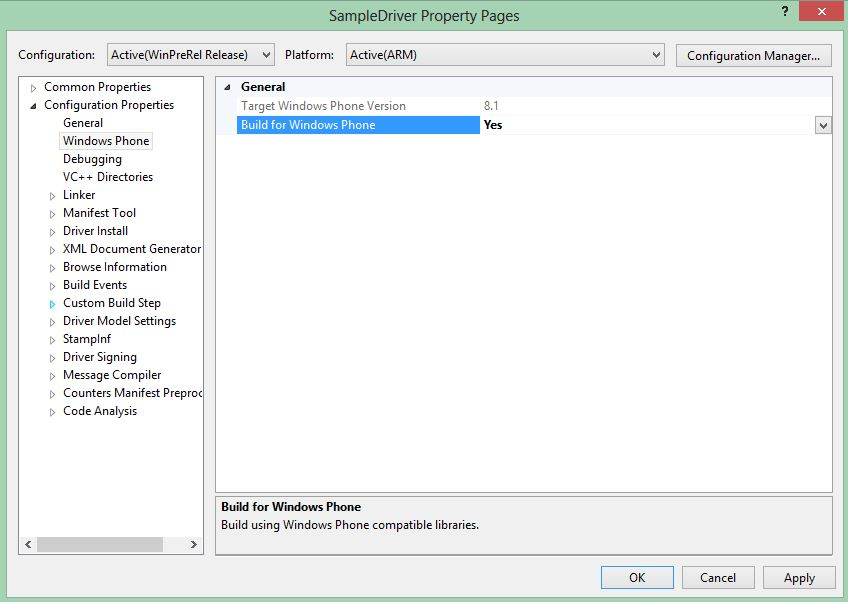
On the Windows Phone node of the Property Pages dialog box, ensure thatTarget Windows Phone Version is set to8.1, setBuild for Windows Phone to Yes, and clickApply.
-
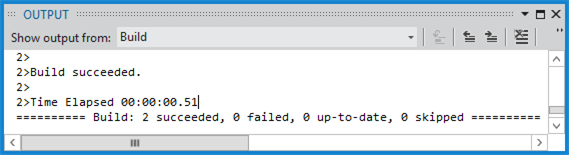
To build your driver, choose Build Solution from the Build menu. Microsoft Visual Studio displays the build progress in the Output window, as shown in the following screen shot. (If the Output window is not visible, chooseOutput from theView menu.)
-
To see the built driver, navigate to your build output directory. By default, this directory is under your project directory inARM\Win8.1Release orARM\Win8.1Debug depending on your configuration. You will notices that a number of other files are provided in the built driver package, such as an INF file and associated .pdb file.
You can also build a driver project from the Developer Command Prompt for VS2013 using MSBUILD commands. For information about MSBUILD, refer toWalkthrough: Using MSBuild andMSBUILD Reference.
 Note
NoteIf you build a driver project using MSBUILD from the Developer Command Prompt for VS2013 and you choose to override theTargetVersion project-level property on the command line, you must specifyWindowsV6.3 for the property value. Here is an example.
msbuild.exe SampleDriver.vcxproj /p:targetversion=WindowsV6.3
Next steps
After you have successfully configured your driver project, follow these steps to develop the driver and add it to a phone image:
-
Implement the driver using APIs in the KMDF and the driver model for the hardware component your driver supports. For more information about the KMDF, see the list of suggested topics to read inDriver development for Windows Phone. For more information about the driver models for hardware components, seeHardware components.
-
Make any necessary updates to the INF file for the driver. For more information about INF files, seeINF files for Windows Phone drivers.
-
If the driver will be used in a pre-production environment, it must be test-signed using certificates provided in the Windows Phone kits. For more information, seeSign binaries and packages.
-
Build a package that contains the driver binaries, the INF file, and any other related files or settings for the driver. For more information, see the “Adding a driver component” section ofCreating packages.
-
Build the driver package into a phone image. For more information, see Building a phone image using ImgGen.cmd.
NoteIn test scenarios, you can alternatively use IUTool to add your driver package to an existing image on a phone. For more information, seeUpdate packages on a phone and get package update logs andUpdate a KMDF device driver.
In addition to the steps listed above, you may need to also configure ACPI entries for your driver if it has required ACPI entries. For more information, seeACPI in Windows Phone.
-


 562
562

 被折叠的 条评论
为什么被折叠?
被折叠的 条评论
为什么被折叠?
 到【灌水乐园】发言


