LBPageMenu
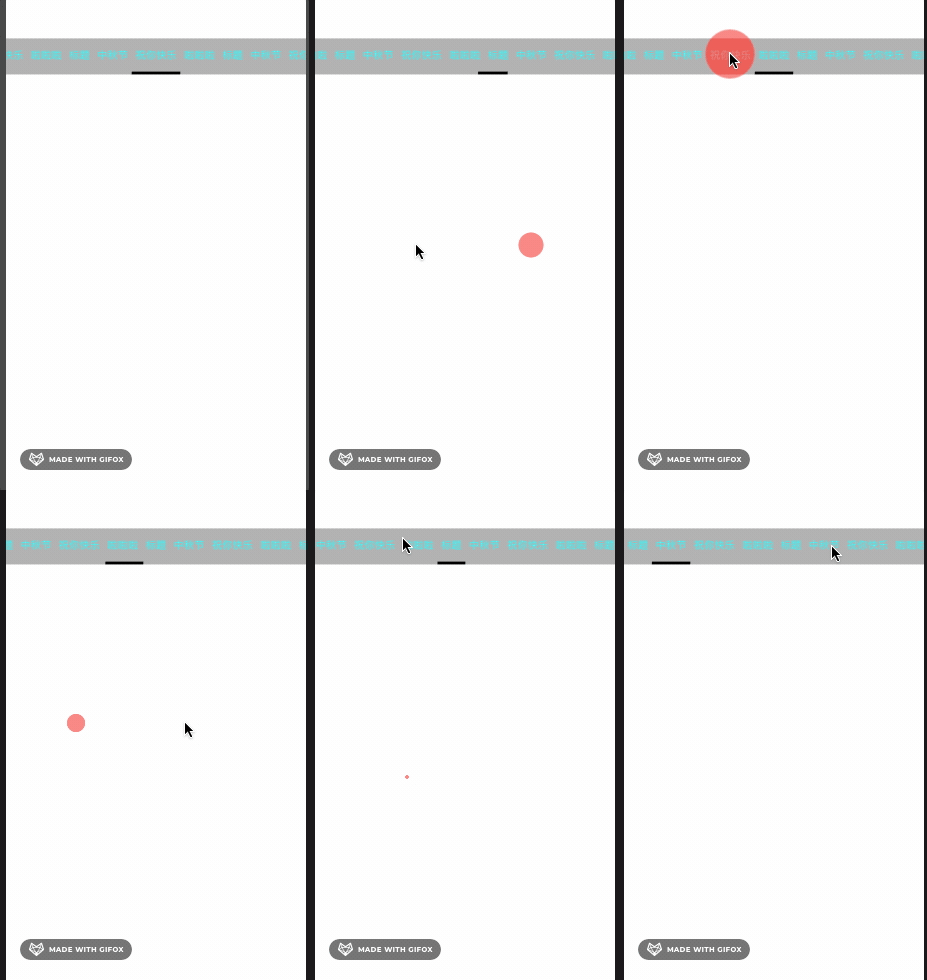
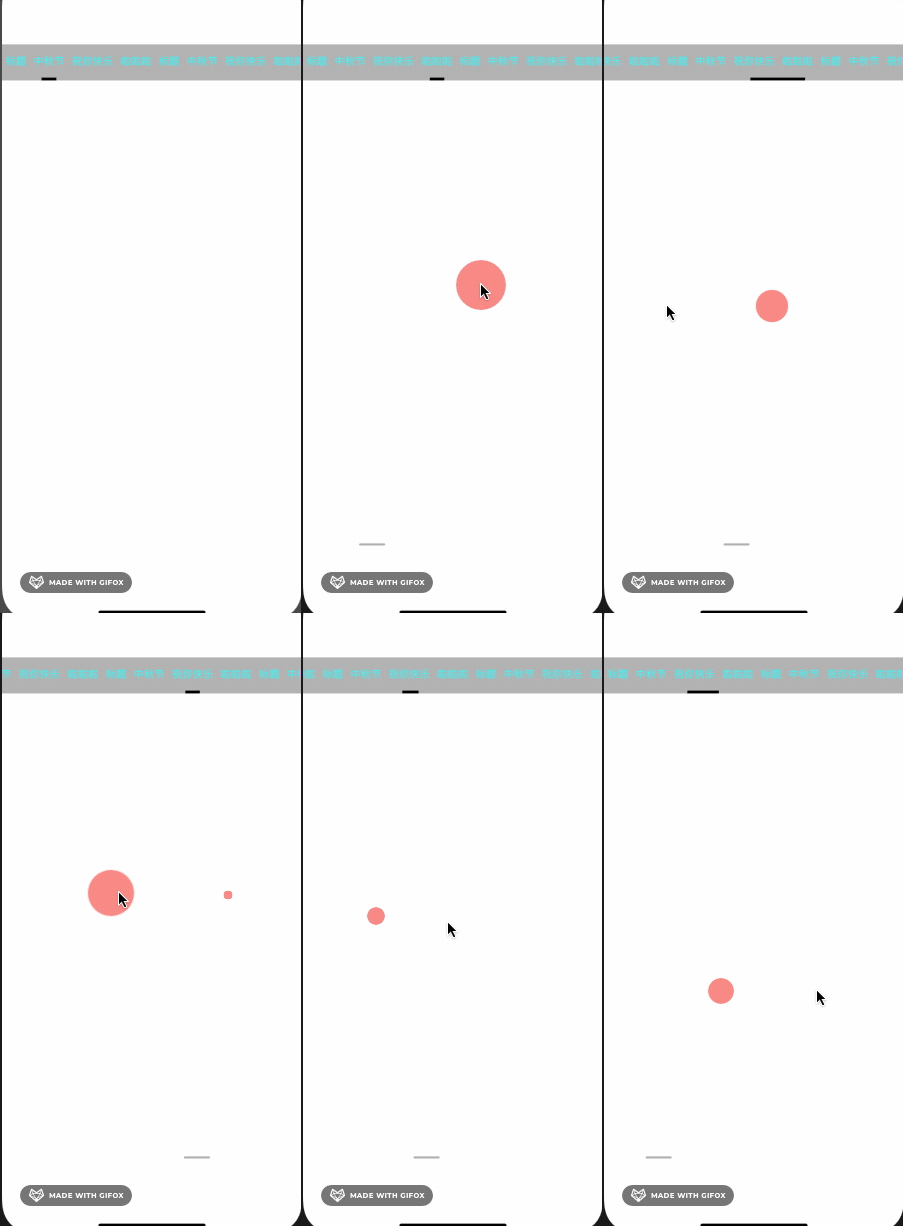
效果图
默认滚动风格

拉伸风格

拉伸风格指定宽度 (默认20)

实现思路
将下面滚动的大scrollView 传入到标题视图中,监听大的scrollview的滚动,实现标题的滚动和知识条的滚动
关键逻辑
普通跟手滚动逻辑
就是 计算出当前大scrollView移动的距离x占移动一页的距离y的比例,
x / (一页的宽度) - (floorf)(x / (一页的宽度) = 一页净移动的距离 z
当前页面移动的比例为 q = z/y,
q 即为当前页面移动的比例,
在根据两个按钮之间的差值,计算出即时的按钮的位置,宽度即可
    UIButton *fromButton = self.buttons[fromIndex];
    UIButton *toButton = self.buttons[toIndex];

    // 2个按钮之间的距离
    CGFloat xDistance = toButton.center.x - fromButton.center.x;
    // 2个按钮宽度的差值
    CGFloat wDistance = toButton.frame.size.width - fromButton.frame.size.width;

    CGRect newFrame = self.tracker.frame;
    CGPoint newCenter = self.tracker.center;

    newCenter.x = fromButton.center.x + xDistance * progress;
    newFrame.size.width = fromButton.frame.size.width + wDistance * progress;
    self.tracker.frame = newFrame;
    self.tracker.center = newCenter;
拉伸跟手滚动逻辑
拉伸跟手逻辑稍微复杂
主要的有一点,开始滚动页面的时候指示条逐渐变长,是滚动到页面正中间的时候,指示条的宽度达到最长,将两个按钮都包括进去,随后逐渐变短, 根据这一逻辑来计算即时的位置和宽度
      NSInteger baseIndex = floorf(offsetProgress);
        if (baseIndex > self.buttons.count - 1 && baseIndex < 0) {
            return;
        }
        CGFloat progressStrech = offsetProgress - baseIndex;
        CGRect leftFrame = self.buttons[baseIndex].frame;
        CGRect rightFrame = self.buttons[baseIndex + 1].frame;
        CGFloat leftWidth = CGRectGetWidth(leftFrame);
        CGFloat rightWidth = CGRectGetWidth(rightFrame);
        CGFloat leftX = CGRectGetMinX(leftFrame);
        CGFloat rightX = CGRectGetMinX(rightFrame);
        ///最大宽度就是两个按钮的宽度之和加上间隙
        CGFloat maxWidth = CGRectGetMinX(rightFrame) - leftX + CGRectGetWidth(rightFrame);
        CGFloat targetX;
        CGFloat targetWidth;
        //前50%,只增加width;后50%,移动x并减小width
        /*注意,下面的*2 的来历是
        我们走的比例都要和0.5去比,看
        占0.5的多少比例 即 /0.5 = * 2
        因为我们都是以滚动到页面的中点为界限的,这时候的
        总的比例不是1, 而是0.5
        */
        if (progressStrech <= 0.5) {

            targetX = CGRectGetMinX(leftFrame);
            targetWidth = [self interpolationFrom:leftWidth to:maxWidth percent:progressStrech * 2];
        } else {
            targetX = [self interpolationFrom:leftX to:rightX percent:(progressStrech - 0.5)*2];
            targetWidth = [self interpolationFrom:maxWidth to:rightWidth percent:(progressStrech - 0.5)*2];
        }
        CGRect frame = self.tracker.frame;
        frame.origin.x = targetX;
            frame.size.width = targetWidth;
              self.tracker.frame = frame;
使用方法
pod ‘LBPageMenu’
#pragma mark - lazy load

- (LBPageMenu *)menu
{
    if (!_menu) {
        LBPageMenuConfiguration *configuration = [[LBPageMenuConfiguration alloc] init];
        configuration.unSelectedTitleColor = [UIColor cyanColor];
        configuration.selectedTittleColor = [UIColor magentaColor];
        ///指示条滚动风格,这里配置拉伸风格(默认是普通滚动)
        configuration.indicatorStyle = LBPageMenuIndicatorStyleStetch;
        _menu = [[LBPageMenu alloc] initWithFrame:CGRectMake(0, 100, CGRectGetWidth(self.view.bounds), 50) configuration:configuration];
        _menu.delegate = self;
        _menu.backgroundColor = [UIColor lightGrayColor];
    }
    return _menu;
}

- (UIScrollView *)scrollView
{
    if (!_scrollView) {
        _scrollView = [[UIScrollView alloc] initWithFrame:CGRectMake(0, 200, CGRectGetWidth(self.view.bounds), CGRectGetHeight(self.view.bounds) - 300)];
        _scrollView.contentSize = CGSizeMake(CGRectGetWidth(self.view.bounds) * self.titleArray.count, 0);
        _scrollView.delegate = self;
        _scrollView.pagingEnabled = YES;
    }
    return _scrollView;
}

///展示数据
   self.titleArray = @[@"标题", @"中秋节", @"祝你快乐",@"啦啦啦",@"标题", @"中秋节", @"祝你快乐",@"啦啦啦",@"标题", @"中秋节", @"祝你快乐",@"啦啦啦",@"标题", @"中秋节", @"祝你快乐",@"啦啦啦"];
    [self.view addSubview:self.scrollView];
    [self.view addSubview:self.menu];

    self.menu.bridgeScrollView = self.scrollView;
    [self.menu setItems:self.titleArray selectedItemIndex:0];
如果对您有帮助,欢迎star
demo


 831
831


 被折叠的 条评论
为什么被折叠?


