


提示:本文章仅供个人学习记录
更改pom.xml添加依赖
<dependency>
<groupId>org.springframework.boot</groupId>
<artifactId>spring-boot-starter-test</artifactId>
<scope>test</scope>
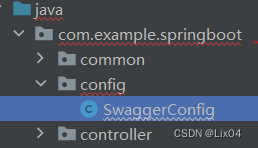
</dependency>在controller文件夹下同级添加config文件夹以及SwaggerConfig(此为java类文件)
SwaggerConfig.java中添加以下内容
package com.example.springboot.config;

import org.springframework.context.annotation.Configuration;
import org.springframework.web.servlet.config.annotation.EnableWebMvc;
import springfox.documentation.oas.annotations.EnableOpenApi;
import springfox.documentation.swagger2.annotations.EnableSwagger2;

@Configuration
@EnableOpenApi
@EnableWebMvc
public class SwaggerConfig {

}
在maven侧边栏中点击刷新按钮更新依赖

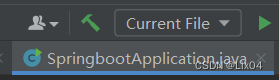
来到启动文件下点击三角形绿色运行按钮
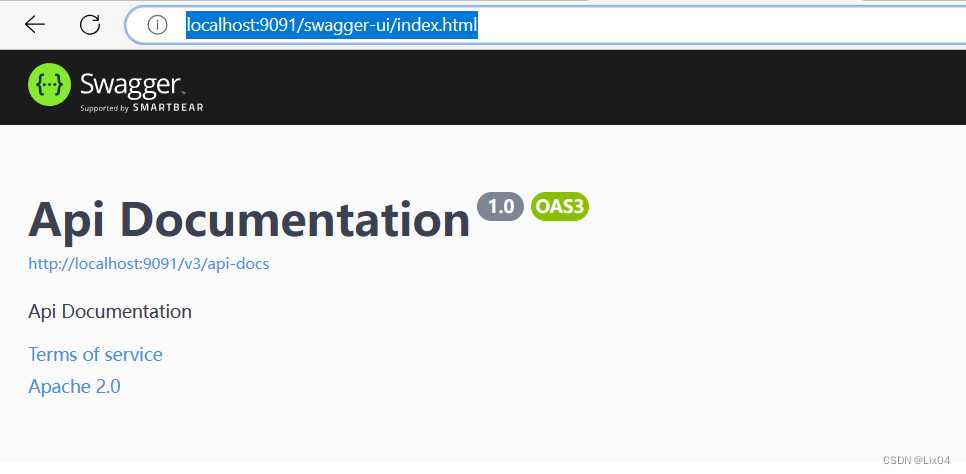
看看端口号,例如这里是9091

就访问http://localhost:9091/swagger-ui/index.html
即可看到Swagger接口文档。


 866
866


 被折叠的 条评论
为什么被折叠?
被折叠的 条评论
为什么被折叠?
 到【灌水乐园】发言


