


Express
express的安装及简单操作传值
npm install express --save
- 最简单的一个demo
const express = require('express');
const app = express();
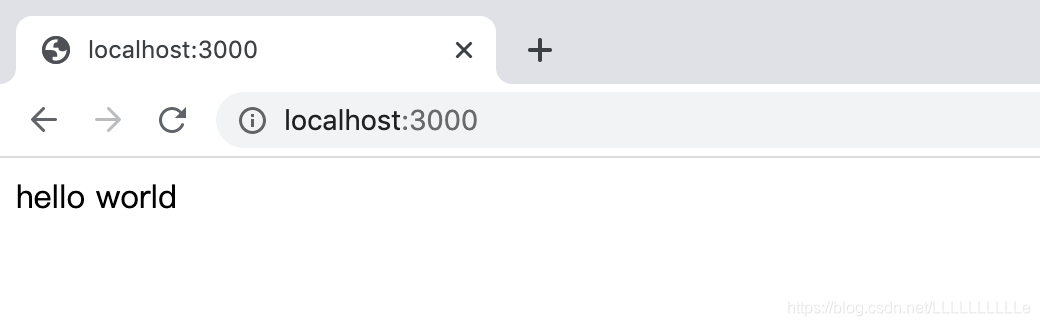
app.get("/", (req, res) => {
res.send("hello world");
})
app.get("/login", (req, res) => {
res.send("login page");
})
app.get("/artical", (req, res) => {
res.send("新闻页面");
})
// post 请求主要用于增加数据
app.post("/addUser", (req, res) => {
res.send("add ing - ");
})
// put 请求主要用于修改数据
app.put("/editUser", (req, res) => {
res.send("edit ing - ");
})
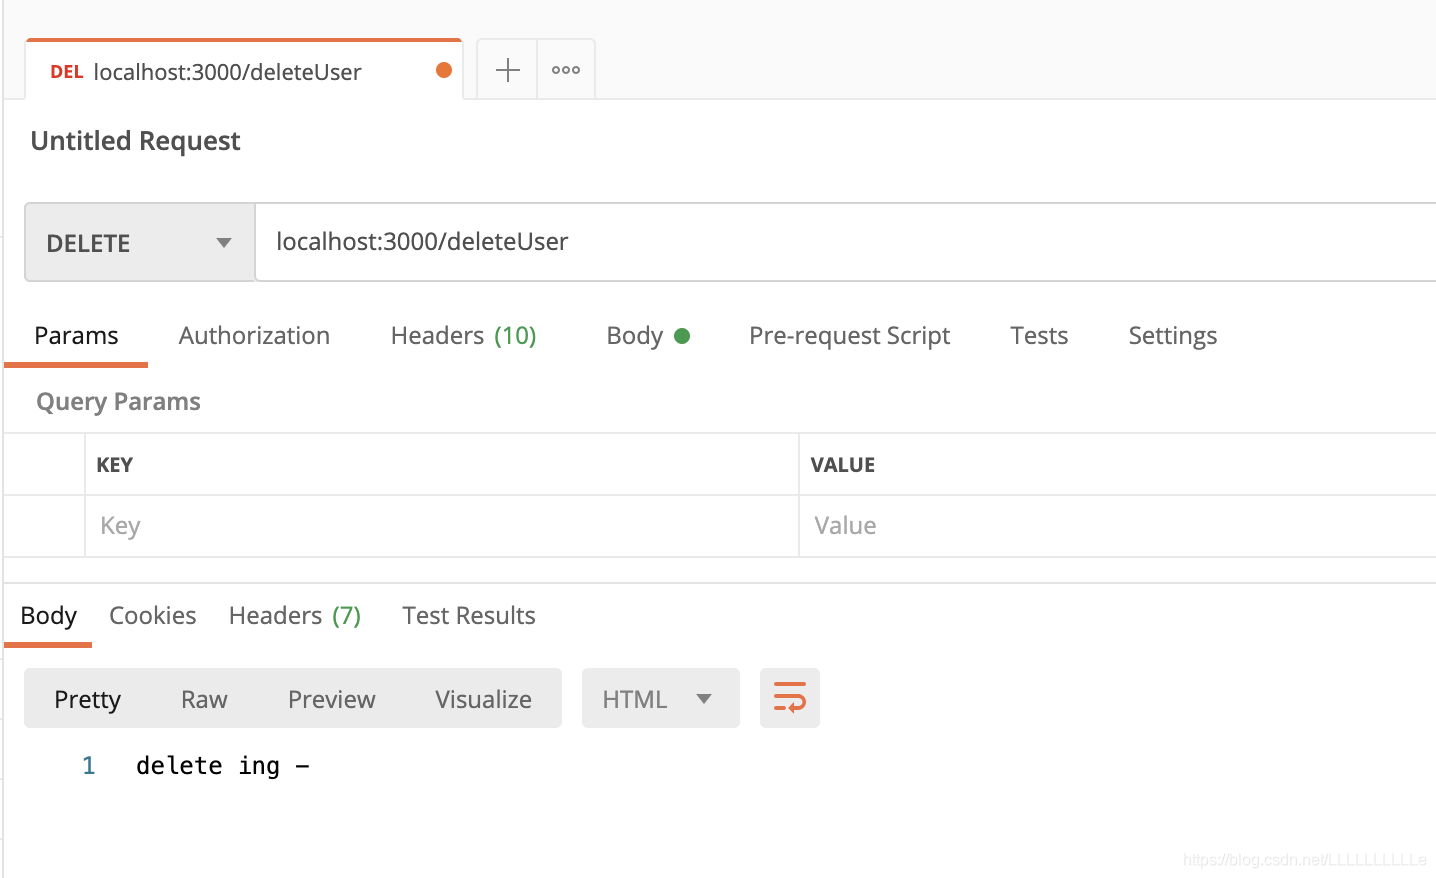
app.delete("/deleteUser", (req, res) => {
res.send("delete ing - ");
})
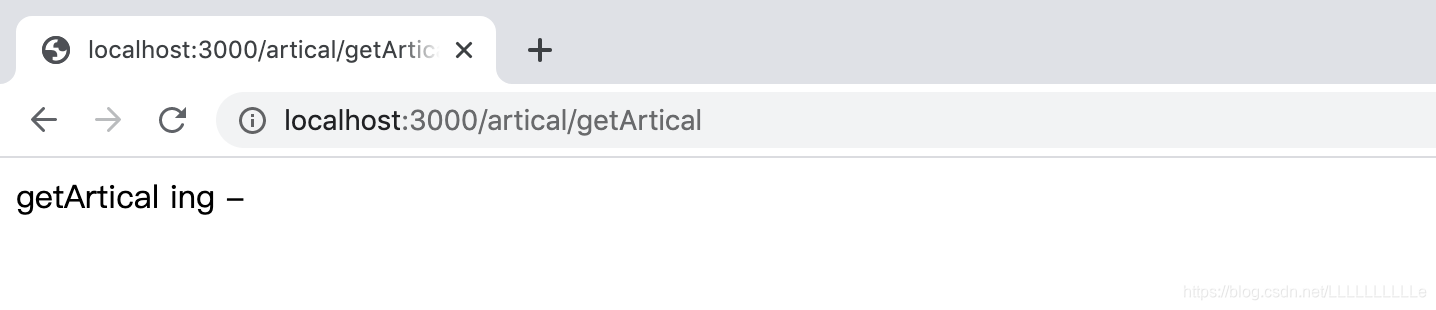
// 在路由中配置多级目录
app.get("/artical/getArtical", (req, res) => {
res.send("getArtical ing - ");
})
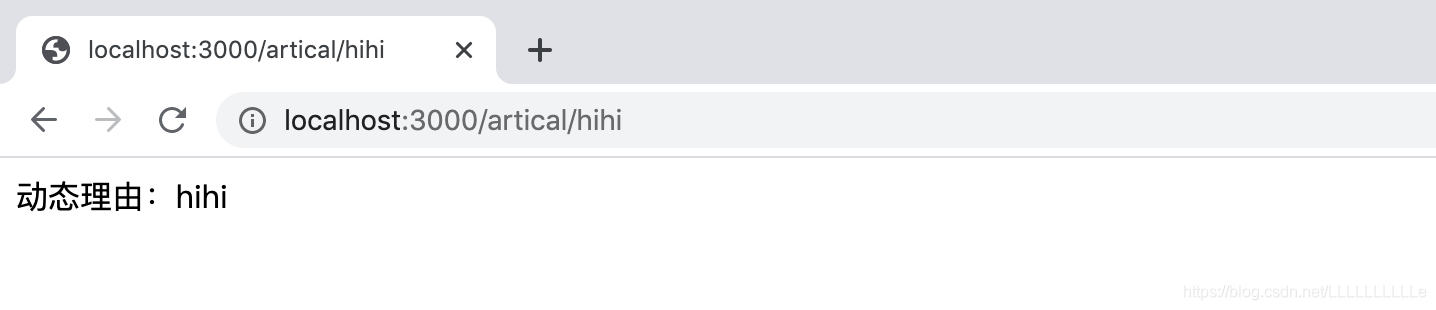
// 配置动态路由,这里需要注意顺序。
// 这块如果输入/artical/add的话会将其作为动态路由来处理而不走下面的接口
app.get("/artical/:id", (req, res) => {
var id = req.params["id"];
res.send("动态理由:" + id);
})
// 如果需要的话可以将这个/artical/add放在动态路由前面
app.get("/artical/add", (req, res) => {
res.send("artical add");
})
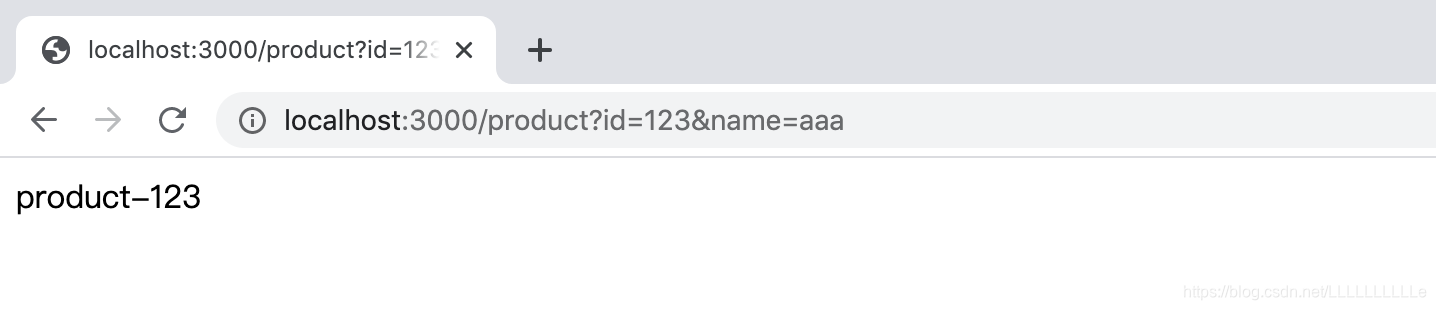
app.get("/product", (req, res) => {
// 通过 req.query 来获取参数
let query = req.query;
res.send("product-" + query.id)
})
app.listen(3000);
get 请求的话就直接在浏览器中通过localhost:3000/xxx来获取内容, post / put / delete 请求的话可以用 postman 来模拟获取请求的内容 👇

这块其实调用的是静态路由 /artical/add ,但是因为这个路由放在了动态路由 /artical/:id的后面,所有就当作动态路由处理了,要想避免的话需要将相同格式的动态路由放在静态路由前面
,这样的话显示的就是静态路由的内容了: artical add

express结合ejs模版引擎的简单使用
npm install express
npm install ejs
下面是对简单的应用
-
app.js
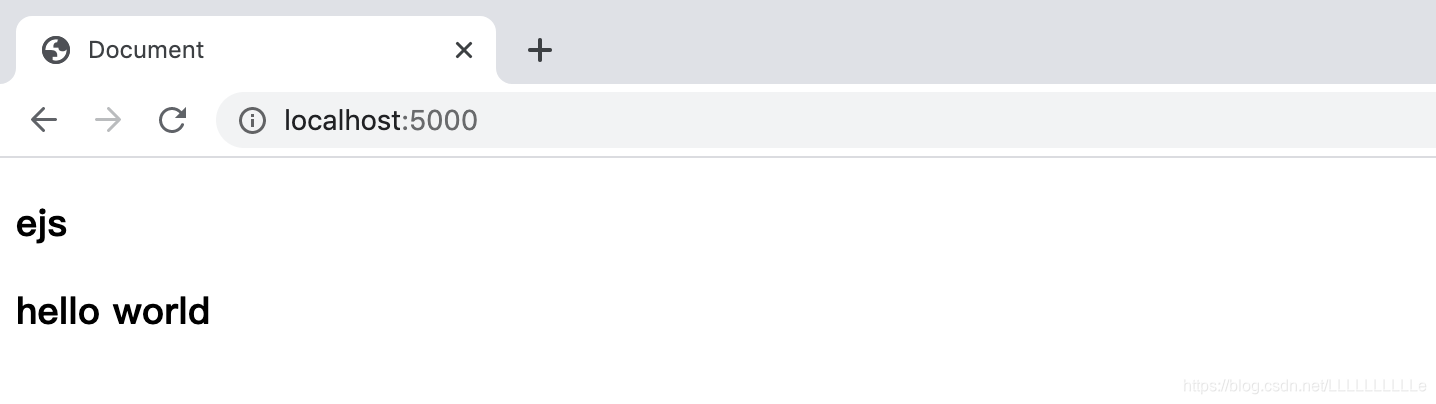
const express = require('express'); const app = express(); // 配置模版引擎 app.set("view engine", "ejs"); app.get('/', (req, res) => { let info = "hello world" res.render('index', { info: info }) }) app.listen(5000); -
views/index.ejs
<!DOCTYPE html>
<html lang="en">
<head>
  <meta charset="UTF-8">
  <meta name="viewport" content="width=device-width, initial-scale=1.0">
  <meta http-equiv="X-UA-Compatible" content="ie=edge">
  <title>Document</title>
</head>
<body>
  <h3>ejs</h3>
  <h3><%=info%></h3>
</body>
</html>
接下来看一下改变传值的时候
- app.js
const express = require('express');
const app = express();
// 配置模版引擎
app.set("view engine", "ejs");
// 配置模版文件保存的目录
// 制定模版位置,默认模版位置在views里面
// app.set('views', __dirname+'/views');
app.get('/', (req, res) => {
let info = "hello world"
res.render('index', {
info: info
})
})
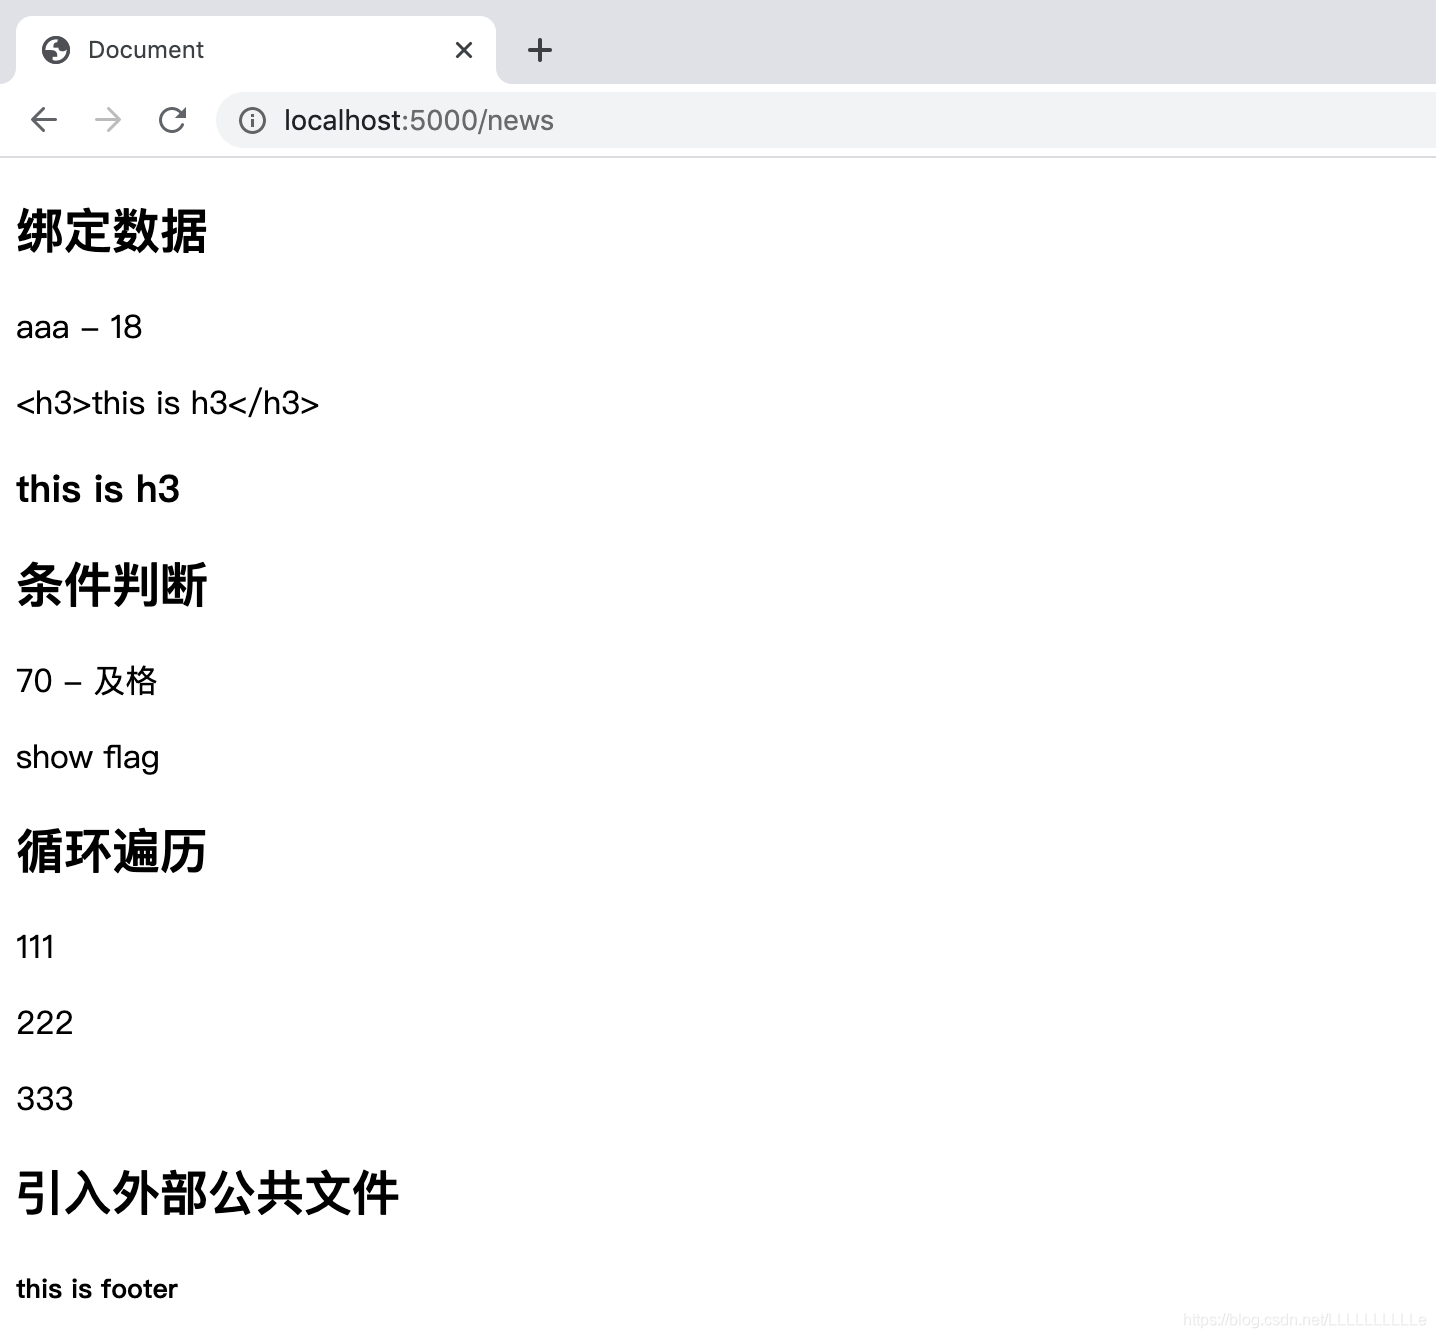
app.get('/news', (req, res) => {
let userinfo = {
name: "aaa",
age: 18,
score: 70,
flag: true
}
let list = [
"111",
"222",
"333"
]
let article = "<h3>this is h3</h3>"
res.render('news', {
userinfo,
article,
list
})
})
app.listen(5000);
- news.ejs
<!DOCTYPE html>
<html lang="en">
<head>
  <meta charset="UTF-8">
  <meta name="viewport" content="width=device-width, initial-scale=1.0">
  <meta http-equiv="X-UA-Compatible" content="ie=edge">
  <title>Document</title>
</head>
<body>
  <h2>绑定数据</h2>
  <p><%=userinfo.name%> - <%=userinfo.age%></p>
  <p><%=article%></p>
  <!-- 这样渲染的话就是按照标签的属性渲染了 -->
  <p><%-article%></p>

  <h2>条件判断</h2>
  <%if(userinfo.score >= 60){%>
    <p><%=userinfo.score%> - 及格</p>
  <%} else {%>
    <p><%=userinfo.score%> - 不及格</p>
  <%}%>

  <%if(userinfo.flag){%>
    <p>show flag</p>
  <%}%>

  <h2>循环遍历</h2>
  <%for(let i = 0; i <= list.length; i++){%>
    <p><%=list[i]%></p>
  <%}%>

  <h2>引入外部公共文件</h2>
  <%- include('footer.ejs') %>
</body>
</html>
- views/footer.ejs
<!DOCTYPE html>
<html lang="en">
<head>
  <meta charset="UTF-8">
  <meta name="viewport" content="width=device-width, initial-scale=1.0">
  <meta http-equiv="X-UA-Compatible" content="ie=edge">
  <title>Document</title>
</head>
<body>
  <h5>this is footer</h5>
</body>
</html>
将模版文件的.ejs后缀配置为.html
- app.js
const express = require('express');
const app = express();
const ejs = require('ejs');


//  配置模版引擎
// 将 .ejs 修改为 .html 的文件
app.engine("html", ejs.__express);
app.set("view engine", "html");


// 配置模版文件保存的目录
// 制定模版位置,默认模版位置在views里面
// app.set('views', __dirname+'/views');

app.get('/', (req, res) => {
  let info = "hello world"
  res.render('index', {
    info: info
  })
})

app.get('/news', (req, res) => {
  let userinfo = {
    name: "aaa",
    age: 18,
    score: 70,
    flag: true
  }

  let list = [
    "111",
    "222",
    "333"
  ]

  let article = "<h3>this is h3</h3>"
  res.render('news', {
    userinfo,
    article,
    list
  })
})

app.listen(5000);
- views/news.html
注意在这块引入的时候也要修改为footer.html
<!DOCTYPE html>
<html lang="en">
<head>
  <meta charset="UTF-8">
  <meta name="viewport" content="width=device-width, initial-scale=1.0">
  <meta http-equiv="X-UA-Compatible" content="ie=edge">
  <title>Document</title>
</head>
<body>
  <h2>引入外部公共文件</h2>
  <%- include('footer.html') %>
</body>
</html>
利用express配置静态托管文件
-
通过下面的方法进行配置,当然也可以配置多个
app.use(express.static(‘public’)); -
也可以配置虚拟目录,下面这个就可以通过 /static 的前缀来访问 public 目录下面的文件了
app.use(’/static’, express.static(‘public’));
下面是简单的demo
- app.js
const express = require('express');
const app = express();
const ejs = require('ejs');

//  配置模版引擎
// 将 .ejs 修改为 .html 的文件
app.engine("html", ejs.__express);
app.set("view engine", "html");

// 配置模版文件保存的目录
// 制定模版位置,默认模版位置在views里面
// app.set('views', __dirname+'/views');

// 配置静态目录
app.use(express.static('static'));

app.get('/', (req, res) => {
  let info = "hello world"
  res.render('index', {
    info: info
  })
})

app.get('/news', (req, res) => {
  let userinfo = {
    name: "aaa",
    age: 18,
    score: 70,
    flag: true
  }

  let list = [
    "111",
    "222",
    "333"
  ]

  let article = "<h3>this is h3</h3>"
  res.render('news', {
    userinfo,
    article,
    list
  })
})

app.listen(5000);
- news.html
<!DOCTYPE html>
<html lang="en">
<head>
<meta charset="UTF-8">
<meta name="viewport" content="width=device-width, initial-scale=1.0">
<meta http-equiv="X-UA-Compatible" content="ie=edge">
<title>Document</title>
<!-- 引入 -->
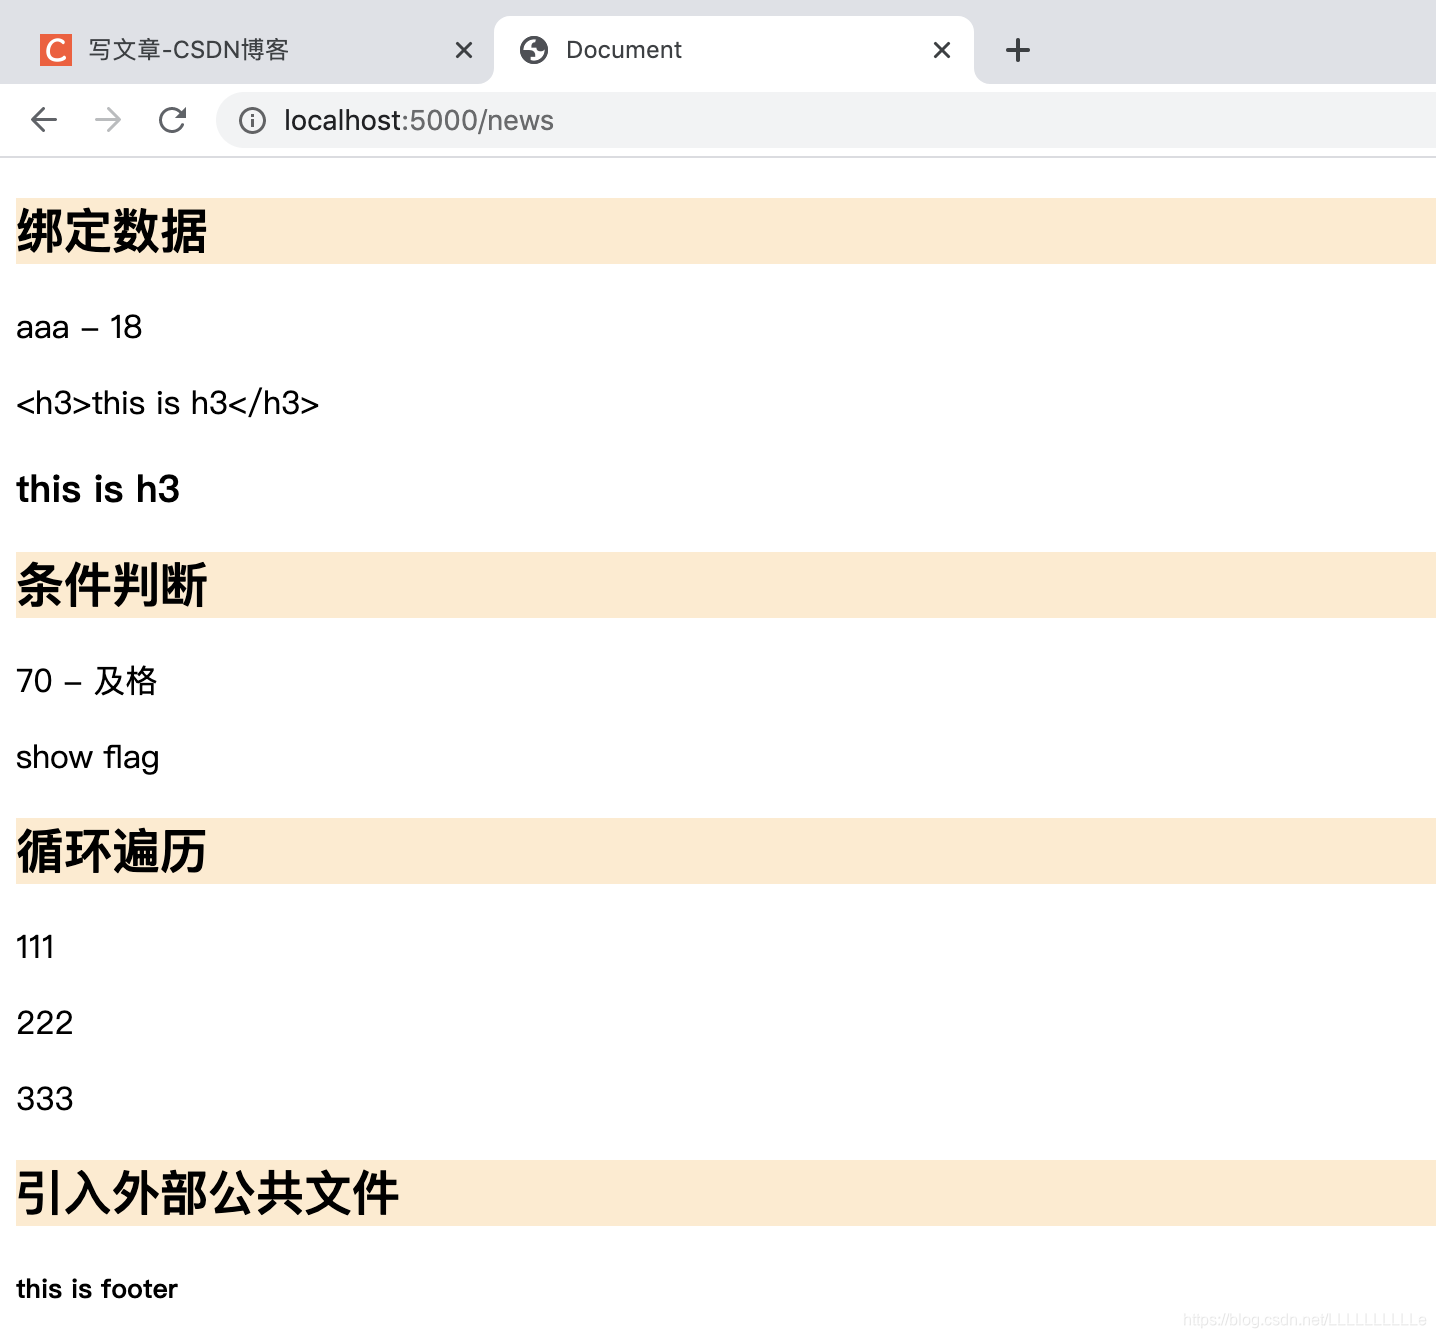
<link rel="stylesheet" href="/css/base.css">
</head>
<body>
<h2>绑定数据</h2>
<p><%=userinfo.name%> - <%=userinfo.age%></p>
<p><%=article%></p>
<!-- 这样渲染的话就是按照标签的属性渲染了 -->
<p><%-article%></p>
<h2>条件判断</h2>
<%if(userinfo.score >= 60){%>
<p><%=userinfo.score%> - 及格</p>
<%} else {%>
<p><%=userinfo.score%> - 不及格</p>
<%}%>
<%if(userinfo.flag){%>
<p>show flag</p>
<%}%>
<h2>循环遍历</h2>
<%for(let i = 0; i <= list.length; i++){%>
<p><%=list[i]%></p>
<%}%>
<h2>引入外部公共文件</h2>
<%- include('footer.html') %>
</body>
</html>
- base.css
h2{
  background-color: blanchedalmond;
}


 232
232

 被折叠的 条评论
为什么被折叠?
被折叠的 条评论
为什么被折叠?
 到【灌水乐园】发言


