


1.环境的配置
我们需要的环境为jdk1.8、 maven3.3+
将环境变量正确配置:
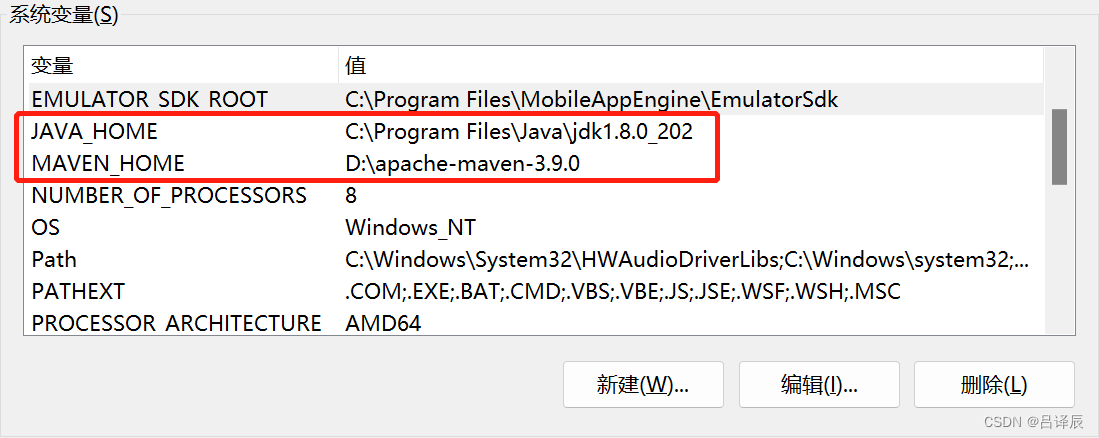
1.1 这里是jdk和maven的环境变量
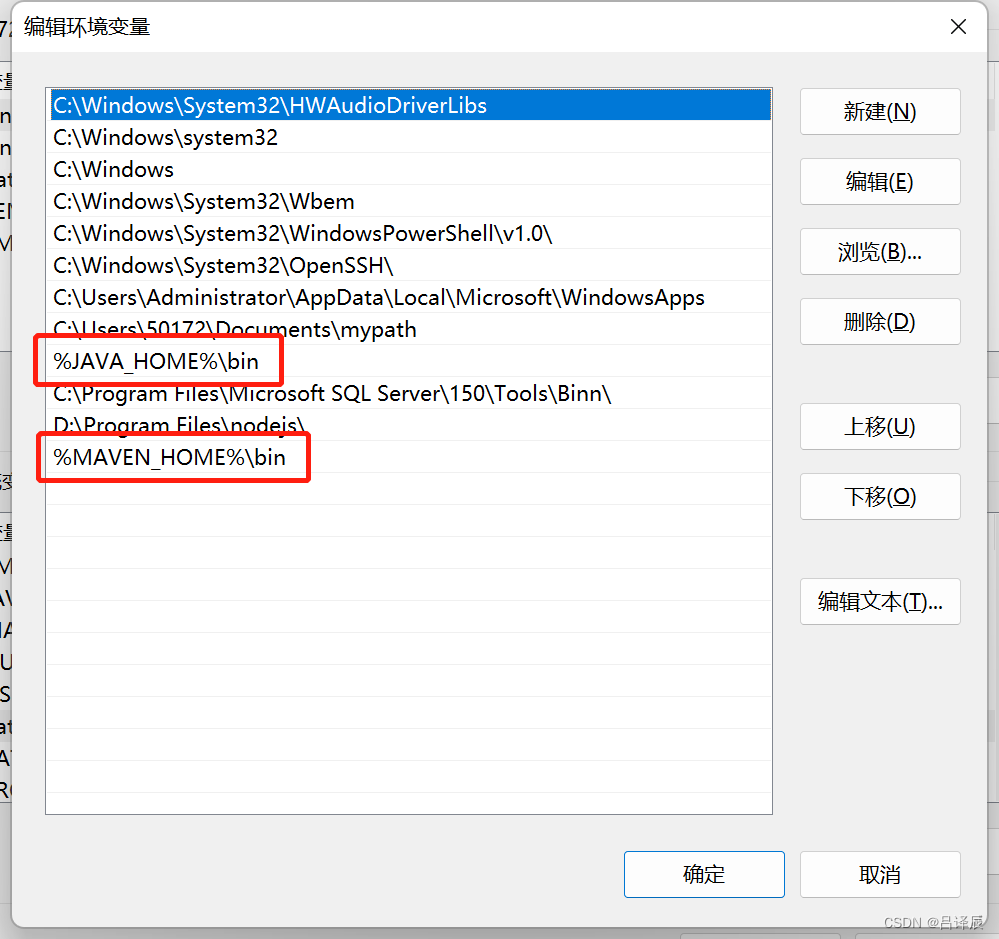
1.2 然后在path环境变量中
1.3 在cmd中输入如下命令
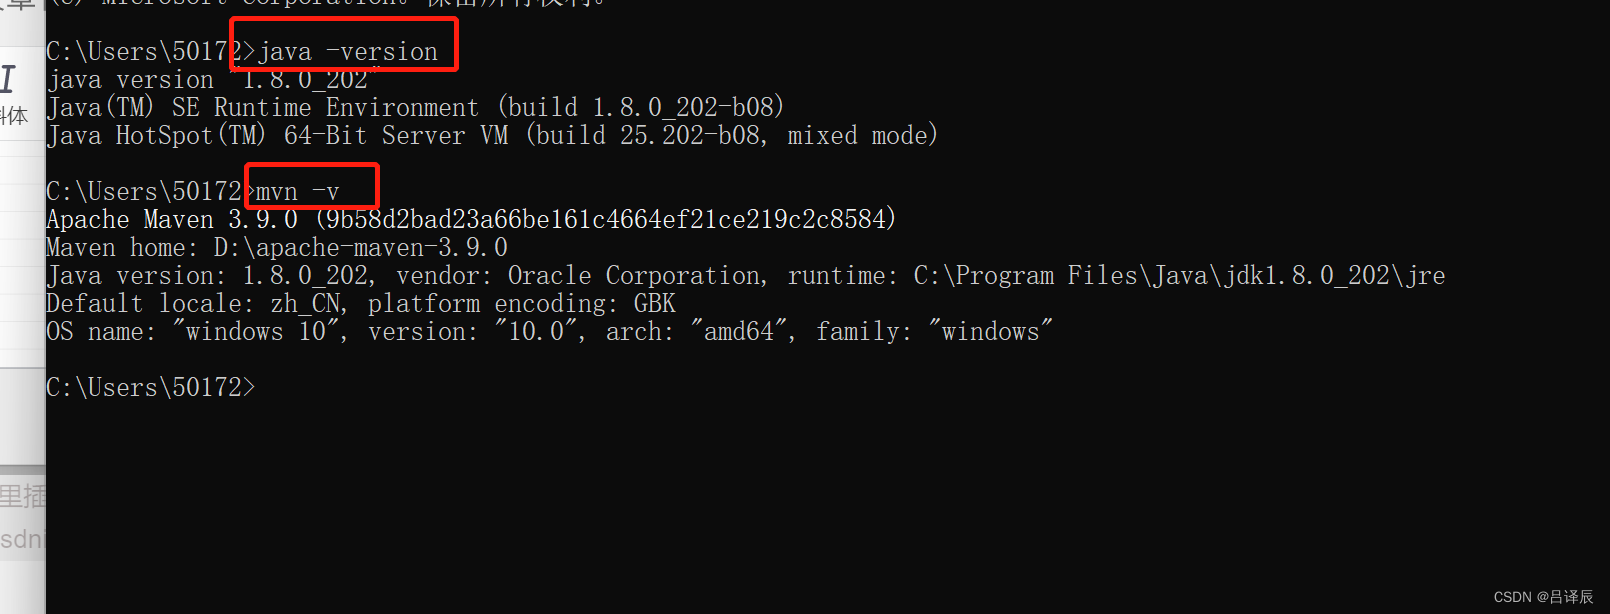
这样子就说明环境已经配置好了
1.4 maven的配置文件中需要修改这样的信息
<mirrors>
      <mirror>
        <id>nexus-aliyun</id>
        <mirrorOf>central</mirrorOf>
        <name>Nexus aliyun</name>
        <url>http://maven.aliyun.com/nexus/content/groups/public</url>
      </mirror>
  </mirrors>

  <profiles>
         <profile>
              <id>jdk-1.8</id>
              <activation>
                <activeByDefault>true</activeByDefault>
                <jdk>1.8</jdk>
              </activation>
              <properties>
                <maven.compiler.source>1.8</maven.compiler.source>
                <maven.compiler.target>1.8</maven.compiler.target>
                <maven.compiler.compilerVersion>1.8</maven.compiler.compilerVersion>
              </properties>
         </profile>
  </profiles>
2. springboot —helloworld!
这里我们进行一个简单的helloworld的打印!
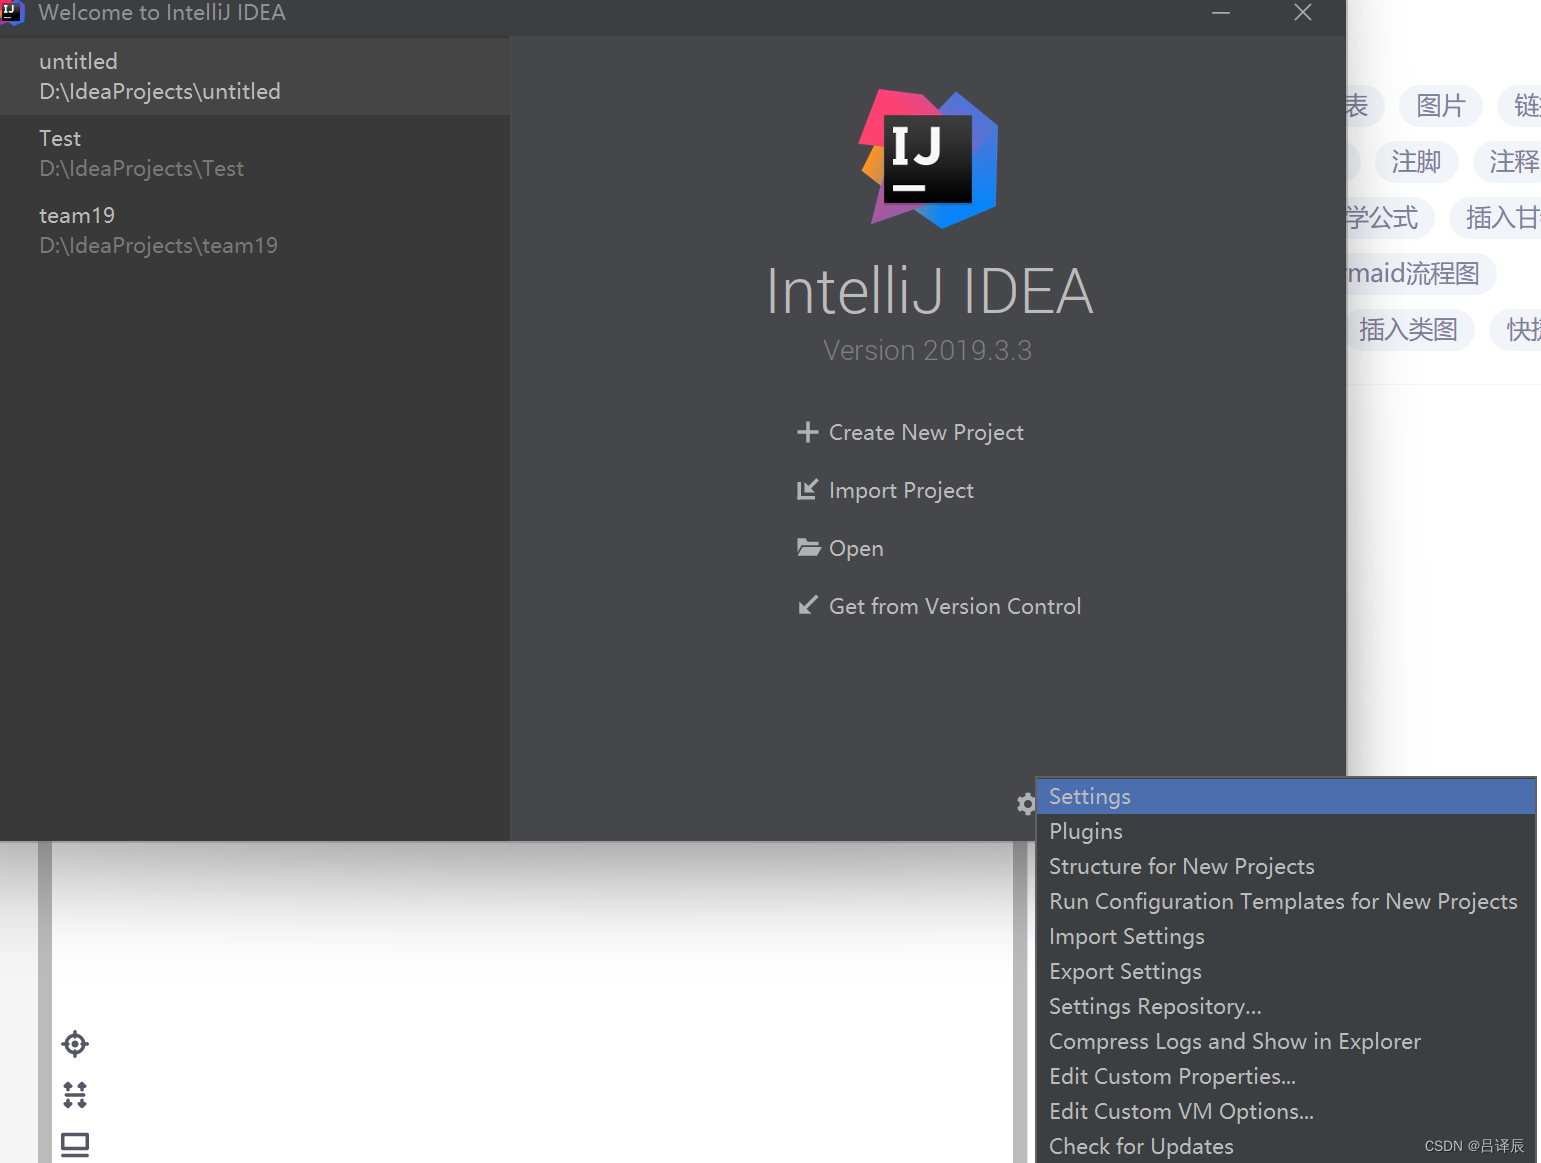
2.1 在idea的设置中,使用我们自己的maven

2.2 创建maven工程
第一次创建springboot项目开始进去要进行等待!
2.3 注入依赖
<parent>
        <groupId>org.springframework.boot</groupId>
        <artifactId>spring-boot-starter-parent</artifactId>
        <version>2.3.4.RELEASE</version>
    </parent>


    <dependencies>
        <dependency>
            <groupId>org.springframework.boot</groupId>
            <artifactId>spring-boot-starter-web</artifactId>
        </dependency>

    </dependencies>
2.4 创建主程序
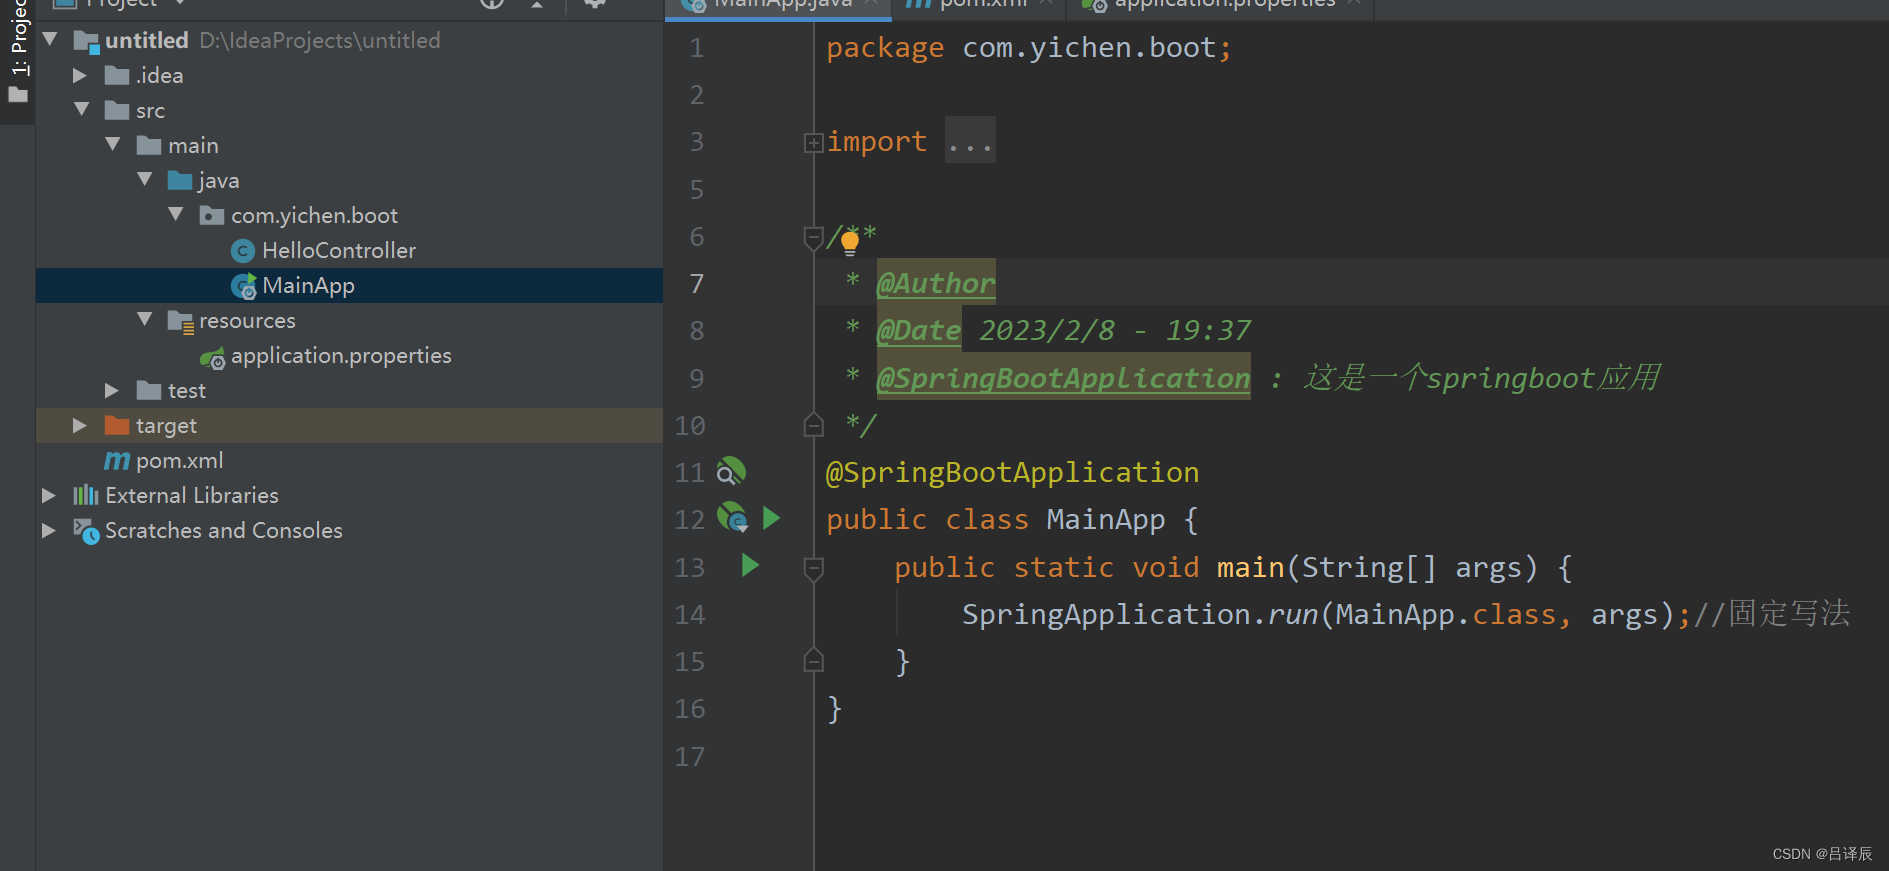
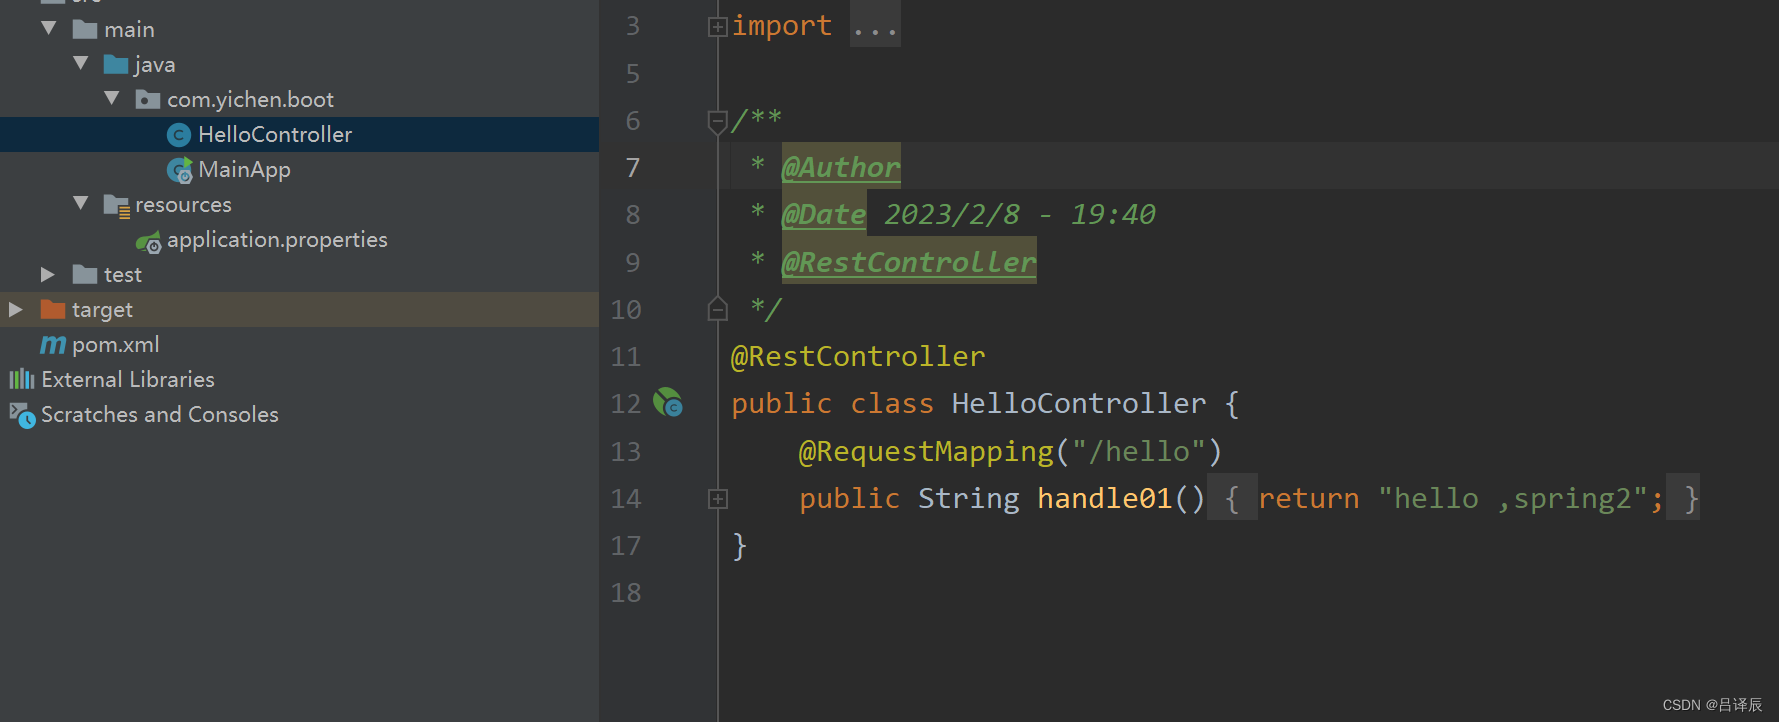
2.5 编写业务
2.6 测试
直接运行main方法!
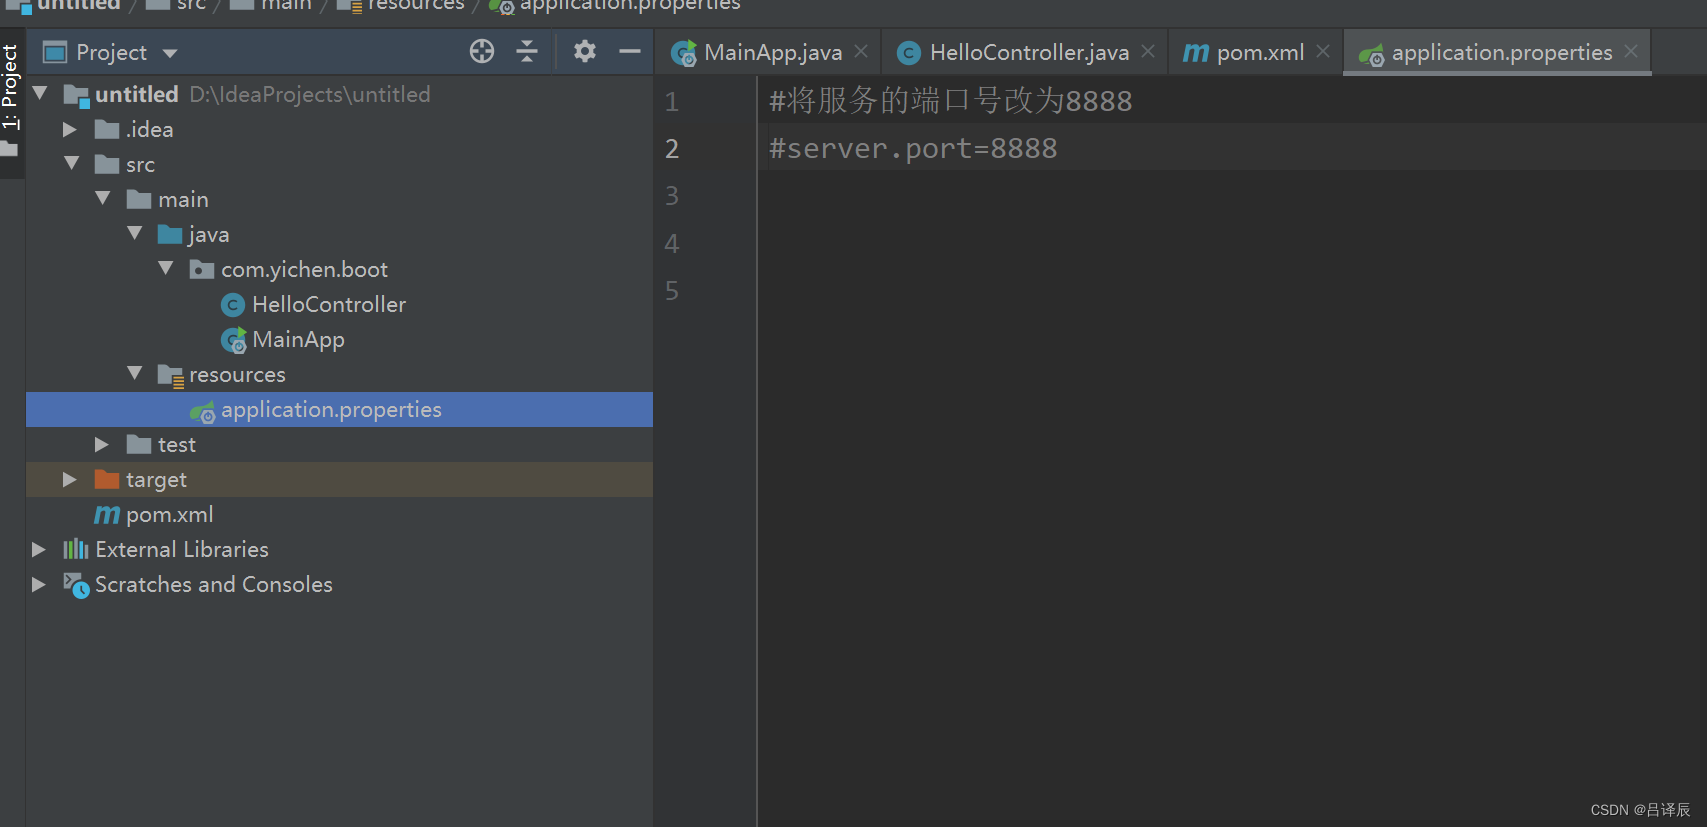
2.7 简化配置
在这个文件中,可以改任何配置
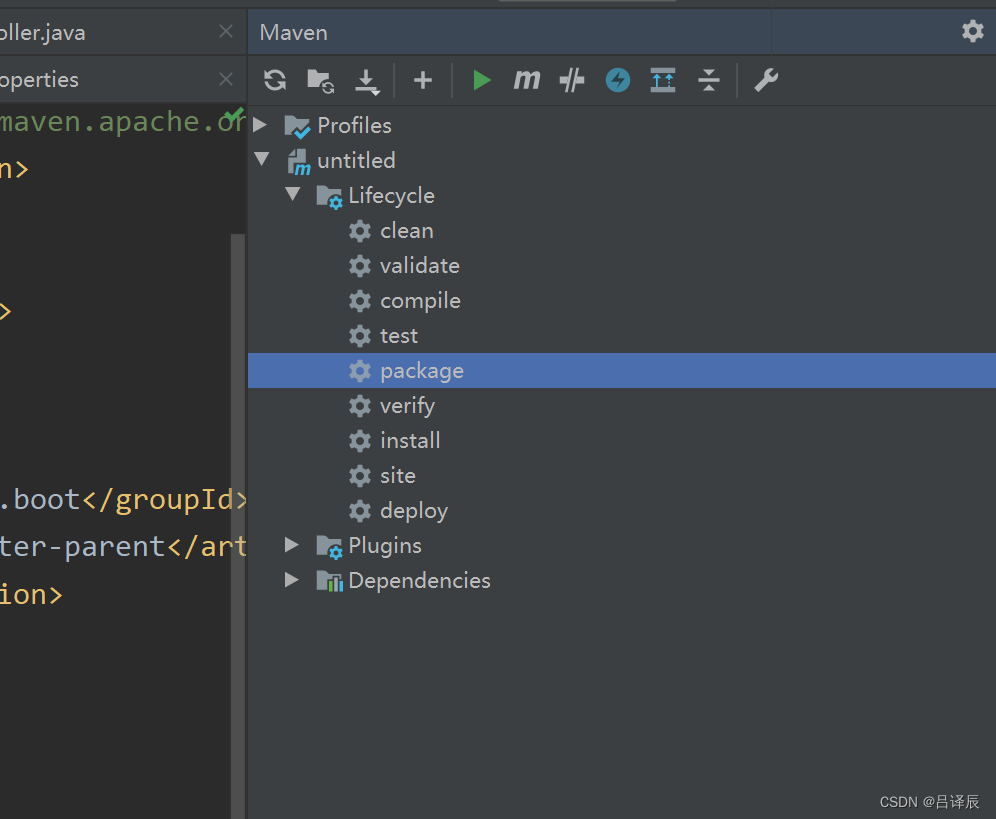
2.8 简化部署
这些添加在pom中
 <build>
        <plugins>
            <plugin>
                <groupId>org.springframework.boot</groupId>
                <artifactId>spring-boot-maven-plugin</artifactId>
            </plugin>
        </plugins>
    </build>
选中这个,再点上面的绿三角运行
最后会得到一个jar包,在cmd中用 java -jar [文件名] 来直接运行!
下面这是jar包的路径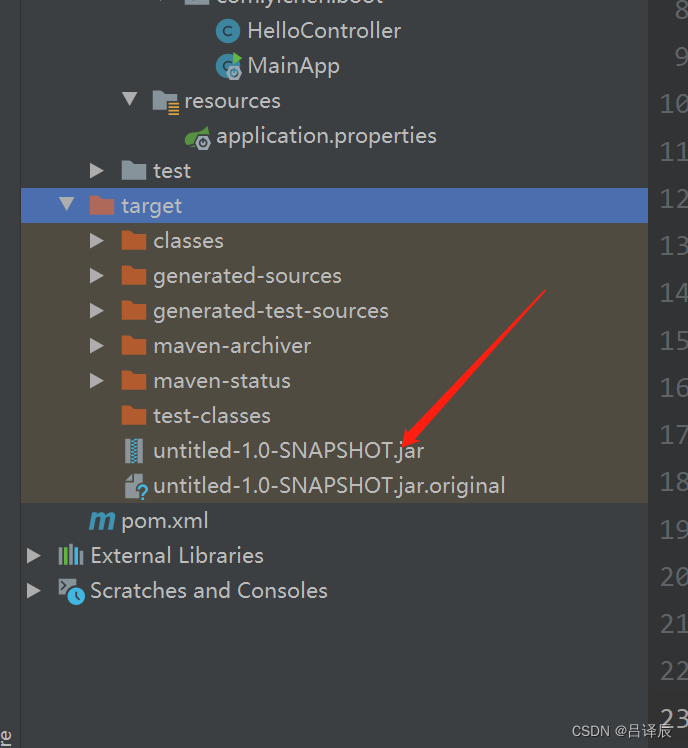


 1130
1130


 被折叠的 条评论
为什么被折叠?
被折叠的 条评论
为什么被折叠?
 到【灌水乐园】发言


