


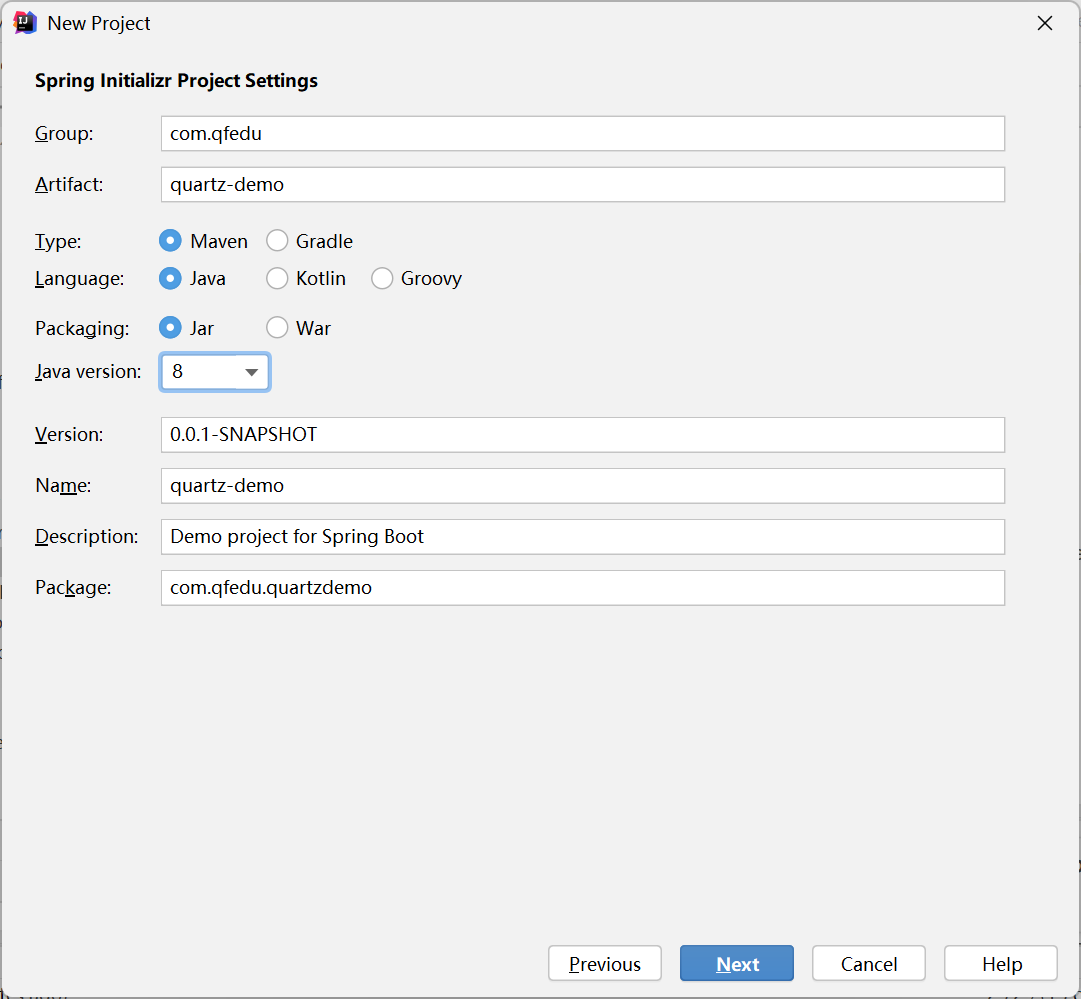
1.创建新的springboot项目
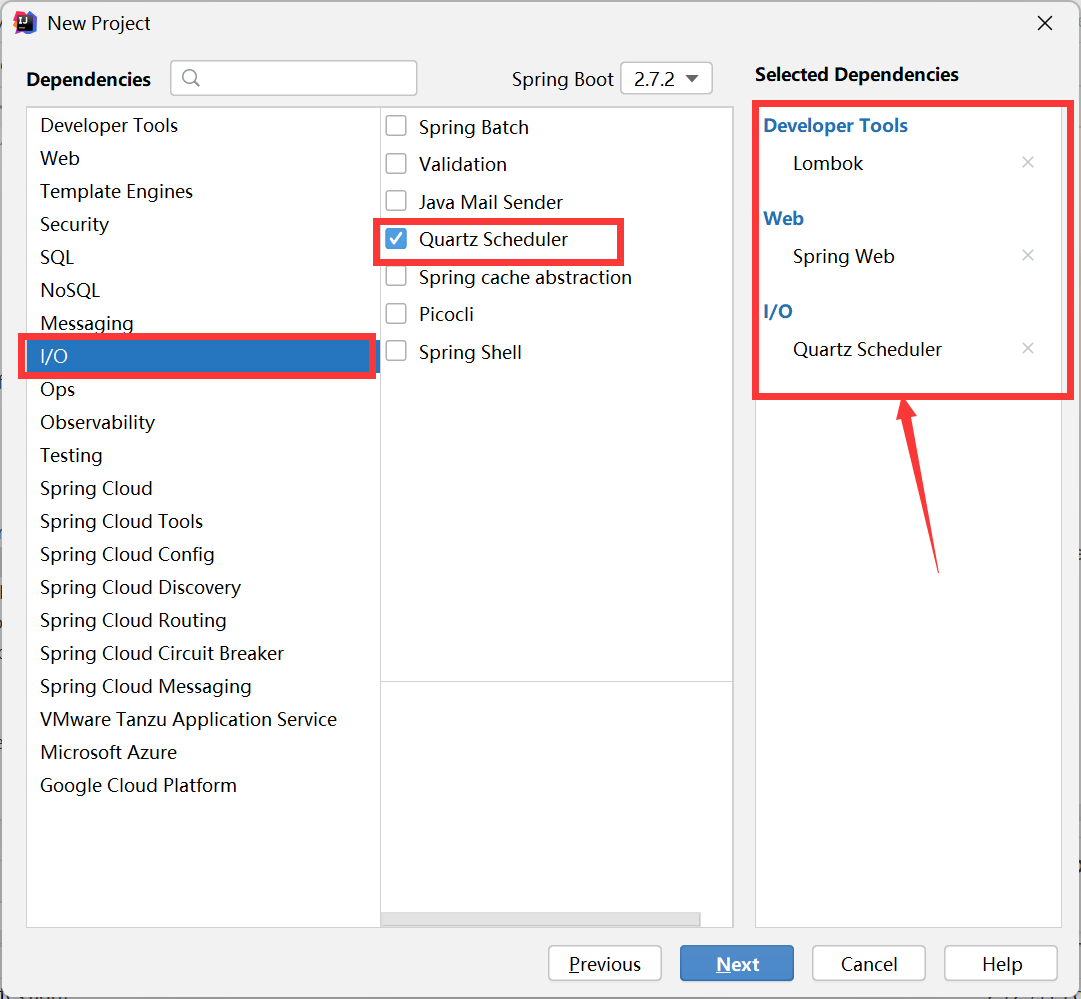
2.导入依赖
删除多余文件

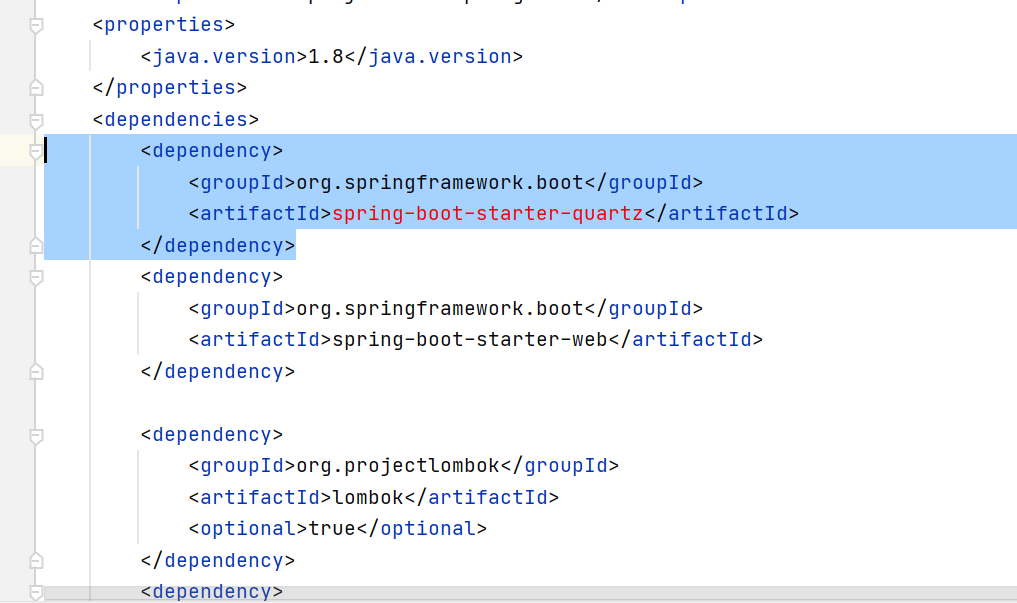
        <dependency>
            <groupId>org.springframework.boot</groupId>
            <artifactId>spring-boot-starter-quartz</artifactId>
        </dependency>
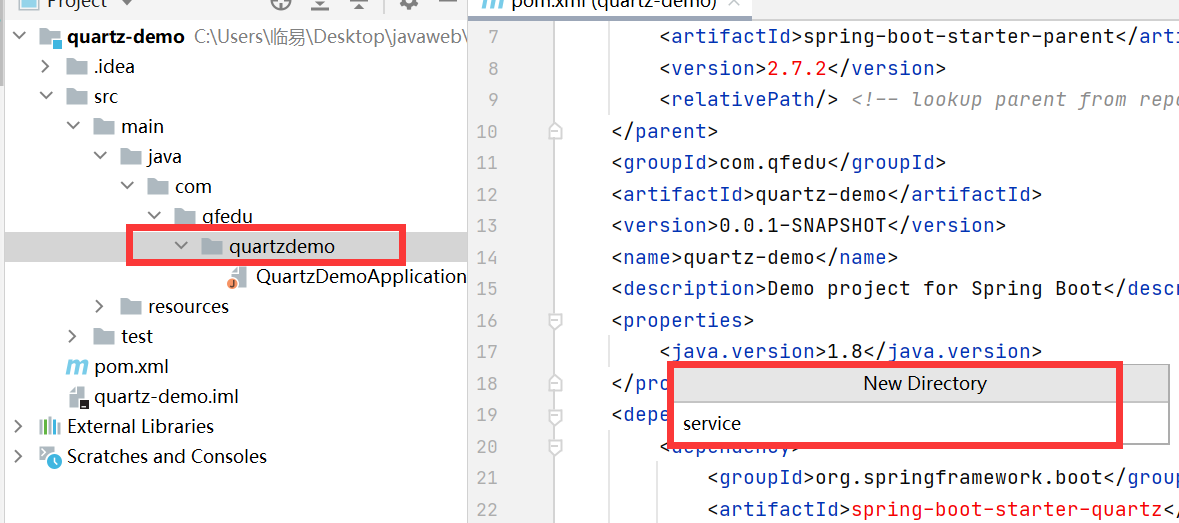
3.创建定时任务
定时任务:每隔指定的时间就执行一次任务。
案例:每隔三秒打印一次helloworld。
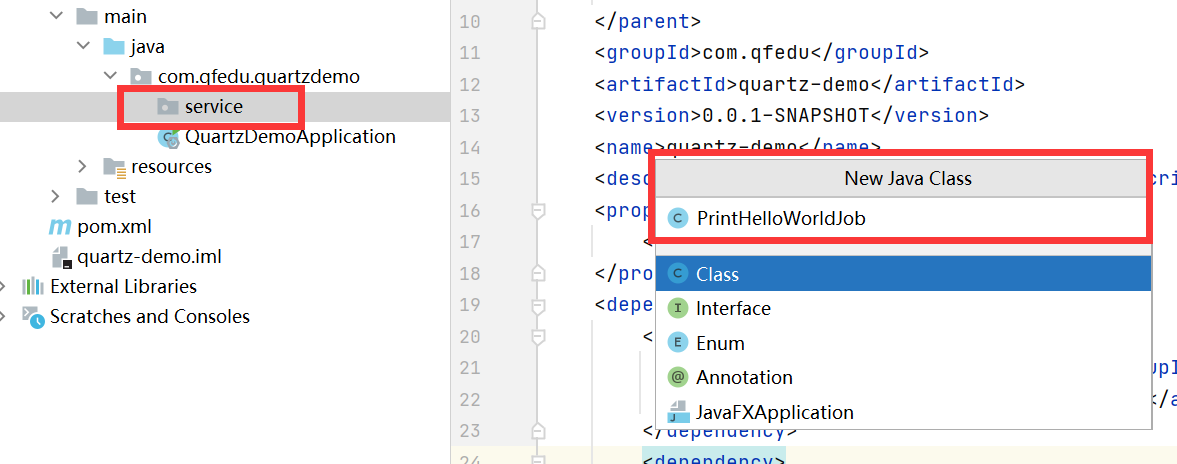
创建一个service包:
创建PrintHelloWorldJob类:
可以生成Scheduled中的定时语法的定时器网址:https://cron.qqe2.com/
PrintHelloWorldJob :
@Component
public class PrintHelloWorldJob {

    //https://cron.qqe2.com
    //生成器,可以生成Scheduled中的定时语法
    @Scheduled(cron = "0/3 * * * * ?")
    public void printHelloWorld(){
        System.out.println("----------HelloWorld.");
    }
}
Scheduled中的定时语法:
| 字段 | * | * | * | * | * | * |
| 含义 | 秒 | 分 | 小时 | 日 | 月 | 星期 |
| 取值 | 0-59 | 0-59 | 0-23 | 1-31 | 1-12或月份对应的 前三个英文字母(大小写均可) | 0-7(0、7表示周日)或星期对应的 前三个英文字母(大小写均可) |
| 允许的特殊字符 | , - * / | , - * / | , - * / | , - * / ? L | , - * / | , - * / ? L |
特殊字符含义:
| 特殊字符 | , | - | * | / | ? | L |
| 含义 | 枚举 | 区间 | 任意值 | 步长 | 日/星期冲突匹配符 | 最后 |
| 举例 | "1,3,5 * * * * *" 任意时间的1、3、5秒钟执行 | "0 0-5 14 * * ?" 每天14:00-14:05触发 | "0 0 12 * * ?" 每天12:00触发 | "0/5 * * * * *" 每5秒触发一次 | "0 * * 26 * ?" 每月的26日的每分钟执行 | "0 0 * L * ?" 每月最后一日的每一小时执行 |
application.properties:(由于商城项目已占用8080端口,所以修改新项目的端口为9999)
server.port=9999
在启动类上添加注解@EnableScheduling,启动定时任务:
@SpringBootApplication
@EnableScheduling
public class QuartzDemoApplication {

    public static void main(String[] args) {
        SpringApplication.run(QuartzDemoApplication.class, args);
    }

}
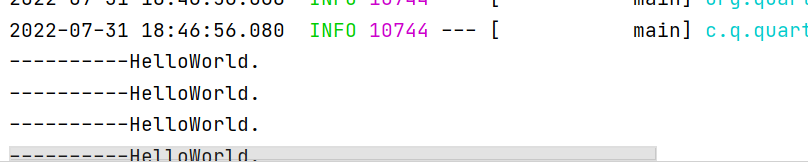
启动api,进行测试:


 295
295


 被折叠的 条评论
为什么被折叠?
被折叠的 条评论
为什么被折叠?
 到【灌水乐园】发言


