


首先用JFrame建立基础界面,并用main显示界面
    public void showUI(){
        int width=1280,height=720;
        setTitle ("图像处理v2.0");
        setSize (width, height);
        setDefaultCloseOperation (EXIT_ON_CLOSE);
        setLocationRelativeTo(null);
        setVisible (true);
    }
public static void main(String[] args){
lvjing imageProUI = new lvjing ();
imageProUI.showUI();
}先实现读取图片功能,创建getImagePixs类,读取图片每个像素点的rgb值到二维数组imgArr[][],传给paint方法来画出图片
    public int[][] getImagePixs(String imagePath){
// File BufferedImage ImageIO
// 根据传入的参数路径 创建一个File对象
        File file = new File (imagePath);
// 创建一个BufferedImage 对象变量名 ,切记不要创建对象
        BufferedImage buffImg = null;
//使用ImageIO 直接调用read方法 读取File对象
// 将读取的返回值数据对象存入buffimg中
        try {
            buffImg = ImageIO.read (file);
// 异常处理机制: 程序运行时可能会遇到一些特殊情况
        } catch (IOException e) {
            throw new RuntimeException (e);
        }
// 获取buffImg的宽高 创建一个空的二维数组
        int width = buffImg.getWidth ();
        int height = buffImg.getHeight ();
        int[][] imgArr = new int[width][height];
// 双重循环遍历 将buffImg中的像素值取出来存入数组中
        for(int i = 0; i < width; i++){
            for(int j = 0; j < height; j++){
                imgArr[i][j] = buffImg.getRGB(i, j);
            }
        }
        return imgArr;
    }
public void paint(Graphics g){
super.paint (g);
int[][] imgArr = getImagePixs ("图片路径");
int w = imgArr.length;
int h = imgArr[0].length;
int widthDifference=(width-w)/2;
int heightDifference=(height-h)/2;
// 原图
for(int i = 0; i < w; i++){
for(int j = 0; j < h; j++){
int rgb = imgArr[i][j];
Color color = new Color (rgb);
g.setColor (color);
g.fillRect (widthDifference+i,heightDifference+j, 1, 1);
}
}
}为了实现滤镜,我们只需修改rgb值
以下为经过不同修改后的效果
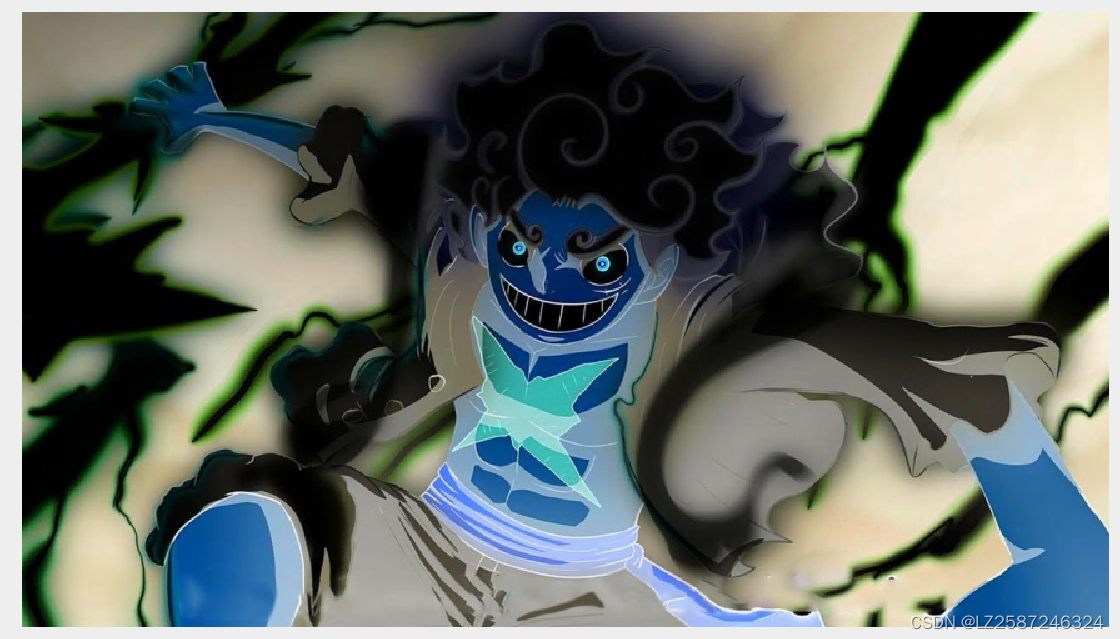
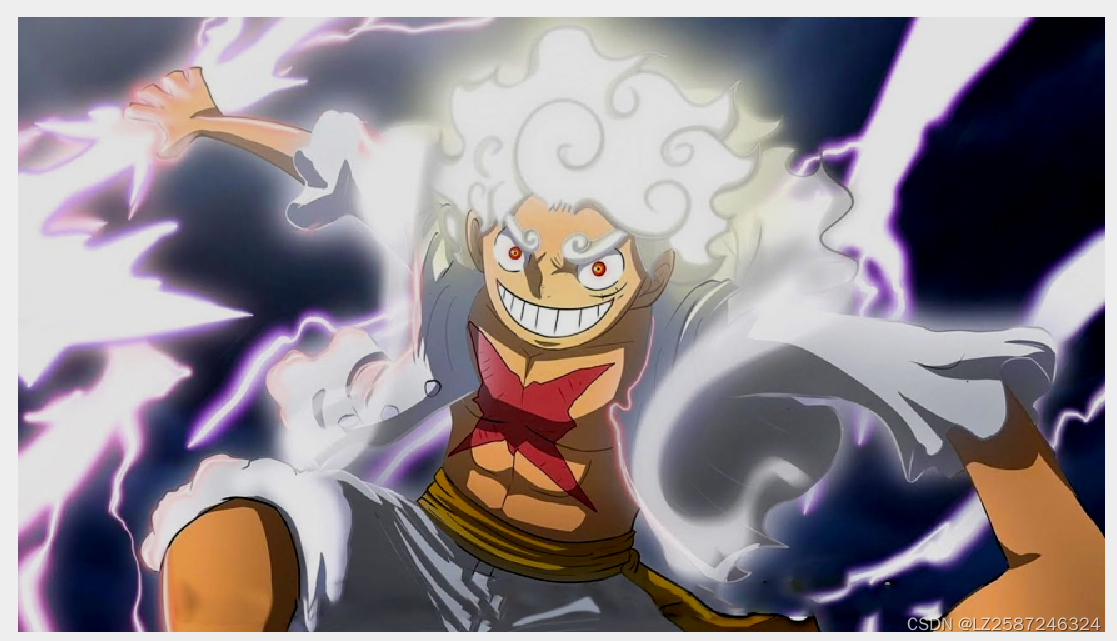
原图: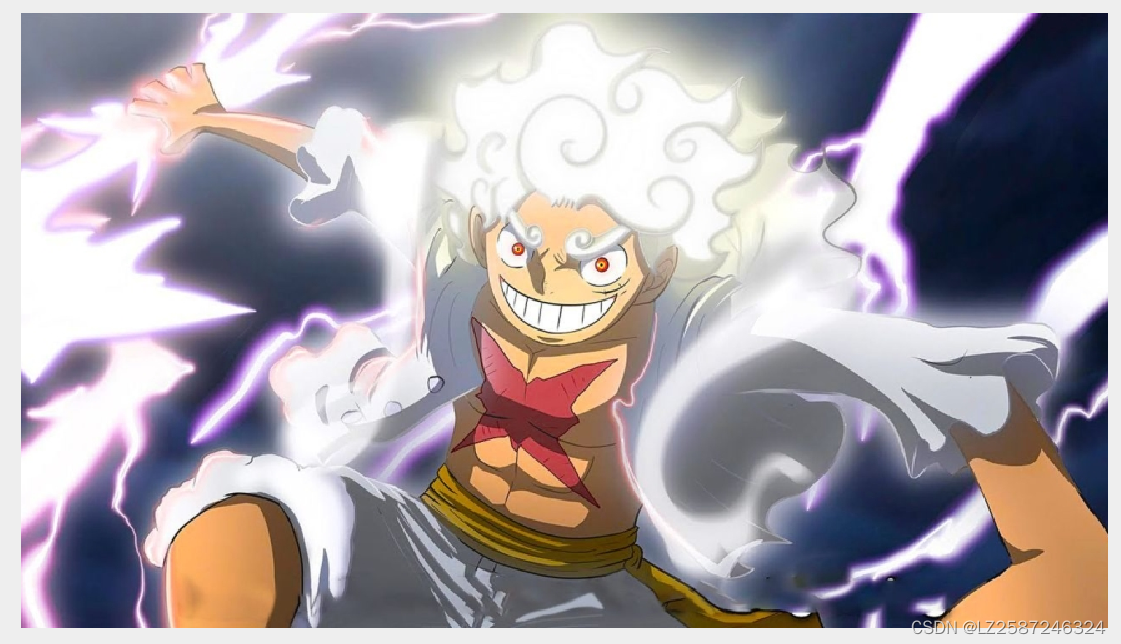
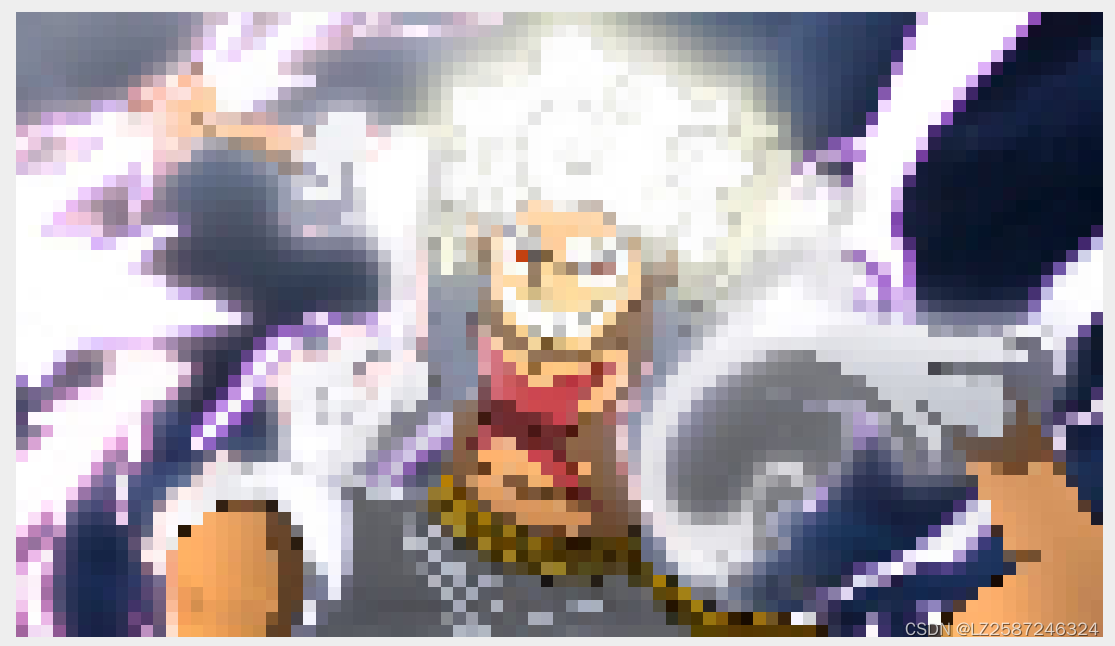
马赛克:读取和输出的间隔调为十倍
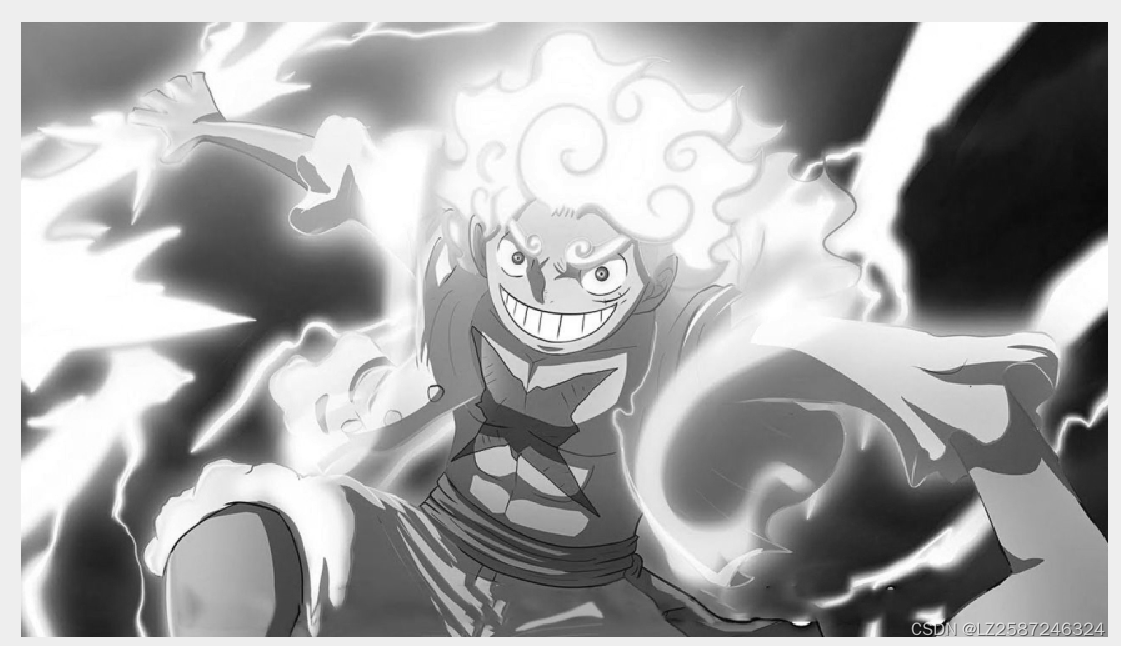
灰化:三原色调为同一个值 = red * 0.30 + green * 0.59 + blue * 0.11
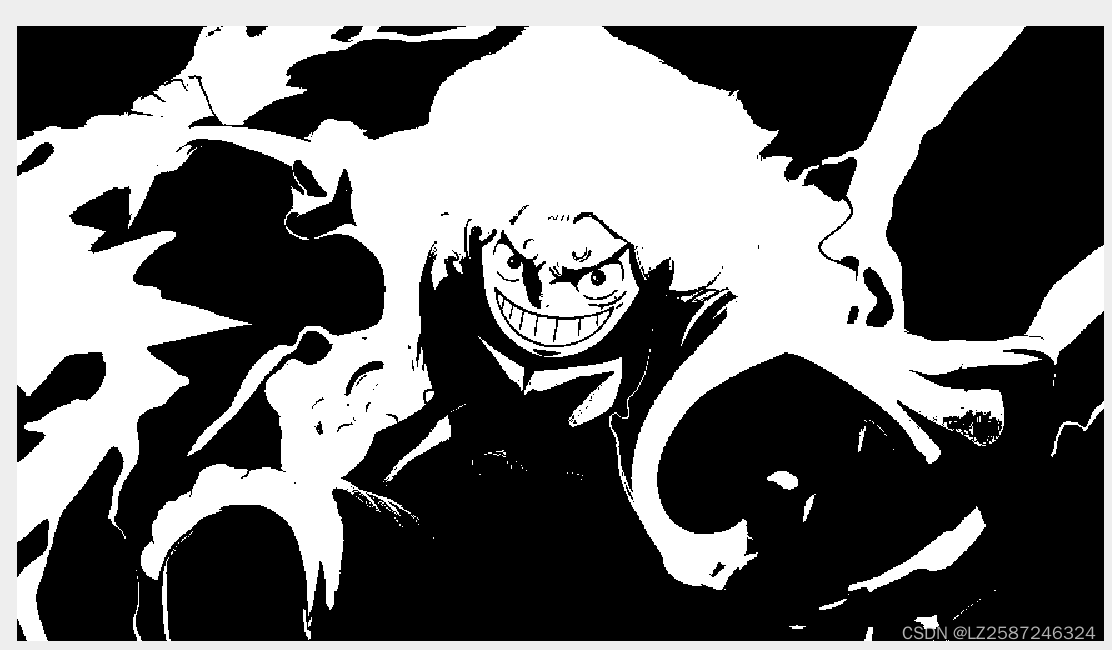
二值黑白:在灰化的基础上设置到达一定值改为白,没到达改为黑
if(gray < 200){
    g.setColor (Color.BLACK);
}else{
    g.setColor (Color.WHITE);
}
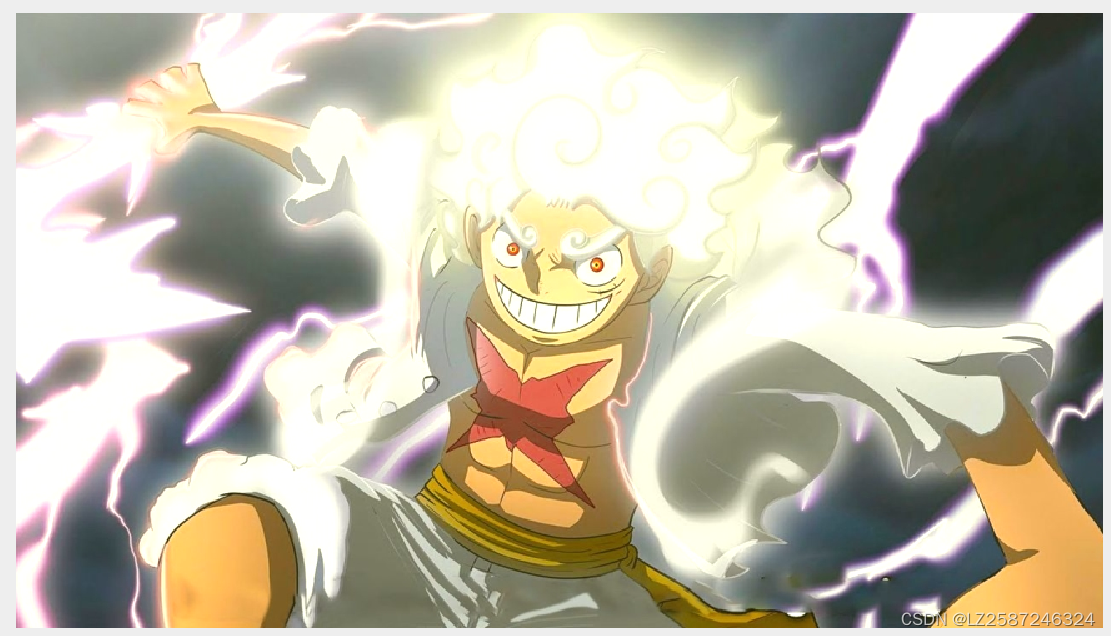
反片:《从路飞到黑胡子bushi》
Color color1 = new Color (255 - red, 255 - green, 255 - blue);
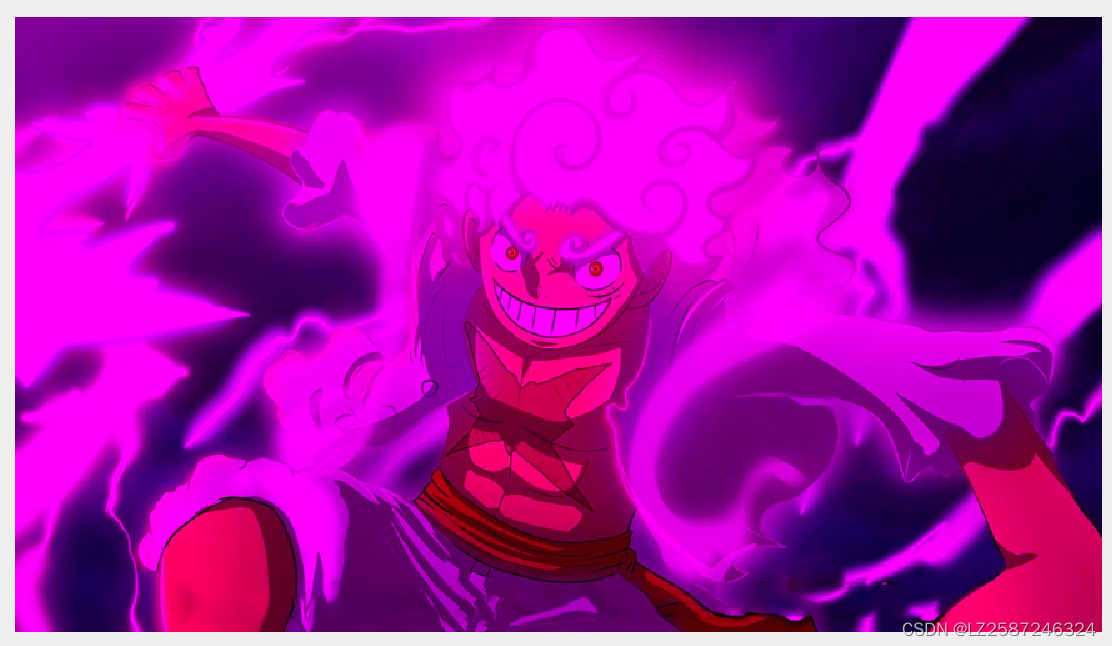
暖滤镜+反蓝:
                int yred = red + 30;
                if(yred > 255){
                    yred = 255;
                }
                int ygreen = green + 30;
                if(ygreen > 255){
                    ygreen = 255;
                }
                Color color1 = new Color (yred, ygreen, 255 - blue);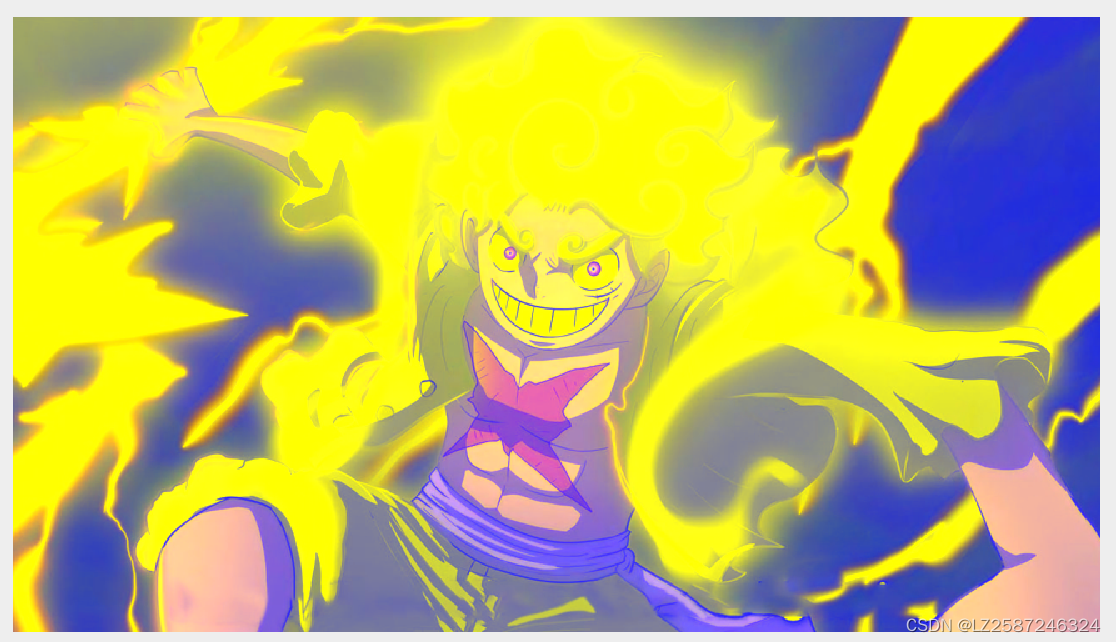
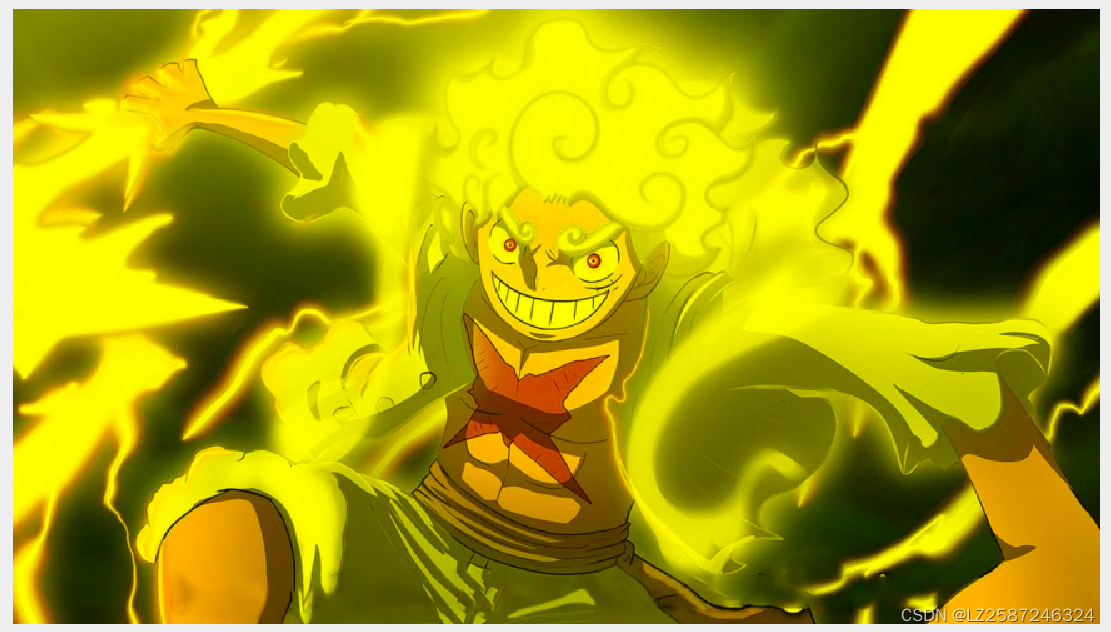
暖滤镜:红、绿加30
增亮:三原色全加30
增暗:三原色全减30
去红:红=0
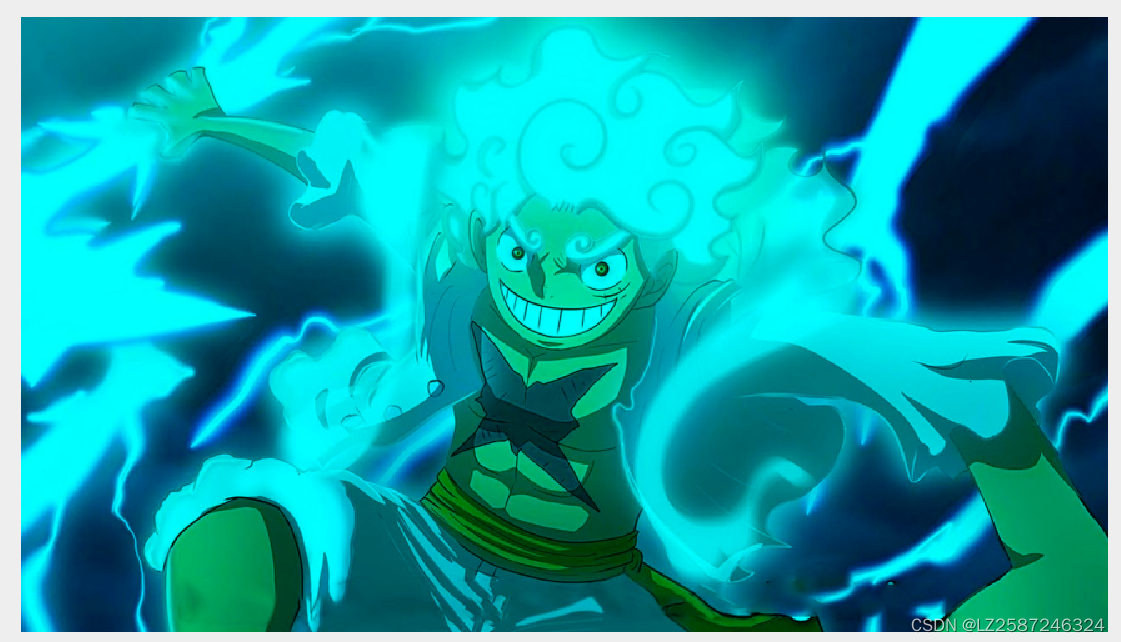
去绿:绿=0
去蓝:蓝=0


 651
651

 被折叠的 条评论
为什么被折叠?
被折叠的 条评论
为什么被折叠?
 到【灌水乐园】发言


