


目录
1、先配置三个centos7
VMware虚拟机部署k8s集群_vmware k8s-CSDN博客
就是网络部署部分不太清楚,正在自己探索
vmware网络部署
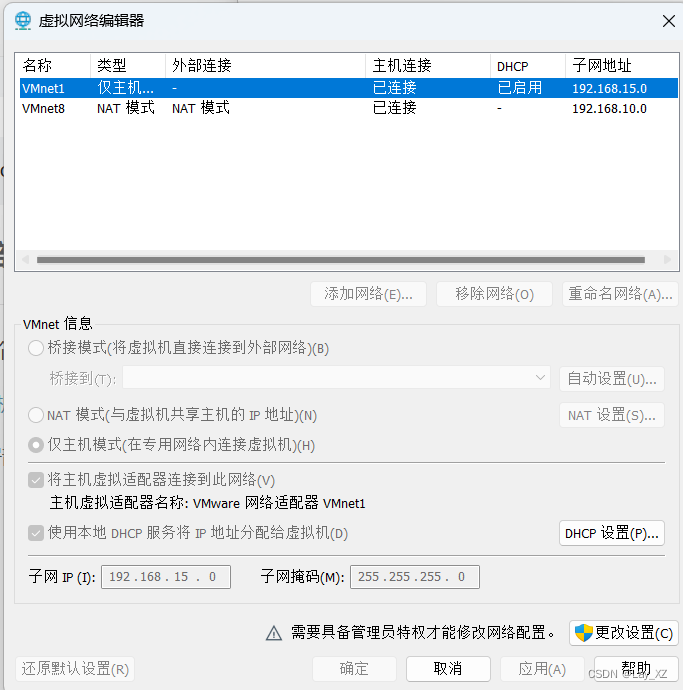
点击更改设置,取消使用本地dhcp服务
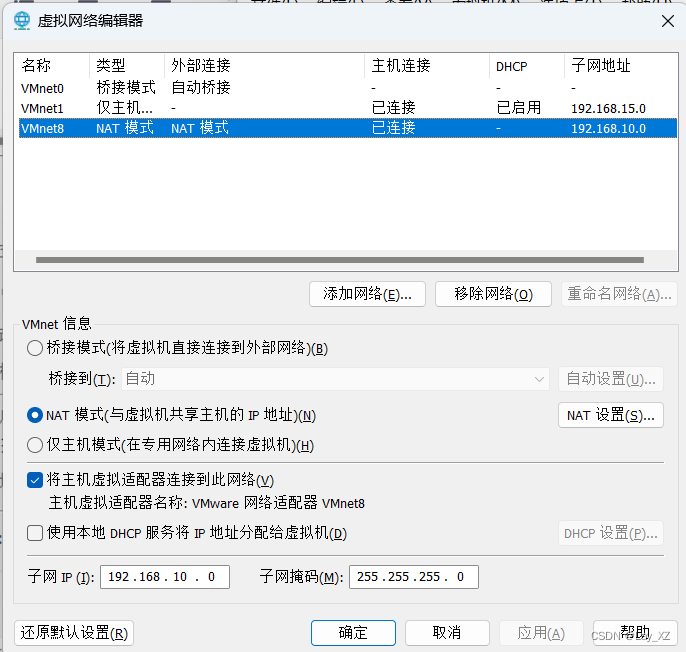
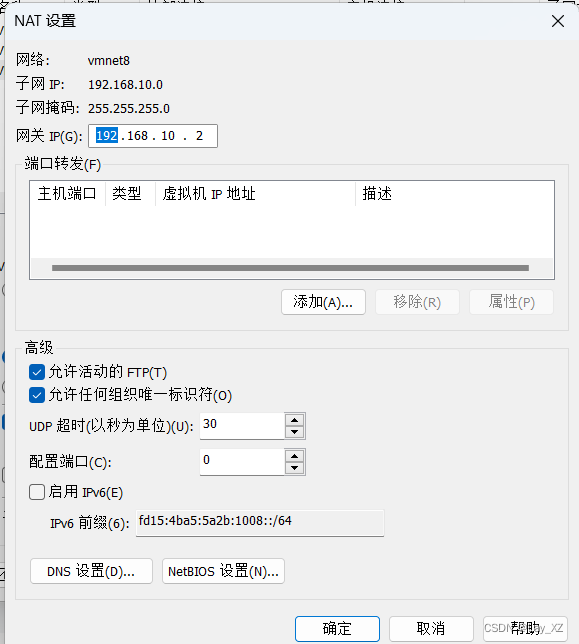
点击nat设置,配置网关和子网掩码,记住网关,等会儿三个虚拟机的ip不要用.2
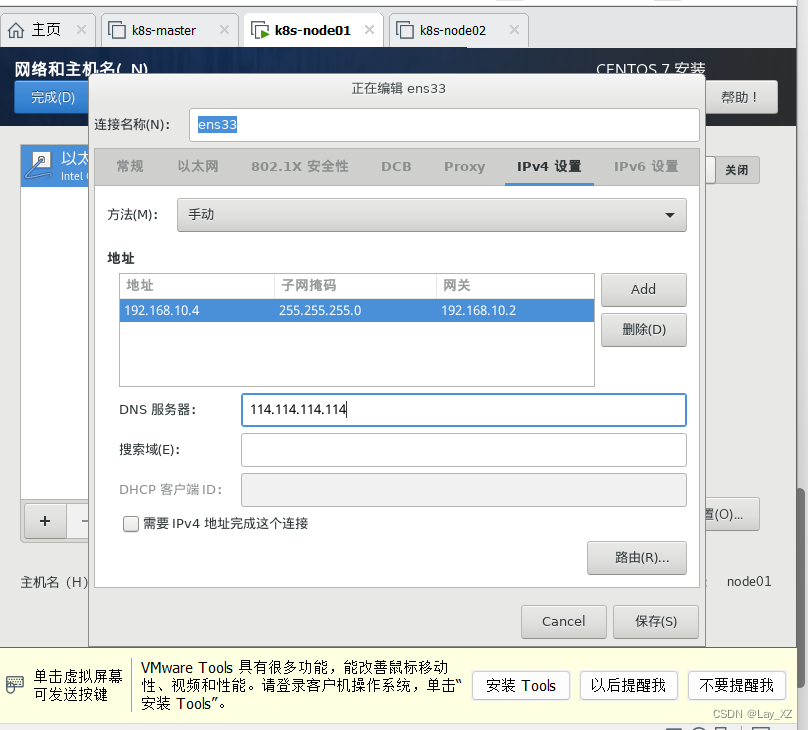
三个centos网络设置
网关就是设置的.2
我这样配置都是可以ping通的ping www.baidu.com
其他部分在前面的文章都很清楚
中途遇到了开启虚拟机就蓝屏的问题,已解决
关于VM一启动虚拟机电脑就重启或蓝屏的几个解决方法_vmware打开虚拟机就蓝屏重启-CSDN博客
2、安装vmwaretools(失败)
CentOS7安装VMware Tools_centos7安装tools-CSDN博客
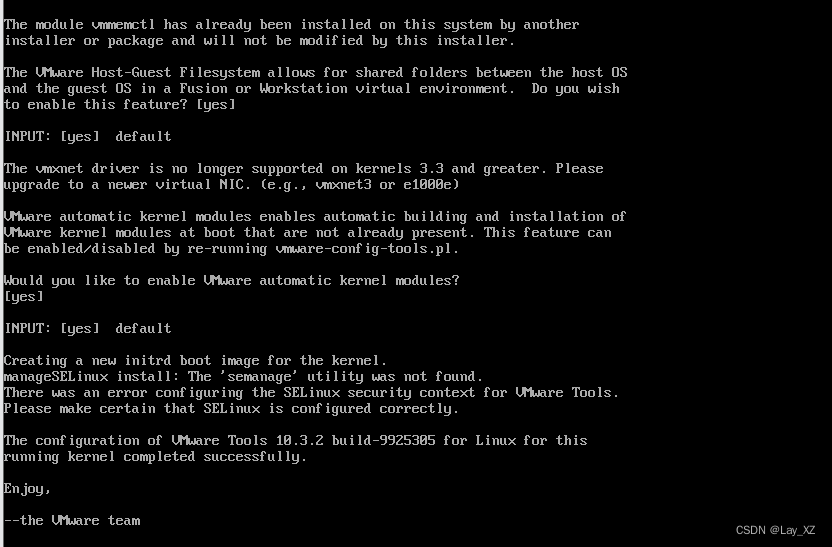
尝试安装了一个,本意是为了后面安装docker命令可以复制,但是安装也挺麻烦的,我还是老老实实自己手打,安装完了也不能复制粘贴,为什么!!!!!
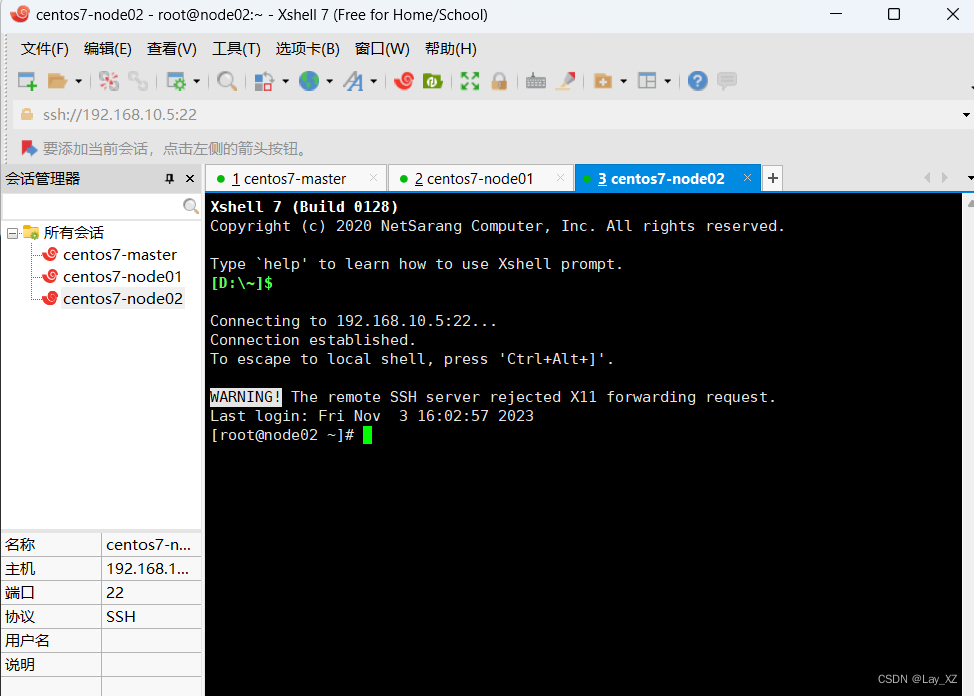
3、使用Xshell(成功)
受不了,试试用xshell吧
VMware 中Linux虚拟机连接Xshell 过程详解(以Xshell 6为例,图文并茂)_xshell连接虚拟机_王大雏的博客-CSDN博客
4、继续k8s部署(踩坑记录)
我的运行结果:
Your Kubernetes control-plane has initialized successfully!

To start using your cluster, you need to run the following as a regular user:

  mkdir -p $HOME/.kube
  sudo cp -i /etc/kubernetes/admin.conf $HOME/.kube/config
  sudo chown $(id -u):$(id -g) $HOME/.kube/config

Alternatively, if you are the root user, you can run:

  export KUBECONFIG=/etc/kubernetes/admin.conf

You should now deploy a pod network to the cluster.
Run "kubectl apply -f [podnetwork].yaml" with one of the options listed at:
  https://kubernetes.io/docs/concepts/cluster-administration/addons/

You can now join any number of control-plane nodes by copying certificate authorities
and service account keys on each node and then running the following as root:

  kubeadm join cluster-endpoint:6443 --token x83zge.fifgetlommlq09kz \
    --discovery-token-ca-cert-hash sha256:06ccc9d78ec78d35fc7b3a5db1b873dccc309988cc9a93c8a06df31e3a1382ba \
    --control-plane

Then you can join any number of worker nodes by running the following on each as root:

kubeadm join cluster-endpoint:6443 --token x83zge.fifgetlommlq09kz \
    --discovery-token-ca-cert-hash sha256:06ccc9d78ec78d35fc7b3a5db1b873dccc309988cc9a93c8a06df31e3a1382ba

在非主节点运行
kubeadm join cluster-endpoint:6443 --token x83zge.fifgetlommlq09kz \
    --discovery-token-ca-cert-hash sha256:06ccc9d78ec78d35fc7b3a5db1b873dccc309988cc9a93c8a06df31e3a1382ba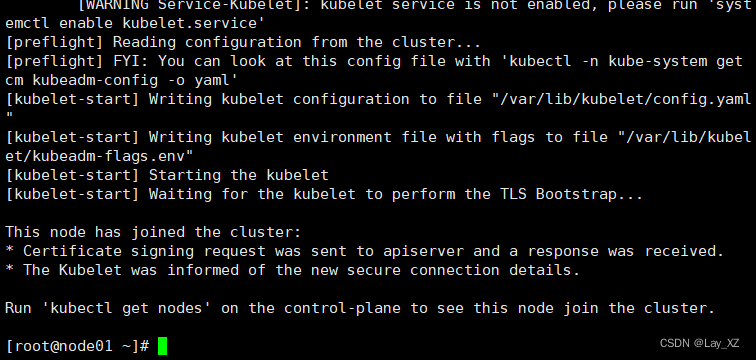
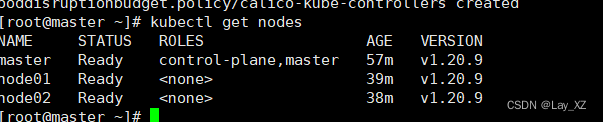
在master运行查看
kubectl get nodes
网络部署
出现这个错误就是版本不匹配
error: unable to recognize "calico.yaml": no matches for kind "PodDisruptionBudget" in version "policy/v1"
执行这个
curl https://docs.projectcalico.org/v3.20/manifests/calico.yaml -O
kubectl apply -f calico.yaml 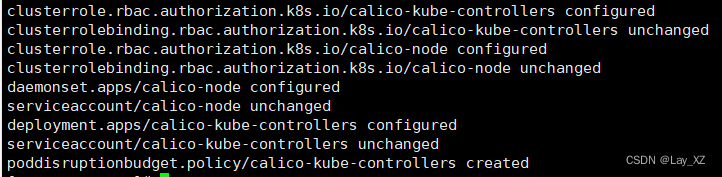
然后再查看所有节点,状态就对了
部署 k8s可视化界面dashboard
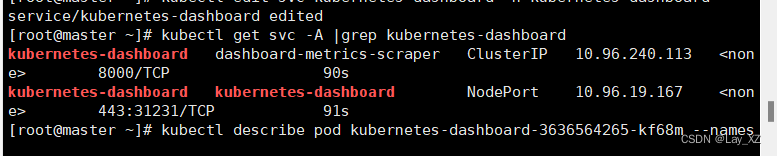
192.168.10.3访问不了
K8S的安装kubernetes-dashboard服务起来了,访问不到解决_k8s的dashboard页面访问不了-CSDN博客
有了有了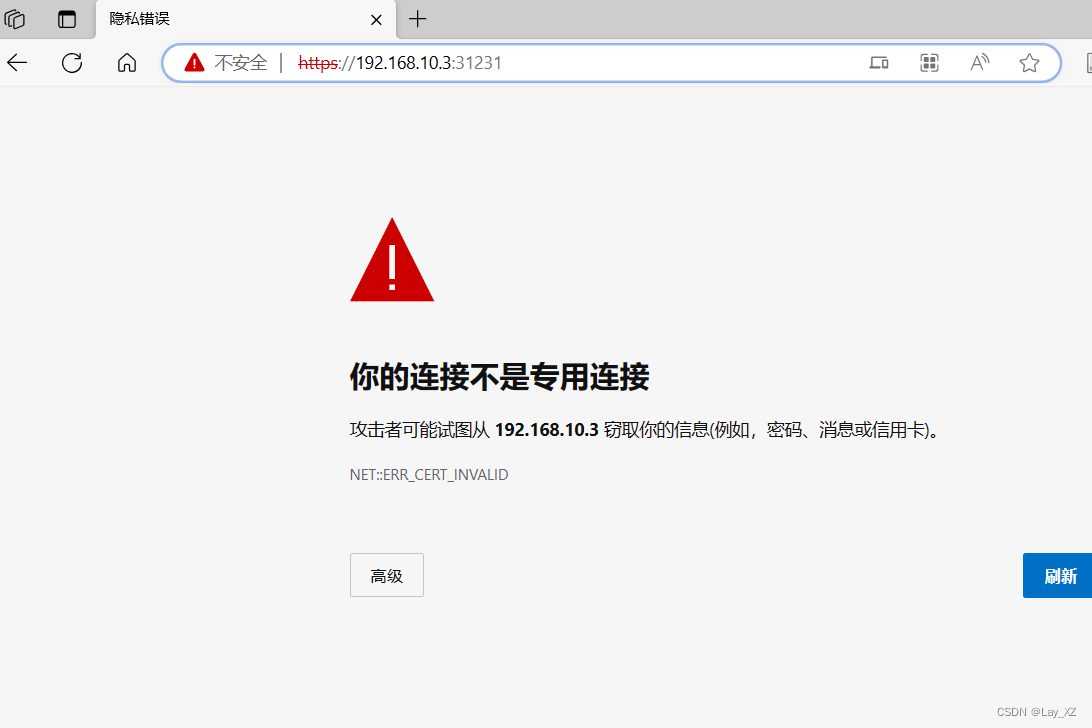
没有继续访问

、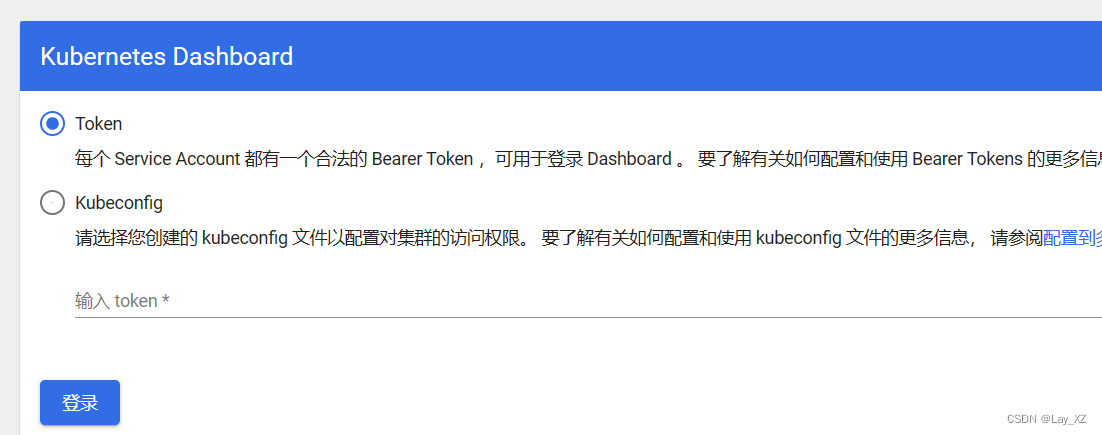
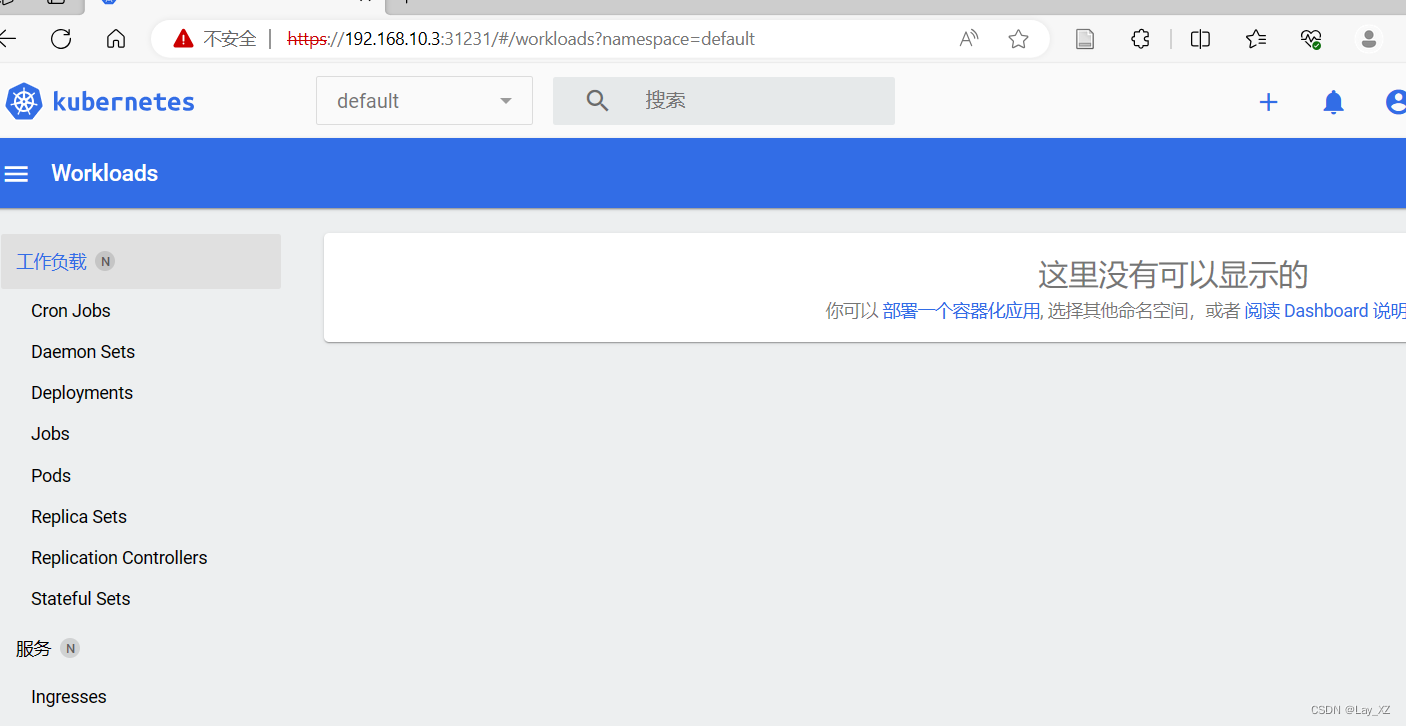
其他部分继续照着做,有界面但是没什么显示
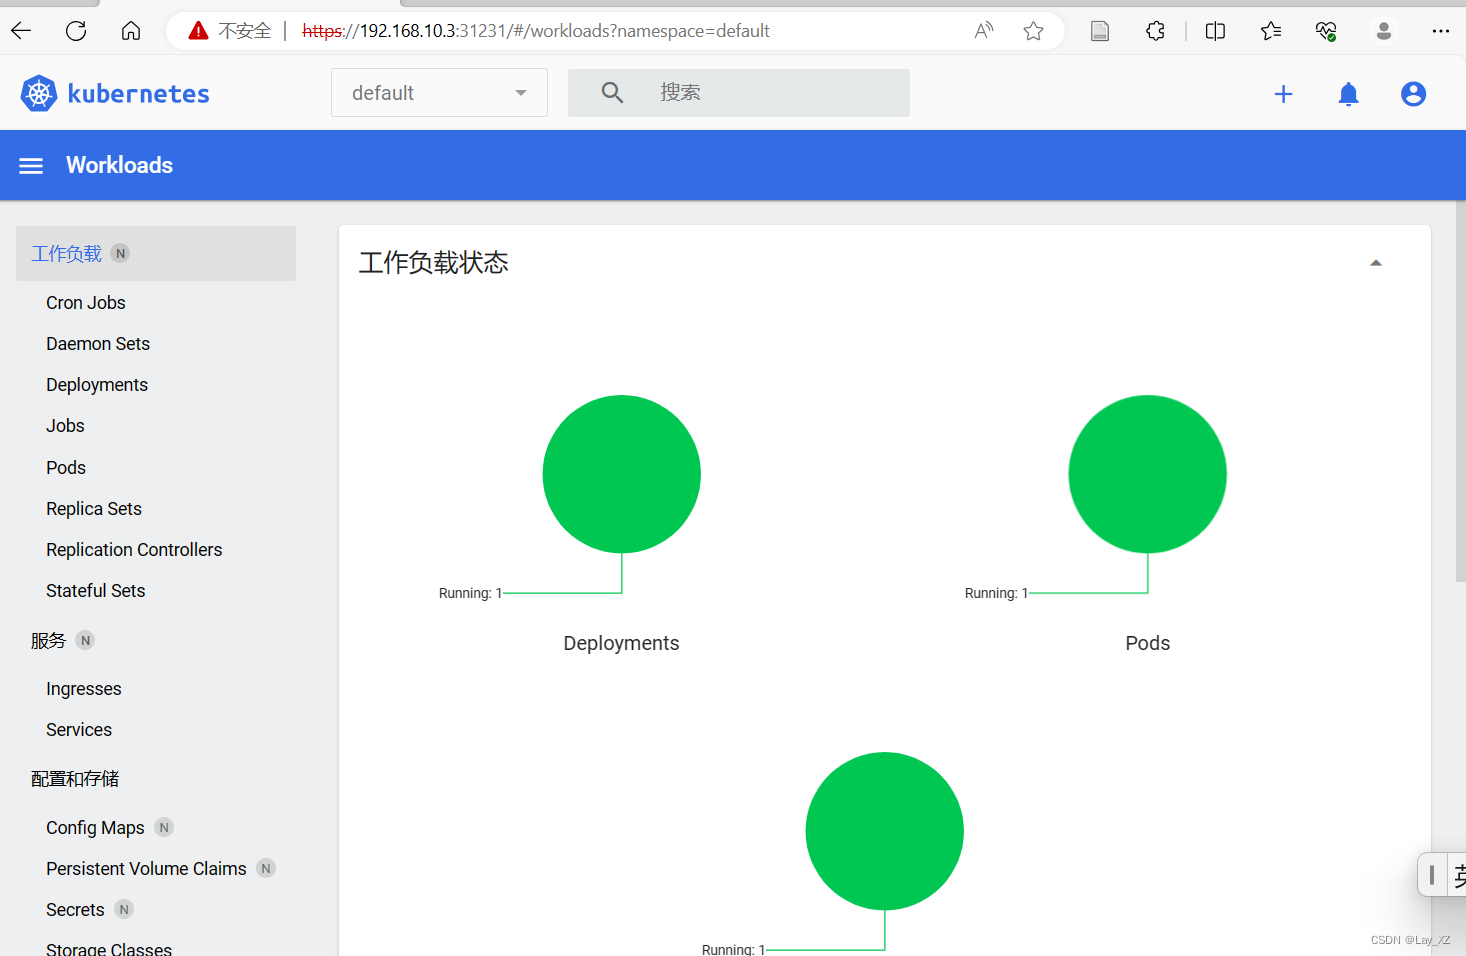
5、测试nginx
kubectl create deployment nginx --image=nginx
kubectl expose deployment nginx --port=80 --type=NodePort
kubectl get pod,svc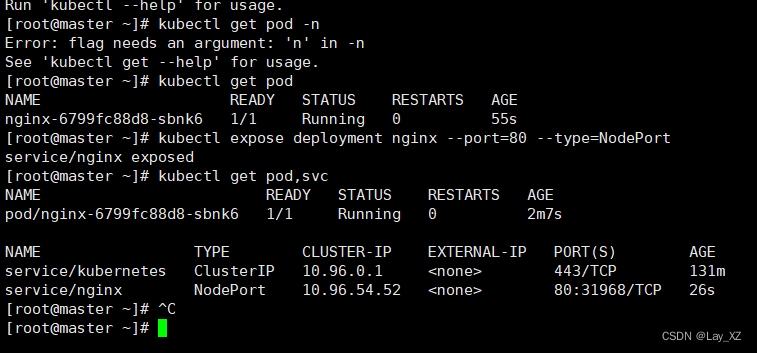


 被折叠的 条评论
为什么被折叠?
被折叠的 条评论
为什么被折叠?
 到【灌水乐园】发言


