


IOC容器
一、Bean管理
①Bean管理操作之FactoryBean
Spring中有两种类型的Bean,一种是普通Bean即在配置文件中bean标签定义是什么类型返回就是什么类型,一种是工厂Bean类型在配置文件中bean标签定义的一种类型而返回的是另一种类型,工厂Bean操作如下:
第一步,创建JavaBean并继承FactoryBean接口,实现其中的方法;
public class MyFactoryBean implements FactoryBean<Person> {

    @Override
    public Person getObject() throws Exception {

        ApplicationContext context = new ClassPathXmlApplicationContext("di5.xml");


        return (Person) context.getBean("person");
    }

    @Override
    public Class<?> getObjectType() {
        return null;
    }
}
第二步,在配置文件中配置该JavaBean;
    <bean id="myFactoryBean" class="com.lazy.di5.bean.MyFactoryBean"></bean>

    <bean id="person" class="com.lazy.di1.bean.Person">
        <property name="name" value="lazy"></property>
        <property name="id" value="1001"></property>
    </bean>
第三步,获取并调用对象;
②Bean管理操作之Bean的作用域
在默认情况下使用 ApplicationContext 对应在子接口的实现类的对象在调用 getBean 方法时获取到的对象为单例即为同一个对象,如果有需要可以在xml文件中配置相关属性改变其单例属性,演示如下:
        ApplicationContext context = new ClassPathXmlApplicationContext("di6.xml");

        Person person1 = (Person) context.getBean("person");

        Person person2 = (Person) context.getBean("person");

        System.out.println(person1 == person2);

在配置文件中修改相关属性:
    <bean id="person" class="com.lazy.di1.bean.Person" scope="prototype">
        <property name="name" value="lazy1"></property>
        <property name="id" value="1001"></property>
    </bean>
scope属性用来设置作用域,singleton值表示单例,prototype表示多例;
测试结果如下:

③Bean管理之Bean的生命周期
Bean的生命周期的七个过程:
(1)使用构造器创建Bean实例(无参构造器);
(2)为Bean的属性设置值和应用其他Bean的实例;
(3)在调用Bean的初始化方法之前的后置处理器调用方法;
(4)调用Bean的初始化方法;
(5)在调用Bean的初始方法法之后的后置处理器调用方法;
(6)Bean实例被调用;
(7)Bean实例被销毁;
需要再配置文件中配置相关的初始化方法、销毁方法以及对应的传递处理器:
    <bean id="person" class="com.lazy.di7.bean.Person" init-method="initMethod" destroy-method="destroyMethod">
        <property name="name" value="lazy"></property>
        <property name="id" value="1001"></property>
    </bean>

    <!-- 该处理器为所有Bean通用 -->
    <bean id="myPostProcess" class="com.lazy.di7.bean.MyProcess"></bean>
Bean的代码如下:
public class Person {

    private String name;
    private Integer id;

    public Person() {
        System.out.println("第一步");
    }

    public String getName() {
        return name;
    }

    public void setName(String name) {
        System.out.println("第二步");
        this.name = name;
    }

    public Integer getId() {
        return id;
    }

    public void setId(Integer id) {
        this.id = id;
    }


    public void initMethod(){
        System.out.println("第三步");
    }

    public void destroyMethod(){
        System.out.println("第五步");
    }
}
传递处理器的代码如下:
public class MyProcess implements BeanPostProcessor {

    @Override
    public Object postProcessBeforeInitialization(Object bean, String beanName) throws BeansException {
        System.out.println("第三步之前");
        return null;
    }

    @Override
    public Object postProcessAfterInitialization(Object bean, String beanName) throws BeansException {
        System.out.println("第三步之后");
        return null;
    }
}
④Bean管理操作之自动装配
自动装配是指,再配置文件中能够根据某些只来为属性注入值,一般常见的有根据名称注入byName和根据属性注入byType两种:
第一种:
    <bean id="person" class="com.lazy.di8.bean.Person" autowire="byName">
        <!-- 根据名称注入要注意的是外部bean的名称要与你属性的名称想同 -->
        <property name="name" value="lazy"></property>
    </bean>

    <bean id="car" class="com.lazy.di8.bean.Car">
        <property name="brand" value="auto"></property>
    </bean>
第二种:
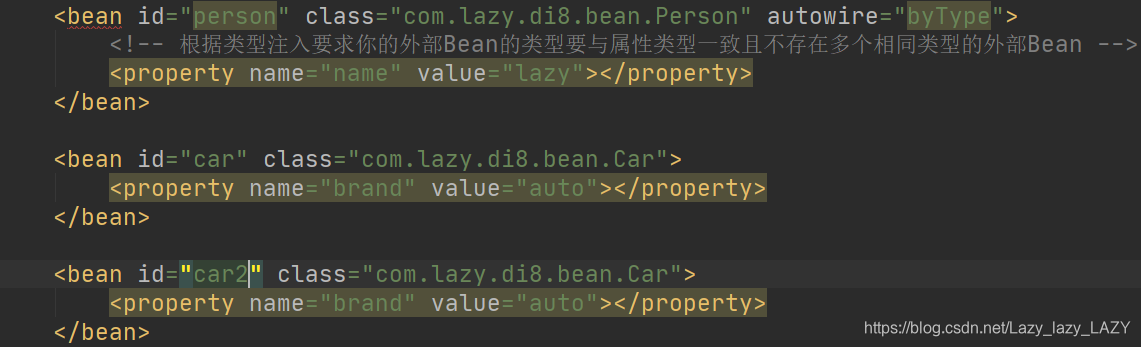
    <bean id="person" class="com.lazy.di8.bean.Person" autowire="byType">
        <!-- 根据类型注入要求你的外部Bean的类型要与属性类型一致且不存在多个相同类型的外部Bean -->
        <property name="name" value="lazy"></property>
    </bean>

    <bean id="car" class="com.lazy.di8.bean.Car">
        <property name="brand" value="auto"></property>
    </bean>
⑤Bean管理之外部文件引用
在配置一些信息如数据库信息时,我们常常将一些固定的信息如用户名、密码等信息放在一个properties文件中而不是放在代码中,IOC也提供了相关操作:
配置相关的命名空间:
<?xml version="1.0" encoding="UTF-8"?>
<beans xmlns="http://www.springframework.org/schema/beans"
       xmlns:xsi="http://www.w3.org/2001/XMLSchema-instance"
       xmlns:context="http://www.springframework.org/schema/context"
       xsi:schemaLocation="
       http://www.springframework.org/schema/beans http://www.springframework.org/schema/beans/spring-beans.xsd
       http://www.springframework.org/schema/context http://www.springframework.org/schema/context/spring-context.xsd
">
在xml文件中引用配置:
<context:property-placeholder location="classpath:jdbc.properties"></context:property-placeholder>
在xml文件中创建对象:
    <bean id="dataSource" class="com.alibaba.druid.pool.DruidDataSource">
        <property name="driverClassName" value="${pro.driverClassName}"></property>
        <property name="url" value="${pro.url}"></property>
        <property name="username" value="${pro.username}"></property>
        <property name="password" value="${pro.password}"></property>
    bean>


 被折叠的 条评论
为什么被折叠?
被折叠的 条评论
为什么被折叠?
 到【灌水乐园】发言


