


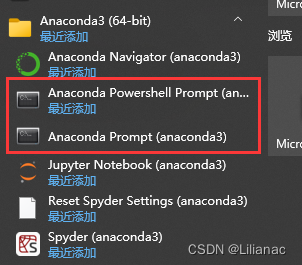
一、Anaconda下载安装
建议: 由于anaconda中自带python,因此,在安装anaconda之前,把系统中安装python卸载掉。
1. 下载
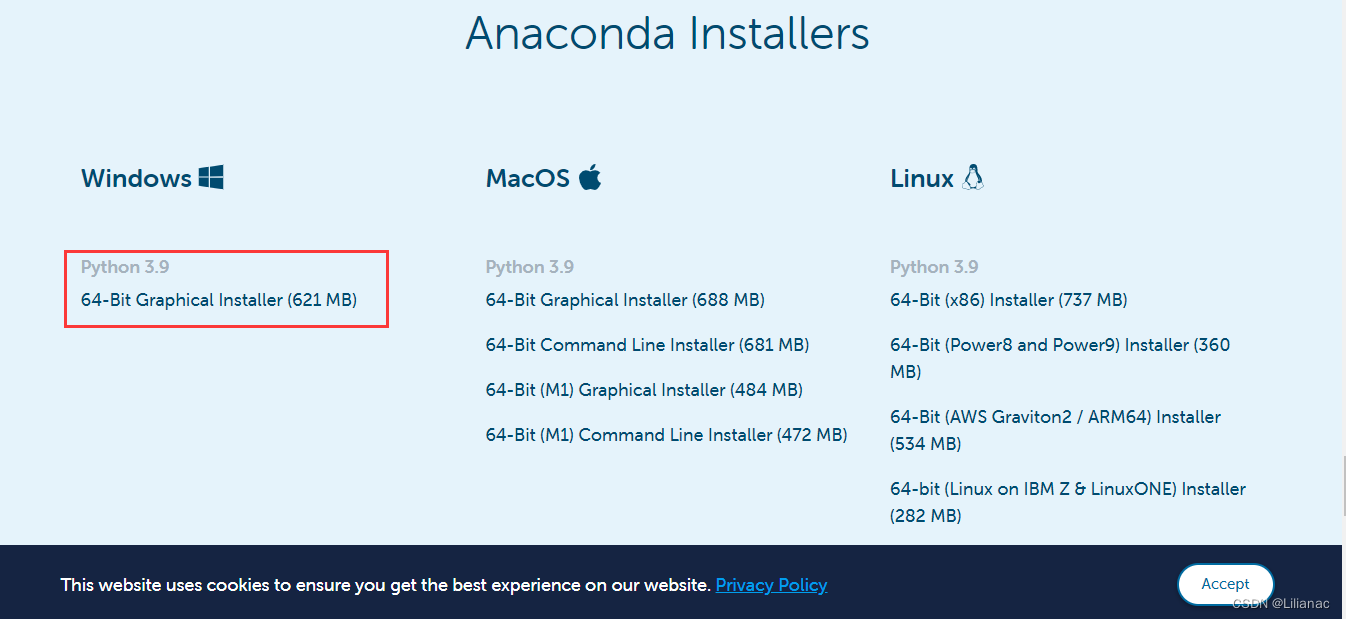
官网下载地址anaconda, 下拉到最后, 找到相应的版本下载后安装
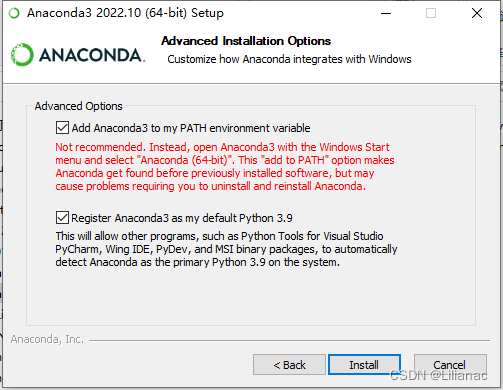
安装进行到这一步,第一个是自动配置环境变量,第二个是设置anaconda中的python为我们默认python环境,我这里全部选上,然后后面直接点下一步就行
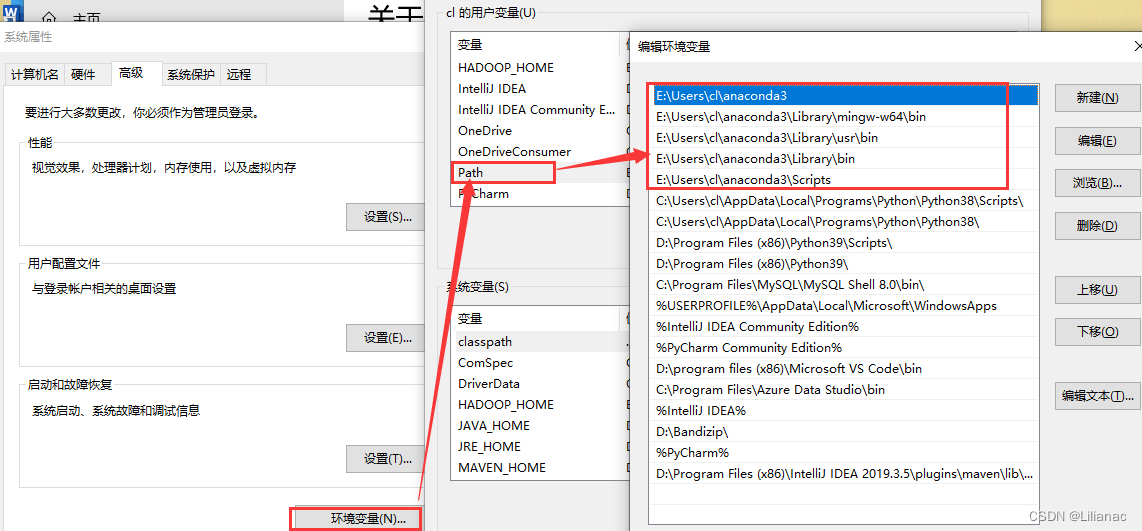
配置环境变量, 我们检查一下是否配置好,因为我安装的时候选择的是“Just me”,所以环境变量配置在了用户中
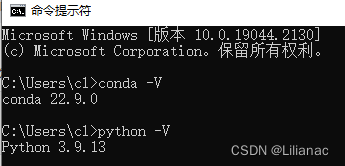
验证是否安装成功,打开cmd,输入命令conda -V, python -V
2. 环境的基本使用
在使用之前, 我们先修改anaconda的源: C:\Users\用户名\.condarc, 将下面复制进去, 没有该文件先查看自己是否设置了显示隐藏文件,如果还是没有可以自己添加
channels:
  - defaults
show_channel_urls: true
channel_alias: https://mirrors.tuna.tsinghua.edu.cn/anaconda
default_channels:
  - https://mirrors.tuna.tsinghua.edu.cn/anaconda/pkgs/main
  - https://mirrors.tuna.tsinghua.edu.cn/anaconda/pkgs/free
  - https://mirrors.tuna.tsinghua.edu.cn/anaconda/pkgs/r
  - https://mirrors.tuna.tsinghua.edu.cn/anaconda/pkgs/pro
  - https://mirrors.tuna.tsinghua.edu.cn/anaconda/pkgs/msys2
custom_channels:
  conda-forge: https://mirrors.tuna.tsinghua.edu.cn/anaconda/cloud
  msys2: https://mirrors.tuna.tsinghua.edu.cn/anaconda/cloud
  bioconda: https://mirrors.tuna.tsinghua.edu.cn/anaconda/cloud
  menpo: https://mirrors.tuna.tsinghua.edu.cn/anaconda/cloud
  pytorch: https://mirrors.tuna.tsinghua.edu.cn/anaconda/cloud
  simpleitk: https://mirrors.tuna.tsinghua.edu.cn/anaconda/cloud
打开环境, 两个随便点击一个即可
查看conda中常用的命令
conda
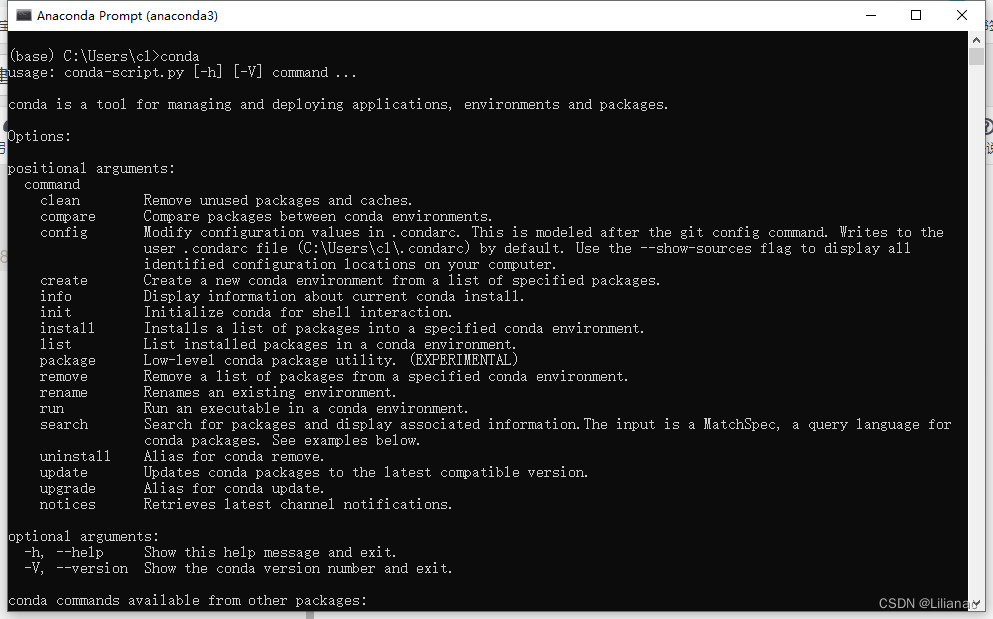
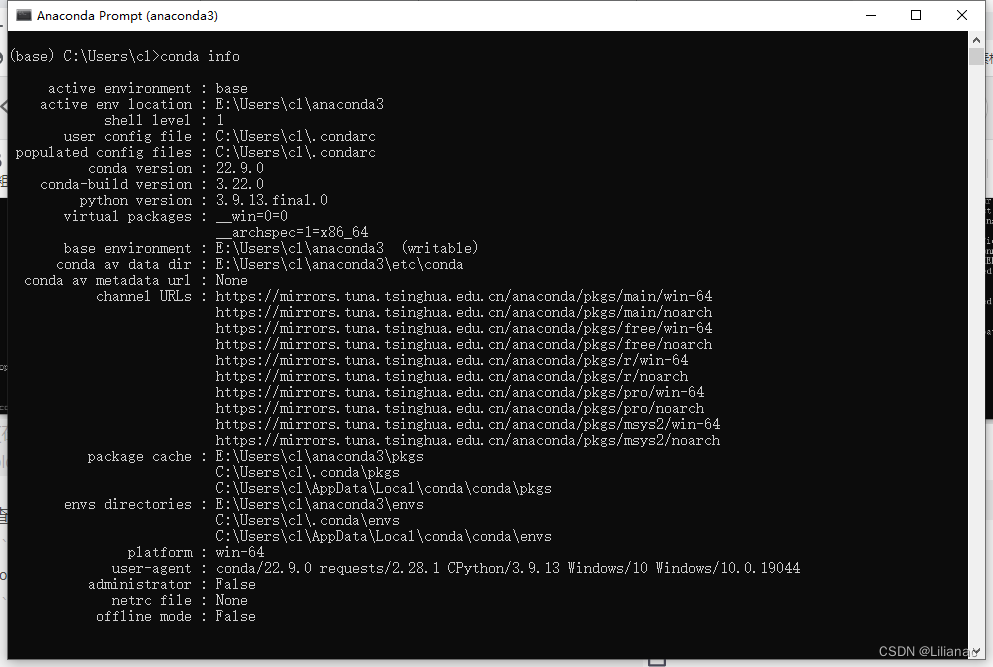
查看conda相关信息
conda info
查看conda中所有的包
conda list

查看conda中是否安装指定的包
conda list matplotlib
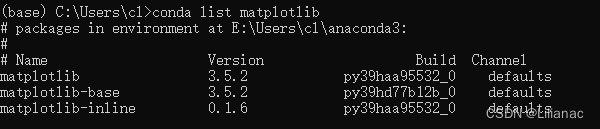
这里我们也可以看出matplotlib的版本为3.5.2, 而matplotlib官网中的版本为3.6.0,因此我们在使用时要注意版本不同导致兼容性问题
从conda仓库中搜索指定的包
conda search matplotlib
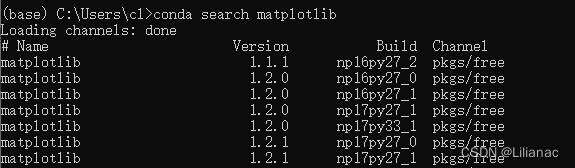
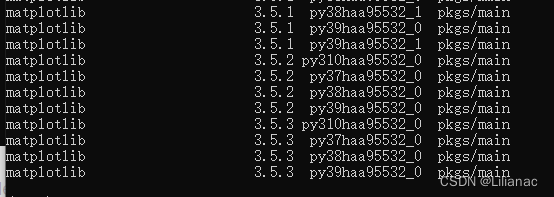
这里可以看出conda仓库中最新的matplotlib版本是3.5.3
安装指定的包 / 指定版本的包
conda install -n base matplotlib
conda install -n base matplotlib=3.5.3
卸载指定版本的包
conda uninstall matplotlib=3.5.3
conda remove matplotlib=3.5.3
更新包
conda upgrade -n base matplotlib
conda update -n base matplotlib
创建虚拟环境
conda create
二、使用matplotlib完成数据可视化
matplotlib是python的一个综合库,用来绘制静态的、动态的和交互的可视化图表。一般在科研中用的比较多
1. 使用PyCharm
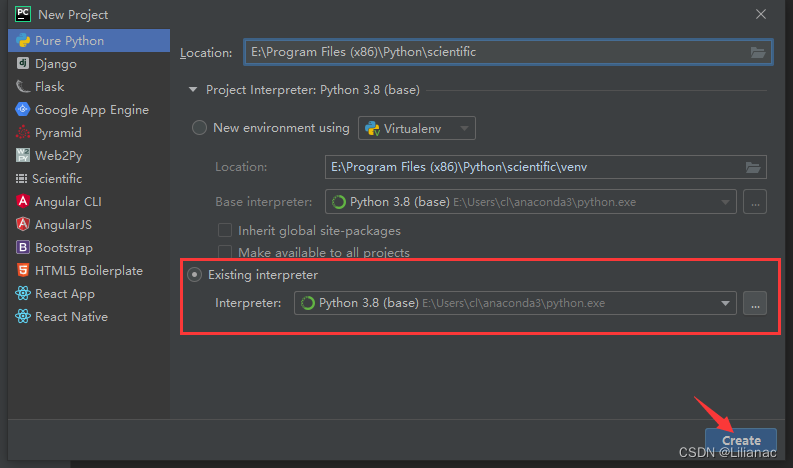
1. 搭建环境
- 修改字段编码格式 : File->Other Settings->Settings for other project

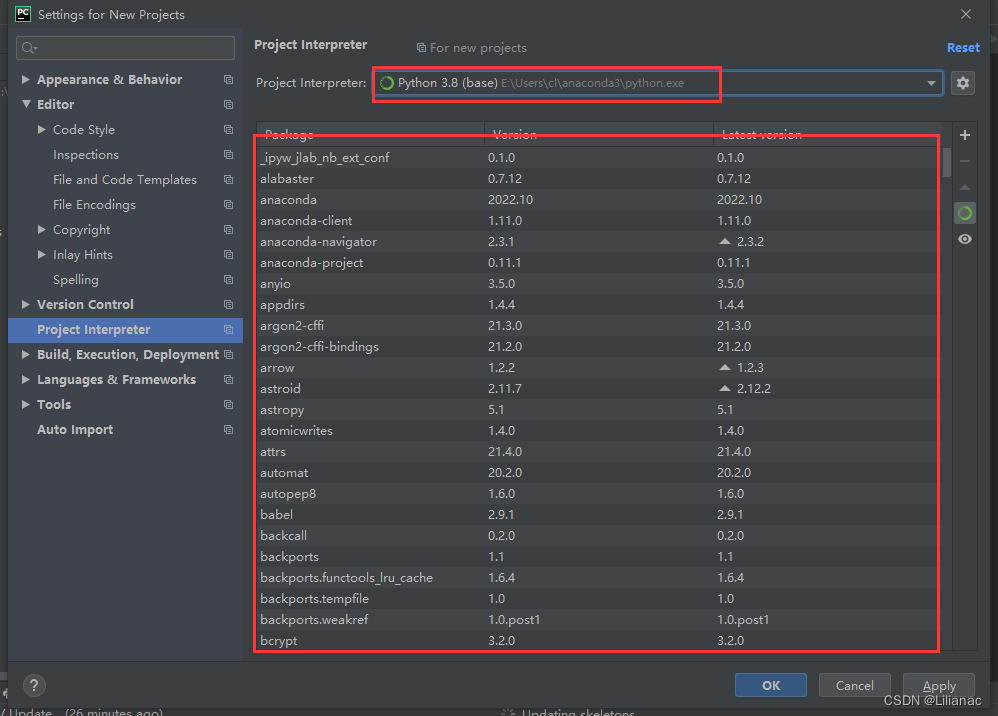
- 添加 Python Interpreter
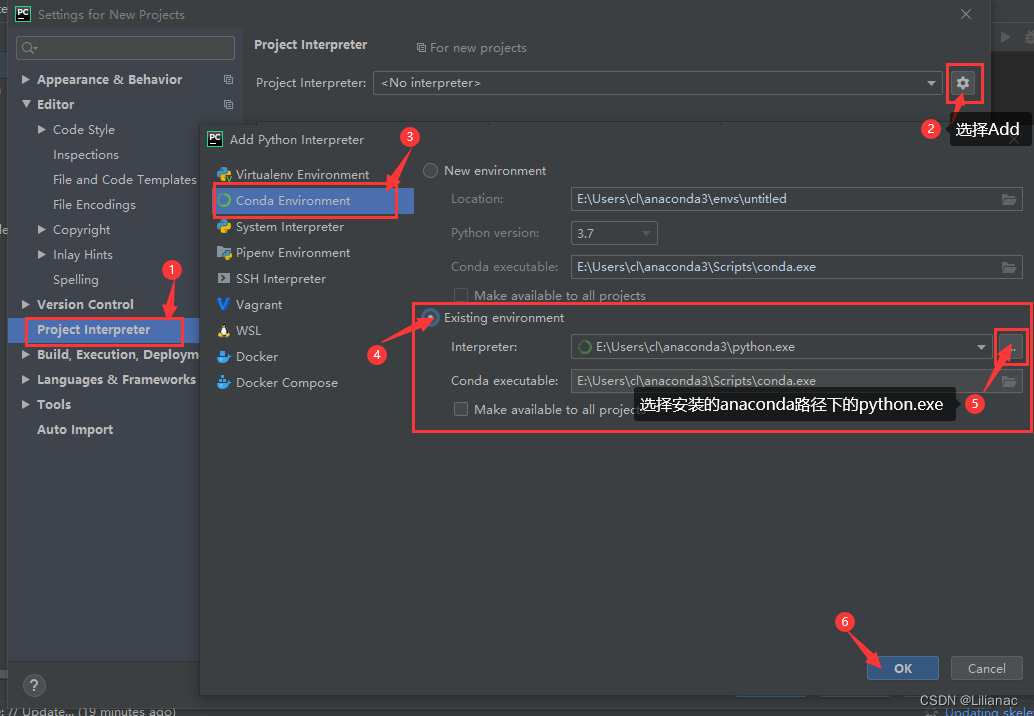
- 创建项目
2. 编写代码
先创建包Python Package,然后创建Python File,最后编写代码
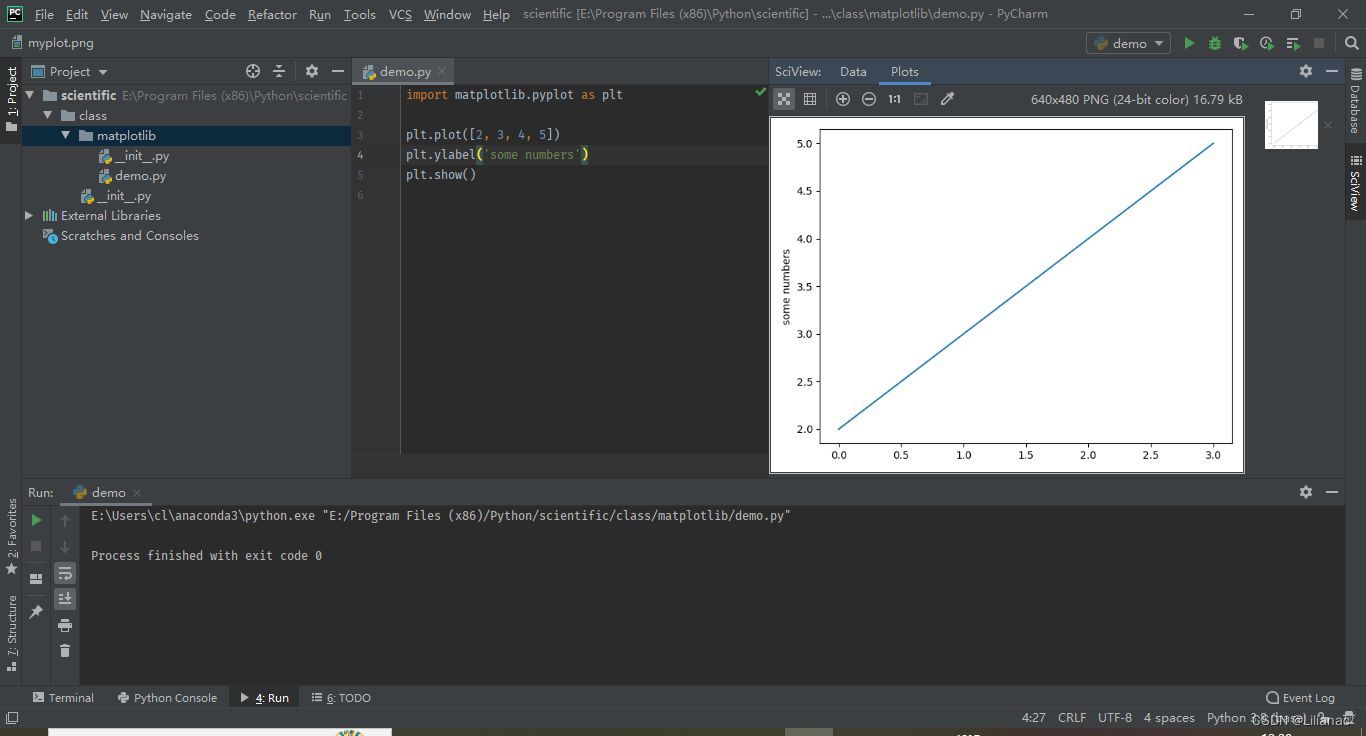
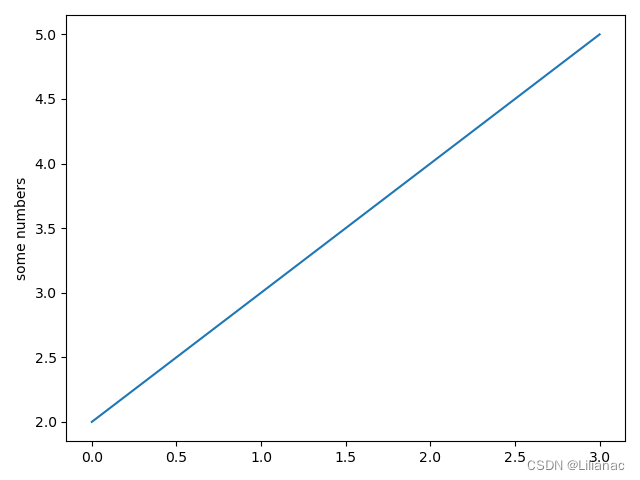
import matplotlib.pyplot as plt

plt.plot([2, 3, 4, 5])
plt.ylabel('some numbers')
plt.show()
2. 使用Jupyter Notebook
我们还可以使用Jupyter Notebook进行学习, 他是基于网页的用于交互计算的应用程序, 其可被应用于全过程的计算: 开发、文档编写、运行代码和展示结果,简言之,Jupyter Notebook是以网页的形式打开并可以在网页中直接编写代码和运行代码,代码的运行结果也会直接在代码块下显示的程序。如在编程过程中需要编写说明文档,可在同一个页面中直接编写,便于进行及时的说明和解释。
Jupyter Notebook中所有交互计算、编写说明文档、数学公式、图片以及其他富媒体形式的输入和输出,都是以文档的形式体现。这些文档是保存为扩展名为.ipynb的JSON格式文件, 此外,文档还可以导出为HTML、LaTex、PDF等格式
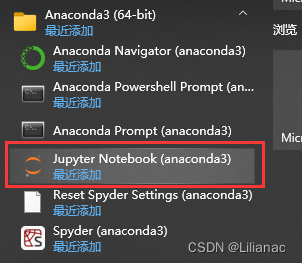
打开Jupyter Notebook
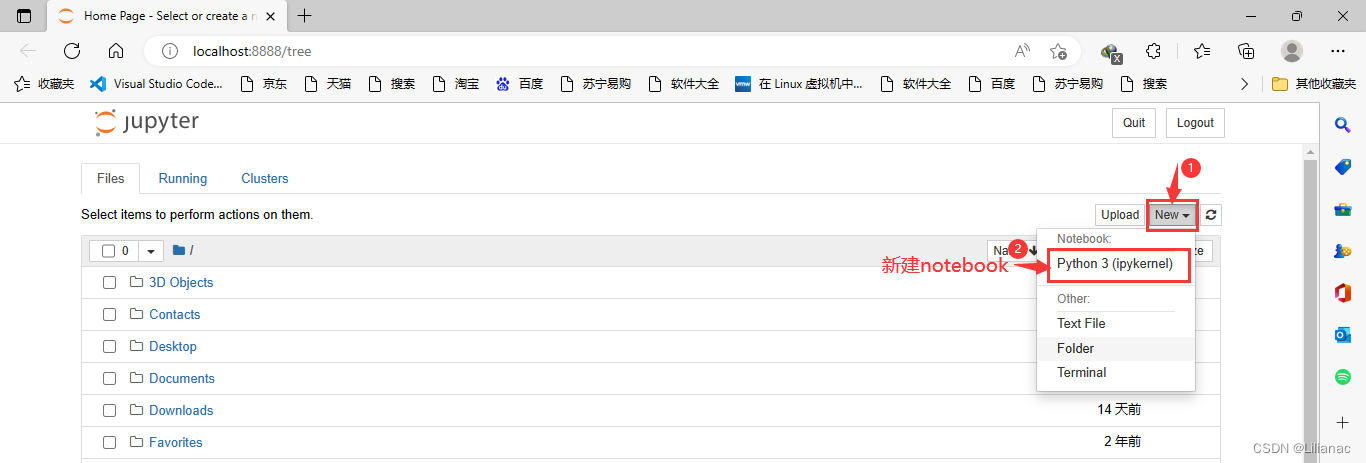
新建notebook
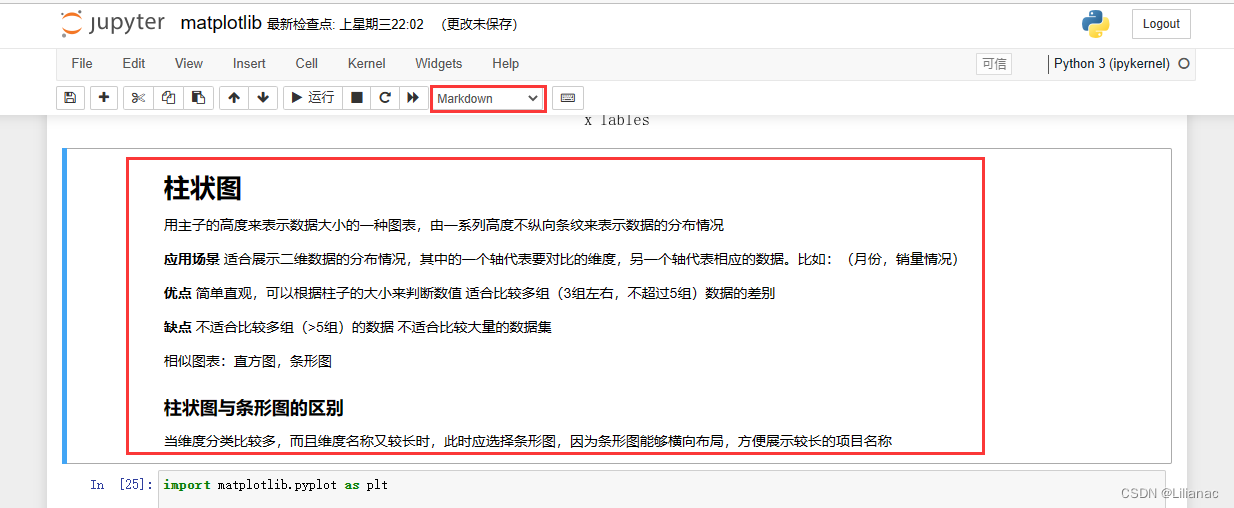
可以写markdown文档
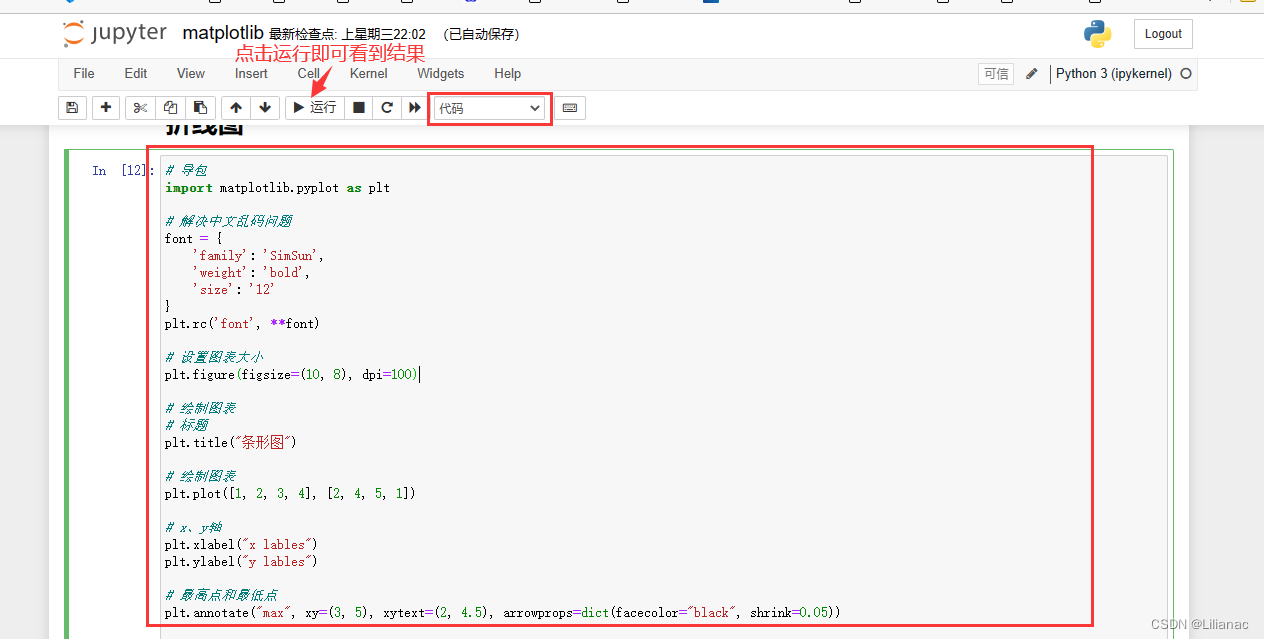
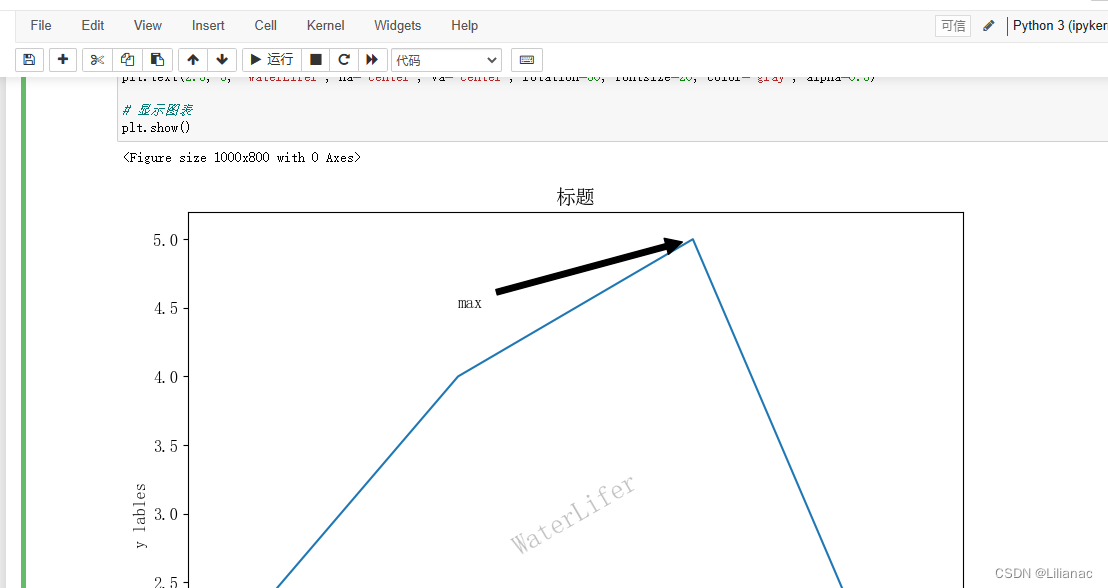
还可以写代码


 353
353


 被折叠的 条评论
为什么被折叠?
被折叠的 条评论
为什么被折叠?
 到【灌水乐园】发言


