


主页面
上次写完登录页面,这次该写主页面了
先看效果:
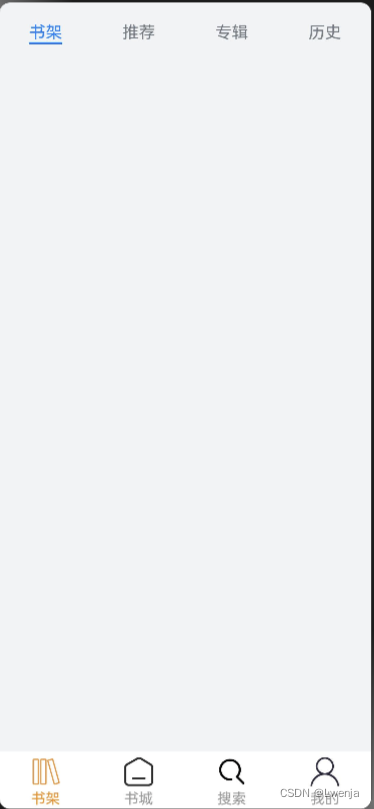
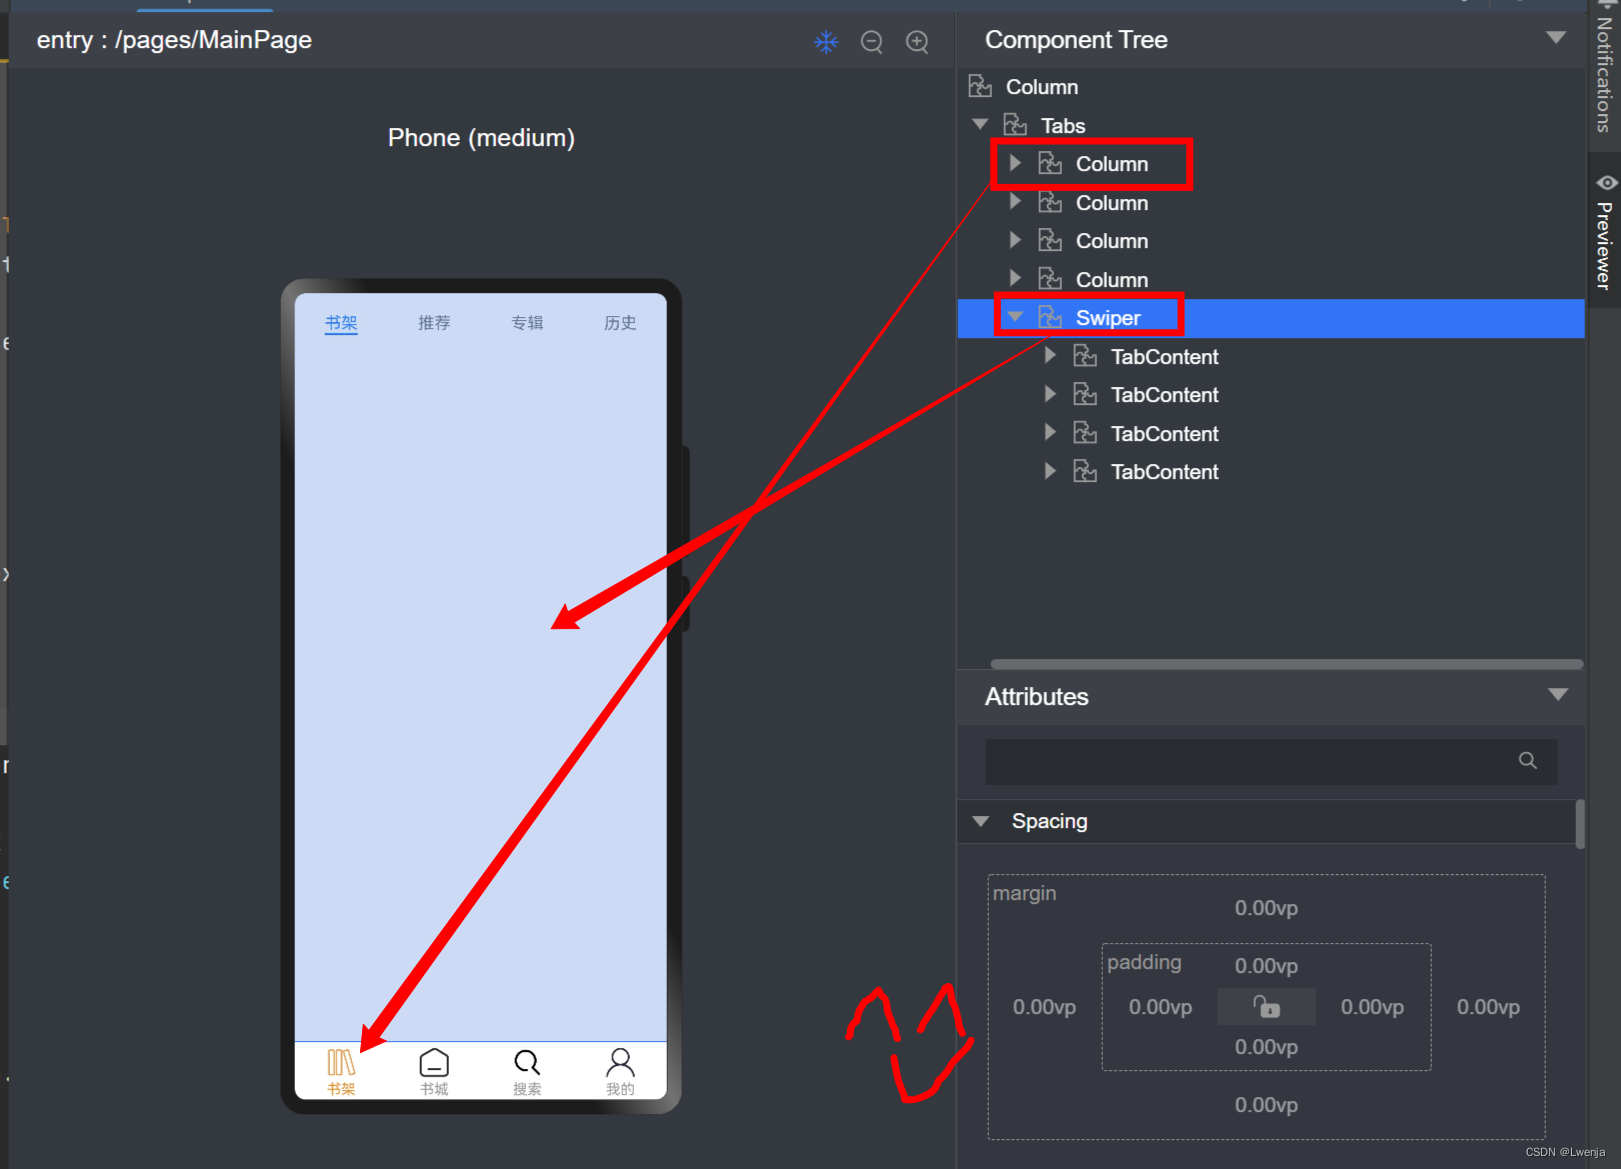
这是该页面的组成图
我用了Tabs组件,其实最开始我还不会用Tabs组件,是看了CSDN上的一篇博客写的,链接我贴出来了,写的很详细。
我把用Tabs划分出了四个部分Column是底下的引导栏,然后Swiper的部分是上面的空间,包括了四个TabContent,可以根据不同的需求写东西
哦对啦,这些小图标是从阿里巴巴矢量图标库找的,超级好用,我一般下载svg格式。
总代码如下:
import router from '@ohos.router'
import { Book } from './MainAllpages/Book';
import { BookStore } from './MainAllPages/BookStore';
import { Mine } from './MainAllPages/Mine';
import {Searchh } from './MainAllPages/Searchh';
import { BookListInfo } from './MainInfo/BookListInfo';
@Entry
@Component
struct MainPage {
  @State currentIndex:number=0;
  private tabsController:TabsController=new TabsController()
  @Builder TabBuilder(title:string,targetIndex:number,localImg:Resource,selectedImg:Resource){
    Column(){
      Image(this.currentIndex==targetIndex?selectedImg:localImg)
        .width(28)
        .height(28)
      Text(title)
        .fontSize(14)
        .margin({top:4})
        .fontColor(this.currentIndex==targetIndex?'#F28E16':'#999999')
    }
    .backgroundColor('#ffffff')
    .width('100%')
    .height(60)
    .justifyContent(FlexAlign.Center)
    .onClick(()=>{
      this.currentIndex=targetIndex
      this.tabsController.changeIndex(this.currentIndex)
    })
  }
  build() {
    Column(){
      Tabs({barPosition:BarPosition.End,controller:this.tabsController,index:0}){
        TabContent(){
          Book()
        }
        .tabBar(this.TabBuilder('书架',0,$r("app.media.book"),$r("app.media.book1")))
        TabContent(){
          BookStore()
        }
        .tabBar(this.TabBuilder('书城',1,$r("app.media.bookstore"),$r("app.media.bookstore1")))
        TabContent(){
          Searchh()
        }
        .tabBar(this.TabBuilder('搜索',2,$r("app.media.search"),$r("app.media.search1")))
        TabContent(){
          Mine()
        }
        .tabBar(this.TabBuilder('我的',3,$r("app.media.mine"),$r("app.media.mine1")))
      }
      .scrollable(false)
      .animationDuration(0)
    }
    .height('100%')
    .width('100%')
  }
}
每一个TabContent里面调用相应的页面就好啦,注意的是对应的页面要用export导出,不然会报错。
其他的就没什么特别困难的地方了。
总结
我写这个页面最大的收获就是会用了Tabs组件, 其他方面注意调节就是啦 :)


 2192
2192

 被折叠的 条评论
为什么被折叠?
被折叠的 条评论
为什么被折叠?
 到【灌水乐园】发言


