


前言
为了增加用户体验,用户能够快速的注册登录,第三方账号进行登录注册的的需求也就由此而诞生
开发环境:
IDE: STS
jdk版本: 1.8
框架: SSM
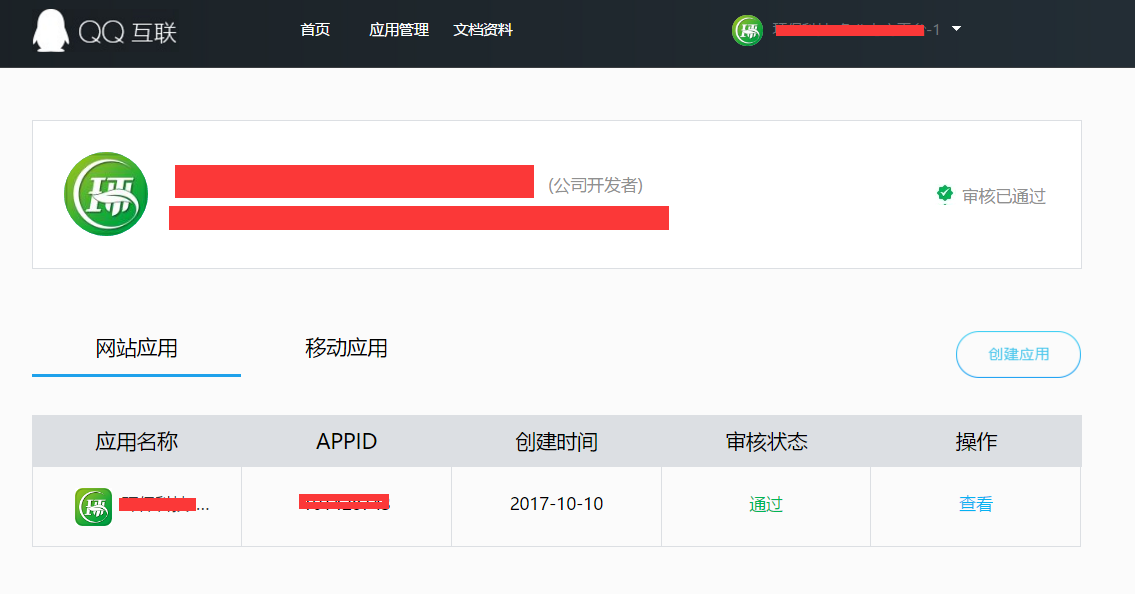
要做QQ第三方登录,首先得在QQ互联(https://connect.qq.com/index.html)上有账号,也就是有QQ账号,然后申请成为开发者。你可以选择是个人和公司类型,根据你个人情况选择,然后如下操作:
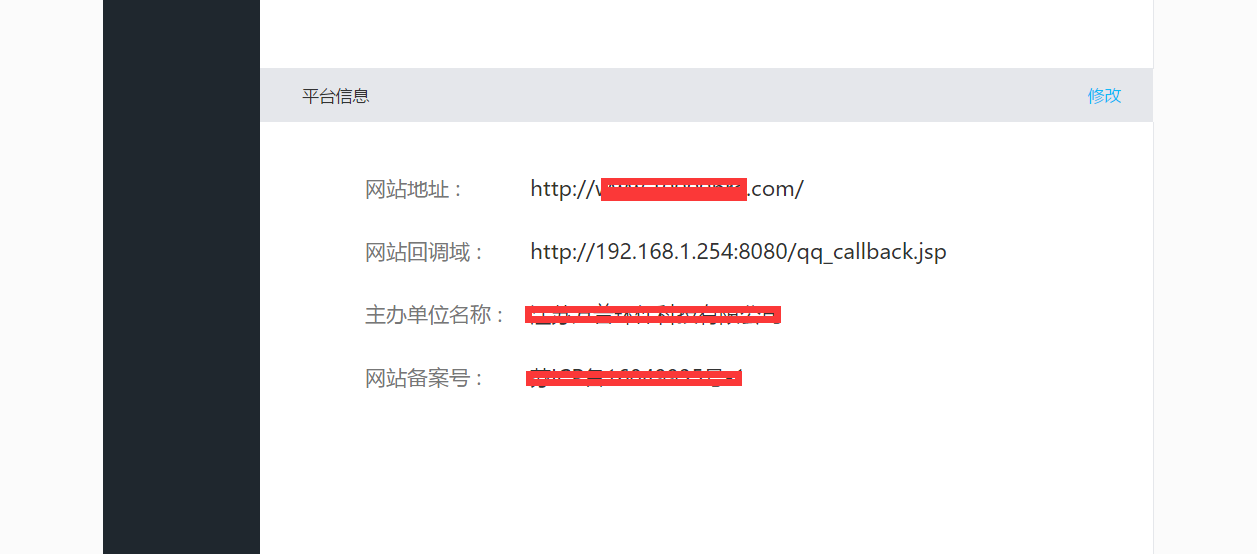
1. QQ互联创建应用并配置
2. 登录入口
<a class="qq" href="/company/loginByQQIndex">qq登录</a>3. QQ登录初始化
@RequestMapping("/loginByQQIndex")
	@ResponseBody
	public void loginByQQIndex(String url, HttpServletRequest request, HttpServletResponse response) {
		response.setContentType("text/html;charset=utf-8");
		try {
			response.sendRedirect(new Oauth().getAuthorizeURL(request));
		} catch (Exception e) {
			e.printStackTrace();
		}
	}
4. QQ互联回调域,就是QQ互联配置的,这是一个jsp文件, qq_callback.jsp ,QQ互联回调会根据配置的回调域进入这个页面
<%@ page language="java" contentType="text/html; charset=UTF-8"
	pageEncoding="UTF-8"%>
<!DOCTYPE html PUBLIC "-//W3C//DTD HTML 4.01 Transitional//EN" "http://www.w3.org/TR/html4/loose.dtd">
<html>
<head>
<meta http-equiv="Content-Type" content="text/html; charset=UTF-8">
<title>登录成功</title>

<script type="text/javascript" src="${pageContext.request.contextPath}/ejs/jquery-1.11.3.min.js"></script>
<script type="text/javascript">
	// 获取地址栏参数
	function GetQueryString(name) {
		var reg = new RegExp("(^|&)" + name + "=([^&]*)(&|$)");
		var r = window.location.search.substr(1).match(reg);
		if (r != null)
			return unescape(r[2]);
		return null;
	}

	// 调用方法
	var a = GetQueryString("code");
	var b = GetQueryString("state");

	 function autoSubmit(){
		document.getElementById("code").value=a;
      	document.getElementById("state").value=b;
		document.getElementById("my-from").submit();
	}

	function geturl(){
		var test = window.location.href;
		alert(test);
	}

</script>
</head>
<body οnlοad="autoSubmit()">
正在加载...
<form action="/company/loginByQQ" method="post" id="my-from">
	<input type="hidden" id="code" name="codeNum"/>
	<input type="hidden" id="state" name="stateNum"/>
</form>
</body>
</html>
5. 上一步会处理QQ互联返回值进行处理并自动向后台发送请求,现在处理请求
	// qq登录回调地址
	private String QQ_BACK_URL = "http://192.168.1.254:8080//qq_callback.jsp";
/**
* QQ登录逻辑处理
*
* @Title loginByQQ
* @param @param
* codeNum
* @param @param
* stateNum
* @param @param
* url
* @param @return
* @return String
*/
@RequestMapping("/loginByQQ")
public String loginByQQ(String codeNum, String stateNum, String refer, HttpServletRequest request, Model model) {
try {
// 获取token
String token_url = "https://graph.qq.com/oauth2.0/token";
String token_parm = "grant_type=authorization_code&client_id=101428743&client_secret=22bef5c389b2b2b9921baf1fb3f4bcd1&code="
+ codeNum + "&redirect_uri=" + QQ_BACK_URL;
String token_result = SendRequestUtils.sendGet(token_url, token_parm);
// String token_result = SendRequestUtils.sendPost(token_url,
// token_parm);
// 延长token过期时间
String refresh_token_url = "https://graph.qq.com/oauth2.0/token";
String refresh_token_parm = "grant_type=refresh_token&client_id=101428743&client_secret=22bef5c389b2b2b9921baf1fb3f4bcd1&refresh_token="
+ token_result.split("&")[2].substring(14);
String refresh_token_result = SendRequestUtils.sendGet(refresh_token_url, refresh_token_parm);
String[] strings = refresh_token_result.split("&");
String token = strings[0].substring(13);
// 获取openid
String openid_url = "https://graph.qq.com/oauth2.0/me";
String openid_parm = "access_token=" + token;
String openid_result = SendRequestUtils.sendGet(openid_url, openid_parm);
JSONObject jsonObject = JSONObject.fromObject(openid_result.split(" ")[1]);
String openid = jsonObject.getString("openid");
String client_id = jsonObject.getString("client_id");
// 获取qq用户信息
String qq_string = SendRequestUtils.sendGet("https://graph.qq.com/user/get_user_info",
"access_token=" + token + "&oauth_consumer_key=" + client_id + "&openid=" + openid);
// 获取qq昵称
JSONObject qq_string_json = JSONObject.fromObject(qq_string);
String name = qq_string_json.getString("nickname");
// 获取QQ登录统一标识
String unionid_result = SendRequestUtils
.sendGet("https://graph.qq.com/oauth2.0/me?access_token=" + token + "&unionid=1", null);
JSONObject unionidJson = JSONObject.fromObject(unionid_result.substring(9, unionid_result.length() - 2));
String unionid = unionidJson.getString("unionid");
// 保存用户信息
// xxx
// 判断是否用qq登录过网站
// xxx
// 用qq登录过网站,就更新用户信息
// xxx
// 没有用qq登录过网站,将unionid和用户信息写入数据库
// xxx
// 返回主页
return "redirect:/";
} catch (Exception e) {
e.printStackTrace();
return "redirect:/error";
}
}6. 上一步有用到工具类,如下:
SendRequestUtils, java后台发送请求的工具类:
package com.pro.huanbao.common.utils;

import java.io.BufferedReader;
import java.io.IOException;
import java.io.InputStreamReader;
import java.io.PrintWriter;
import java.net.URL;
import java.net.URLConnection;
import java.util.List;
import java.util.Map;

/**
 * @Title   SendRequestUtils.java
 * @Package com.pro.huanbao.common.utils
 * @author  wanpu_ly
 * @dade    2017年10月13日 上午8:43:42
 * @version V1.0
 * 类说明:
 */
public class SendRequestUtils {

	/**
     * 向指定URL发送GET方法的请求
     *
     * @param url
     *            发送请求的URL
     * @param param
     *            请求参数,请求参数应该是 name1=value1&name2=value2 的形式。
     * @return URL 所代表远程资源的响应结果
     */
    public static String sendGet(String url, String param) {
        String result = "";
        BufferedReader in = null;
        try {
        	String urlNameString = url + "?" + param;
        	if (param == null) {
        		urlNameString = url;
			}
            URL realUrl = new URL(urlNameString);
            // 打开和URL之间的连接
            URLConnection connection = realUrl.openConnection();
            // 设置通用的请求属性
            connection.setRequestProperty("accept", "*/*");
            connection.setRequestProperty("connection", "Keep-Alive");
            connection.setRequestProperty("user-agent",
                    "Mozilla/4.0 (compatible; MSIE 6.0; Windows NT 5.1;SV1)");
            // 建立实际的连接
            connection.connect();
            // 获取所有响应头字段
            Map<String, List<String>> map = connection.getHeaderFields();
            // 遍历所有的响应头字段
            for (String key : map.keySet()) {
                System.out.println(key + "--->" + map.get(key));
            }
            // 定义 BufferedReader输入流来读取URL的响应
            in = new BufferedReader(new InputStreamReader(
                    connection.getInputStream()));
            String line;
            while ((line = in.readLine()) != null) {
                result += line;
            }
        } catch (Exception e) {
            System.out.println("发送GET请求出现异常!" + e);
            e.printStackTrace();
        }
        // 使用finally块来关闭输入流
        finally {
            try {
                if (in != null) {
                    in.close();
                }
            } catch (Exception e2) {
                e2.printStackTrace();
            }
        }
        return result;
    }

    /**
     * 向指定 URL 发送POST方法的请求
     *
     * @param url
     *            发送请求的 URL
     * @param param
     *            请求参数,请求参数应该是 name1=value1&name2=value2 的形式。
     * @return 所代表远程资源的响应结果
     */
    public static String sendPost(String url, String param) {
        PrintWriter out = null;
        BufferedReader in = null;
        String result = "";
        try {
            URL realUrl = new URL(url);
            // 打开和URL之间的连接
            URLConnection conn = realUrl.openConnection();
            // 设置通用的请求属性
            conn.setRequestProperty("accept", "*/*");
            conn.setRequestProperty("connection", "Keep-Alive");
            conn.setRequestProperty("user-agent",
                    "Mozilla/4.0 (compatible; MSIE 6.0; Windows NT 5.1;SV1)");
            // 发送POST请求必须设置如下两行
            conn.setDoOutput(true);
            conn.setDoInput(true);
            // 获取URLConnection对象对应的输出流
            out = new PrintWriter(conn.getOutputStream());
            // 发送请求参数
            out.print(param);
            // flush输出流的缓冲
            out.flush();
            // 定义BufferedReader输入流来读取URL的响应
            in = new BufferedReader(
                    new InputStreamReader(conn.getInputStream()));
            String line;
            while ((line = in.readLine()) != null) {
                result += line;
            }
        } catch (Exception e) {
            System.out.println("发送 POST 请求出现异常!"+e);
            e.printStackTrace();
        }
        //使用finally块来关闭输出流、输入流
        finally{
            try{
                if(out!=null){
                    out.close();
                }
                if(in!=null){
                    in.close();
                }
            }
            catch(IOException ex){
                ex.printStackTrace();
            }
        }
        return result;
    }
}
JsonUtils , 处理json数据的工具类:
package com.pro.huanbao.common.utils;

import java.util.List;

import com.fasterxml.jackson.core.JsonProcessingException;
import com.fasterxml.jackson.databind.JavaType;
import com.fasterxml.jackson.databind.ObjectMapper;

/**
 * 淘淘商城自定义响应结构
 */
public class JsonUtils {

    // 定义jackson对象
    private static final ObjectMapper MAPPER = new ObjectMapper();

    /**
     * 将对象转换成json字符串。
     * <p>Title: pojoToJson</p>
     * <p>Description: </p>
     * @param data
     * @return
     */
    public static String objectToJson(Object data) {
    	try {
			String string = MAPPER.writeValueAsString(data);
			return string;
		} catch (JsonProcessingException e) {
			e.printStackTrace();
		}
    	return null;
    }

    /**
     * 将json结果集转化为对象
     *
     * @param jsonData json数据
     * @param clazz 对象中的object类型
     * @return
     */
    public static <T> T jsonToPojo(String jsonData, Class<T> beanType) {
        try {
            T t = MAPPER.readValue(jsonData, beanType);
            return t;
        } catch (Exception e) {
        	e.printStackTrace();
        }
        return null;
    }

    /**
     * 将json数据转换成pojo对象list
     * <p>Title: jsonToList</p>
     * <p>Description: </p>
     * @param jsonData
     * @param beanType
     * @return
     */
    public static <T>List<T> jsonToList(String jsonData, Class<T> beanType) {
    	JavaType javaType = MAPPER.getTypeFactory().constructParametricType(List.class, beanType);
    	try {
    		List<T> list = MAPPER.readValue(jsonData, javaType);
    		return list;
		} catch (Exception e) {
			e.printStackTrace();
		}

    	return null;
    }

}
7. 以及一些jar包依赖
json:
<!-- Jackson Json处理工具包 -->
		<dependency>
			<groupId>com.fasterxml.jackson.core</groupId>
			<artifactId>jackson-databind</artifactId>
			<version>2.4.2</version>
		</dependency>
8. 还有一个配置文件,这个文件得让spring扫描到, qqconnectconfig.properties
app_ID = xxx
app_KEY = xxx
redirect_URI = qq登录回调地址
scope = get_user_info,add_topic,add_one_blog,add_album,upload_pic,list_album,add_share,check_page_fans,add_t,add_pic_t,del_t,get_repost_list,get_info,get_other_info,get_fanslist,get_idollist,add_idol,del_ido,get_tenpay_addr
baseURL = https://graph.qq.com/
getUserInfoURL = https://graph.qq.com/user/get_user_info
accessTokenURL = https://graph.qq.com/oauth2.0/token
authorizeURL = https://graph.qq.com/oauth2.0/authorize
getOpenIDURL = https://graph.qq.com/oauth2.0/me
addTopicURL = https://graph.qq.com/shuoshuo/add_topic
addBlogURL = https://graph.qq.com/blog/add_one_blog
addAlbumURL = https://graph.qq.com/photo/add_album
uploadPicURL = https://graph.qq.com/photo/upload_pic
listAlbumURL = https://graph.qq.com/photo/list_album
addShareURL = https://graph.qq.com/share/add_share
checkPageFansURL = https://graph.qq.com/user/check_page_fans
addTURL = https://graph.qq.com/t/add_t
addPicTURL = https://graph.qq.com/t/add_pic_t
delTURL = https://graph.qq.com/t/del_t
getWeiboUserInfoURL = https://graph.qq.com/user/get_info
getWeiboOtherUserInfoURL = https://graph.qq.com/user/get_other_info
getFansListURL = https://graph.qq.com/relation/get_fanslist
getIdolsListURL = https://graph.qq.com/relation/get_idollist
addIdolURL = https://graph.qq.com/relation/add_idol
delIdolURL = https://graph.qq.com/relation/del_idol
getTenpayAddrURL = https://graph.qq.com/cft_info/get_tenpay_addr
getRepostListURL = https://graph.qq.com/t/get_repost_list
version = 2.0.0.0
完。


 9002
9002


 被折叠的 条评论
为什么被折叠?
被折叠的 条评论
为什么被折叠?
 到【灌水乐园】发言


