


1.首先准备mysql 和eclipse环境,在环境搭建好之后,从eclipse官网下载jdbc的驱动包,下载地址http://dev.mysql.com/downloads/connector/j/
2.从下载的文件中取出mysql-connector-java-5.1.31-bin.jar,放到工程中,并导入路径
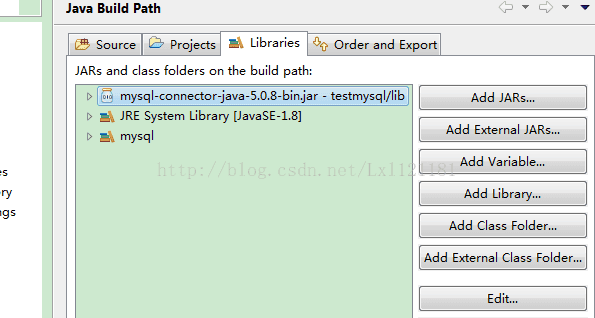
方法:右击工程名->Build Path->Configure Build Path,选择Add External JAR... 找到mysql-connector-java-5.1.31-bin.jar所在的位置,然后将驱动包加载到项目中,
3.写个例子测试一下
package testmysql;
import java.sql.*;
public class Test {

	public static void main(String[] args) {
		String driver = "com.mysql.jdbc.Driver";
		String URL = "jdbc:mysql://localhost:3306/student";
		Connection con = null;
		try
		{
			Class.forName(driver);
		}
		catch(java.lang.ClassNotFoundException e)
		{
			System.out.println("Connect Successfull.");
			System.out.println("Cant't load Driver");
		}
		try
		{
			con=DriverManager.getConnection(URL,"root","root");
			System.out.println("Connect Successfull.");
		}
		catch(Exception e)
		{
			System.out.println("Connect fail:" + e.getMessage());
		}
	}
}
连接上数据库之后,可以根据表中的内容进行数据库表的查询,首先表中要有内容,将一些信息输入到表中之后即可使用SQL语言进行查询
import java.sql.*;
public class Main {

    public static void main(String[] args) {
        String driver = "com.mysql.jdbc.Driver";
        String URL = "jdbc:mysql://localhost:3306/xiaolu";
        Connection con = null;
        ResultSet rs = null;
        Statement st = null;
        String sql = "select * from student";
        try
        {
            Class.forName(driver);
        }
        catch(java.lang.ClassNotFoundException e)
        {
           // System.out.println("Connect Successfull.");
            System.out.println("Cant't load Driver");
        }
        try
        {
            con=DriverManager.getConnection(URL,"root","root");
            st=con.createStatement();
            rs=st.executeQuery(sql);
            if(rs!=null) {
            	ResultSetMetaData rsmd = rs.getMetaData();
            	int countcols = rsmd.getColumnCount();
            	for(int i=1;i<=countcols;i++) {
            		if(i>1) System.out.print(";");
            		System.out.print(rsmd.getColumnName(i)+" ");
            	}
            	System.out.println("");
            	while(rs.next()) {
            		System.out.print(rs.getString("sno")+"  ");
            		System.out.print(rs.getString("sname")+"  ");
            		System.out.print(rs.getString("ssex")+"  ");
            		System.out.print(rs.getString("sage")+"  ");
            		System.out.println(rs.getString("sdept")+"  ");
            	}
            }
            //System.out.println("Connect Successfull.");
            System.out.println("ok");
            rs.close();
            st.close();
            con.close();
        }
        catch(Exception e)
        {
            System.out.println("Connect fail:" + e.getMessage());
        }
    }
}


 3497
3497


 被折叠的 条评论
为什么被折叠?
被折叠的 条评论
为什么被折叠?
 到【灌水乐园】发言


