


TabHost是一个提供选项卡的窗口视图容器,它包含两个两个对象:一组是用户可以选择指定Tab页的标签,另一个是FrameLayout用来显示Tab页的内容。
1. 布局文件介绍
<?xml version="1.0" encoding="utf-8"?>
<!--
    选项卡默认是显示在手机屏幕的上方,
    如果想要显示在下方,可以通过
    android:layout_alignParentBottom="true"属性
    设置位置
-->
<TabHost xmlns:android="http://schemas.android.com/apk/res/android"
    android:layout_width="match_parent"
    android:layout_height="match_parent"
    android:id="@android:id/tabhost">
    <RelativeLayout
        android:layout_width="match_parent"
        android:layout_height="match_parent"
        android:padding="5dp">
        <TabWidget
            android:id="@android:id/tabs"
            android:layout_width="match_parent"
            android:layout_height="wrap_content"
            android:layout_alignParentBottom="true"
            android:background="#cccccc">
        </TabWidget>
        <FrameLayout
            android:id="@android:id/tabcontent"
            android:layout_width="match_parent"
            android:layout_height="match_parent"
            android:padding="5dp"
            android:layout_above="@android:id/tabs"
            ></FrameLayout>
    </RelativeLayout >
</TabHost>
界面的布局的根节点是TabHost, 在TabHost节点下必须包含一个TabWidget和FrameLayout节点,其中TabWidget节点用来显示供用户切换的Tab视图,它的id系统默认为@android:id/tabs,而FrameLayout用于显示Tab的内容,所以它的id系统默认是@android:id/tabcontent。
2. 使用TabHost
使用TabHost有两种方式
- 继承在TabActivity
- 不继承自TabActivity
这里使用第一种方式:
public class MainActivity extends TabActivity3. 加载布局文件
和加载普通的布局文件一样,采用
setContentView(R.layout.tab)的方式来加载之前定义的文件。
4. 设置选项卡
既然是使用TabHost,当然首先要获取到TabHost对象:
TabHost tabHost = getTabHost();在获取到对象之后,就需要向选项卡中添加内容了。通过
tabHost.addTab(TabHost.TabSpec)方法来添加一个选项卡,而参数TabHost.TabSpec就表示一个单独的选项卡,那么如何获取到这个选项卡呢?
tabHost.newTabSpec();通过这个方法就可以获取到,然后就可以设置选项卡的内容了
tabHost.newTabSpec().setIndicator("标题名","选项卡显示的图片")如果不想要要显示图片,只设置标题就可以了。那么如何来显示内容呢?
这里就需要setContent(intent)方法了,点击栏目时需要相应的intent来响应。比如,点击了消息栏目,就会在内容区域显示消息栏目所对应的内容。
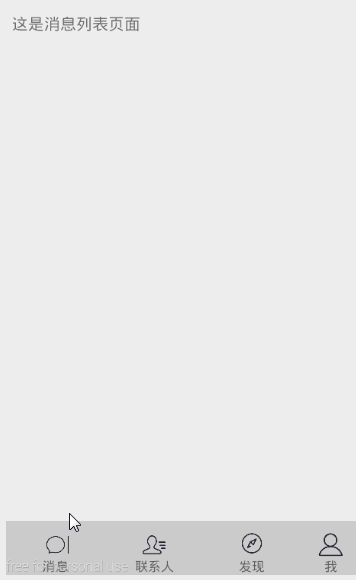
tabHost.addTab(tabHost.newTabSpec("消息").setIndicator("消息",this.getResources().getDrawable(R.drawable.message)).setContent(new Intent(this, MessageActivity.class)));5. 真的达到效果了么
如果发现图片没有显示出来,可以尝试如下的方法。
定义一个布局文件:
<LinearLayout xmlns:android="http://schemas.android.com/apk/res/android"
    xmlns:tools="http://schemas.android.com/tools"
    android:layout_width="wrap_content"
    android:layout_height="wrap_content"
    android:orientation="vertical">

   <ImageView
       android:id="@+id/tab_icon"
       android:layout_width="match_parent"
       android:layout_height="32.0dp"
       android:scaleType="fitCenter"
       android:paddingTop="10dp"/>
   <TextView
       android:id="@+id/tab_title"
       android:textSize="11.0sp"
       android:gravity="center"
       android:layout_width="match_parent"
       android:layout_height="wrap_content"
      />
</LinearLayout>
然后在程序中加载这个文件
View tabInflater = LayoutInflater.from(this).inflate(R.layout.activity_main, getTabWidget(), false);
ImageView icon = (ImageView)tabInflater.findViewById(R.id.tab_icon);
TextView title = (TextView)tabInflater.findViewById(R.id.tab_title);
title.setText(label);
icon.setImageResource(drawableId);
6. 其实….
其实官方已经不推荐这种方式了(TabActivity)

推荐使用 Fragment 建立 Tab 取代 TabActivity


 8242
8242


 被折叠的 条评论
为什么被折叠?
被折叠的 条评论
为什么被折叠?
 到【灌水乐园】发言


