


若不清楚dto的使用请先翻阅此文章 数据传输对象的了解
什么是AutoMapper?
一种自动映射对象关系的工具。
为什么要用AutoMapper?
为了偷懒。
当需要俩个对象类似且关系转换的时候,不想手动循环写代码,一对一赋值属性。想用工具来省事。
怎么用AutoMapper?
开发步骤:
0引入包 还有在使用得地方引入命名空间 using AutoMapper; 和实体得命名空间
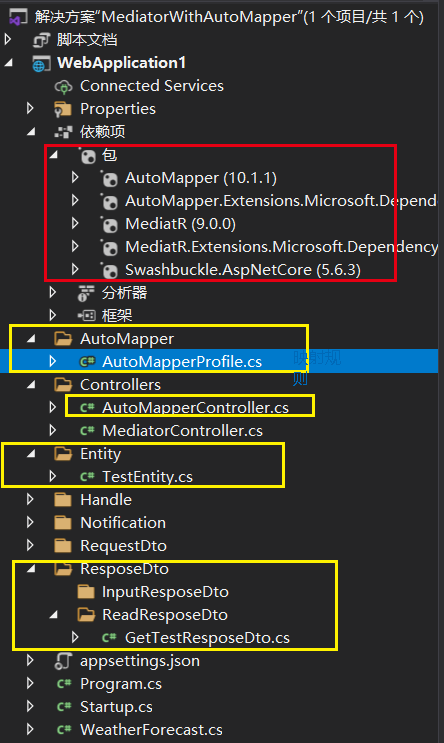
1.建立好 实体类 以及对应 映射类
2.配置好对应关系,以及注册服务
3.控制器 依赖注入使用AutoMapper
- 实体类 和 dto映射类的 创建
namespace WebApplication1.Entity
{
    public class TestEntity
    {
        public string Name { get; set; }
        public int Age { get; set; }
    }
}

namespace WebApplication1.ReposeDto.ReadReposeDto
{
    //读取 返回参数
    public class GetTestResposeDto
    {
        public string Name { get; set; }
        public int Age { get; set; }
    }
}
- 创建自动映射配置规则的类 继承 Profile
场景1:简单使用,就是俩个对象 映射 类型名称都不需任何处理
namespace WebApplication1.AutoMapper
{
    //自动映射配置规则
    public class AutoMapperProfile:Profile
    {
        public AutoMapperProfile()
        {
            //CreateMap<源,目标>
            CreateMap<TestEntity, GetTestResposeDto>();

        }
    }
}
场景2:有处理的映射 比如 将对象 名字补充填充一些内容映射 年龄也加1
namespace WebApplication1.AutoMapper
{
    //自动映射配置规则
    public class AutoMapperProfile:Profile
    {
        public AutoMapperProfile()
        {
            //CreateMap<源,目标>
             CreateMap<TestEntity, GetTestResposeDto>()
                 .ForMember(destination => destination.Name, source => source.MapFrom(i => i.Name+"是我的名字"))
                 .ForMember(destination => destination.Age, source => source.MapFrom(i => i.Age +1));

        }
    }
}
场景3: 自定义解析值 就是场景2的封装 不想把age+1暴露在 Profile配置中,所以把配置规则写在继承了IValueResolver 的类里面 之后Profile嗲用规则从而屏蔽细节。
namespace WebApplication1.AutoMapper
{
    public class ResolverAge: IValueResolver<TestEntity, GetTestResposeDto, int>
    {
        public int Resolve(TestEntity source, GetTestResposeDto destination, int member, ResolutionContext context)
        {
            return source.Age + 1;
        }
    }
    public class ResolverName : IValueResolver<TestEntity, GetTestResposeDto, string>
    {
        public string Resolve(TestEntity source, GetTestResposeDto destination, string member, ResolutionContext context)
        {
            return source.Name + "是我的名字";
        }
    }
}
这样在配置Profile的时候 就可以 运用 MapFrom自定义解析规则 而不用写具体操作表达了
public AutoMapperProfile()
        {
            //CreateMap<源,目标>
            CreateMap<TestEntity, GetTestResposeDto>()
               .ForMember(destination => destination.Age, source => source.MapFrom<ResolverAge>())
               .ForMember(destination => destination.Name, source => source.MapFrom<ResolverName>());
        }
场景4:有层级 比如这个Entity有层级对象 而映射的时候扁平化
namespace WebApplication1.ReposeDto.ReadReposeDto
{
    //读取 返回参数
    public class Entity
    {
        public string Name { get; set; }
        public int Age { get; set; }
        public Address Address { get; set; }
    }

    public class Address
    {
        public string City { get; set; }
        public string Region { get; set; }
    }
}

//映射
 public class ViewModel
    {
        public string Name { get; set; }
        public int Age { get; set; }
        public string City { get; set; }
        public string Region { get; set; }
    }
怎么办?有俩种
第一种按照上面的说过的 通过映射的时候 去手动处理 一下
 public class AutoMapperProfile:Profile
    {
        public AutoMapperProfile()
        {
            //CreateMap<源,目标>
             CreateMap<Entity, ViewModel>()
                 .ForMember(destination => destination.City, source => source.MapFrom(i => i.Address.City));

        }
    }
第二种就是在 命名的时候 按照一定的层级约定 按照类加属性组合 这样就不用在配置那边去手动处理 赋值对应关系
 public class ViewModel
    {
        public string Name { get; set; }
        public int Age { get; set; }
        public string AddressCity { get; set; }
        public string AddressRegion { get; set; }
    }
管理多个profile配置
我们习惯把配置集中存放一个文件或一个文件夹下管理,如果profile的配置类变多了,应该怎么办?比如俩个配置

那就需要在StartUp里面 用程序集注册 Profile
   services.AddAutoMapper(typeof(AutoMapperProfile));//这是单个Profile
   services.AddAutoMapper(Assembly.GetExecutingAssembly());//多个Profile
场景5:自定义转换类型 类型不一样 比如 string 要映射成 DateTime 就只需要建一个 继承了ITypeConverter 的类,在里面进行转换实现,这样AutoMapper转换时候会自己适应此规则
namespace WebApplication1.AutoMapper
{
    public class StringConvert : ITypeConverter<string, DateTime>
    {
        public DateTime Convert(string source, DateTime destination, ResolutionContext context)
        {
            return System.Convert.ToDateTime(source);
        }
    }
}
- 控制器 映射使用 单个对象/集合对象
namespace WebApplication1.Controllers
{
[ApiController]
[Route("api/[controller]/[action]")]
public class AutoMapperController : ControllerBase
{
public readonly IMapper _mapper;
public AutoMapperController(IMapper mapper)
{
_mapper = mapper;
}
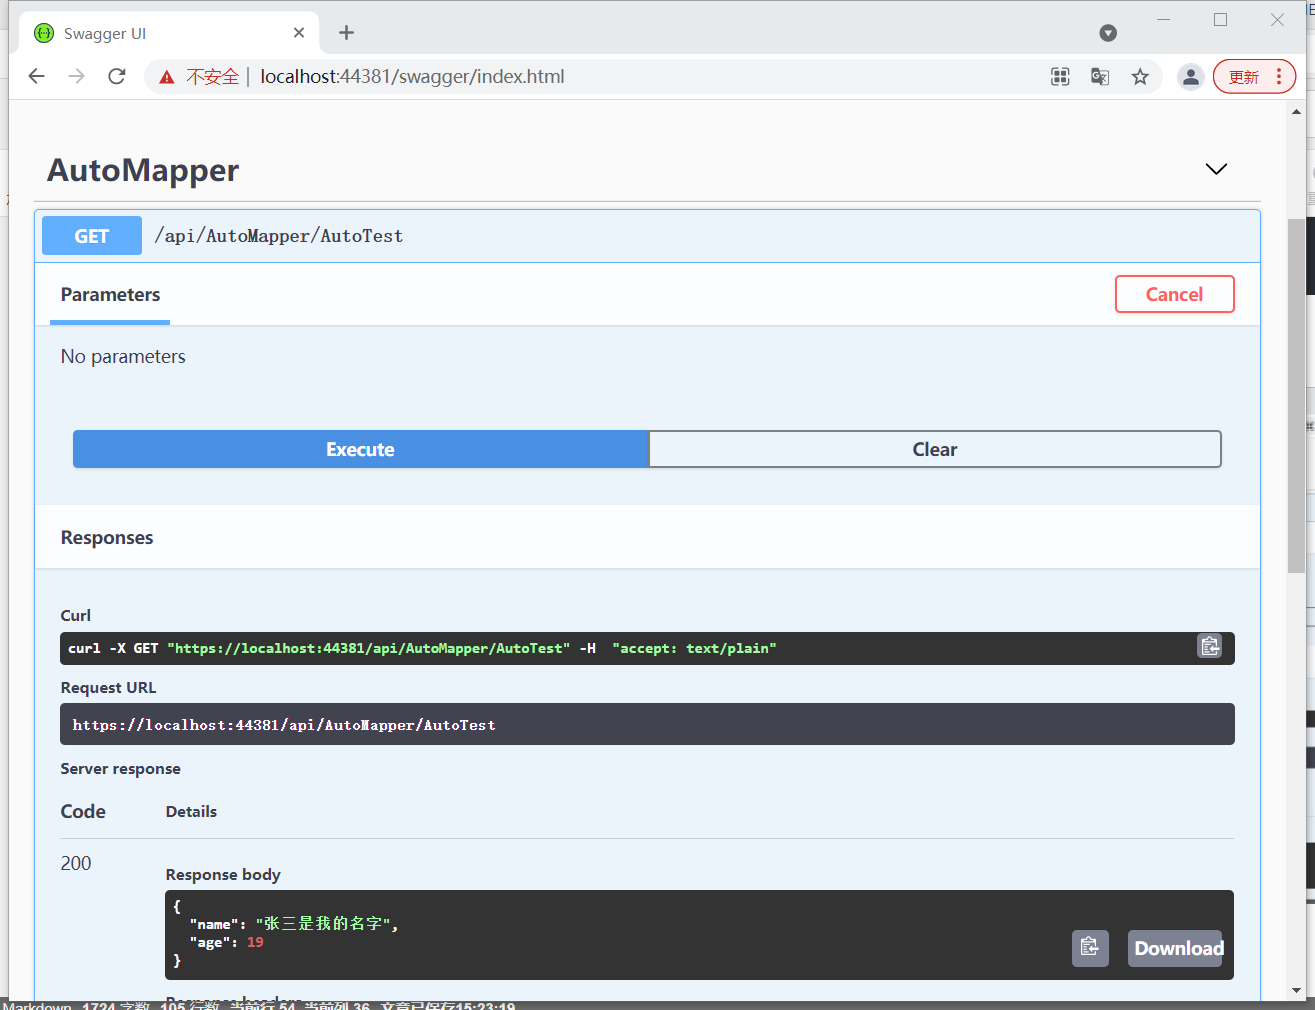
[HttpGet]
public GetTestResposeDto AutoTest()
{
var resource = new TestEntity { Name="张三",Age=18 };
var res = _mapper.Map<GetTestResposeDto>(resource);
return res;
}
[HttpGet]
public List<GetTestResposeDto> AutoTestList()
{
var resource = new List<TestEntity>();
resource.Add(new TestEntity
{
Name = "张三",
Age = 18
});
resource.Add(new TestEntity
{
Name = "张三2",
Age = 182
});
var res = _mapper.Map<List<TestEntity>,List<GetTestResposeDto>>(resource);
return res;
}
}
}
测试结果如下:
场景4进行 转换设置后 GetTestResposeDto 的Name设成DateTime
[HttpGet]
        public List<GetTestResposeDto> AutoTestList()
        {
            var resource = new List<TestEntity>();
            resource.Add(new TestEntity
            {
                Name = "1992-02-02",
                Age = 18
            });
            var res = _mapper.Map<List<TestEntity>,List<GetTestResposeDto>>(resource);
            return res;
        }
结果如下:


 1万+
1万+


 被折叠的 条评论
为什么被折叠?
被折叠的 条评论
为什么被折叠?
 到【灌水乐园】发言


