


好久没填这个系列的坑了,最近有朋友问,所以就更一篇。主要内容是写vscode调试electron的方法。
这个noname的三国杀框架用js写的,没有任何参考文档,调试梳理代码非常麻烦。最开始使用了sublime,可以调试js,但是无法调试electron。后面网上查了下,最终决定使用vscode进行代码的开发和调试。
【最终效果 - 主进程+渲染进程 同时调试】


【准备工作】
1、下载并安装vscode
2、下载并安装nodejs (具体教程看这个系列之前的文章)
3、在nodejs里安装electron(具体教程看这个系列之前的文章)
4、vscode里安装debug for chrome插件
(安装都非常简单,就不截图了)
【配置launch.json】
在vscode里,配置一个任意一个新的launch.json,然后直接复制我这段代码覆盖配置即可。这块参考的是官网https://github.com/Microsoft/vscode-recipes/tree/master/Electron
但是有几点需要注意
- 需要更改nodejs里electron的安装路径
- 需要添加program默认的启动文件
{
    "version": "0.2.0",
    "configurations": [
        {
            "type": "node",
            "request": "launch",
            "name": "Electron: Main",
            "program": "${workspaceFolder}/main.js",
            "protocol": "inspector",
            "runtimeExecutable": "D:/soft/nodejs/node_global/node_modules/electron/dist/electron",//更改为自己的安装路径
            "runtimeArgs": [
                "--remote-debugging-port=9223",
                "."
            ],
            "windows": {
                "runtimeExecutable": "D:/soft/nodejs/node_global/electron.cmd"//更改为自己的安装路径
            }
        },
        {
            "name": "Electron: Renderer",
            "type": "chrome",
            "request": "attach",
            "port": 9223,
            "webRoot": "${workspaceFolder}",
            "timeout": 30000
        }
    ],
    "compounds": [
        {
            "name": "Electron: All",
            "configurations": [
                "Electron: Main",
                "Electron: Renderer"
            ]
        }
    ]
}
【单独调试electron主进程】
-
在main.js中创建新窗口处打断点

-
在debug页签,选electron:main,点击运行按钮,即可进入主程序调试


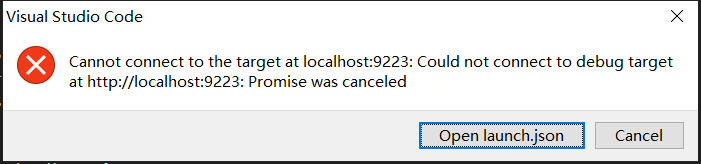
【单独调试electron渲染进程,直接运行是会报错的,因为launch.json里面的request是attach模式,必须依附于主程序】
【单独调试electron渲染进程,修改launch.json里的两个配置点】
- request修改未launch
- 添加file属性,否则打不开页面
        {
            "name": "Electron: Renderer",
            "type": "chrome",
            //"request": "attach", // 和主程序配合调试的配置
            /* 单独跑渲染时配置*/
            "request": "launch",
            "file": "${workspaceFolder}/index.html",

            "port": 9223,
            "webRoot": "${workspaceFolder}",
            "timeout": 30000
}- 系统会字段弹出chrome窗口

【终极:同时调试主进程+渲染进程】
- 在launch.json中使用compounds把"Electron: Main"和"Electron: Renderer"联结起来即可。
"compounds": [
        {
            "name": "Electron: All",
            "configurations": [
                "Electron: Main",
                "Electron: Renderer"
            ]
        }
]- 在调试页面,选择Electron: All,点击运行按钮,即可看到最终的效果


 2万+
2万+


 被折叠的 条评论
为什么被折叠?
被折叠的 条评论
为什么被折叠?
 到【灌水乐园】发言


