


1.下载Spring框架
- 从Spring官网下载Spring框架,
根据需要下载不同版本的开发包,我的是4.3.7版本
2.新建项目,导包
- 新建Web项目
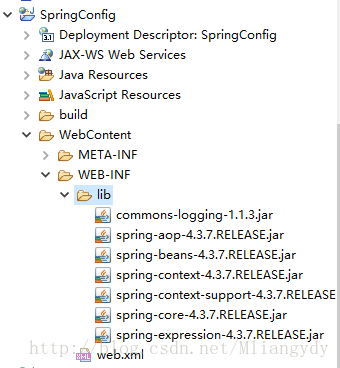
SpringConfig(凭自己喜好命名),将E:\spring-framework-4.3.7.RELEASE\libs(根据自己解压好的文件路径找到对应的目录)下的这些包拷贝到项目的\WEN-INF\lib目录下:
3.建类
- 创建
com.shw包,在包中新建名为HelloWorld的类,代码如下所示:
package com.shw;

public class HelloWorld {
    //定义方法,在控制台输出信息
    public void show() {
        System.out.println("欢迎学习Spring框架");
    }
}
4.配置appcationContext.xml
- 首先新建
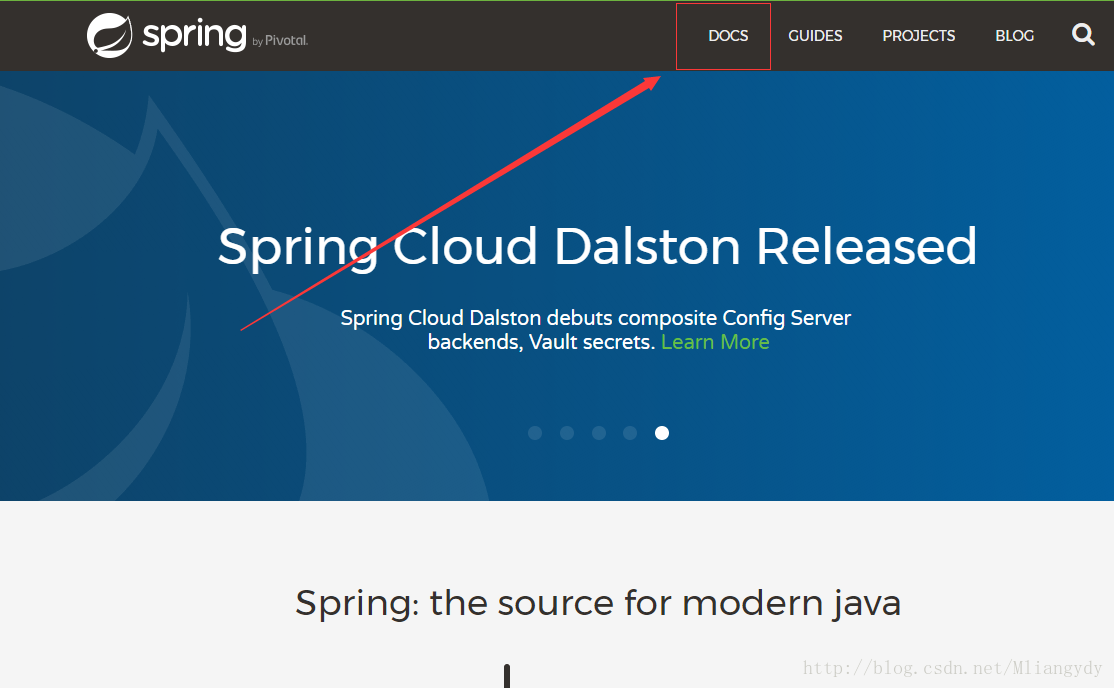
appcationContext.xml当然,名字取个见名知意的最好,那么问题来了,该文件里该添加一点什么配置呢?不着急,咱门去官方的文档看看,那里应该会给出例子或具体的配置。 spring官网的文档隐藏的有点深,比较难找,如下:
点击docs,
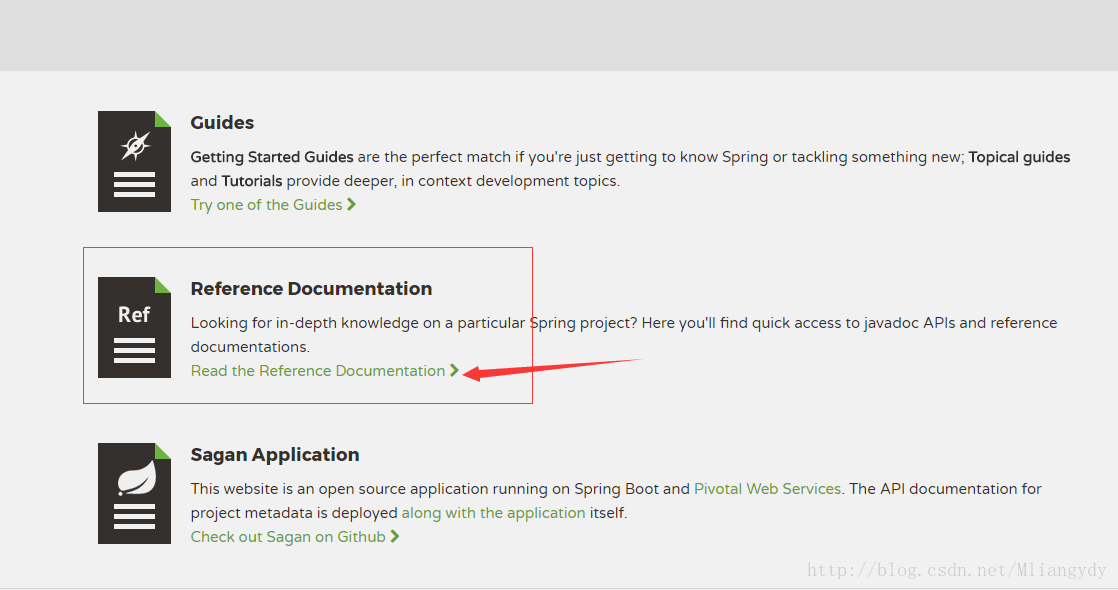
点击Read the Reference Documentation
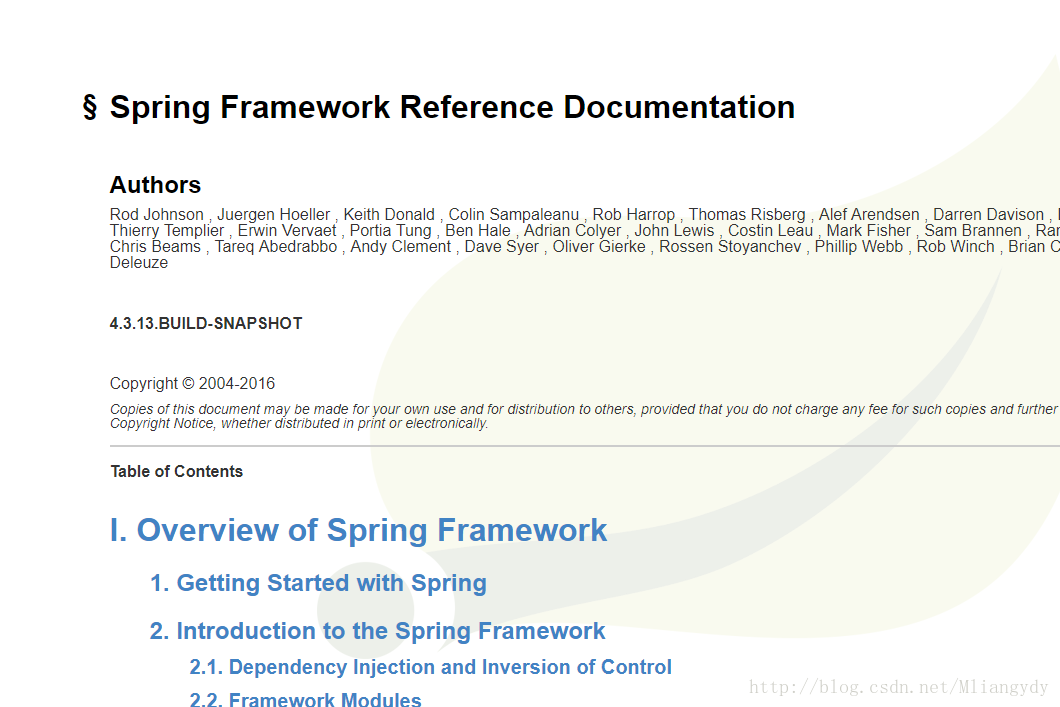
找到SpringFarmwork,点击Reference。

最后到达目的地:
- 当然你也可以在下载下来的Spring框架找到这目的地:打开
E:\spring-framework-4.3.7.RELEASE\docs\spring-framework-reference\htmlsingle目录下的index.html - 好吧!废话说了这么多,该开始干正事了,话说咱门说到哪了?对对对,
appcationContext.xml的配置,找到Configuration metadata,充分利用Google浏览器自带的翻译和Ctrl+F,将图中的内容拷贝到appcationContext.xml中。
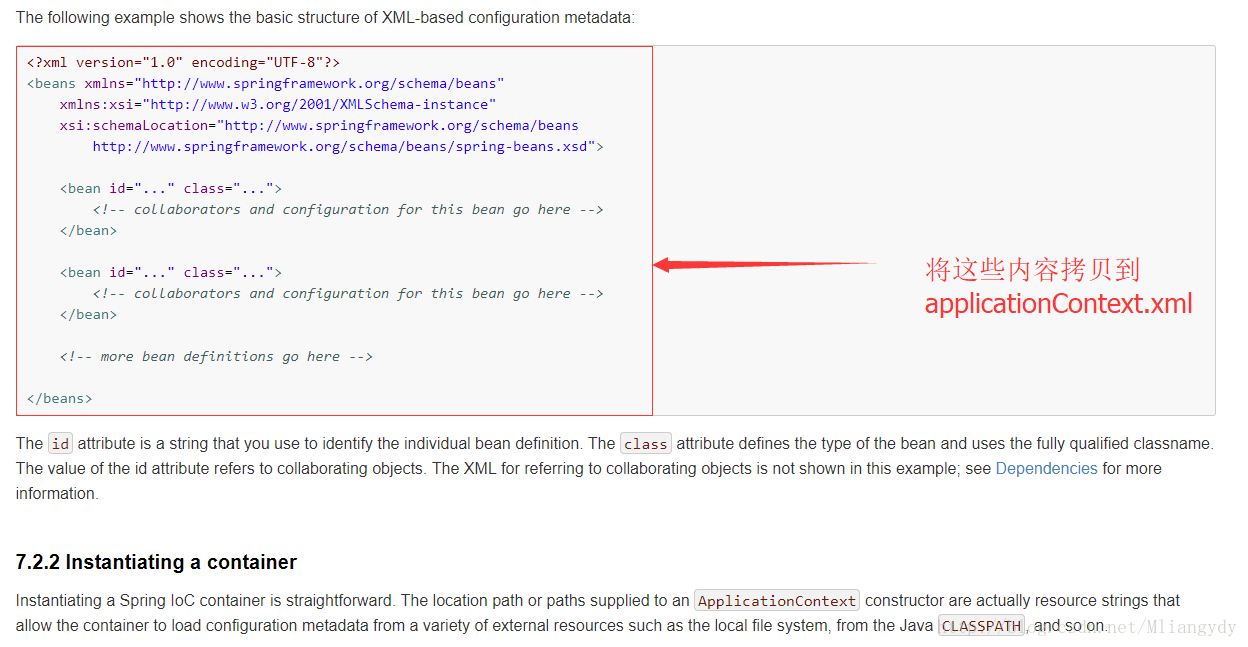
如果找不到的话就拷贝下面的吧!
<?xml version="1.0" encoding="UTF-8"?>
<beans xmlns="http://www.springframework.org/schema/beans"
    xmlns:xsi="http://www.w3.org/2001/XMLSchema-instance"
    xsi:schemaLocation="http://www.springframework.org/schema/beans
        http://www.springframework.org/schema/beans/spring-beans.xsd">

    <bean id="..." class="...">
        <!-- collaborators and configuration for this bean go here -->
    </bean>

    <bean id="..." class="...">
        <!-- collaborators and configuration for this bean go here -->
    </bean>

    <!-- more bean definitions go here -->

</beans>- 将现在不需要的内容去掉,然后填写代码。
<beans xmlns="http://www.springframework.org/schema/beans"
    xmlns:xsi="http://www.w3.org/2001/XMLSchema-instance"
    xsi:schemaLocation="http://www.springframework.org/schema/beans
        http://www.springframework.org/schema/beans/spring-beans.xsd">

    <!-- 配置bean,这里主要配置接口的实现类
       id:给bean取一个名称,方便后面调用,名称不要重复
       class:实现类的完整路径
    -->
    <bean id="haha" class="com.shw.HelloWorld">

    </bean>


</beans>
5.编写测试类
package com.shw;

import org.springframework.context.ApplicationContext;
import org.springframework.context.support.ClassPathXmlApplicationContext;

public class ProTest {
    public static void main(String[] args) {
        ApplicationContext context = new ClassPathXmlApplicationContext("applicationContext.xml");
        // 两个参数:参数1:bean的id,跟配置文件中id的值对应   参数2:指定bean的类型
        HelloWorld hw = context.getBean("haha", HelloWorld.class);
        hw.show();
    }
}当然,这只是比较简单的一个例子,现实中的项目都是操作接口的,比较具体一点的例可以看看GitHub上发布的项目:项目地址


 1423
1423

 被折叠的 条评论
为什么被折叠?
被折叠的 条评论
为什么被折叠?
 到【灌水乐园】发言


