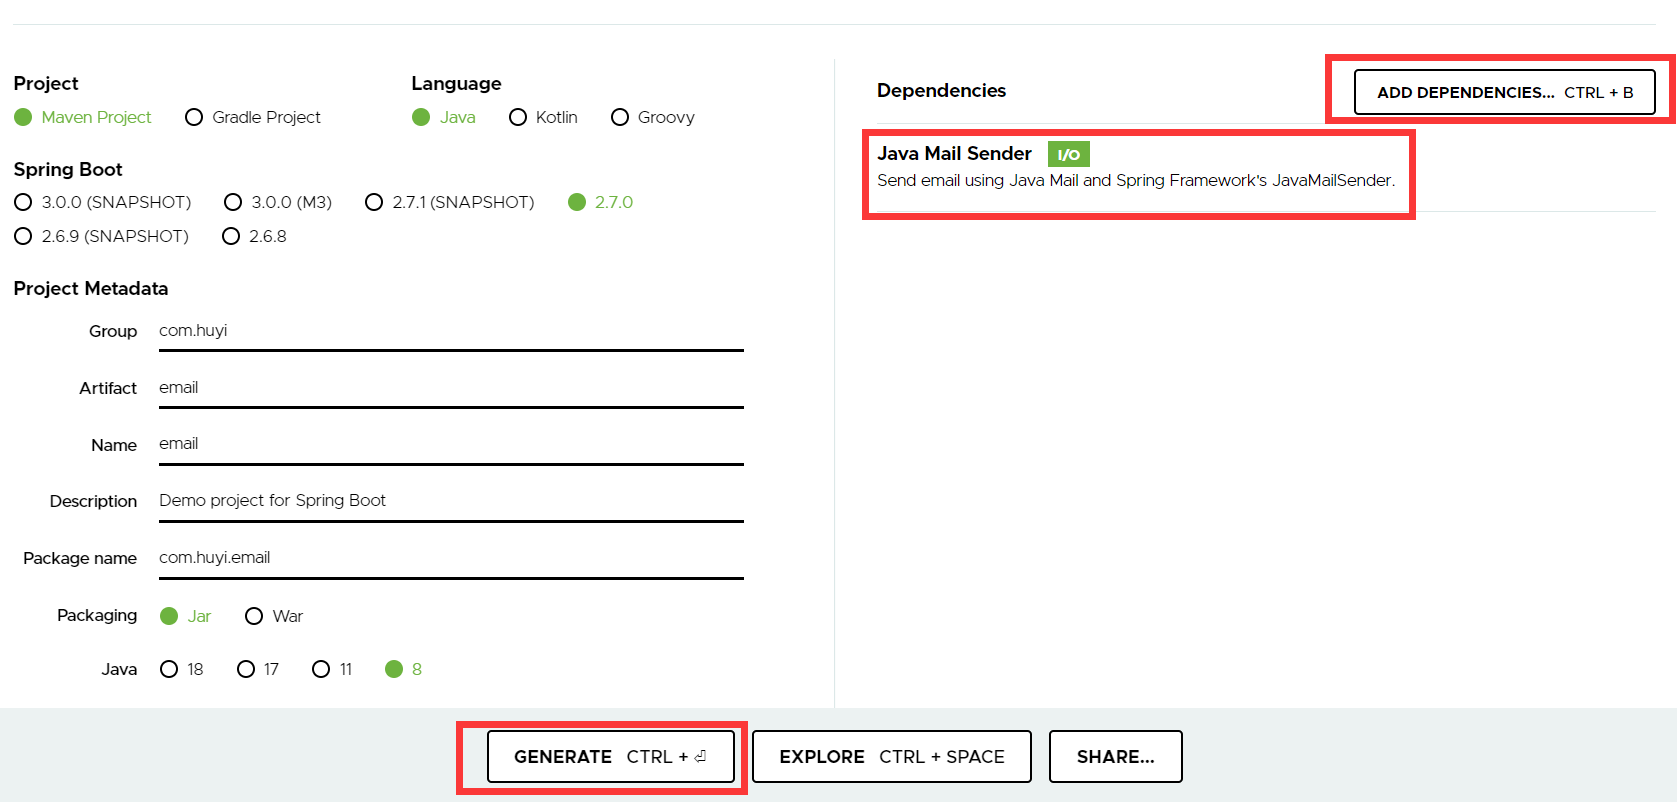
1.创建项目

<dependency>
	<groupId>org.springframework.boot</groupId>
	<artifactId>spring-boot-starter-mail</artifactId>
</dependency>
2.在yml文件中配置Email
spring:
  mail:
    host: smtp.qq.com #邮件服务器
    username: @qq.com #发送邮件邮箱地址
    password: wzvqfidbecaj #QQ客户端授权码
    port: 587 #端口号465-smtps或587-smtp
    from: @qq.com # 发送邮件的地址,和上面username一致
    default-encoding: UTF-8
    protocol: smtp
3.创建EmailService、EmailServiceImpl
package com.cn.config.utils.email;
public interface EmailService {
void sendSimpleMail(String[] to, String subject, String content);
}
@Service
public class EmailServiceImpl implements EmailService {
@Resource
private JavaMailSender javaMailSender;
@Value("${spring.mail.from}")
private String from;
@Override
public void sendSimpleMail(String[] to, String subject, String content) {
SimpleMailMessage message = new SimpleMailMessage();
message.setFrom(from);
message.setTo(to);
message.setSubject(subject);
message.setText(content);
javaMailSender.send(message);
}
4.测试
package com.cn.test;
import com.cn.config.utils.email.EmailService;
import org.junit.jupiter.api.Test;
import org.springframework.beans.factory.annotation.Autowired;
import org.springframework.boot.test.context.SpringBootTest;
@SpringBootTest
public class EmailTest {
private String[] to =new String[]{"@qq.com","@qq.com"};
@Autowired
private EmailService emailService;
@Test
public void sendSimpleEmail(){
String content = "我知道,你是一个野生的程序猿";
emailService.sendSimpleMail(to,"HelloEmail",content);
}
}


 本文介绍了如何在Spring Boot项目中配置并使用邮件服务。首先,在pom.xml中添加spring-boot-starter-mail依赖。接着,在application.yml配置邮件服务器的相关信息,如SMTP主机、端口、用户名、密码等。然后,创建EmailService接口和其实现类EmailServiceImpl,实现发送简单邮件的功能。最后,通过单元测试发送邮件,验证配置和功能的正确性。


 1915
1915

 被折叠的 条评论
为什么被折叠?


