


文章目录
Springboot勾选相关依赖后可以直接使用SpringMVC和Spring,因此我们只需要学会整合Mybatis就可以了。接下来我们学习如何整合Mybatis。
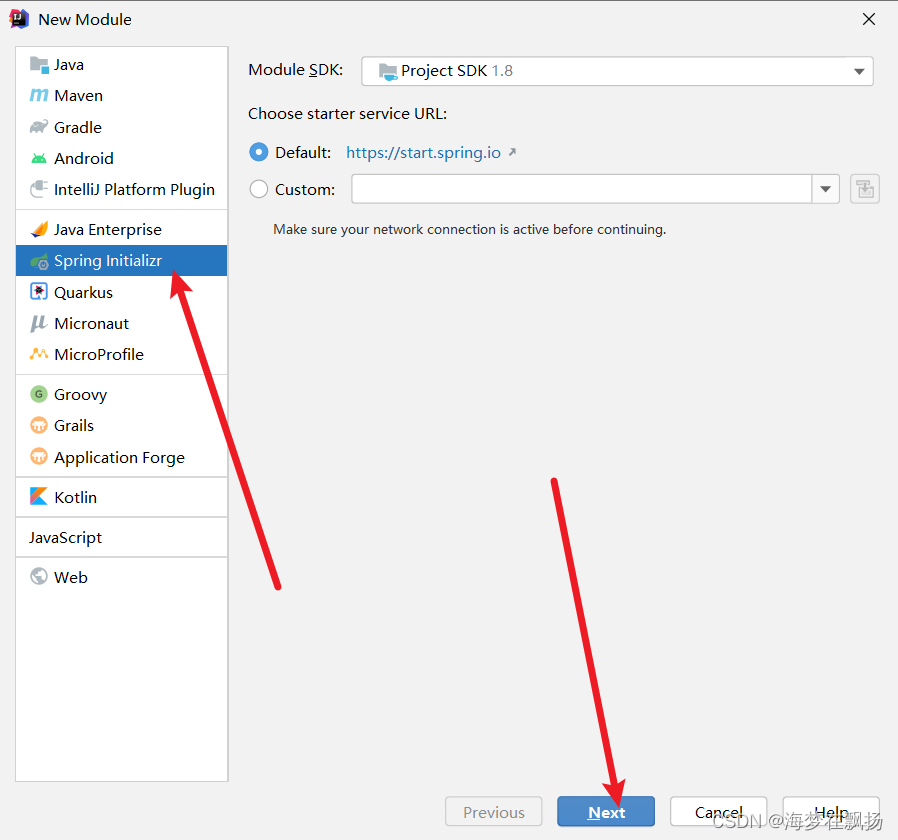
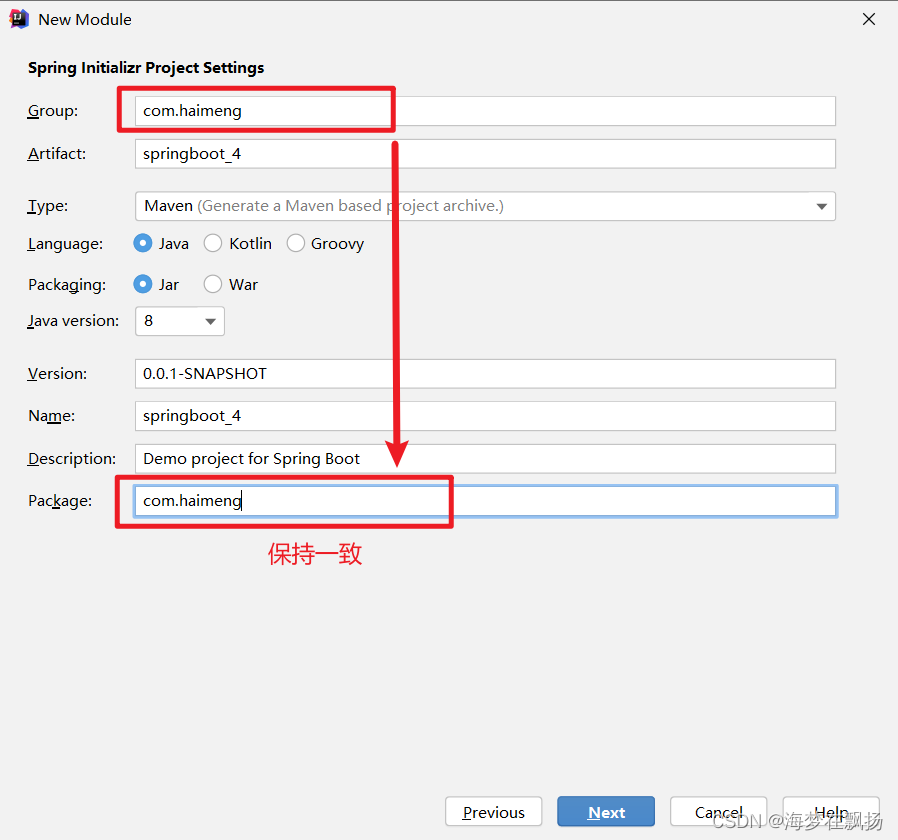
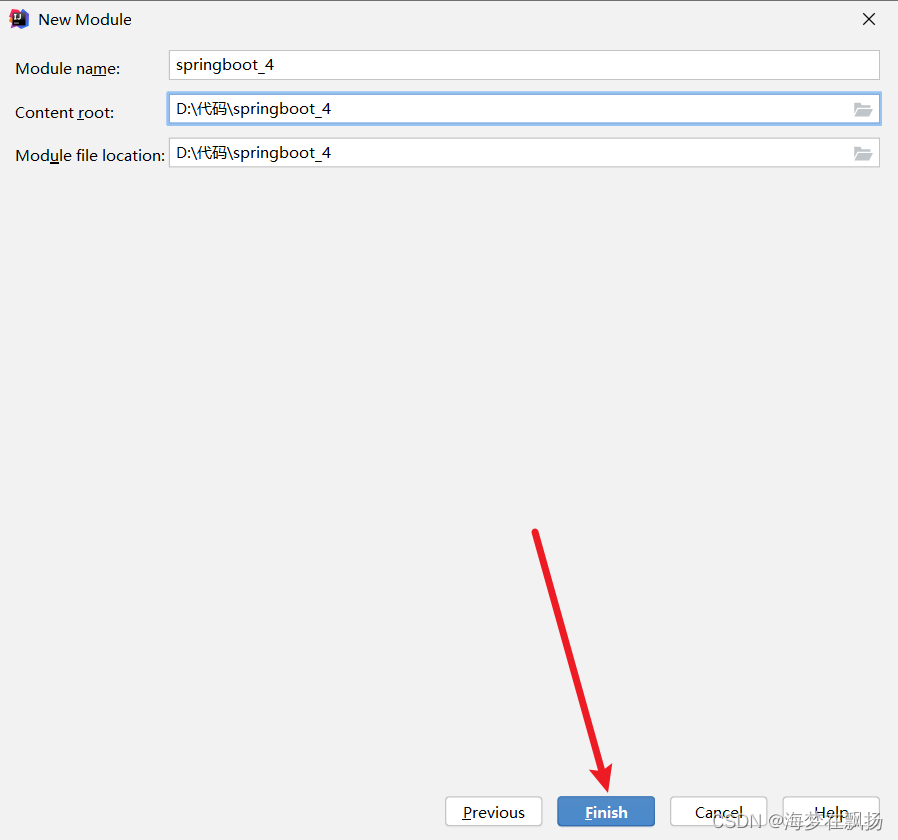
1、创建springboot项目
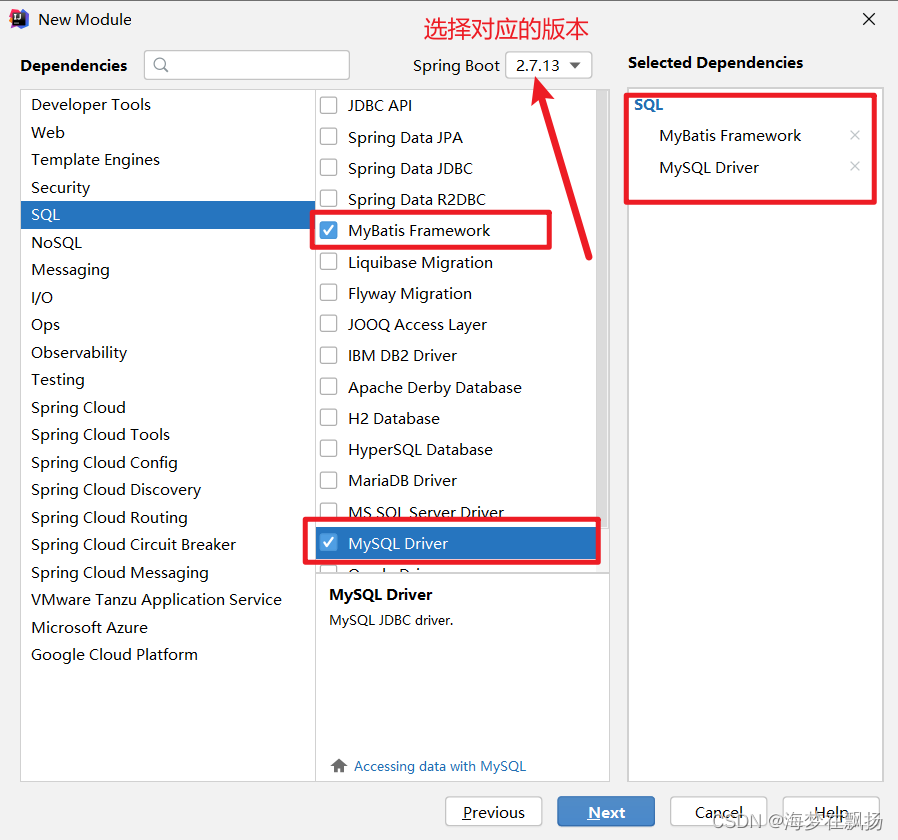
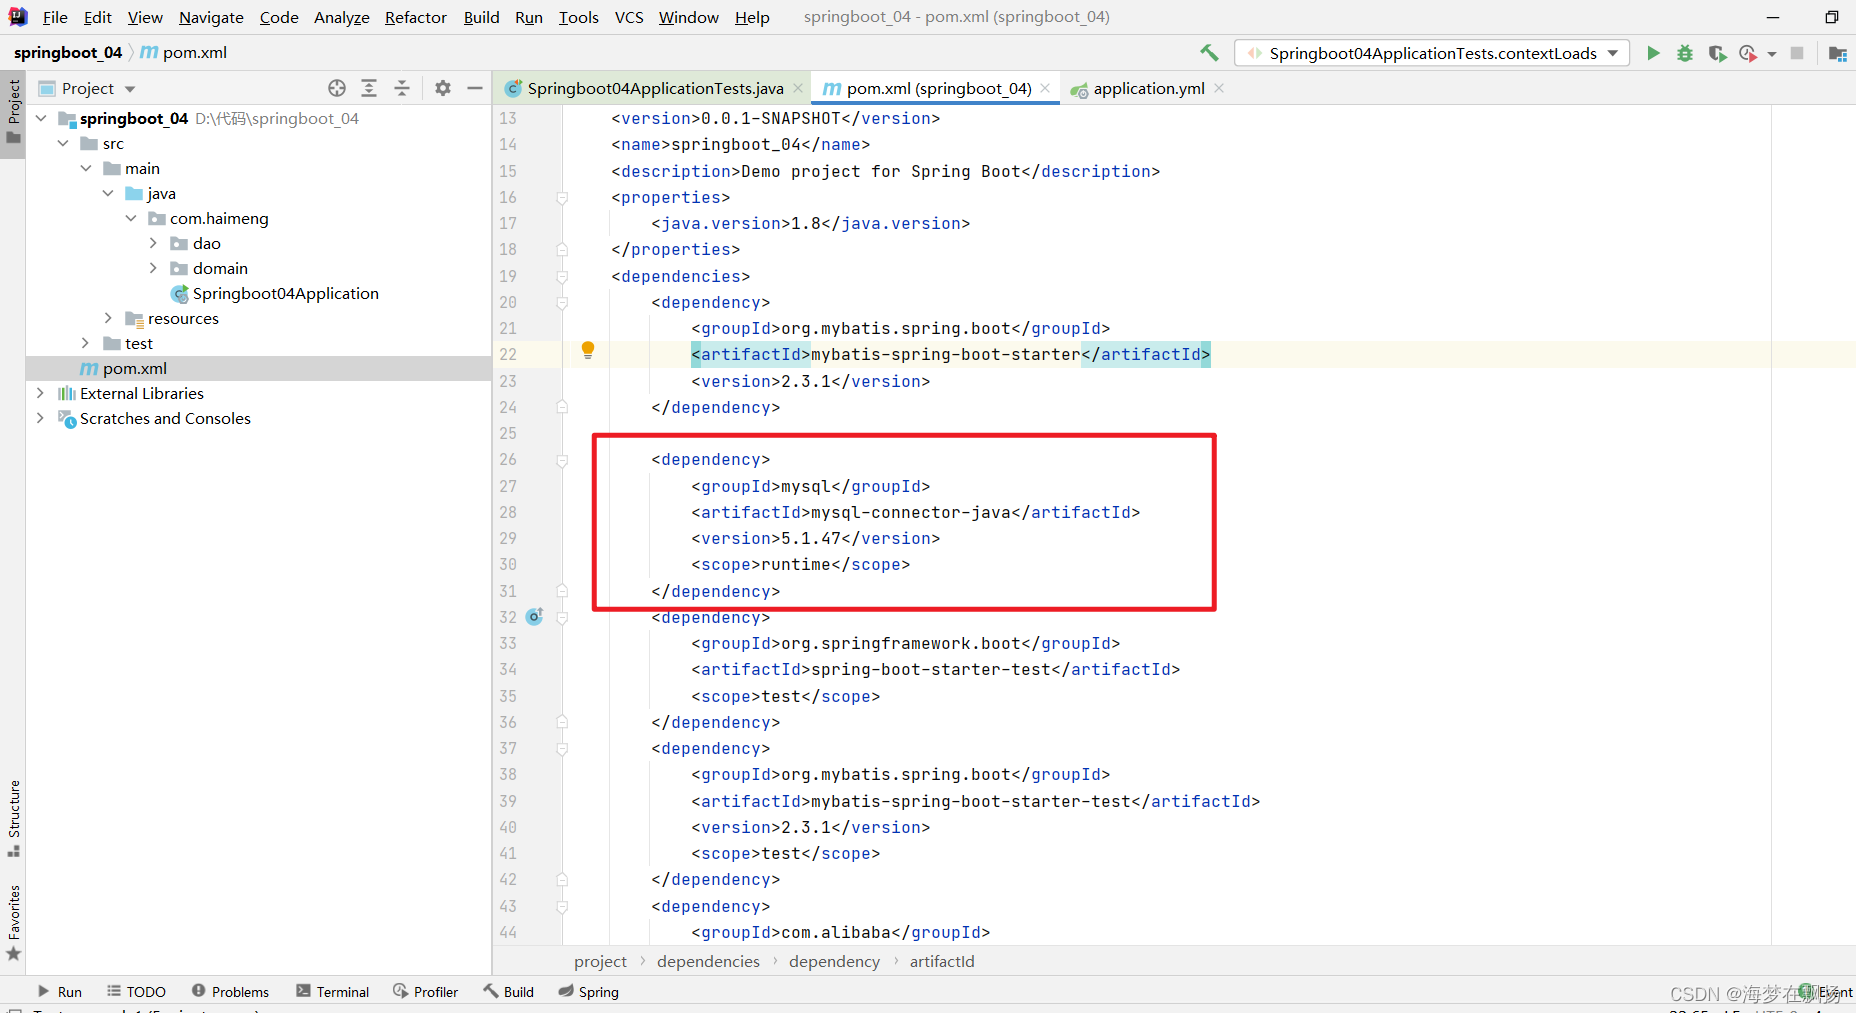
2、配置相关依赖
因为我的MySQL使用的是5.0的版本所以我在这里要添加具体的版本。我们根据自己的MySQL版本进行更改,如果是8.0的MySQL是不需要更改的,可以直接用。
3、配置实体类和相应的数据库表
1、创建Book实体类
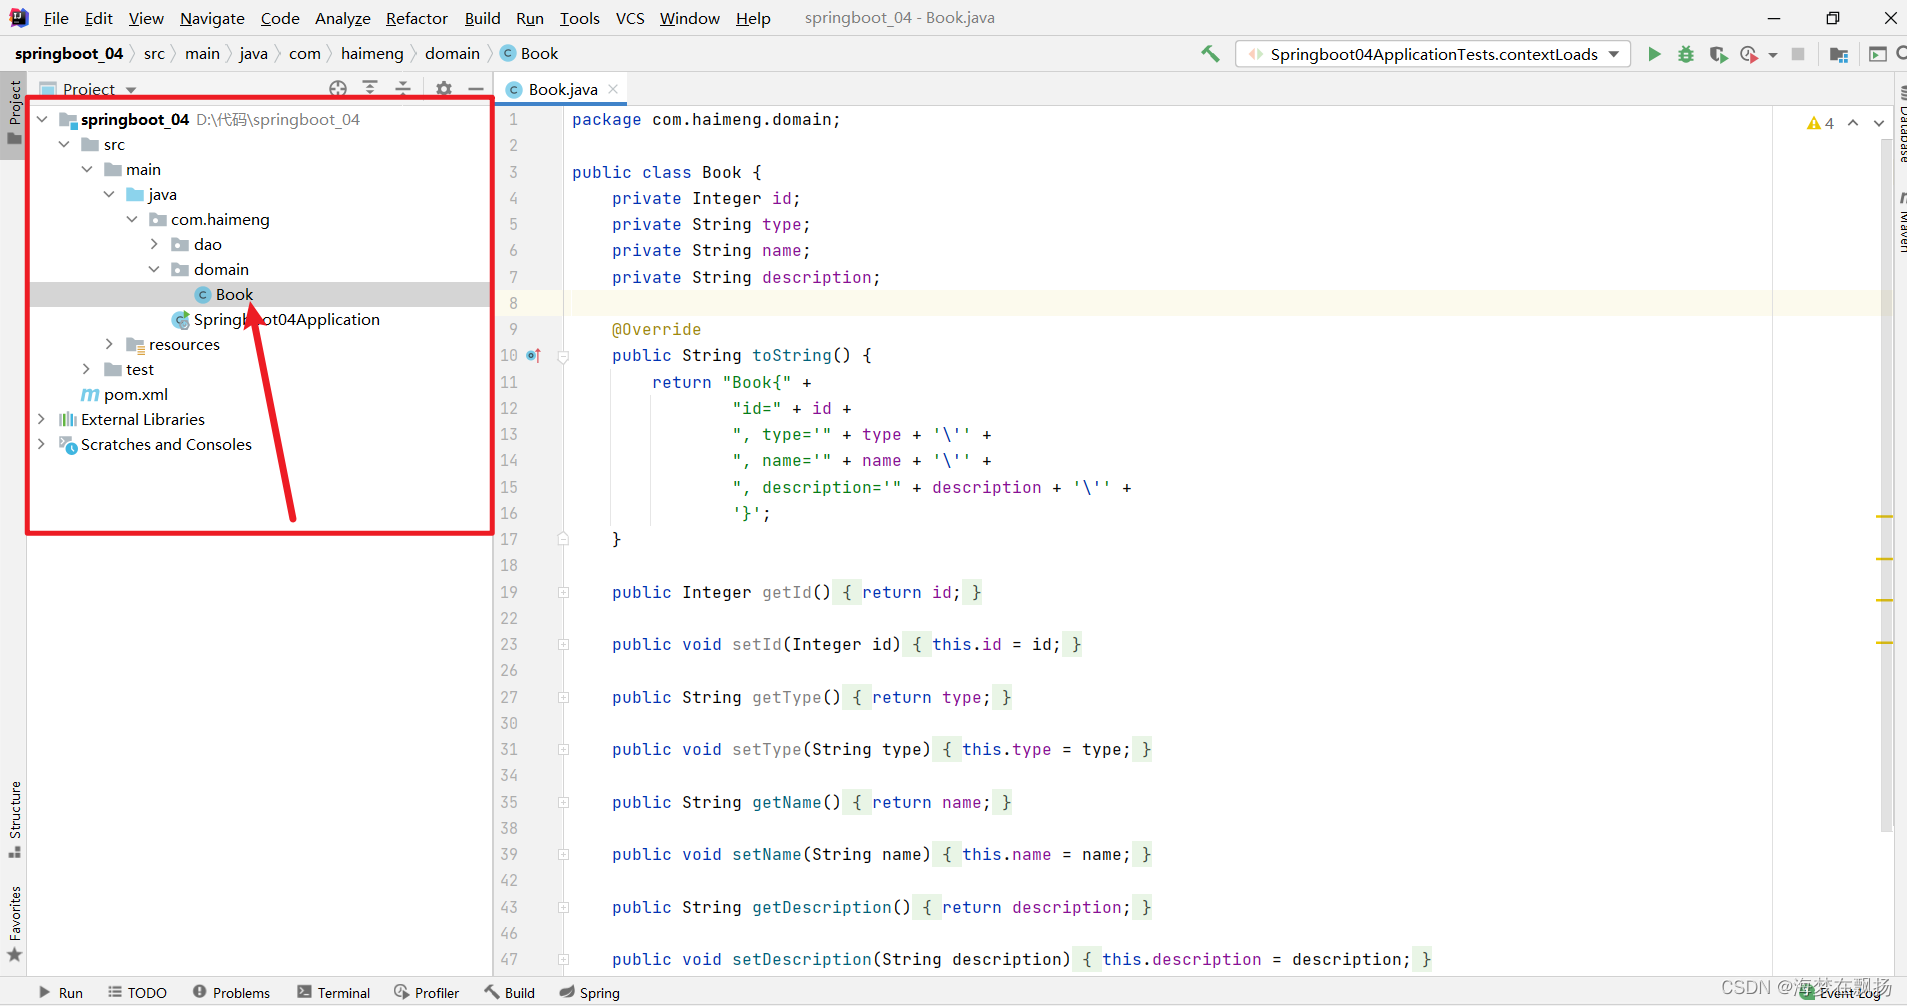
package com.haimeng.domain;

public class Book {
    private Integer id;
    private String type;
    private String name;
    private String description;

    @Override
    public String toString() {
        return "Book{" +
                "id=" + id +
                ", type='" + type + '\'' +
                ", name='" + name + '\'' +
                ", description='" + description + '\'' +
                '}';
    }

    public Integer getId() {
        return id;
    }

    public void setId(Integer id) {
        this.id = id;
    }

    public String getType() {
        return type;
    }

    public void setType(String type) {
        this.type = type;
    }

    public String getName() {
        return name;
    }

    public void setName(String name) {
        this.name = name;
    }

    public String getDescription() {
        return description;
    }

    public void setDescription(String description) {
        this.description = description;
    }
}
2、创建相应的数据库表(tbl_book)
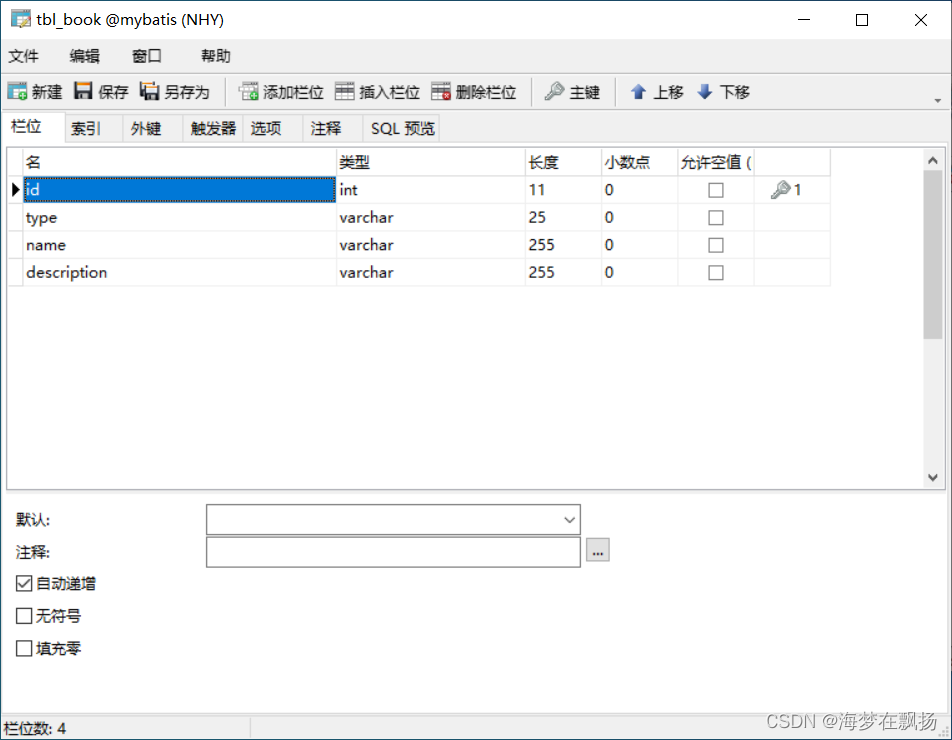
我这tbl_book表格是在数据库mybatis下面,我们可以根据自己的喜好来创建数据库表格,等下我们还要配置数据库信息。
4、创建Dao接口
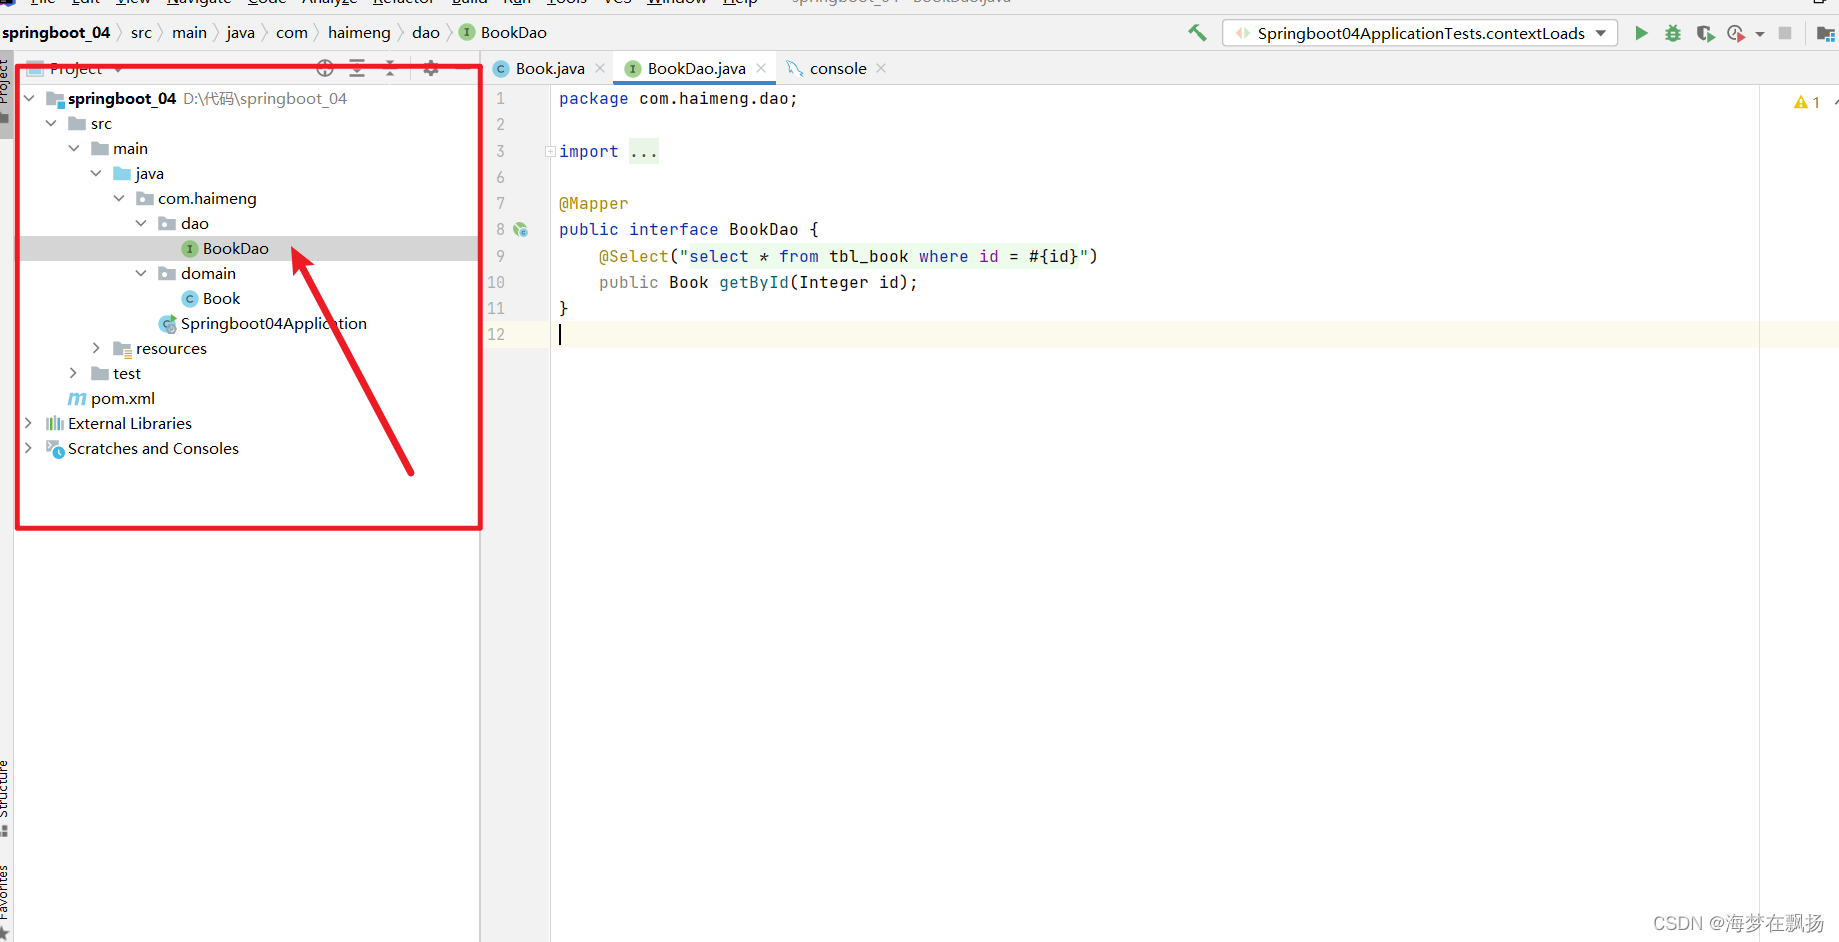
package com.haimeng.dao;

import com.haimeng.domain.Book;
import org.apache.ibatis.annotations.Mapper;
import org.apache.ibatis.annotations.Select;

@Mapper
public interface BookDao {
    @Select("select * from tbl_book where id = #{id}")
    public Book getById(Integer id);
}
5、配置配置文件
修改配置文件的名字为application.yml
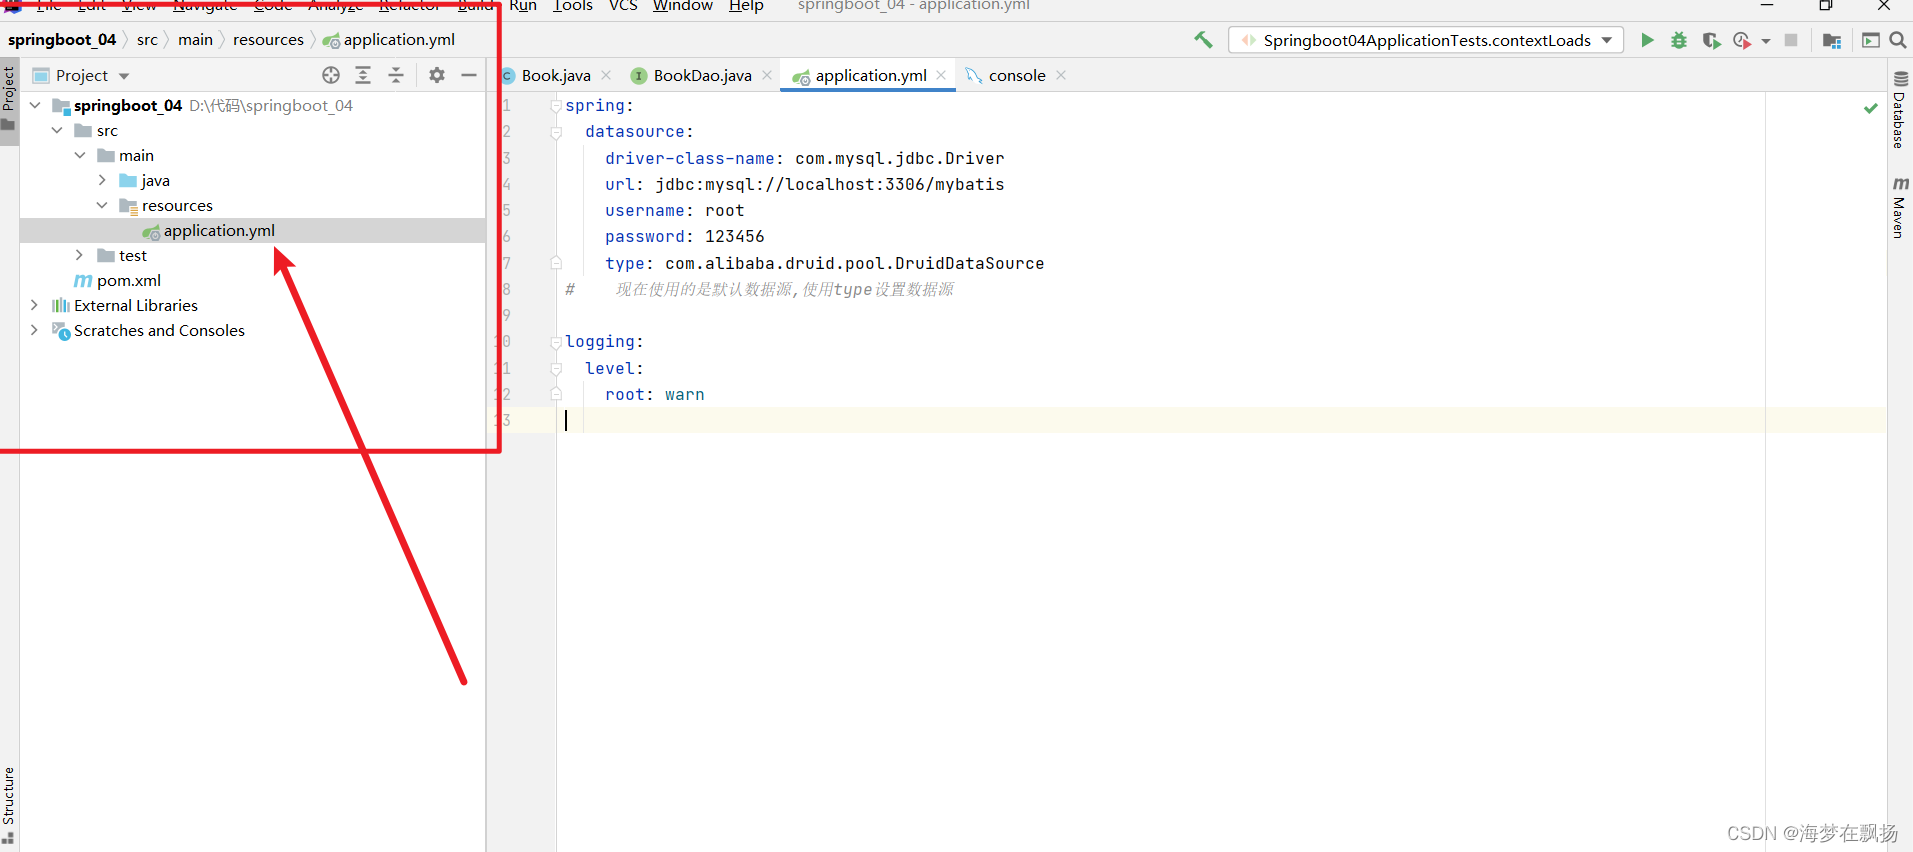
spring:
  datasource:
    driver-class-name: com.mysql.jdbc.Driver
    url: jdbc:mysql://localhost:3306/mybatis
    username: root
    password: 123456
#    type: com.alibaba.druid.pool.DruidDataSource
#    现在使用的是默认数据源,使用type设置数据源
#	 在使用之前要导入相关的数据源依赖
# 	 druid相关依赖
#		<dependency>
#            <groupId>com.alibaba</groupId>
#            <artifactId>druid</artifactId>
#            <version>1.1.16</version>
#       </dependency>


#设置日志信息
logging:
  level:
    root: warn
6、进行测试
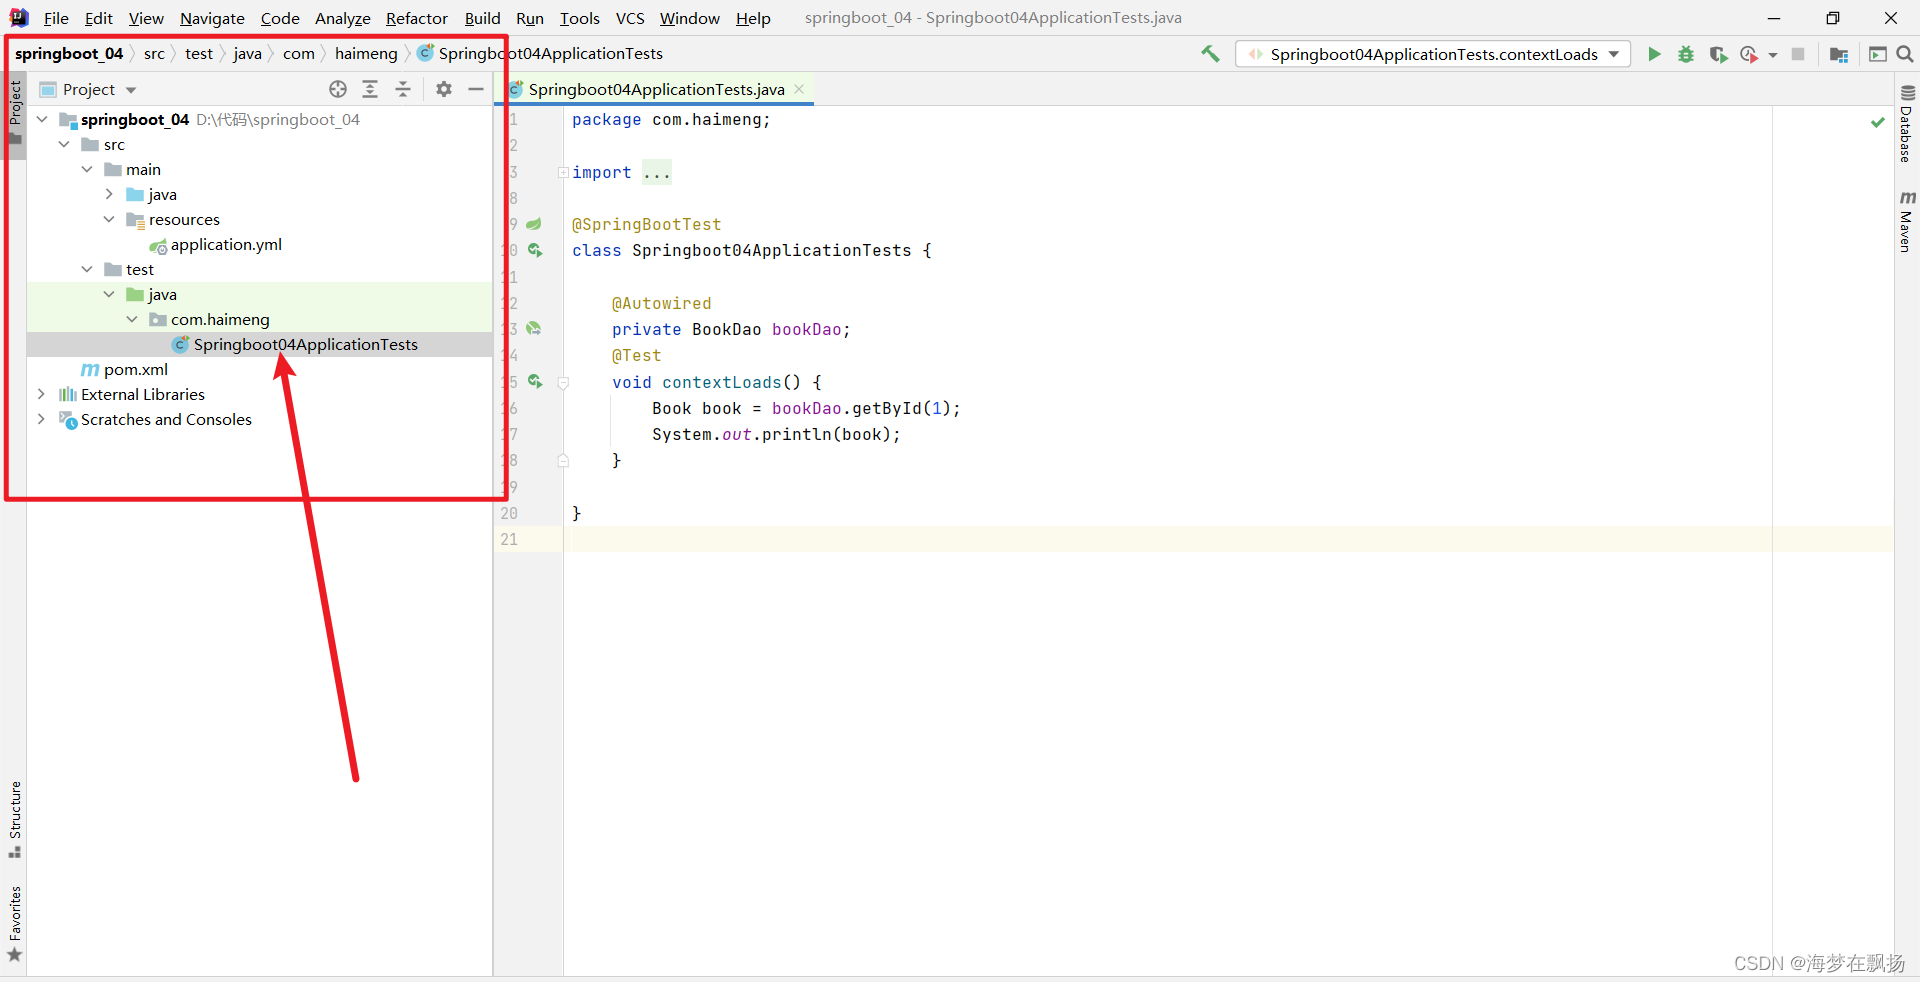
package com.haimeng;

import com.haimeng.dao.BookDao;
import com.haimeng.domain.Book;
import org.junit.jupiter.api.Test;
import org.springframework.beans.factory.annotation.Autowired;
import org.springframework.boot.test.context.SpringBootTest;

@SpringBootTest
class Springboot04ApplicationTests {

    @Autowired
    private BookDao bookDao;
    @Test
    void contextLoads() {
        Book book = bookDao.getById(1);
        System.out.println(book);
    }

}
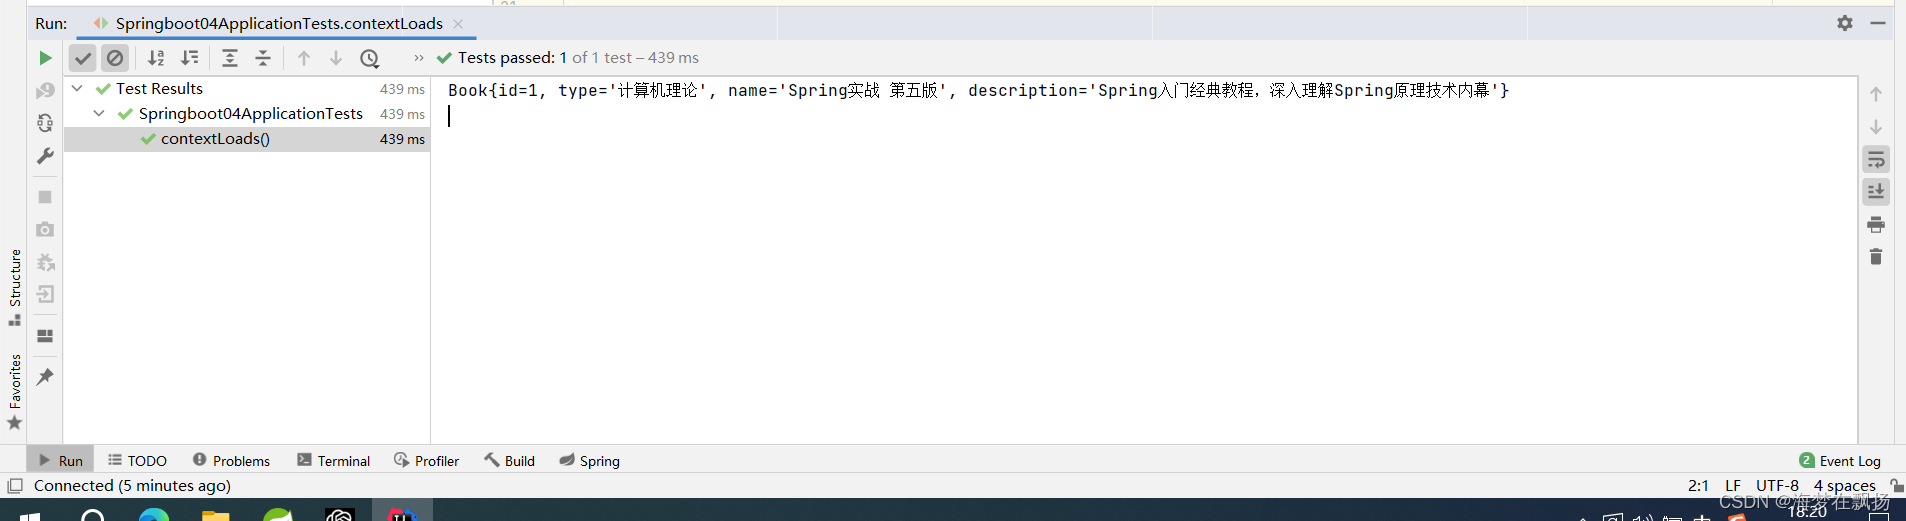
7、测试结果
在测试前,我们应在数据库中添加一条数据


 589
589


 被折叠的 条评论
为什么被折叠?
被折叠的 条评论
为什么被折叠?
 到【灌水乐园】发言


