


Qt安装for MAC
对于Mac用户,首先应下载Xcode(下载过的请忽略)
然后打开终端安装homebrew
/usr/bin/ruby -e "$(curl -fsSL https://raw.githubusercontent.com/Homebrew/install/master/install)"
好目前准备工作就算是完成了。
1.终端安装Qt
brew install qt
此步骤安装完成后,终端会显示安装完成后的最终目录
/usr/local/opt/qt
1.1下载并安装qt-creator
有两种方法
- 使用homebrew
brew install qt-creator
- 手动安装
选择需要的版本下载即可
http://download.qt.io/official_releases/qtcreator/
1.3.配置
上面两条命令之间是没有关联的,后装的qt-creator不会自动检测到前面的qt(qt这个包是QT开发工具链),所以需要配置。
通过brew info qt命令,查看详情
qt: stable 5.14.0 (bottled), HEAD [keg-only]
Cross-platform application and UI framework
https://www.qt.io/
/usr/local/Cellar/qt/5.14.0 (10,381 files, 363.2MB)
  Poured from bottle on 2020-02-08 at 21:22:10
From: https://github.com/Homebrew/homebrew-core/blob/master/Formula/qt.rb
==> Dependencies
Build: pkg-config ✔
==> Requirements
Build: xcode ✔
Required: macOS >= 10.12 ✔
==> Options
--HEAD
	Install HEAD version
==> Caveats
We agreed to the Qt open source license for you.
If this is unacceptable you should uninstall.

qt is keg-only, which means it was not symlinked into /usr/local,
because Qt 5 has CMake issues when linked.

If you need to have qt first in your PATH run:
  echo 'export PATH="/usr/local/opt/qt/bin:$PATH"' >> ~/.bash_profile

For compilers to find qt you may need to set:
  export LDFLAGS="-L/usr/local/opt/qt/lib"
  export CPPFLAGS="-I/usr/local/opt/qt/include"

For pkg-config to find qt you may need to set:
  export PKG_CONFIG_PATH="/usr/local/opt/qt/lib/pkgconfig"

==> Analytics
install: 66,443 (30 days), 179,407 (90 days), 699,250 (365 days)
install-on-request: 18,790 (30 days), 50,254 (90 days), 192,728 (365 days)
build-error: 0 (30 days)
1.4.问题
-
安装完成后,创建新的项目出现错误
No valid kits found.,
原因: qtcreator 无法选择Qt版本导致,此时我们需要添加qt版本。
解决方法: 打开qtcreator的偏好设置-Kits-QT versions,点击添加,找到/usr/local/Cellar/qt/5.14.0/bin/qmake文件,添加进去,然后在构建套件的QT 版本选项选择添加的版本即可。 -
运行项目后报错 Project ERROR: failed to parse default search paths from compiler output.
解决方法: 打开qtcreator的偏好设置-Kits,在构建套件(kit)选项栏,选中桌面,将编译器由gcc修改编译器为Clang。
2.dmg安装
2.1下载dmg
下载相应版本的qt.dmg
QT.dmg下载地址
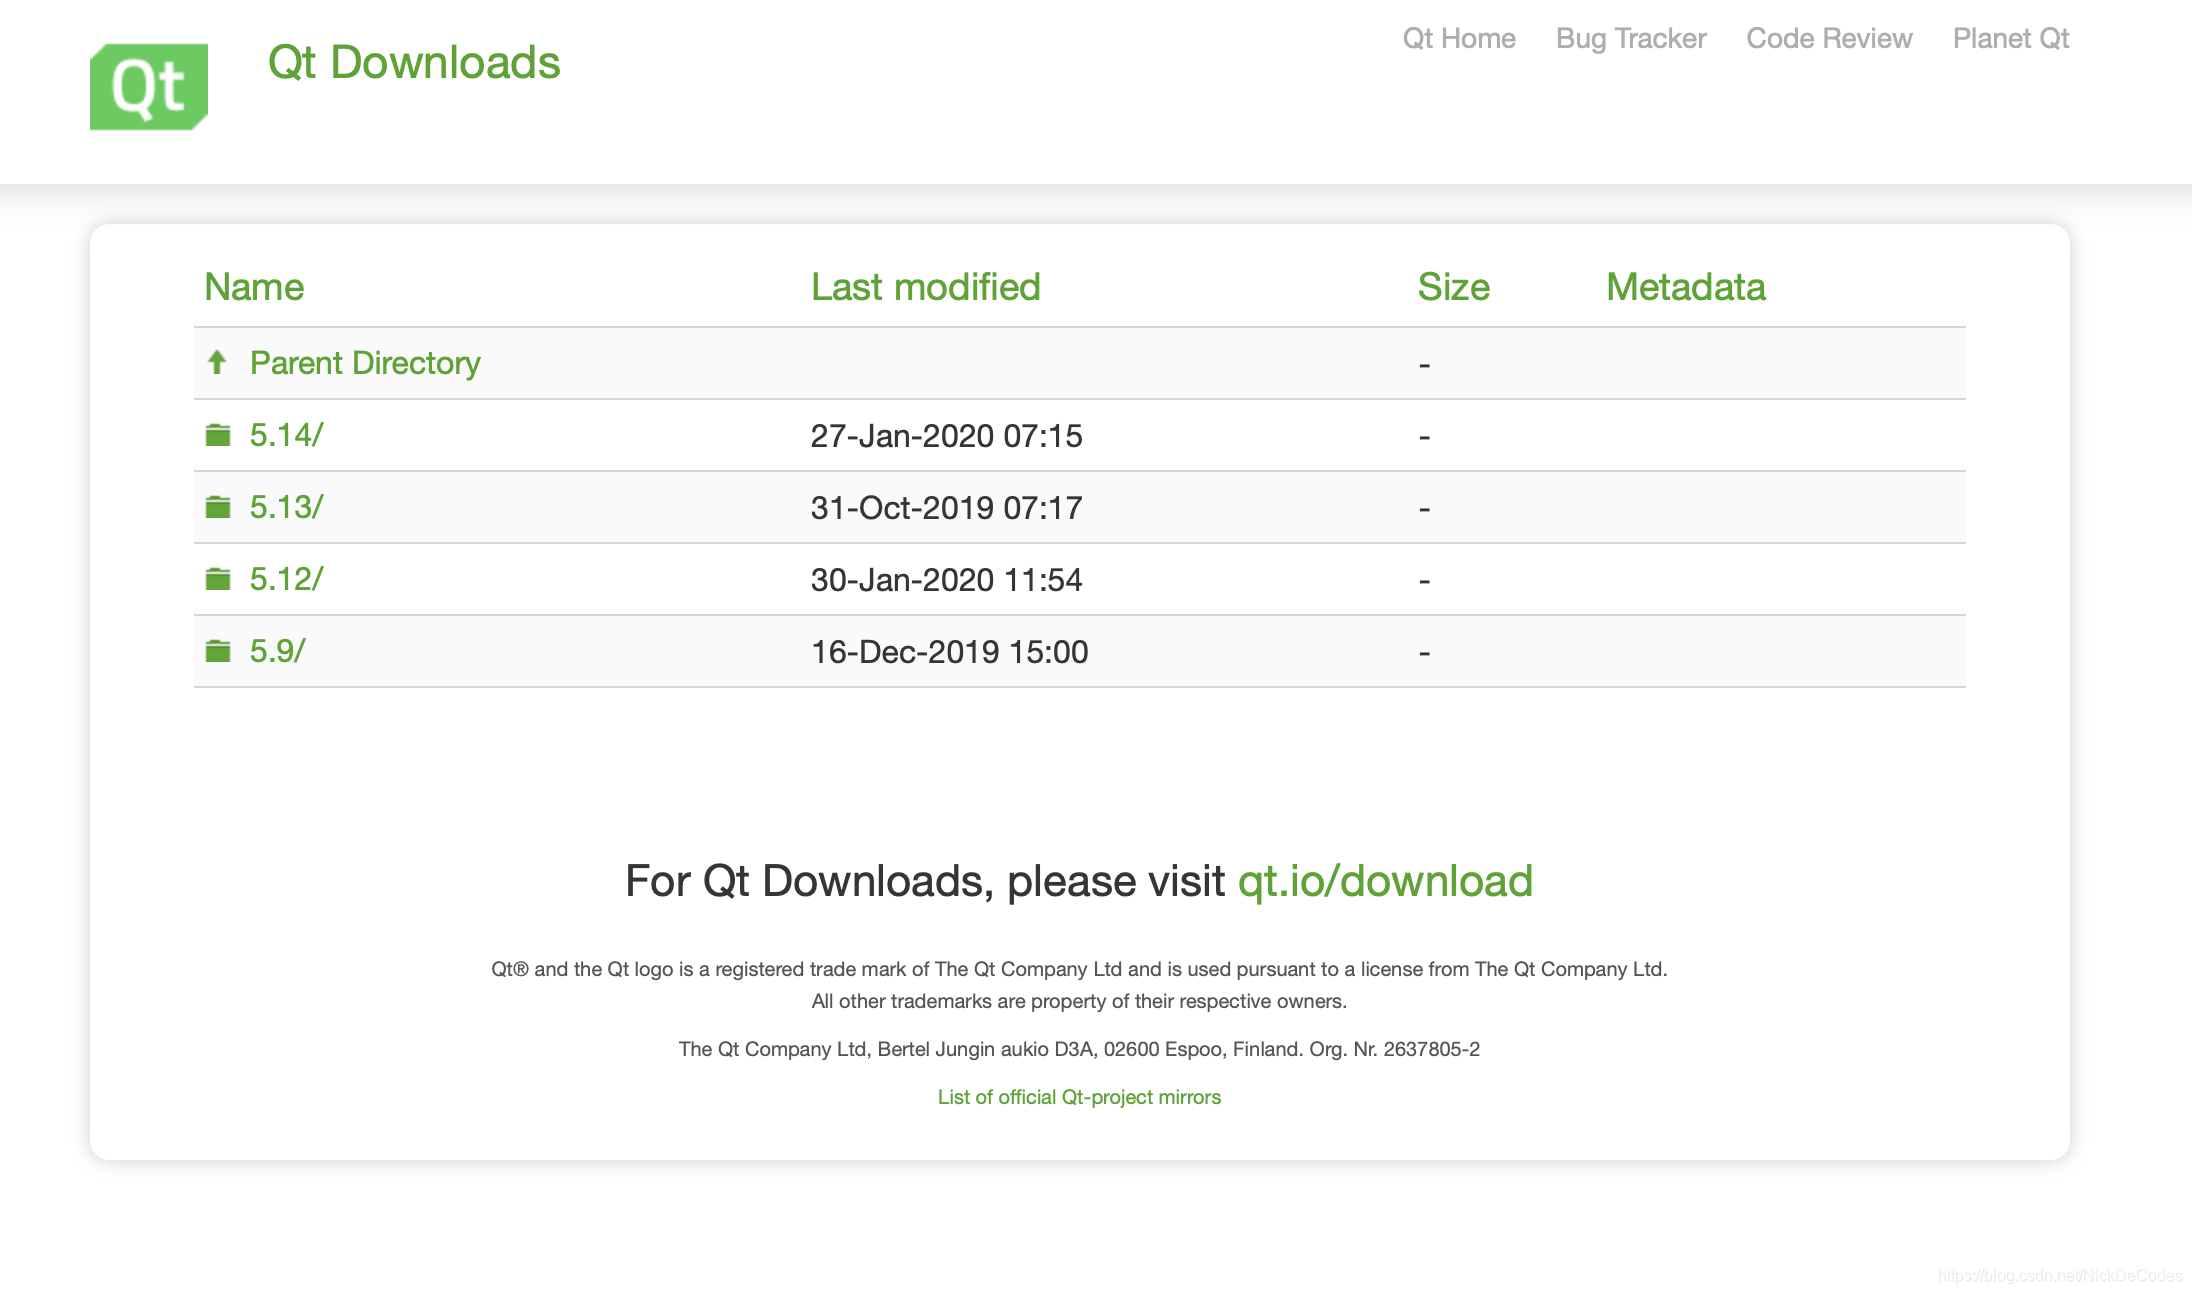
选择Mac64位版本下载

2.2安装
下载完成后进行解压安装

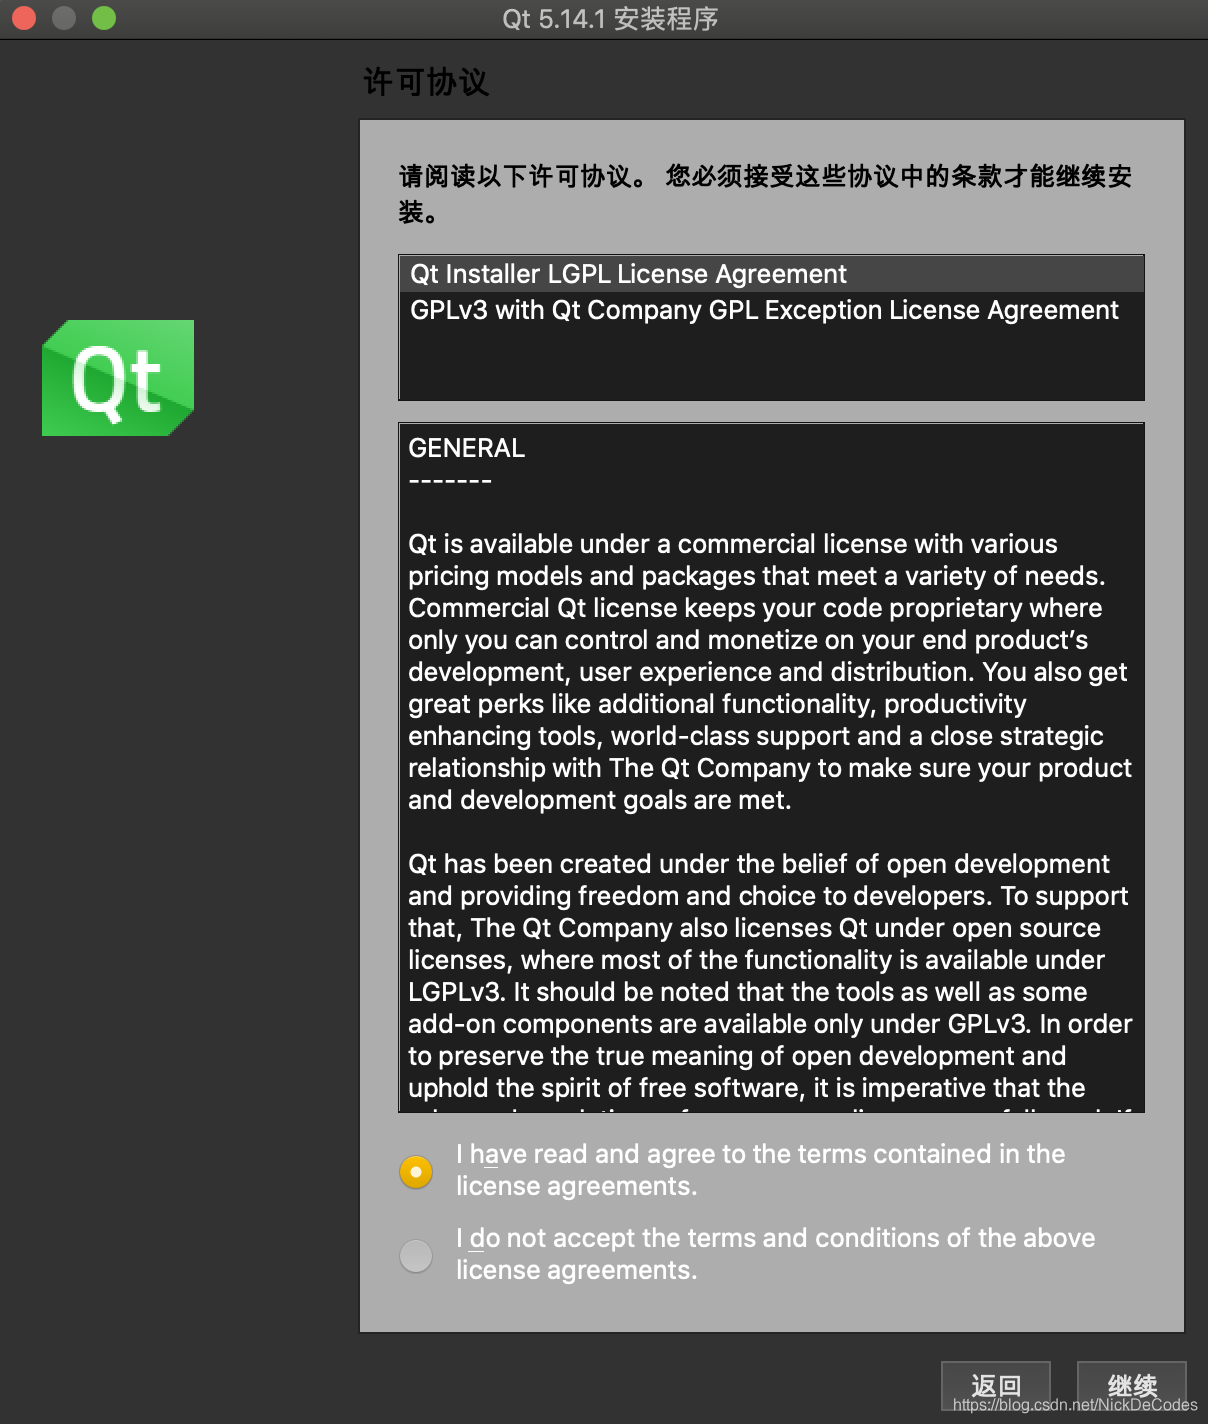
双击打开

下一步
这里呢需要登陆你的QT账户
没有可以新建一个账户
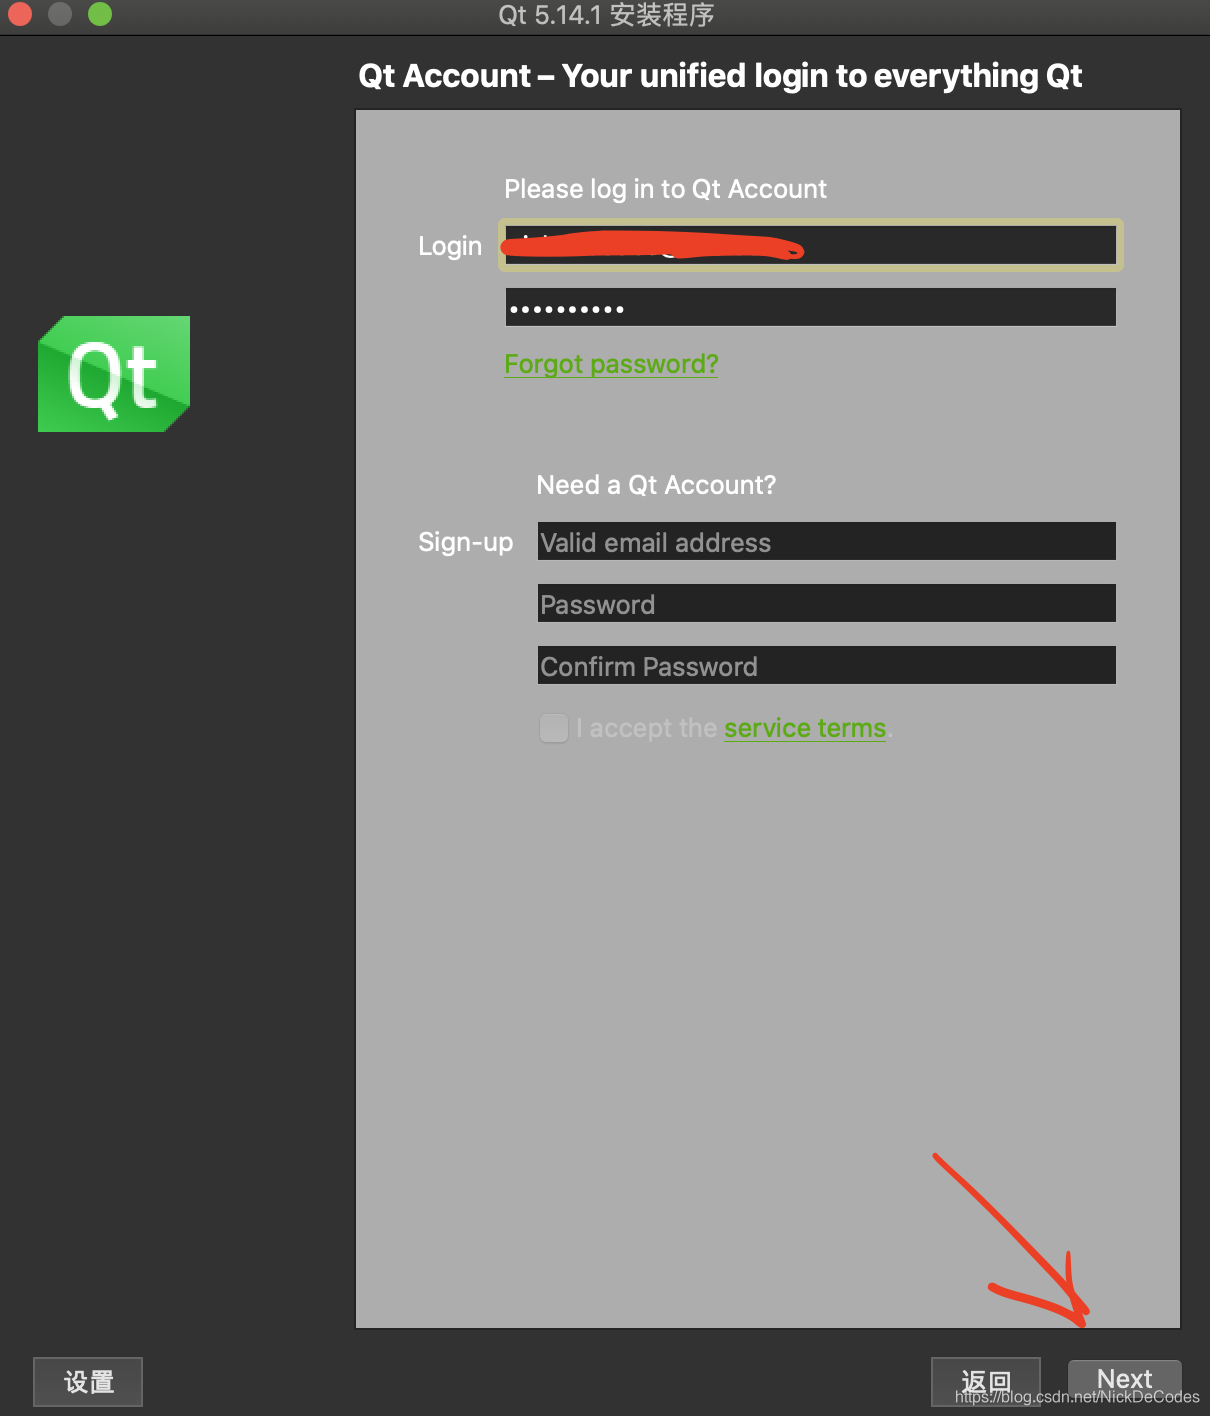
下一步
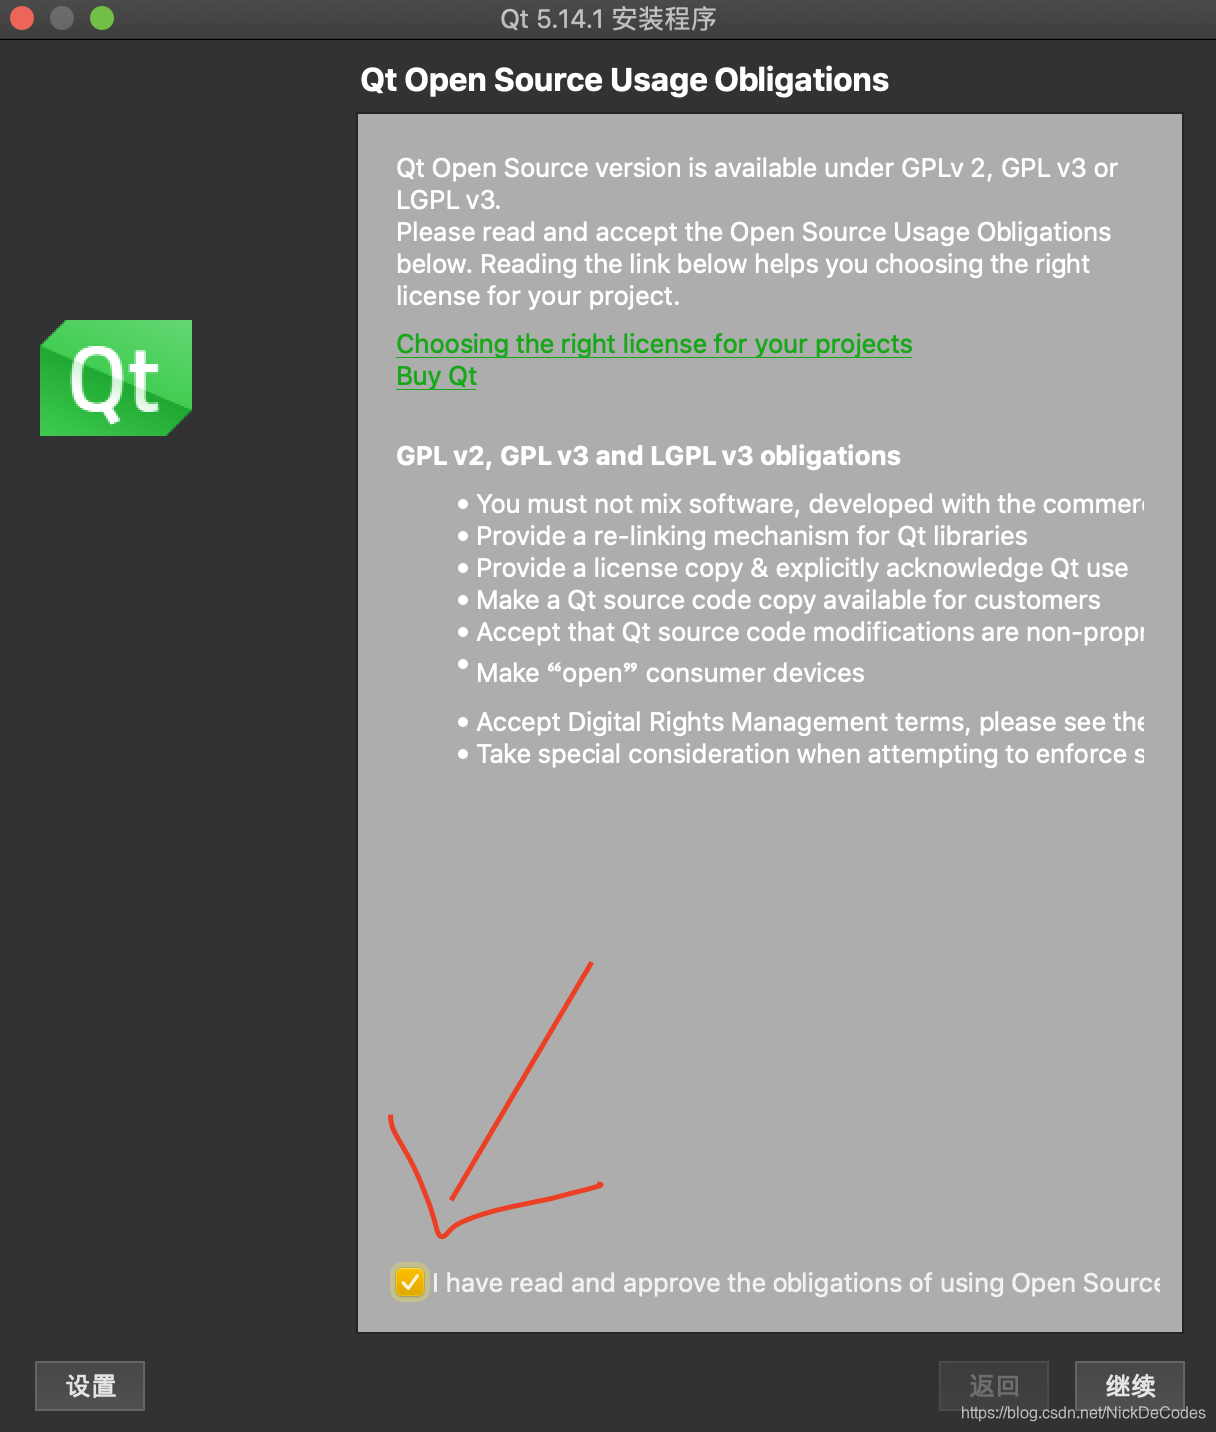
点击选项,继续
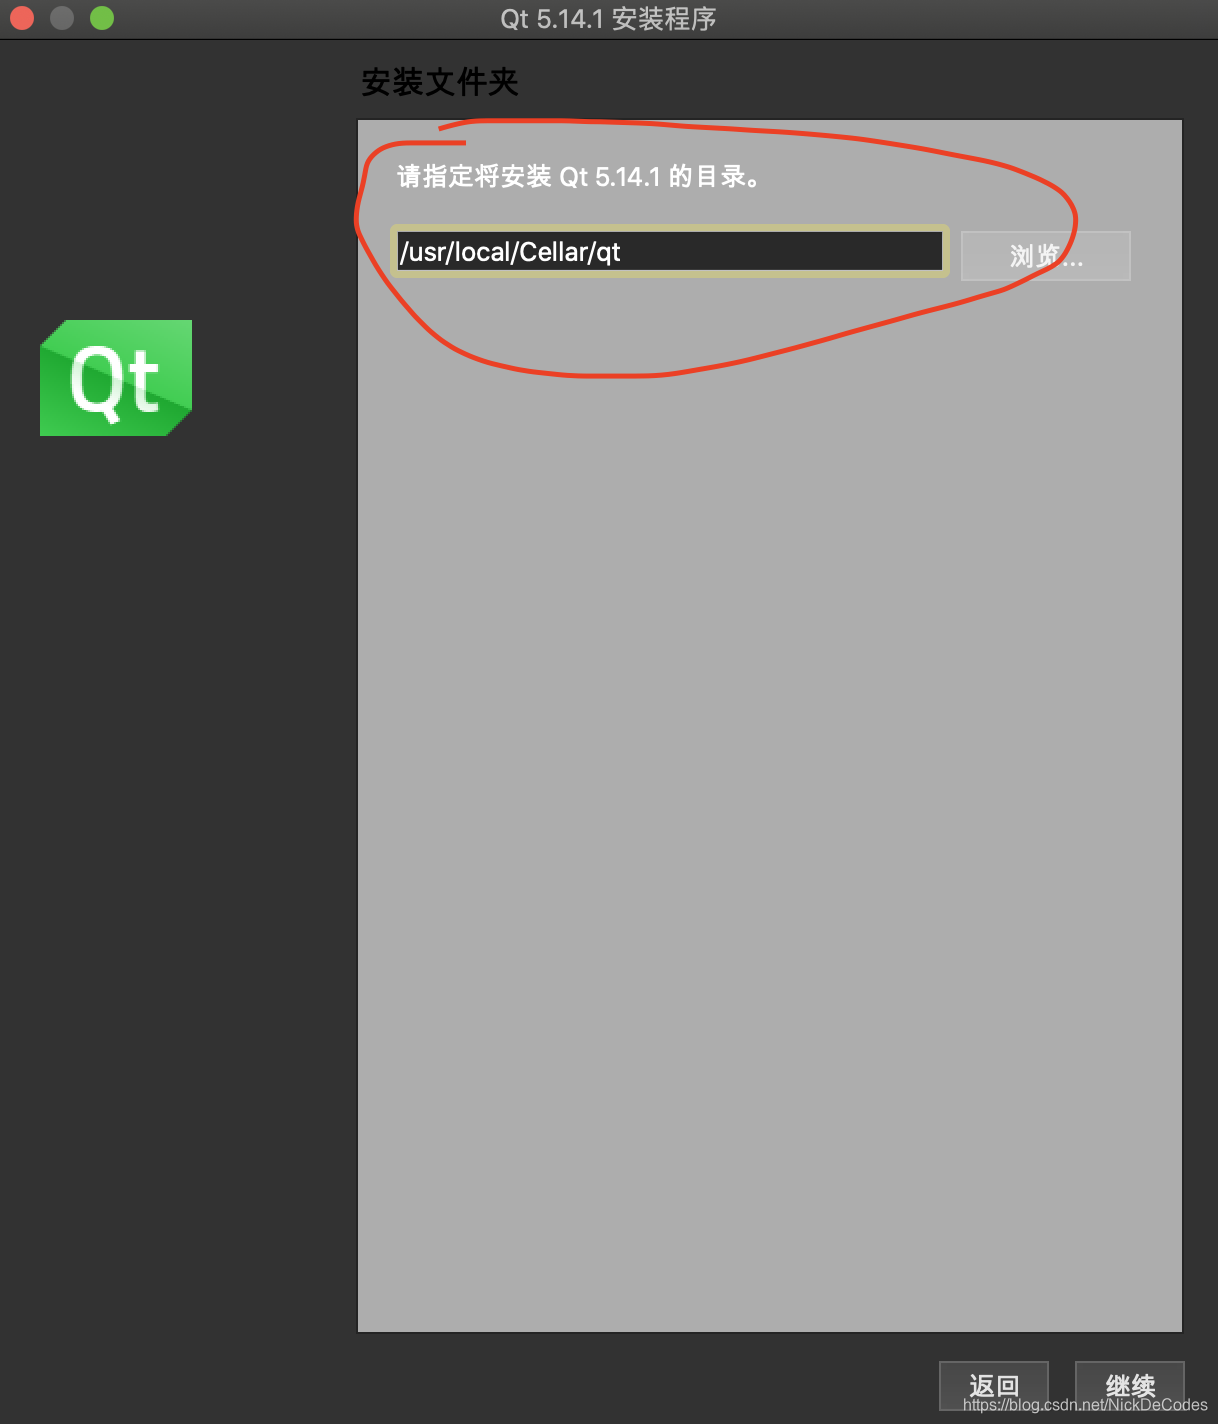
这里呢,选择安装目录很重要,我们选择安装在path路径下,避免修改路径
当然也可以模拟brew安装放在/usr/local/opt/目录下
继续
选择安装组建,这里可以参考
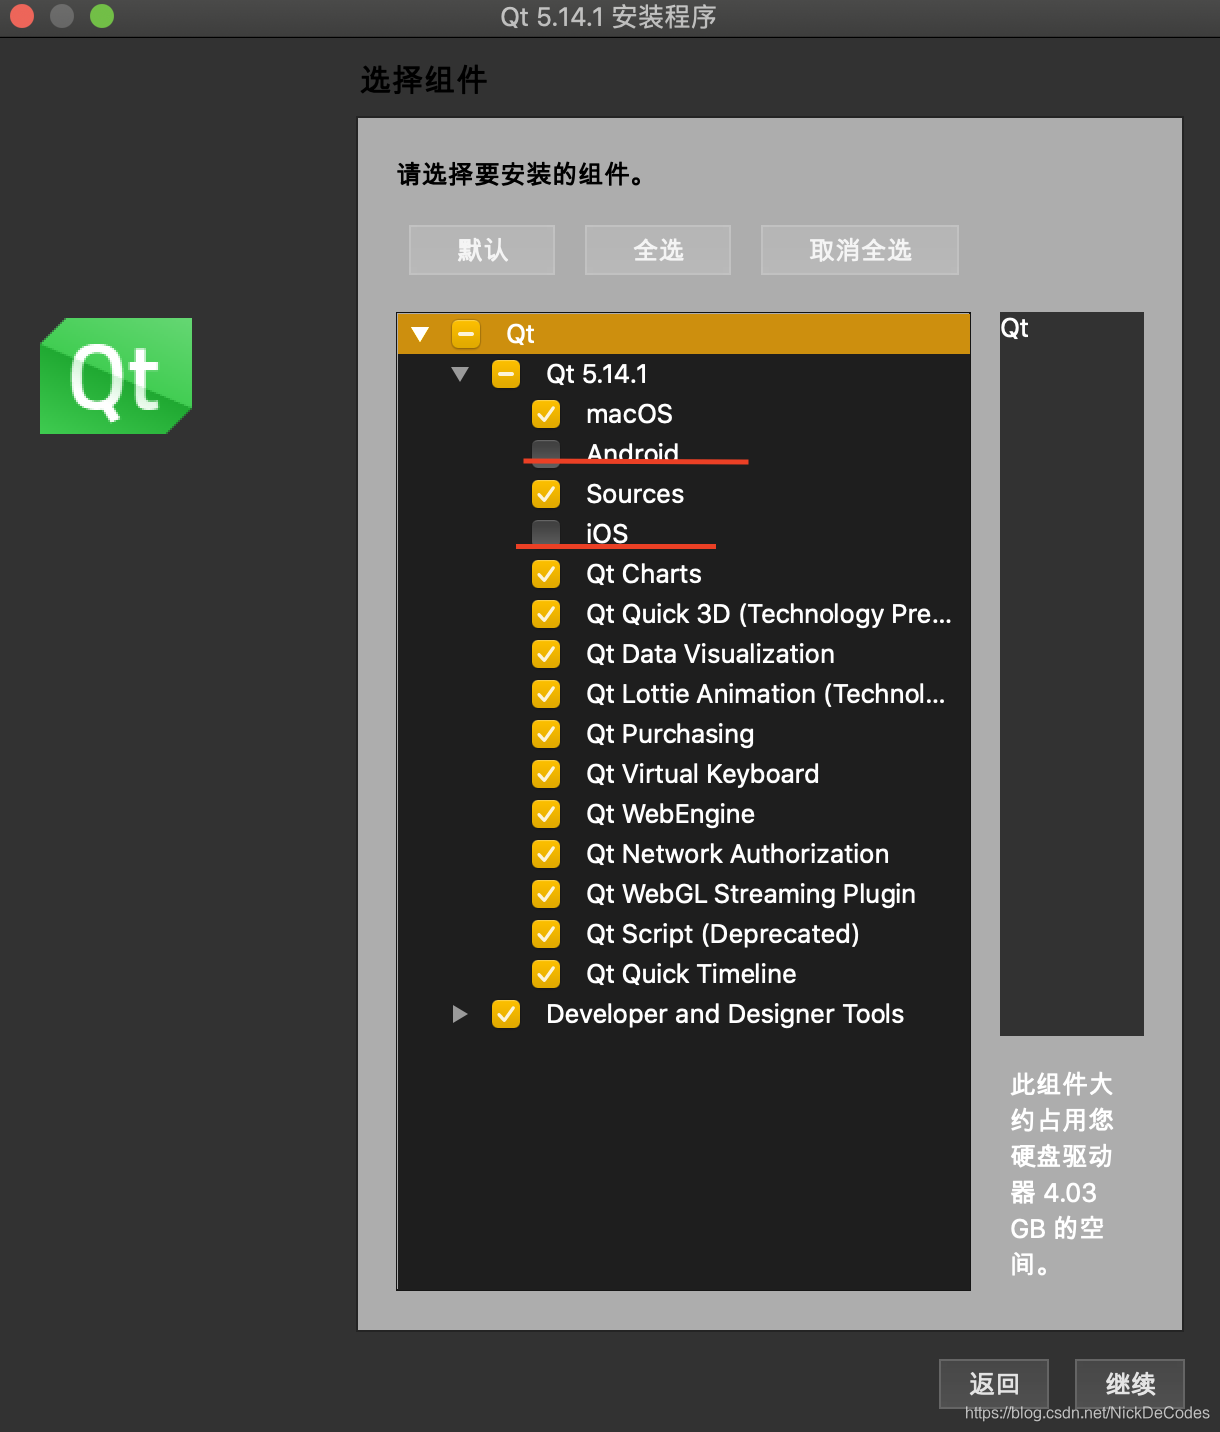
点击选项,等待安装完成
2.3配置
相关配置如上1.3


 1万+
1万+


 被折叠的 条评论
为什么被折叠?
被折叠的 条评论
为什么被折叠?
 到【灌水乐园】发言


