


官方描述:
This sample is a catalog exhibiting many views and controls in the UIKit framework, along with their various properties and styles.
If you need code to create specific UI controls or views, refer to this sample and it should give you a good head start in building your user interface. In most cases you can simply copy and paste the code snippets you need.
When images or custom views are used, accessibility code has been added. Using the iPhone Accessibility API enhances the user experience of VoiceOver users.
适用级别:
入门级,中级
详细分析:
我想,UICatalog应该是被使用的最多的一个例子工程了,这里基本上包含了所有的控件的使用方法。最新的工程请一定在iOS 5的模拟器上运行,不然会在Controls一栏下面出现crash。
1. AppDelegate类
2.MainViewController类
NSMutableArray *menuList;
ButtonsViewController *buttonsViewController = [[ButtonsViewController alloc]
initWithNibName:@"ButtonsViewController" bundle:nil];
[self.menuList addObject:[NSDictionary dictionaryWithObjectsAndKeys:
NSLocalizedString(@"ButtonsTitle", @""), kTitleKey,
NSLocalizedString(@"ButtonsExplain", @""), kExplainKey,
buttonsViewController, kViewControllerKey,
nil]];
[buttonsViewController release];
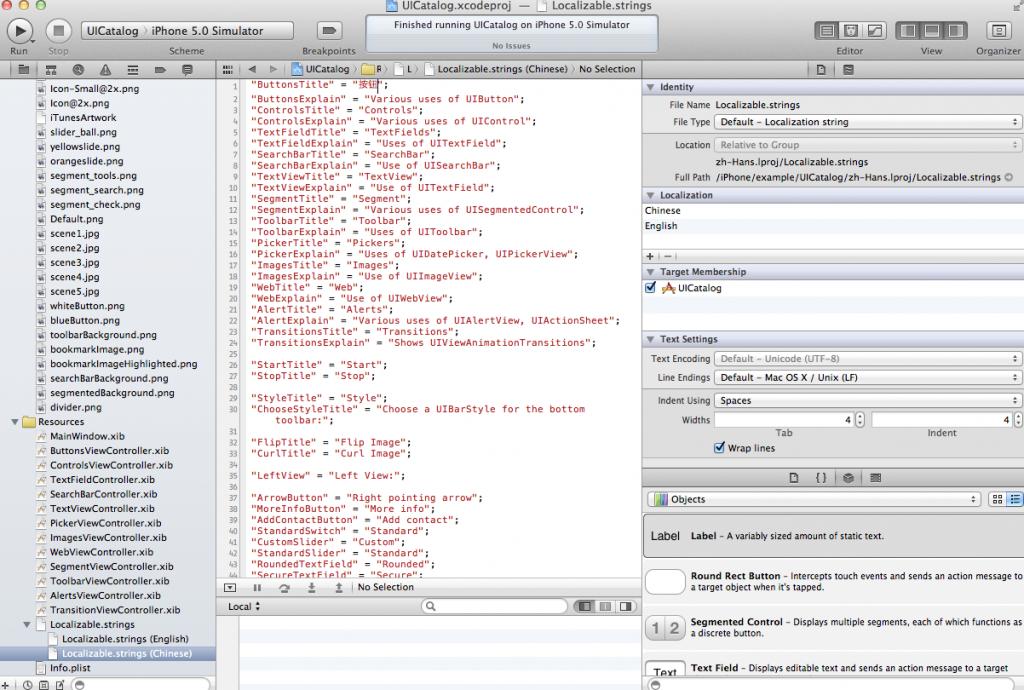
"ButtonsTitle" ="Buttons";
"ButtonsExplain" ="Various uses of UIButton";
这里NSLocalizedString(@"ButtonsTitle", @"")读出的直是@“Buttons”,NSLocalizedString(@"ButtonsExplain", @"")读出的是@“Various uses of UIButton”,

// tell our table how many rows it will have, in our case the size of our menuList
- (NSInteger)tableView:(UITableView *)tableView numberOfRowsInSection:(NSInteger)section
{
return [self.menuListcount];
}
- (void)tableView:(UITableView *)tableView didSelectRowAtIndexPath:(NSIndexPath *)indexPath
{
UIViewController *targetViewController = [[self.menuListobjectAtIndex: indexPath.row]objectForKey:kViewControllerKey];
[[selfnavigationController]pushViewController:targetViewControlleranimated:YES];
}
这个函数在tableview的一行被选中后调用,通过查询数组来得到一个viewcontroller的指针。
- (void)viewWillAppear:(BOOL)animated
{
// this UIViewController is about to re-appear, make sure we remove the current selection in our table view
NSIndexPath *tableSelection = [self.tableViewindexPathForSelectedRow];
[self.tableViewdeselectRowAtIndexPath:tableSelectionanimated:NO];
}
这个函数在导航到下一个viewcontroller的时候,对当前选中的行进行去选中化。
3.ButtonsViewController类
3.1背景知识
UIButtonTypeRoundedRect, // rounded rect, flat white button, like in address card
UIButtonTypeDetailDisclosure,
UIButtonTypeInfoLight,
UIButtonTypeInfoDark,
UIButtonTypeContactAdd,
其中, UIButtonTypeCustom需要指定相关图片,或者自己重载画界面的函数。UIButtonTypeRoundedRect只需要指定相关文本即可。下面四种不需要指定图片或者文本。3.2 成员变量
@interface ButtonsViewController :UITableViewController
@property (nonatomic,retain,readonly)UIButton *grayButton;
@property (nonatomic,retain,readonly)UIButton *imageButton;
@property (nonatomic,retain,readonly)UIButton *roundedButtonType;
@property (nonatomic,retain,readonly)UIButton *detailDisclosureButtonType;
@property (nonatomic,retain,readonly)UIButton *infoLightButtonType;
@property (nonatomic,retain,readonly)UIButton *infoDarkButtonType;
@property (nonatomic,retain,readonly)UIButton *contactAddButtonType;
@property (nonatomic,retain)NSArray *dataSourceArray;
@end
@synthesize grayButton...
这里表明,self.grayButton存取的就是grayButton本身,如果在类的头文件中没有这个成员变量,那么就是隐含的为类增加一个私有的成员变量。@property (strong,nonatomic)UIWindow *window;
在.m中,你可以看到@synthesize window =_window;
这里是隐含的增加一个私有成员变量,变量名为 _window。而使用点运算符的方式是self.window。- (UIButton *)grayButton
- (UIButton *)imageButton
...3.3 #pragma
从技术上讲,以 #pragma 开头的代码是一条编译器指令,是一个特定于程序或编译器的指令。它们不一定适用于其它编译器或其它环境。如果编译器不能识别该指令,则会将其忽略。
作用
它们告诉Xcode编译器,要在编辑器窗格顶部的方法和函数弹出菜单中将代码分隔开,如下图所示:

一些类(尤其是一些控制器类)可能很长,方法和函数弹出菜单可以便于代码导航。此时加入#pragma 指令对代码进行逻辑组织很有效果。
注意
- #pragma mark – 的“-”后面不能有空格。
- 如果你的标志没有出现在弹出菜单中,比如没有分隔线出现,请在Xcode菜单 “Preferences..”中的 “Code Sense”选项取消选中”Sort list alphabetically”即可。
3.4 函数- (void)viewDidLoad
self.title =NSLocalizedString(@"ButtonsTitle",@"");
设置本view的导航栏标题。self.dataSourceArray = [NSArrayarrayWithObjects:
[NSDictionarydictionaryWithObjectsAndKeys:
@"UIButton",kSectionTitleKey,
@"Background Image",kLabelKey,
@"ButtonsViewController.m:\r(UIButton *)grayButton",kSourceKey,
self.grayButton,kViewKey,
nil],
[NSDictionarydictionaryWithObjectsAndKeys:
@"UIButton",kSectionTitleKey,
@"Button with Image",kLabelKey,
@"ButtonsViewController.m:\r(UIButton *)imageButton",kSourceKey,
self.imageButton,kViewKey,
nil],
[NSDictionarydictionaryWithObjectsAndKeys:
@"UIButtonTypeRoundedRect",kSectionTitleKey,
@"Rounded Button",kLabelKey,
@"ButtonsViewController.m:\r(UIButton *)roundedButtonType",kSourceKey,
self.roundedButtonType,kViewKey,
nil],
[NSDictionarydictionaryWithObjectsAndKeys:
@"UIButtonTypeDetailDisclosure",kSectionTitleKey,
@"Detail Disclosure",kLabelKey,
@"ButtonsViewController.m:\r(UIButton *)detailDisclosureButton",kSourceKey,
self.detailDisclosureButtonType,kViewKey,
nil],
[NSDictionarydictionaryWithObjectsAndKeys:
@"UIButtonTypeInfoLight",kSectionTitleKey,
@"Info Light",kLabelKey,
@"ButtonsViewController.m:\r(UIButton *)infoLightButtonType",kSourceKey,
self.infoLightButtonType,kViewKey,
nil],
[NSDictionarydictionaryWithObjectsAndKeys:
@"UIButtonTypeInfoDark",kSectionTitleKey,
@"Info Dark",kLabelKey,
@"ButtonsViewController.m:\r(UIButton *)infoDarkButtonType",kSourceKey,
self.infoDarkButtonType,kViewKey,
nil],
[NSDictionarydictionaryWithObjectsAndKeys:
@"UIButtonTypeContactAdd",kSectionTitleKey,
@"Contact Add",kLabelKey,
@"ButtonsViewController.m:\r(UIButton *)contactAddButtonType",kSourceKey,
self.contactAddButtonType,kViewKey,
nil],
nil];
初始化相关数据,注意在初始化 NSDictionary和 NSArray的时候,都必须在最后加入一个nil,告诉系统,参数在这里结束。只有在初始化队列,表,数组这样的数据结构的时候才需要这样的nil结束。
3.5 函数
+ (UIButton *)newButtonWithTitle:(NSString *)title
target:(id)target
selector:(SEL)selector
frame:(CGRect)frame
image:(UIImage *)image
imagePressed:(UIImage *)imagePressed
darkTextColor:(BOOL)darkTextColor
这个函数非常有用,我们经常拿来直接使用,下面是对关键点的分析。
[buttonsetTitleColor:[UIColorblackColor]forState:UIControlStateNormal];
一个button有如下状态
enum {
UIControlStateNormal = 0,
UIControlStateHighlighted = 1 << 0, // used when UIControl isHighlighted is set
UIControlStateDisabled = 1 << 1,
UIControlStateSelected = 1 << 2, // flag usable by app (see below)
UIControlStateApplication = 0x00FF0000, // additional flags available for application use
UIControlStateReserved = 0xFF000000 // flags reserved for internal framework use
};
如果我们没有设置任何不是UIControlStateNormal的状态,那么这个状态所使用的图片,文本等都是使用UIControlStateNormal的设置。
UIImage *newImage = [imagestretchableImageWithLeftCapWidth:12.0topCapHeight:0.0];
[buttonsetBackgroundImage:newImageforState:UIControlStateNormal];
UIImage *newPressedImage = [imagePressedstretchableImageWithLeftCapWidth:12.0topCapHeight:0.0];
[buttonsetBackgroundImage:newPressedImageforState:UIControlStateHighlighted];
这里有一个很神奇的事情,我们可以看到在生成button的原始图片是这样的:


而生成的效果如下:

大小明显不同了,这个是因为函数
UIImage *newPressedImage = [imagePressed stretchableImageWithLeftCapWidth:12.0 topCapHeight:0.0];
的作用。
这个函数是UIImage的一个实例函数,它的功能是创建一个内容可拉伸,而边角不拉伸的图片,需要两个参数,第一个是不拉伸区域和左边框的宽度,第二个参数是不拉伸区域和上边框的宽度。
参数的意义是,如果参数指定10,5。那么,图片左边10个像素,上边5个像素。不会被拉伸,x坐标为11和一个像素会被横向复制,y坐标为6的一个像素会被纵向复制。注意:只是对一个像素进行复制到一定宽度。这个类剩下的代码就不再分析了,因为都非常简单。
未完待续


 863
863

 被折叠的 条评论
为什么被折叠?
被折叠的 条评论
为什么被折叠?
 到【灌水乐园】发言


