


大家都知道SpringBoot是靠一个main()方法启动的,那么这个main()背后做了什么呢?
//本来是想找点八股文看看的,看到网上文章要么版本太低,要么还得关注公众号,要么太深入细节。太深入咱也看不懂啊,那咋整,自己扒拉代码自己看呗
sb版本:2.7.x
我直接从github上fork的源码来看的,如需自取:https://github.com/spring-projects/spring-boot
代码拉下来之后,项目结构是这样的
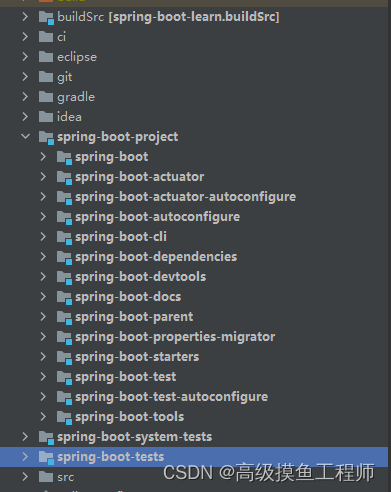
咱也不管啥结构了,直接找代码:SpringApplication
直接看run方法
//这里的primarySources就是我们的应用程序的主类,这里的args就是我们的应用程序的参数
public static ConfigurableApplicationContext run(Class<?>[] primarySources, String[] args) {
	//这里可以看到SpringApplication的启动有两部分组成
	//1:实例化SpringApplication对象·
	//2:调用SpringApplication.run()方法进行启动
	return new SpringApplication(primarySources).run(args);
}
其实就是做了两步:
- 实例化SpringApplication对象
- run(args)
SpringApplication对象的实例化
new SpringApplication(primarySources)
创建对象的时候传了一个参数,这个primarySources其实就是从main()方法传过来的。
我们的main是这样的:
public static void main(String[] args) {
  	SpringApplication.run(DubboNacosProviderApplication.class, args);
}
run的第一个参数其实就是primarySources
接着SpringApplication的构造函数
public SpringApplication(Class<?>... primarySources) {
	this(null, primarySources);
}
继续点这个this
@SuppressWarnings({ "unchecked", "rawtypes" })
public SpringApplication(ResourceLoader resourceLoader, Class<?>... primarySources) {
	this.resourceLoader = resourceLoader;
	Assert.notNull(primarySources, "PrimarySources must not be null");

	//将项目启动类(primarySources)存起来,用于启动项目时,获取项目启动类的类名
	this.primarySources = new LinkedHashSet<>(Arrays.asList(primarySources));

	//获取下当前项目的类型,有三种类型:NONE、SERVLET、REACTIVE(spring5之后出现webflux交互式的框架)
	this.webApplicationType = WebApplicationType.deduceFromClasspath();

	//这是干嘛的?
	this.bootstrapRegistryInitializers = new ArrayList<>(
			getSpringFactoriesInstances(BootstrapRegistryInitializer.class));

	//设置初始化器(Initializer),最后会去调用这些初始化器的init方法
	//spring-boot-autoconfigure的spring.factories文件中的初始化器
	setInitializers((Collection) getSpringFactoriesInstances(ApplicationContextInitializer.class));
	setListeners((Collection) getSpringFactoriesInstances(ApplicationListener.class));

	//设置启动“main”的类,这个类是项目的主类,也就是项目的入口类
	this.mainApplicationClass = deduceMainApplicationClass();
}
其实就是主要做了以下几件事:
- 根据传进来的
primarySources把入口类地址存一下,留着后边用。 - 判断下当前项目的类型,是mvc还是webflux。
this.webApplicationType = WebApplicationType.deduceFromClasspath()这个方法就是根据当前classpath下是否有指定class去判断的,逻辑很简单。 - 设定初始化器和监听器
关于这个代码中的BootstrapRegistryInitializer ,是个接口,当前版本的spring.factories中也没找到相关默认实现,那肯定就是留给开发者自己去玩的,咱先不管是干啥的,接着往后边看。
ApplicationContextInitializer
# Application Context Initializers
org.springframework.context.ApplicationContextInitializer=\
org.springframework.boot.context.ConfigurationWarningsApplicationContextInitializer,\
org.springframework.boot.context.ContextIdApplicationContextInitializer,\
org.springframework.boot.context.config.DelegatingApplicationContextInitializer,\
org.springframework.boot.rsocket.context.RSocketPortInfoApplicationContextInitializer,\
org.springframework.boot.web.context.ServerPortInfoApplicationContextInitializer
this.initializers = new ArrayList<>(initializers);
ApplicationListener
# Application Listeners
org.springframework.context.ApplicationListener=\
org.springframework.boot.ClearCachesApplicationListener,\
org.springframework.boot.builder.ParentContextCloserApplicationListener,\
org.springframework.boot.context.FileEncodingApplicationListener,\
org.springframework.boot.context.config.AnsiOutputApplicationListener,\
org.springframework.boot.context.config.DelegatingApplicationListener,\
org.springframework.boot.context.logging.LoggingApplicationListener,\
org.springframework.boot.env.EnvironmentPostProcessorApplicationListener
this.= new ArrayList<>(listeners);
以上initializers 和listeners 后边用到的时候再讲
下一篇继续写run(args)的逻辑


 946
946


 被折叠的 条评论
为什么被折叠?
被折叠的 条评论
为什么被折叠?
 到【灌水乐园】发言


