


今天搭建sentinel控制面板项目时而显示 时而不显示。抓狂!
分享一下搭建心得及注意事项:
1.Sentinel控制台的安装启动
- 下载
https://github.com/alibaba/Sentinel/releases

- 启动
java -jar sentinel-dashboard-1.8.5.jar #默认是8080端口
- 登录
http://localhost:8080/#/login #账号密码都是sentinel
2.创建工程
- 创建工程
- 添加坐标依赖
- 创建yaml
- 创建启动类
- 创建Controller
3.讲解
- 创建工程
- 添加坐标依赖
<?xml version="1.0" encoding="UTF-8"?>
<project xmlns="http://maven.apache.org/POM/4.0.0"
         xmlns:xsi="http://www.w3.org/2001/XMLSchema-instance"
         xsi:schemaLocation="http://maven.apache.org/POM/4.0.0 http://maven.apache.org/xsd/maven-4.0.0.xsd">
    <parent>
        <artifactId>item-master</artifactId>
        <groupId>org.example</groupId>
        <version>1.0-SNAPSHOT</version>
    </parent>
    <modelVersion>4.0.0</modelVersion>
    <artifactId>sentinel</artifactId>

    <properties>
        <maven.compiler.source>8</maven.compiler.source>
        <maven.compiler.target>8</maven.compiler.target>
        <project.build.sourceEncoding>UTF-8</project.build.sourceEncoding>
    </properties>

    <dependencies>
        <dependency>
            <groupId>org.springframework.boot</groupId>
            <artifactId>spring-boot-starter-web</artifactId>
        </dependency>
        <!--注册中心-->
        <dependency>
            <groupId>com.alibaba.cloud</groupId>
            <artifactId>spring-cloud-starter-alibaba-nacos-discovery</artifactId>
        </dependency>
        <!--配置-->
        <dependency>
            <groupId>com.alibaba.cloud</groupId>
            <artifactId>spring-cloud-starter-alibaba-nacos-config</artifactId>
        </dependency>
        <!--sentinel-->
        <dependency>
            <groupId>com.alibaba.cloud</groupId>
            <artifactId>spring-cloud-starter-alibaba-sentinel</artifactId>
        </dependency>
    </dependencies>
</project>
- 创建application.yaml和bootstrap.yaml
application.yaml:
spring:
  application:
    name: sentinel-client1
  cloud:
    sentinel:
      transport:
        port: 8719
        dashboard: localhost:8080
server:
  port: 9001
bootstrap.yaml:
spring:
  application:
    name: service-client1
  cloud:
    nacos:
      config:
        server-addr: ${spring.cloud.nacos.server-addr}
      server-addr: localhost:8848
      discovery:
        server-addr: ${spring.cloud.nacos.server-addr}
4.创建启动类和controller
package com.it;

import org.springframework.boot.SpringApplication;
import org.springframework.boot.autoconfigure.SpringBootApplication;
import org.springframework.cloud.client.discovery.EnableDiscoveryClient;
import org.springframework.web.bind.annotation.GetMapping;
import org.springframework.web.bind.annotation.RestController;

@SpringBootApplication
@EnableDiscoveryClient
public class SentinelApplication {
    public static void main(String[] args) {
        SpringApplication.run(SentinelApplication.class, args);
    }

    @RestController
    public class TestController {

        @GetMapping(value = "/hello")
        public String hello() {
            System.out.println("Hello Sentinel");
            return "Hello Sentinel";
        }

    }

}
5.启动nacos服务端
6.测试请求
http://localhost:9001/hello
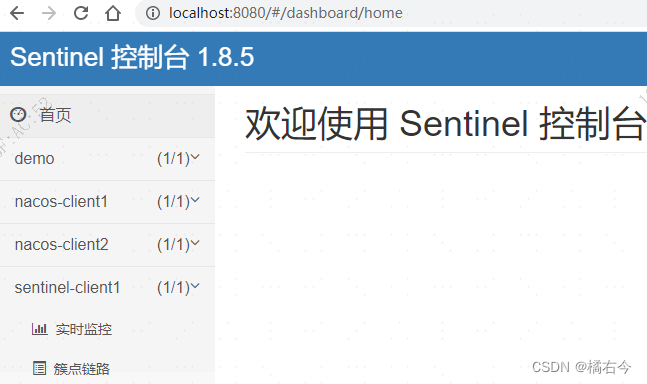
7.刷新控制面板
http://localhost:8080/#/dashboard/home
这样控制面板就能显示应用了。


 946
946


 被折叠的 条评论
为什么被折叠?
被折叠的 条评论
为什么被折叠?
 到【灌水乐园】发言


