


地铁站自动售票系统主要包括个人中心、地铁线路管理、站点管理、购票信息管理、乘坐管理、用户信息管理等多个模块。它使用的是前端技术:nodejs+vue+elementui
前后端通讯一般都是采取标准的JSON格式来交互。前端技术:nodejs+vue+elementui,视图层其实质就是vue页面,通过编写vue页面从而展示在浏览器中,编写完成的vue页面要能够和控制器类进行交互,从而使得用户在点击网页进行操作时能够正常。
Express 框架于Node运行环境的Web框架,
语言 node.js
框架:Express
前端:Vue.js
数据库:mysql
数据库工具:Navicat
开发软件:VScode
前后端分离 的核心思想是前端页面通过 ajax 调用后端的 restuful api 进行数据交互,而 单页面应用(single page web application,SPA),就是只有一张页面,并在用户与应用程序交互时动态更新该页面的 Web 应用
管理员
用户
(1)登陆注册功能:用户登录注册
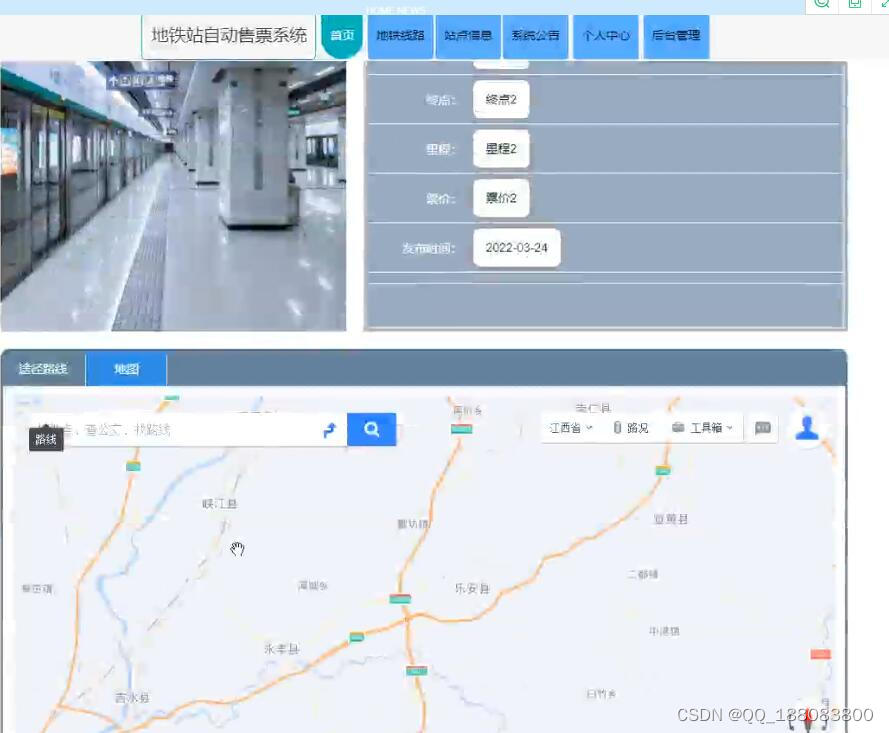
(2)浏览全地图功能:可浏览管理员发布的线路地图
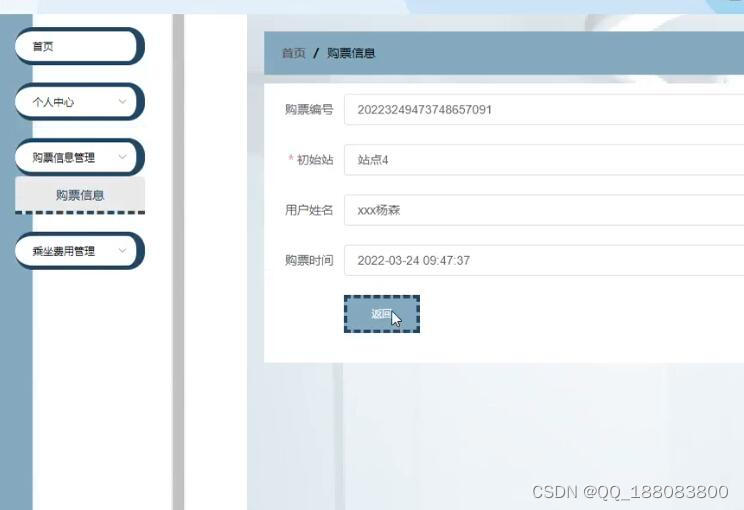
(3)选择购票功能:用户选择站点,先选初始站,做到出站的地方根据乘坐的站数来计算价格
(4)进出站功能:购买后生成卡片进站
(5)钱包功能:可选择查看余额和充值
(6)返回订单功能:当出站结算后,回弹出一个是否返回订单若返回则直接生成卡片退还余额,重新进站到最终出站的地方根据站数计算价格
(7)月卡功能:购票旁边有一个购买月卡,购买生成卡片,根据要坐的站数扣减余额(5站冲200进卡片 5-10站冲300进卡片 往上冲600进卡片),同时打75折,月卡结束后有剩余自动退还到钱包
(8)未使用卡片可退票
(1)管理员登录功能
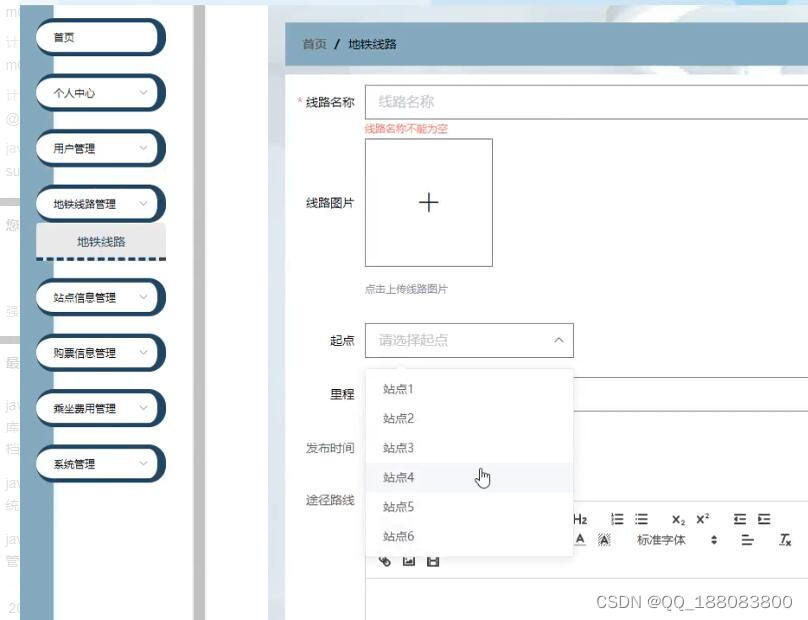
(2)查看和修改线路信息
(3)减少线路
(4)修改价格(5站3元 5-10 5元 10-15站6元 往上8元)
(5)删除用户
(6)设定最早最晚的车次(早上6.00晚上23.00)


 253
253


 被折叠的 条评论
为什么被折叠?
被折叠的 条评论
为什么被折叠?
 到【灌水乐园】发言


