


Linux 平台安装 MongoDB
该操作手册对应版本(5.0.5)
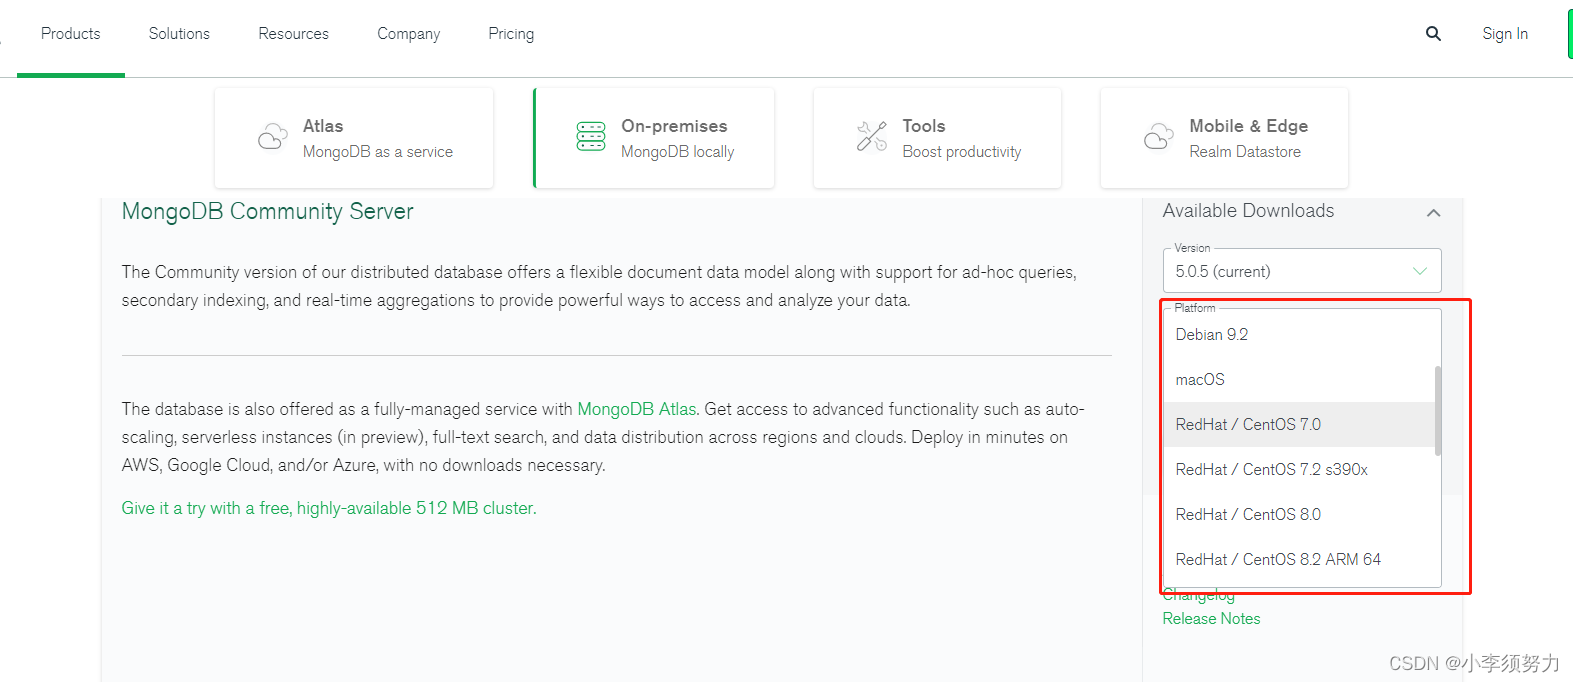
MongoDB 对于Linux下的安装提供了很多个版本,MongoDB 下载地址:https://www.mongodb.com/download-center/community
如果不知道当前Linux对应的系统,可自行通过命令查看:
# 查看具体的操作系统信息
cat /proc/version
由于大家对MongoDB和Linux的掌握情况不同,这里我们选择 tgz 下载,下载完安装包,并解压 tgz(以下演示的是 64 位 Linux上的安装)
注:所有的代表MongoDB安装路径
# 此为本人对应操作系统的tgz包,不知道自己linux版本可先查看后下载
wget https://fastdl.mongodb.org/linux/mongodb-linux-x86_64-rhel70-5.0.5.tgz
# 解压
tar -zxvf mongodb-linux-x86_64-rhel70-5.0.5.tgz
# 将解压包拷贝到指定目录
mv mongodb-linux-x86_64-rhel70-5.0.5  /usr/local/mongodb
# MongoDB 的可执行文件位于 bin 目录下,所以可以将其添加到 PATH 路径中
# <mongodb-install-directory> 为你 MongoDB 的安装路径。如本文的 /usr/local/mongodb
export PATH=<mongodb-install-directory>/bin:$PATH
# 如不知道根路径,获取根路径命令
pwd
创建数据库目录
默认情况下 MongoDB 启动后会初始化以下两个目录:
- 数据存储目录:/data
- 日志文件目录:/logs
- 配置文件目录:/etc
我们在启动前可以先创建这两个目录并设置当前用户有读写权限:
cd <mongodb-install-directory>
mkdir -p data logs etc
chown `whoami` <mongodb-install-directory>/data   # 设置权限
chown `whoami` <mongodb-install-directory>/logs   # 设置权限
编写配置文件:
# 进入  <mongodb-install-directory>/etc 目录
cd <mongodb-install-directory>/etc
# 创建 mongodb.conf
vi mongodb.conf
将下面内容粘贴到配置文件中(path所对应的路径为自己安装的路径):
#数据库数据存放目录
dbpath=<mongodb-install-directory>/data
#数据库日志存放目录
logpath=<mongodb-install-directory>/logs/mongodb.log
#以追加的方式记录日志
logappend = true
#端口号 默认为27017
port=27017
#以后台方式运行进程
fork=true
#开启用户认证(初次启动不开启此选项,不然存在用户验证,无法进行创建用户等操作)
#auth=true
#mongodb所绑定的ip地址 和window下一致 地址:https://blog.csdn.net/QQljh123456/article/details/121995898
bind_ip = 192.168.218.129
#这个选项可以过滤掉一些无用的日志信息,若需要调试使用请设置为false
quiet=true
启动 Mongodb 服务:
# 进入到 bin 目录
./mongod --config <mongodb-install-directory>/etc/mongodb.conf
打开 mongod.log 文件看到以下信息,说明启动成功
# 查看日志命令
cat <mongodb-install-directory>/mongod.log

启动后初次使用需要创建用户等信息:
#查看当前所使用的数据库
db

#查看所有的数据库或者 show databases
show dbs

######注意:使用该命令的时候,如果有数据库名称指定的数据库则会使用该数据库,否则将自动创建名称为所指定名称的数据库,
######以下规则摘抄自:https://blog.csdn.net/qq_28550263/article/details/119892582。

#数据库名需要满足一定的规则:
#它可以是任意满足UTF-8编码的字符串;
#不允许是空字符串;
#不允许含有’ '(空格)、.(点)、$、/、\、和\0(空字符串);
#应采用全小写字符,并且布草过64字节;
#不能使用一些暴力与的数据库名:
#admin: 这个相当于具有root权限的数据库,要是将一个用户添加到该数据库,则用户将自动地继承所有数据库的权限。某些特定的服务器端命令也只能从这个数据库运行,比如列出所有的数据库或者关闭服务器等等;
#local: 该数据永远不会被复制,可以用来存储限于本地单台服务器的任意集合;
#config: 当Mongo用于分片设置时,config数据库再内部使用,用于保存分片的相关信息。
use 数据库名

#创建管理员用户 用户名密码自定义即可
db.createUser({user:"admin",pwd:"123456",roles:["root"]})

#认证登录 登录后才可以进行一些权限操作
db.auth("admin", "123456")

##### 补充一些MongoDB role 类型相关知识。摘抄自:https://blog.csdn.net/weixin_39683021/article/details/111753837
#数据库用户角色(Database User Roles)
#read:授予User只读数据的权限    readWrite:授予User读写数据的权限

#数据库管理角色(Database Administration Roles):
#dbAdmin:在当前dB中执行管理操作    dbOwner:在当前DB中执行任意操作    userAdmin:在当前DB中管理User

#备份和还原角色(Backup and Restoration Roles):
#backup    restore

#跨库角色(All-Database Roles):
#readAnyDatabase:授予在所有数据库上读取数据的权限    readWriteAnyDatabase:授予在所有数据库上读写数据的权限    userAdminAnyDatabase:授予在所有数据库上管理User的权限    dbAdminAnyDatabase:授予管理所有数据库的权限

#集群管理角色(Cluster Administration Roles):
#clusterAdmin:授予管理集群的最高权限    clusterManager:授予管理和监控集群的权限,A user with this role can access the config and local databases, which are used in sharding and replication, respectively.   clusterMonitor:授予监控集群的权限,对监控工具具有readonly的权限  hostManager:管理Server

#创建一个普通数据库的用户,切换到对应数据库下创建用户
use eisdb
db.createUser({user: "eis", pwd: "eis", roles: [{ role: "dbOwner", db: "eisdb" }]})

#查询当前系统用户,先切换到admin数据库,在查看
use admin
db.system.users.find()
#删除用户 ,需要到对应的数据库下删除对应用户,再删除
db.dropUser("eis")
创建完管理员用户后:根据需求可以在配置文件中加上权限:
#开启用户认证(初次启动不开启此选项,不然存在用户验证,无法进行创建用户等操作)
auth=true
修改完成后记得重启配置文件,重启加载配置文件
补充:linux下停止服务还是和window有一定的区别,如下是官网说明:
**官方文档:**https://docs.mongodb.org/manual/tutorial/manage-mongodb-processes/
Stop `mongod` Processes

In a clean shutdown a [`mongod`](https://docs.mongodb.org/manual/reference/program/mongod/#bin.mongod) completes all pending operations, flushes all data to data files, and closes all data files. Other shutdowns are *unclean* and can compromise the validity of the data files.

To ensure a clean shutdown, always shutdown [`mongod`](https://docs.mongodb.org/manual/reference/program/mongod/#bin.mongod) instances using one of the following methods:

### Use `shutdownServer()`

Shut down the [`mongod`](https://docs.mongodb.org/manual/reference/program/mongod/#bin.mongod) from the [`mongo`](https://docs.mongodb.org/manual/reference/program/mongo/#bin.mongo) shell using the [`db.shutdownServer()`](https://docs.mongodb.org/manual/reference/method/db.shutdownServer/#db.shutdownServer) method as follows:

```
use admin
db.shutdownServer()
```

Calling the same method from a [init script](https://docs.mongodb.org/manual/reference/glossary/#term-init-script) accomplishes the same result.

For systems with [`authorization`](https://docs.mongodb.org/manual/reference/configuration-options/#security.authorization) enabled, users may only issue [`db.shutdownServer()`](https://docs.mongodb.org/manual/reference/method/db.shutdownServer/#db.shutdownServer) when authenticated to the `admin` database or via the localhost interface on systems without authentication enabled.

### Use `--shutdown`

From the Linux command line, shut down the [`mongod`](https://docs.mongodb.org/manual/reference/program/mongod/#bin.mongod) using the *--shutdown* option in the following command:

```
mongod --shutdown
```

### Use `CTRL-C`

When running the [`mongod`](https://docs.mongodb.org/manual/reference/program/mongod/#bin.mongod) instance in interactive mode (i.e. without *--fork*), issue `Control-C` to perform a clean shutdown.

### Use `kill`

From the Linux command line, shut down a specific [`mongod`](https://docs.mongodb.org/manual/reference/program/mongod/#bin.mongod) instance using the following command:

```
kill <mongod process ID>
```

WARNING

Never use `kill -9` (i.e. `SIGKILL`) to terminate a mongod instance.
由于新版和老版本存在一些差异,因此补充编写了上面的内容,对应后续的使用学习参考:https://www.runoob.com/mongodb/mongodb-tutorial.html 即可


 422
422


 被折叠的 条评论
为什么被折叠?
被折叠的 条评论
为什么被折叠?
 到【灌水乐园】发言


