


一、初识Uni-App:为什么选择它?
作为一名前端开发者,我最初接触Uni-App是因为公司需要开发一个同时兼容微信小程序和H5的应用。经过对比多种跨平台方案后,Uni-App以其"一次开发,多端发布"的特性吸引了我。
Uni-App的核心优势:
-
基于Vue.js技术栈,学习曲线平缓
-
真正的跨平台(iOS/Android/H5/各小程序)
-
丰富的插件市场和组件库
-
完善的开发工具链(HBuilderX)
二、开发环境搭建
1. 安装HBuilderX
官方IDE提供了强大的开发体验:
# 虽然HBuilderX没有命令行安装方式,但可以下载安装包
# 下载地址:https://www.dcloud.io/hbuilderx.html
2. 创建第一个项目
// 在HBuilderX中通过GUI创建项目
// 或使用CLI(需安装vue-cli)
npm install -g @vue/cli
vue create -p dcloudio/uni-preset-vue my-project
三、核心概念与实战代码
1. 页面结构与路由配置
pages.json 是Uni-App的核心配置文件:
{
"pages": [
{
"path": "pages/index/index",
"style": {
"navigationBarTitleText": "首页",
"enablePullDownRefresh": true
}
},
{
"path": "pages/detail/detail",
"style": {
"navigationBarTitleText": "详情页"
}
}
],
"globalStyle": {
"navigationBarTextStyle": "black",
"navigationBarTitleText": "uni-app",
"navigationBarBackgroundColor": "#F8F8F8",
"backgroundColor": "#F8F8F8"
}
}
2. 组件开发实例:带下拉刷新的列表页
pages/index/index.vue:
<template>
<view class="container">
<scroll-view
scroll-y
@scrolltolower="loadMore"
@refresherrefresh="onRefresh"
:refresher-enabled="true"
:refresher-triggered="isRefreshing"
>
<view v-for="(item, index) in list" :key="index" class="list-item">
<text>{{ item.title }}</text>
</view>
<view v-if="loading" class="loading-text">加载中...</view>
</scroll-view>
</view>
</template>
<script>
export default {
data() {
return {
list: [],
page: 1,
loading: false,
isRefreshing: false,
noMore: false
}
},
onLoad() {
this.fetchData()
},
methods: {
async fetchData() {
if (this.noMore || this.loading) return
this.loading = true
try {
const res = await uni.request({
url: 'https://api.example.com/list',
data: { page: this.page }
})
if (res.data.length === 0) {
this.noMore = true
return
}
this.list = this.page === 1 ? res.data : [...this.list, ...res.data]
this.page++
} catch (e) {
uni.showToast({ title: '加载失败', icon: 'none' })
} finally {
this.loading = false
this.isRefreshing = false
}
},
onRefresh() {
this.isRefreshing = true
this.page = 1
this.noMore = false
this.fetchData()
},
loadMore() {
if (!this.noMore) {
this.fetchData()
}
}
}
}
</script>
<style>
.container {
padding: 20rpx;
}
.list-item {
padding: 30rpx;
border-bottom: 1rpx solid #eee;
}
.loading-text {
text-align: center;
padding: 20rpx;
color: #999;
}
</style>
3. 条件编译处理多端差异
Uni-App最强大的功能之一:
// #ifdef H5
console.log('这段代码只会在H5平台编译')
// #endif
// #ifdef MP-WEIXIN
console.log('这段代码只会在微信小程序平台编译')
// #endif
// 平台特有API调用示例
function share() {
// #ifdef H5
alert('H5分享功能')
// #endif
// #ifdef MP-WEIXIN
wx.shareAppMessage({ title: '小程序分享' })
// #endif
// #ifdef APP-PLUS
plus.share.sendWithSystem({ content: 'APP分享' })
// #endif
}
四、状态管理实践
对于复杂应用,推荐使用Vuex:
store/index.js:
import Vue from 'vue'
import Vuex from 'vuex'
Vue.use(Vuex)
const store = new Vuex.Store({
state: {
userInfo: null,
token: ''
},
mutations: {
setUserInfo(state, payload) {
state.userInfo = payload
// 持久化存储
uni.setStorageSync('userInfo', payload)
},
setToken(state, token) {
state.token = token
uni.setStorageSync('token', token)
}
},
actions: {
async login({ commit }, params) {
const res = await uni.request({
url: '/api/login',
method: 'POST',
data: params
})
commit('setUserInfo', res.data.user)
commit('setToken', res.data.token)
return res
}
}
})
export default store
在main.js中引入:
import Vue from 'vue'
import App from './App'
import store from './store'
Vue.prototype.$store = store
const app = new Vue({
store,
...App
})
app.$mount()
五、uni-app文件目录

六、外部资源的引入
在进行uni-app项目开发时,通常需要引入一些外部资源,如图片、视频、js脚本、CSS样式等等,以下讲解各种资源的引入方式。
1、本地图片或视频的引入
-
绝对路径,需提供完整的 URL 地址,包括协议、域名和资源路径。
-
例如:<image src="https://example.com/images/image.jpg">
-
相对路径,需提供相对于当前文件的路径
例如:<image src="../../static/images/image.jpg">
或者
<image src="@/static/images/image.jpg"> 但是要注意,这种写法既不是传统意义上的绝对路径,也不是严格意义上的相对路径,而是 uni-app 框架提供的路径别名方式,用来指向特定目录中的资源文件。
2、js文件的引入
例如:import "../../common/js/index.js"
或者:(以下写法需要js文件里面有export 导出关键字才需要这样引入)
写法一: import common from '@/utils/common.js'
写法二: import common from '../../utils/common.js' 具体相对路径请根据实际文件夹情况来设置
3、css文件的引入
写法一: @import "@/styles/common.css"
写法二: @import "../../styles/common.css" 具体相对路径请根据实际文件夹情况来设置
七、uni-app的路由操作
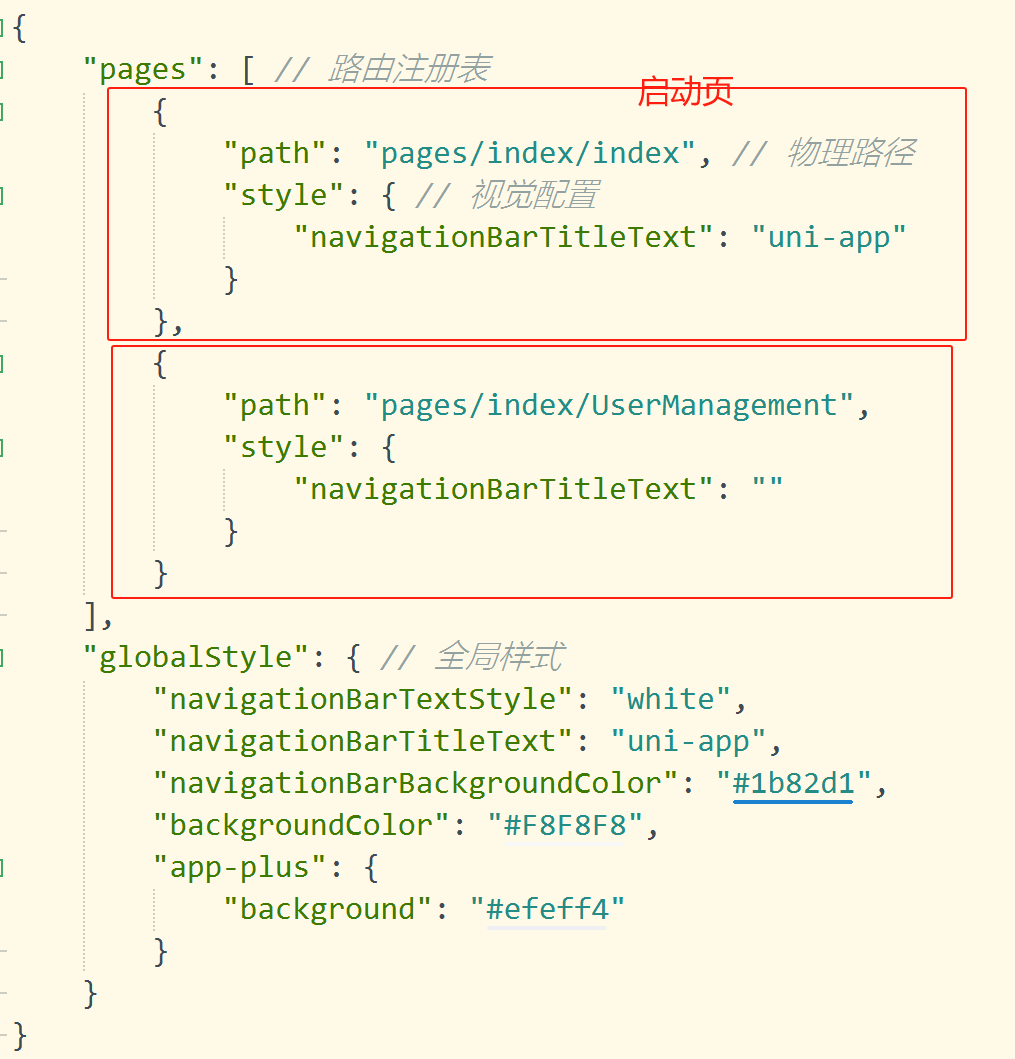
概述:uni-app项目的路由由框架统一管理,每新增一个页面,都需要在page.json里面进行配置,
特别注意三个关键点:
1. path必须与文件实际路径完全匹配(区分大小写);
2. 数组第一个页面是启动页;
3. 每个页面的style可以覆盖全局配置(即globalStyle)
一、路由跳转方式:
uni-app路由的跳转有2种方式,以下对这两种方式进行讲解:
方式一:使用navigator组件进行跳转,该组件的属性说明如下:
| 属性名 | 类型 | 默认值 | 描述 |
| url | String | 无 | 应用内的跳转链接,值为相对路径或绝对路径,如:"../first/first","/pages/first/first",注意不能加.vue后缀 |
| open-type | String | navigate | 跳转方式:navigate、redirect、switchTab、reLaunch、navigateBack、exit |
| delta | Number | 无 | 当 open-type 为 'navigateBack' 时有效,表示回退的层数 |
更多详细参考此链接:navigator
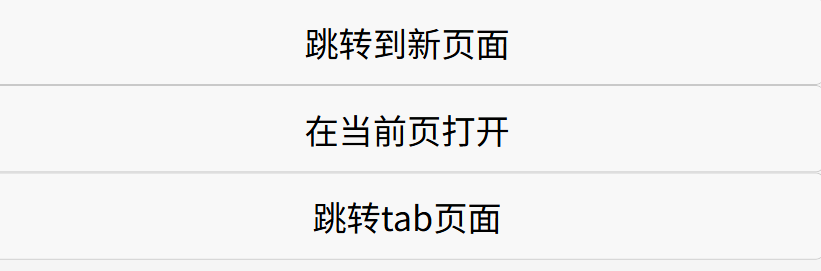
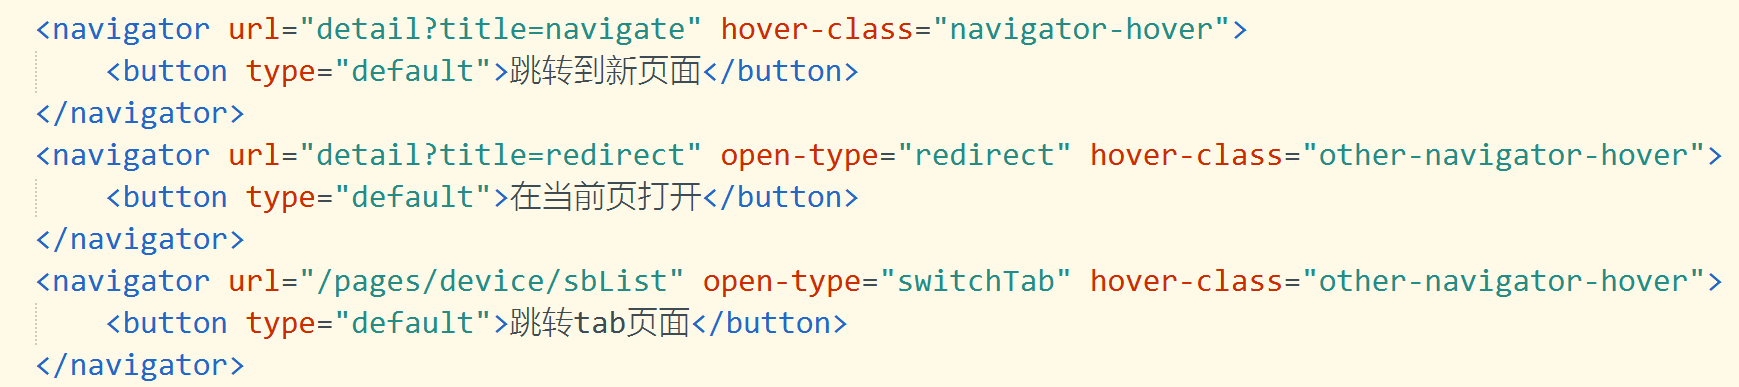
示例:使用navigator组件实现三种不懂方式的跳转。
效果:
示例代码:
方式二:使用路由API进行跳转:
| API | 描述 |
uni.navigateTo() | 保留当前页面,跳转到应用内的某个页面,使用uni.navigateBack可以返回到原页面。 |
uni.redirectTo() | 关闭当前页面,跳转到应用内的某个页面 |
uni.switchTab() | 跳转到 tabBar 页面,并关闭其他所有非 tabBar 页面 |
uni.reLaunch() | 关闭所有页面,打开到应用内的某个页面 |
uni.navigateBack() | 关闭当前页面,返回上一页面或多级页面 |
更多详细参考此链接:路由API
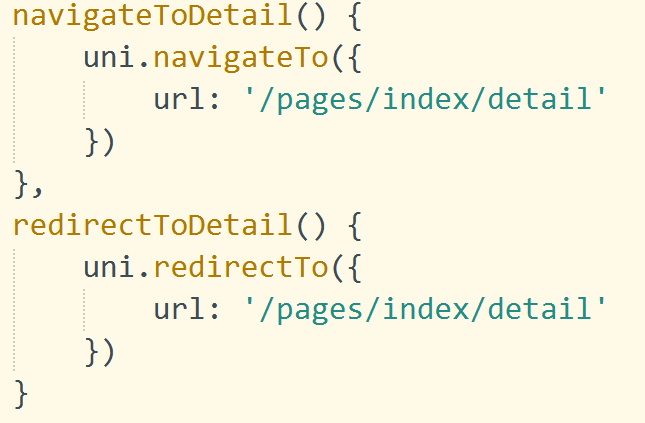
示例:使用路由API实现按钮跳转
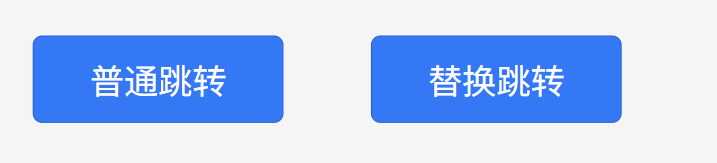
按钮代码:

跳转方法:
八、uni-app自定义组件
一、自定义组件使用的步骤:
1、在components新增一个自定义组件,如custom-button
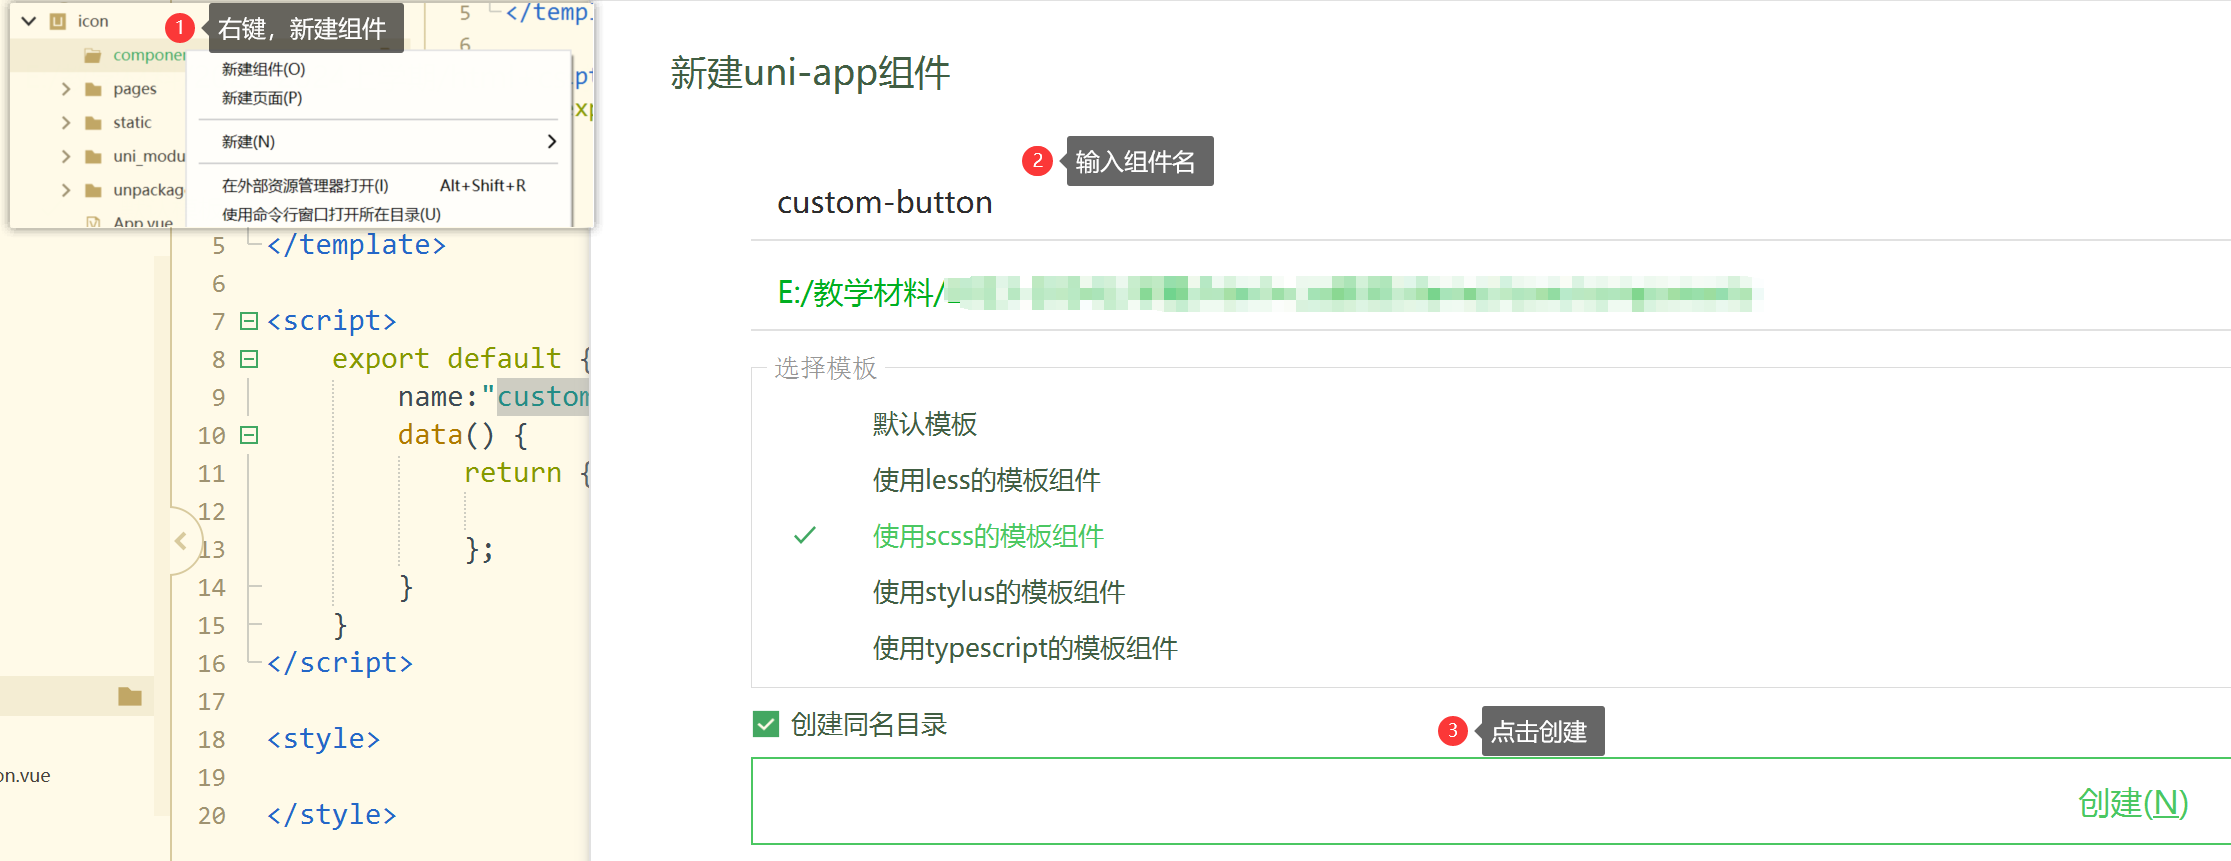
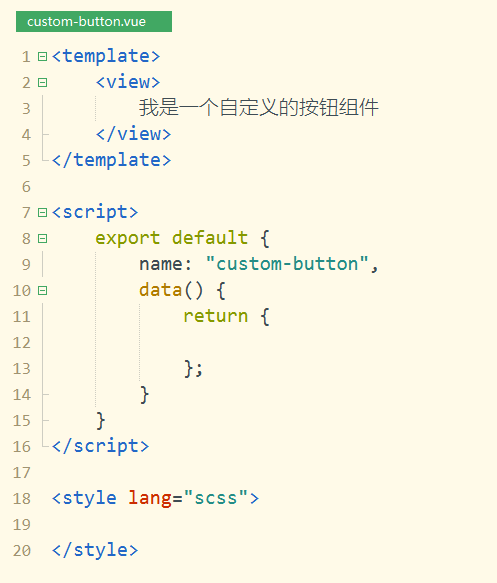
2、编写组件内容
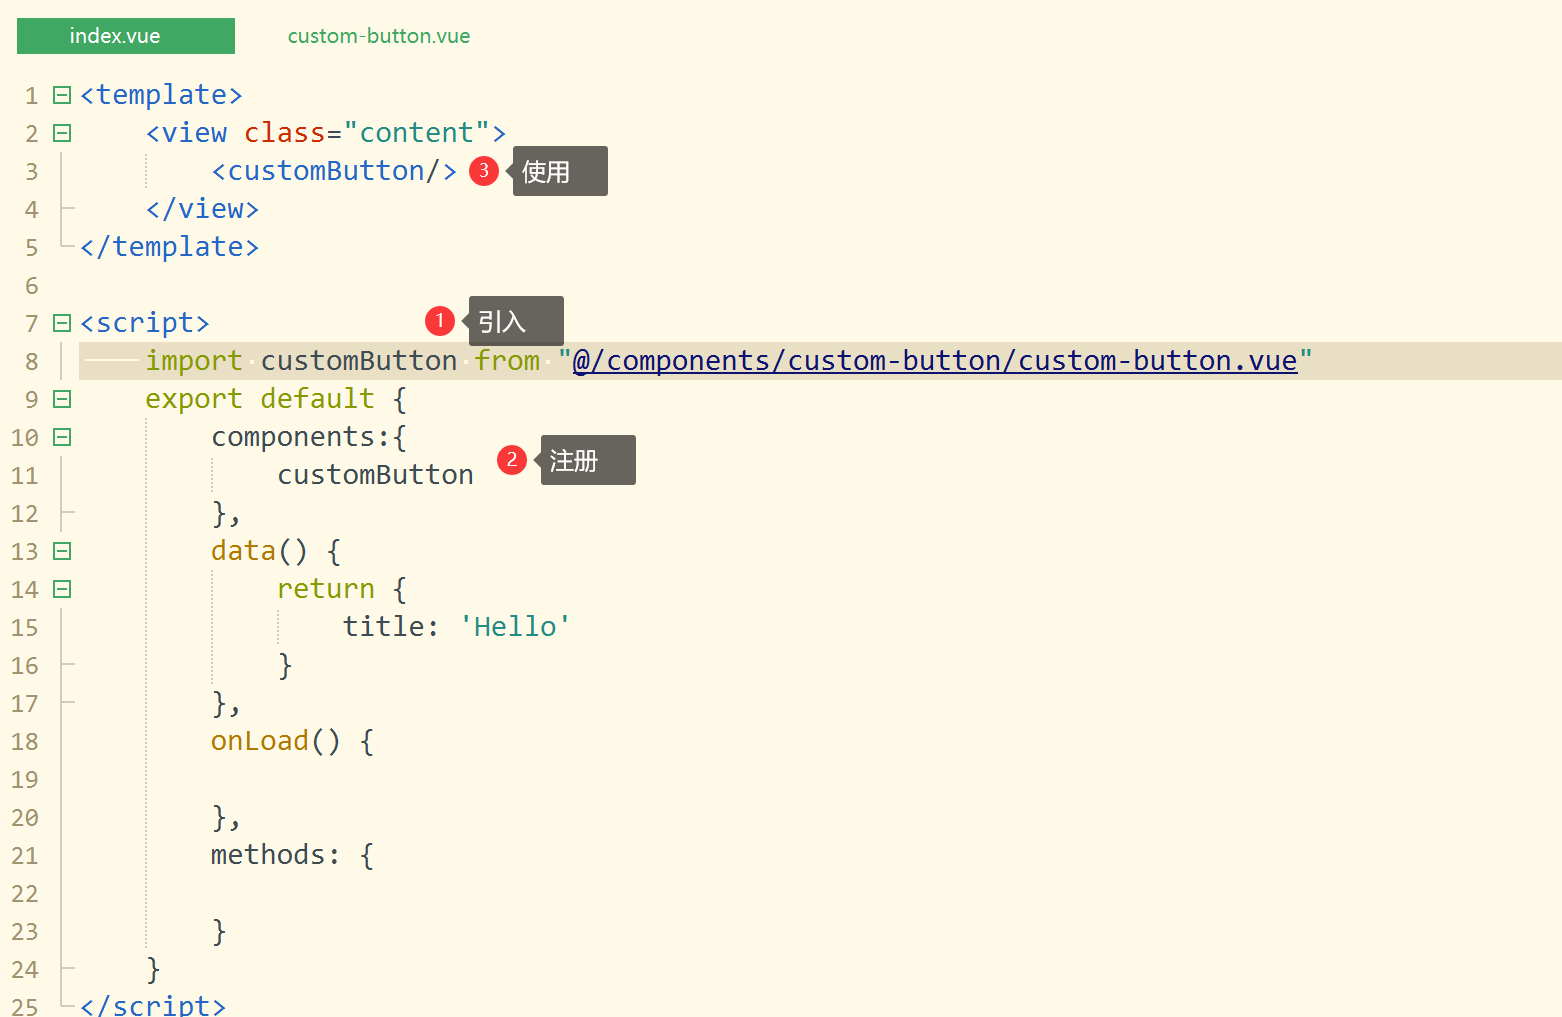
3、在页面引入、注册、使用组件
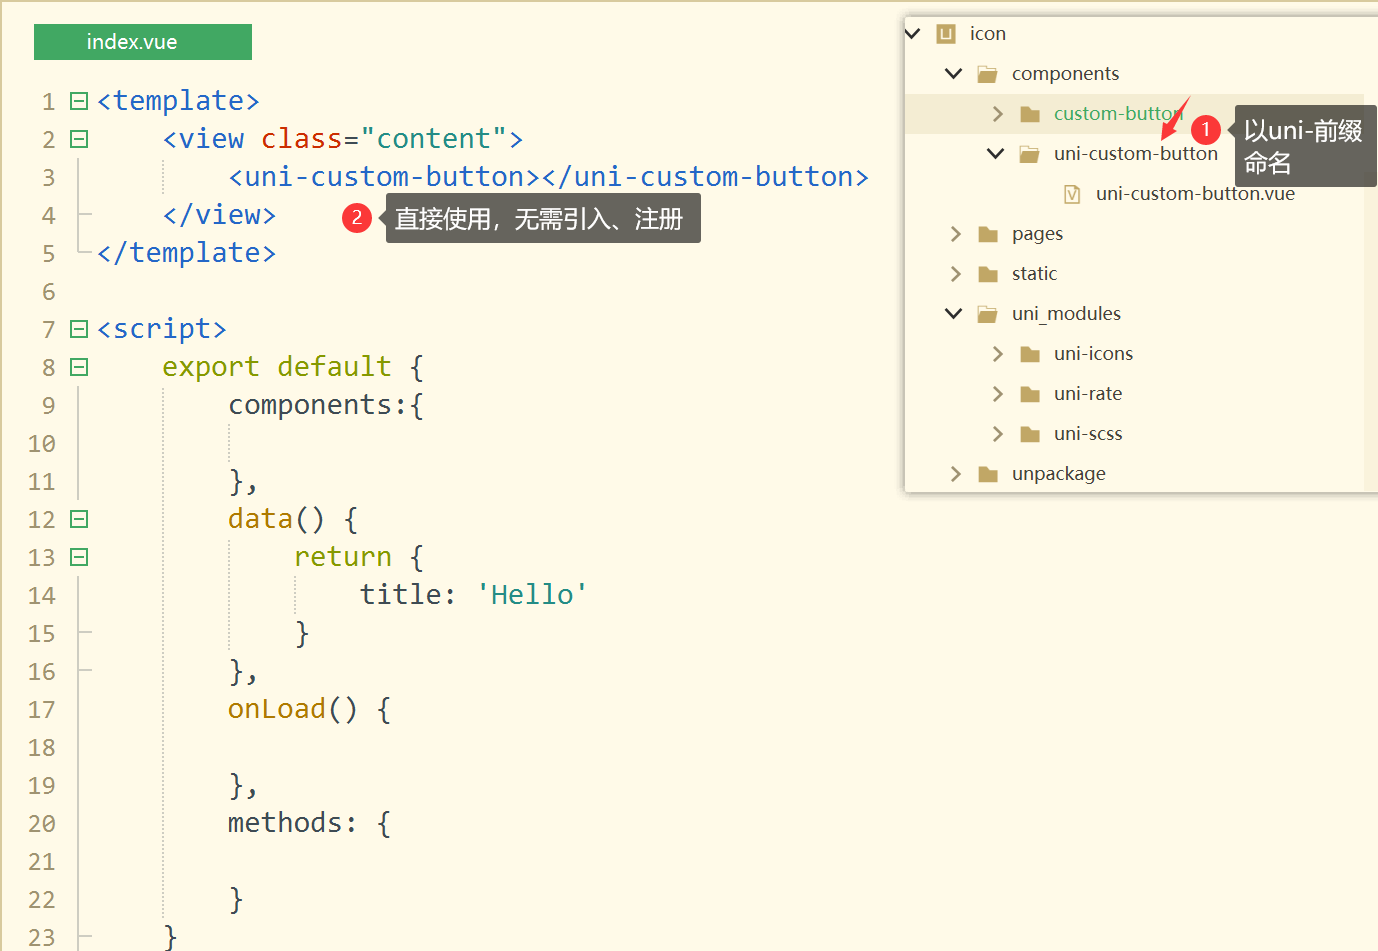
Tip 小技巧:
如果在新建自定义组件的时候,起名字的时候以uni-开头,即可直接在页面使用,不需要引入和注册,例如:
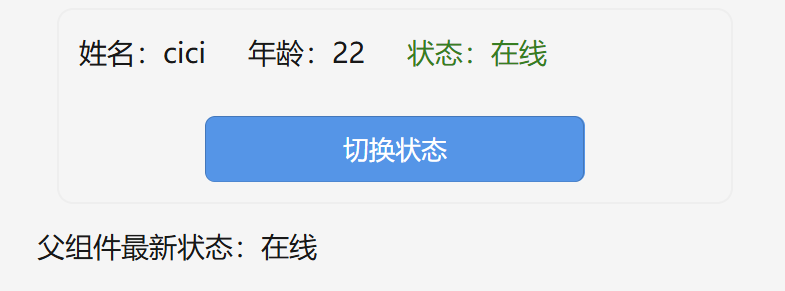
【案例】-用户状态卡片组件
功能需求:
1、父组件传递用户信息给子组件;
2、子组件显示用户信息;
3、点击子组件按钮可以修改状态并回传父组件。
效果如图:
【案例实施】
1. 创建父组件UserManagement,里面有一个用户数据对象,包含name, age, online状态。

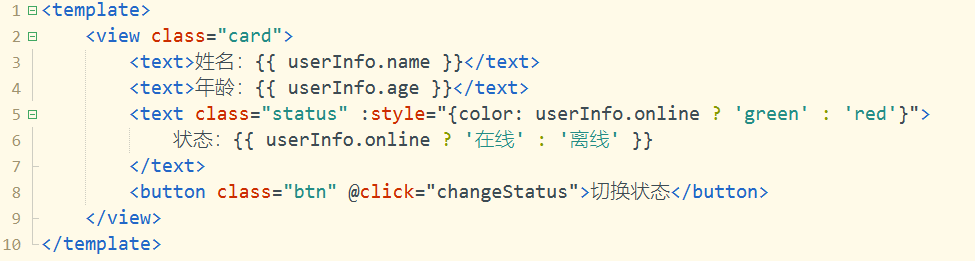
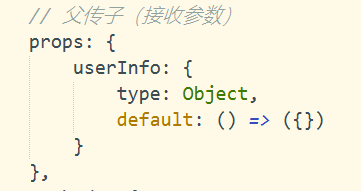
2. 创建子组件UserCard,通过props接收user对象,显示用户信息,并有一个按钮,点击时切换在线状态。
父组件传参给子组件:
1、在父组件中使用 :user-info 绑定数据

2、子组件使用 props 接收数据(在子组件里写)
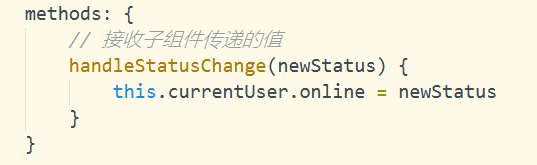
子组件传参给父组件:
1、 子组件的按钮点击事件,用$emit发送自定义事件(比如status-change)
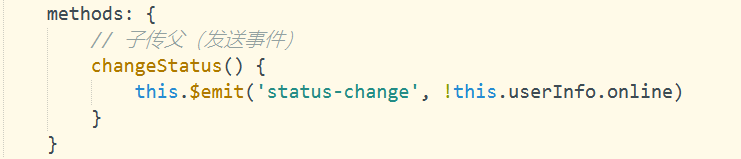
2、父组件监听这个事件,调用处理函数,并更新对应的用户状态:

九、性能优化技巧
1. 图片优化
<template>
<!-- 使用image组件替代img标签 -->
<image
:src="imageUrl"
mode="aspectFill"
lazy-load
@load="onImageLoad"
/>
</template>
<script>
export default {
methods: {
onImageLoad(e) {
console.log('图片加载完成', e)
}
}
}
</script>
2. 减少setData调用
// 不好的做法
this.list.push(newItem)
this.list = [...this.list]
// 推荐做法
this.$set(this.list, this.list.length, newItem)
3. 使用自定义组件拆分复杂页面
// components/my-list.vue
export default {
props: {
items: Array
},
methods: {
handleClick(item) {
this.$emit('item-click', item)
}
}
}
十、调试与发布
1. 多端调试:
# 微信小程序
npm run dev:mp-weixin
# 然后在微信开发者工具中导入/dist/dev/mp-weixin目录
# H5
npm run dev:h5
# 访问localhost:8080
2.调试技巧:
// 在控制台输出更丰富的信息
uni.$emit('debug', { key: 'value' })
// 在App.vue中监听
uni.$on('debug', console.log)
3.发布命令:
# 微信小程序
npm run build:mp-weixin
# H5
npm run build:h5
十一、学习资源推荐
-
官方文档:uni-app官网
-
Uni-UI组件库:uni-ui 介绍 | uni-app官网
-
插件市场:DCloud 插件市场
十二、总结与展望
回顾这段 uni-app 的学习历程,虽然充满了挑战,但也收获满满。uni-app 让我体会到了跨平台开发的魅力,大大提高了我的开发效率和技术能力。在未来的学习和工作中,我将继续深入学习 uni-app 的高级特性,探索更多的应用场景,如结合 uniCloud 进行云端一体化开发,进一步提升项目的开发效率和性能。
同时,我也希望能够将自己的经验分享给更多的开发者,帮助大家少走弯路。如果你也对 uni-app 感兴趣,不妨从官方文档入手,多实践、多总结,相信你也能在 uni-app 的世界中找到属于自己的乐趣和成就。


 795
795

 被折叠的 条评论
为什么被折叠?
被折叠的 条评论
为什么被折叠?
 到【灌水乐园】发言


