从事iOS开发也将近一年了,老是想要写个博客来巩固自己新学的知识,可是一直忙到忘了,这是我的第一篇博客,希望自己以后能够在技术方面越来越牛。
随着苹果5出世,我们的手机开始了新的变化。如果一款手机没有指纹验证都不敢说自己是款高端机。如果一个App带有支付功能却没有指纹支付的功能同样也会被人觉得有点降档次。指纹支付可以给用户在支付时带来更好的体验。废话不多说,接下来我将给大家介绍一下如何使用iOS系统自带的指纹支付功能。
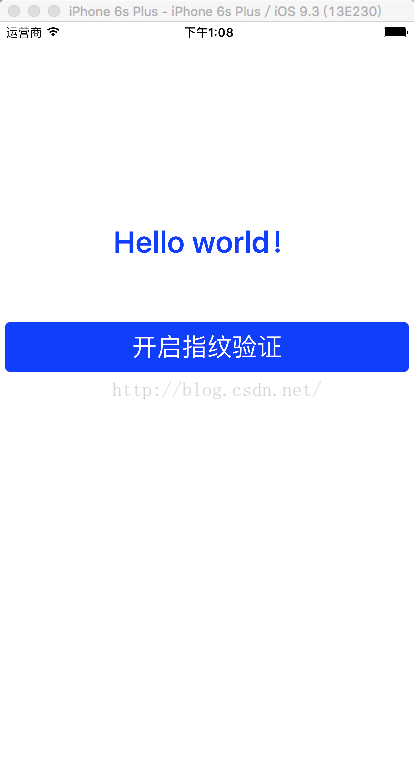
首先我先介绍一下我这个Demo的主要流程,首先我放了一个UIButton来调用指纹支付的功能,还有一个UILabel用来显示指纹验证的结果。
在开始写代码之前我们要在自己工程中导入LocalAuthentication.framework这个静态库文件,因为我们即将使用到的指纹识别功能需要调用这个库。导入静态库的流程我就不多说了。
因为支付的结果会返回的枚举值比较多,所以我们最好自己做一个封装,使用代理方法将这些结果进行回调。那么首先我们在自己的工程里面新建一个继承于类LAContext的.m和.h文件。然后在HQTouchID.h里面导入头文件
#import <UIKit/UIKit.h>
#import <LocalAuthentication/LocalAuthentication.h>
接下来我们写代理方法,代码如下
#import <UIKit/UIKit.h>
#import <LocalAuthentication/LocalAuthentication.h>
@protocol HQ_TouchID_Delegate <NSObject>
//必须实现的两个代理方法:
@required
/**
*
* 验证成功
*/
- (void)HQ_TouchID_AuthorizeSuccess;
/**
*
* 验证失败
*/
- (void)HQ_TouchID_AuthorizeFailure;
//选择实现的代理方法:
@optional
/**
*
* 取消了验证(点击了取消)
*/
- (void)HQ_TouchID_AuthorizeUserCancel;
/**
*
* 在TouchID对话框点击输入密码按钮
*/
- (void)HQ_TouchID_AuthorizeUserFallBack;
/**
*
* 在验证的TouchID的过程中被系统取消 例如突然来电话、按了Home键、锁屏...
*/
- (void)HQ_TouchID_AuthorizeSystemCancel;
/**
*
* 无法使用TouchID,设备没有设置密码
*/
- (void)HQ_TouchID_AuthorizePasswordNotSet;
/**
*
* 没有录入TouchID,无法使用
*/
- (void)HQ_TouchID_AuthorizeTouchIDNotSet;
/* *
* 该设备的TouchID无效
*/
- (void)HQ_TouchID_AuthorizeTouchIDNotAvailable;
/**
*
* 多次连续使用Touch ID失败,Touch ID被锁,需要用户输入密码解锁
*/
- (void)HQ_TouchID_AuthorizeTouchIDNotLockOut;
/**
*
* 当前软件被挂起取消了授权(如突然来了电话,应用进入前台)
*/
- (void)HQ_TouchID_AuthorizeTouchIDAppCancel;
/**
*
* 当前软件被挂起取消了授权 (授权过程中,LAContext对象被释)
*/
- (void)HQ_TouchID_AuthorizeTouchIDInvalidContext;
/**
*
* 当前设备不支持指纹识别
*/
- (void)HQ_TouchID_AuthorizeNotSupport;
@end
@interface HQ_TouchID : LAContext
@property (nonatomic, assign) id<HQ_TouchID_Delegate> delegate;
/**
*
* 发起指纹验证:
*/
- (void)startHQ_TouchID_WithMessage:(NSString *)message FallBackTitle:(NSString *)fallBackTitle Delegate:(id<HQ_TouchID_Delegate>)delegate;
@end
在HQTouch.m的文件里我们将代理方法实现,- (void)startHQ_TouchID_WithMessage:(NSString *)message FallBackTitle:(NSString *)fallBackTitle Delegate:(id<HQ_TouchID_Delegate>)delegate;这个方法用来调用系统自带的指纹验证方法
#import "HQTouchID.h"
@interface HQ_TouchID()
@end
@implementation HQ_TouchID
- (void)startHQ_TouchID_WithMessage:(NSString *)message FallBackTitle:(NSString *)fallBackTitle Delegate:(id<HQ_TouchID_Delegate>)delegate
{
LAContext *context = [[LAContext alloc] init];
context.localizedFallbackTitle = fallBackTitle;
NSError *error = nil;
self.delegate = delegate;
//判断代理人是否为空
if (self.delegate != nil) {
if ([context canEvaluatePolicy:LAPolicyDeviceOwnerAuthenticationWithBiometrics error:&error]) {
//使用context对象对识别的情况进行评估,在模拟器上不能使用该功能,而且不会走该方法,因为没有调用指纹识别的方法
[context evaluatePolicy:LAPolicyDeviceOwnerAuthenticationWithBiometrics localizedReason:message reply:^(BOOL success, NSError * _Nullable error) {
//识别成功:
if (success) {
if ([self.delegate respondsToSelector:@selector(HQ_TouchID_AuthorizeSuccess)]) {
//必须回到主线程执行,否则在更新UI时会出错!以下相同
[[NSOperationQueue mainQueue] addOperationWithBlock:^{
[self.delegate HQ_TouchID_AuthorizeSuccess];
}];
}
}
//识别失败
else if (error)
{
NSLog(@"error : %@",error);
switch (error.code) {
case LAErrorAuthenticationFailed:{
if ([self.delegate respondsToSelector:@selector(HQ_TouchID_AuthorizeFailure)]) {
[[NSOperationQueue mainQueue] addOperationWithBlock:^{
[self.delegate HQ_TouchID_AuthorizeFailure];
}];
}
break;
}
case LAErrorUserCancel:{
if ([self.delegate respondsToSelector:@selector(HQ_TouchID_AuthorizeUserCancel)]) {
[[NSOperationQueue mainQueue] addOperationWithBlock:^{
[self.delegate HQ_TouchID_AuthorizeUserCancel];
}];
}
break;
}
case LAErrorUserFallback:{
if ([self.delegate respondsToSelector:@selector(HQ_TouchID_AuthorizeUserFallBack)]) {
[[NSOperationQueue mainQueue] addOperationWithBlock:^{
[self.delegate HQ_TouchID_AuthorizeUserFallBack];
}];
}
break;
}
case LAErrorSystemCancel:{
if ([self.delegate respondsToSelector:@selector(HQ_TouchID_AuthorizeSystemCancel)]) {
[[NSOperationQueue mainQueue] addOperationWithBlock:^{
[self.delegate HQ_TouchID_AuthorizeSystemCancel];
}];
}
break;
}
case LAErrorTouchIDNotEnrolled:
{
if ([self.delegate respondsToSelector:@selector(HQ_TouchID_AuthorizeTouchIDNotSet)]) {
[[NSOperationQueue mainQueue] addOperationWithBlock:^{
[self.delegate HQ_TouchID_AuthorizeTouchIDNotSet];
}];
}
break;
}
case LAErrorPasscodeNotSet:{
if ([self.delegate respondsToSelector:@selector(HQ_TouchID_AuthorizePasswordNotSet)]) {
[[NSOperationQueue mainQueue] addOperationWithBlock:^{
[self.delegate HQ_TouchID_AuthorizePasswordNotSet];
}];
}
break;
}
case LAErrorTouchIDNotAvailable:{
if ([self.delegate respondsToSelector:@selector(HQ_TouchID_AuthorizeTouchIDNotAvailable)]) {
[[NSOperationQueue mainQueue] addOperationWithBlock:^{
[self.delegate HQ_TouchID_AuthorizeTouchIDNotAvailable];
}];
}
break;
}
case LAErrorTouchIDLockout:{
if ([self.delegate respondsToSelector:@selector(HQ_TouchID_AuthorizeTouchIDNotLockOut)]) {
[[NSOperationQueue mainQueue] addOperationWithBlock:^{
[self.delegate HQ_TouchID_AuthorizeTouchIDNotLockOut];
}];
}
break;
}
case LAErrorAppCancel:{
if ([self.delegate respondsToSelector:@selector(HQ_TouchID_AuthorizeTouchIDAppCancel)]) {
[[NSOperationQueue mainQueue] addOperationWithBlock:^{
[self.delegate HQ_TouchID_AuthorizeTouchIDAppCancel];
}];
}
break;
}
case LAErrorInvalidContext:{
if ([self.delegate respondsToSelector:@selector(HQ_TouchID_AuthorizeTouchIDInvalidContext)]) {
[[NSOperationQueue mainQueue] addOperationWithBlock:^{
[self.delegate HQ_TouchID_AuthorizeTouchIDInvalidContext];
}];
}
break;
}
default:
break;
}
}
}];
}
}
//设备不支持指纹识别
else
{
if ([self.delegate respondsToSelector:@selector(HQ_TouchID_AuthorizeNotSupport)]) {
[[NSOperationQueue mainQueue] addOperationWithBlock:^{
[self.delegate HQ_TouchID_AuthorizeNotSupport];
}];
}
}
}
@end
接下来我们在ViewController里面搭建界面,并且实现指纹验证的调用和结果的显示
#import "HQTouchID.h"
@interface ViewController ()<HQ_TouchID_Delegate>
@property (nonatomic, strong)HQ_TouchID *touchID;//使用封装扩展的类
@property (nonatomic,strong)UIAlertController *alertCtr;//支付结果显示的警告框
@property (nonatomic,strong)UILabel *verifyResultLabel;//支付结果
@property (nonatomic,strong)NSString *resultString;
@end
@implementation ViewController
- (void)viewDidLoad {
[super viewDidLoad];
//写一个Button对调用指纹验证事件的触发
UIButton *button = [UIButton buttonWithType:UIButtonTypeSystem];
[button setTitle:@"开启指纹验证" forState:UIControlStateNormal];
button.frame = CGRectMake(5, 300, self.view.bounds.size.width - 10, 50);
[button setBackgroundColor:[UIColor blueColor]];
[button setTitleColor:[UIColor whiteColor] forState:UIControlStateNormal];
button.titleLabel.font = [UIFont systemFontOfSize:25];
button.layer.cornerRadius = 5;
button.layer.masksToBounds = YES;
[button addTarget:self action:@selector(obtainTheTouchID) forControlEvents:UIControlEventTouchUpInside];
[self.view addSubview:button];
//这里我使用了Setter方法写了一个Label对结果进行显示
[self.view addSubview:self.verifyResultLabel];
}
//按钮点击事件
- (void)obtainTheTouchID{
self.touchID = [[HQ_TouchID alloc]init];
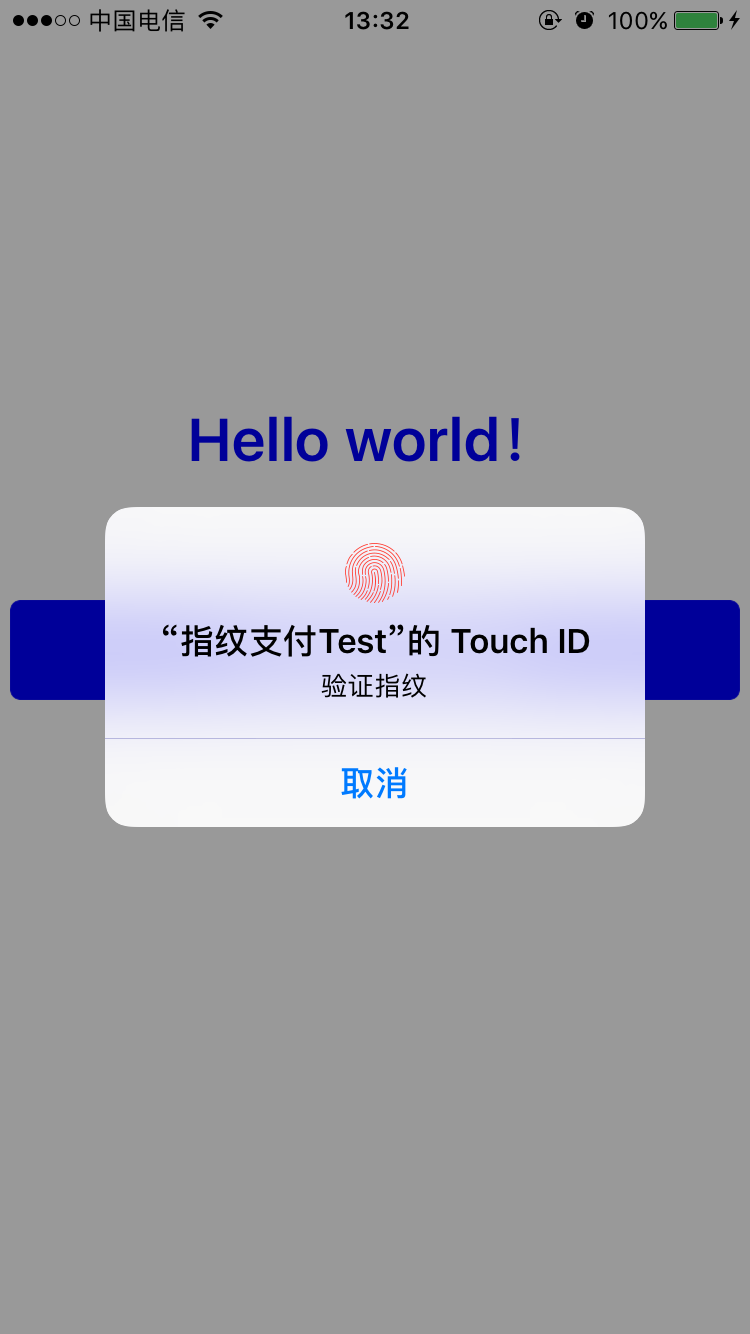
//调用系统的指纹验证
[_touchID startHQ_TouchID_WithMessage:@"验证指纹" FallBackTitle:@"输入密码" Delegate:self];
}
//验证结果代理的回调方法
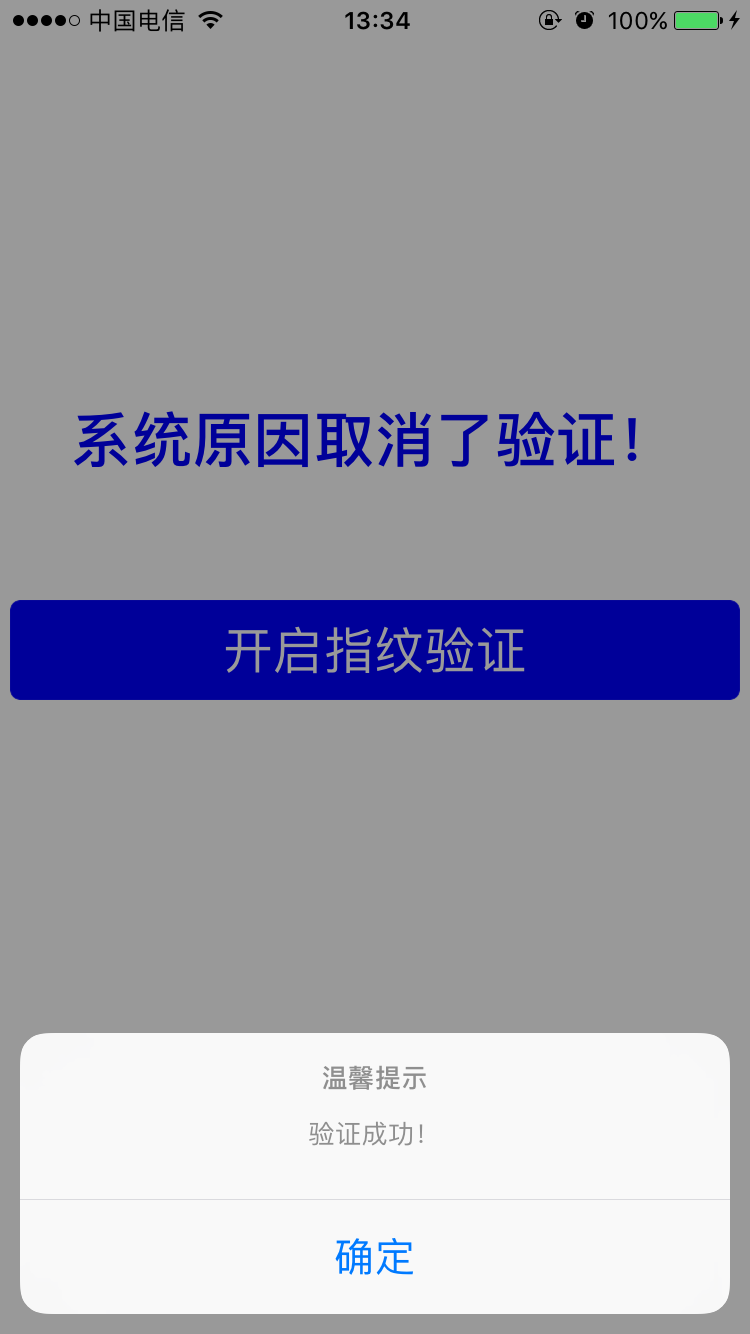
- (void)HQ_TouchID_AuthorizeSuccess
{
[self presentAlertCtrWithMessage:@"验证成功!"];
_resultString = @"验证成功!";
}
- (void)HQ_TouchID_AuthorizeFailure
{
[self presentAlertCtrWithMessage:@"验证失败!"];
_resultString = @"验证失败!";
}
- (void)HQ_TouchID_AuthorizeNotSupport
{
[self presentAlertCtrWithMessage:@"设备不支持!"];
_resultString = @"设备不支持!";
}
- (void)HQ_TouchID_AuthorizeUserCancel
{
[self presentAlertCtrWithMessage:@"用户取消了验证!"];
_resultString = @"用户取消了验证!";
}
- (void)HQ_TouchID_AuthorizeSystemCancel{
[self presentAlertCtrWithMessage:@"系统原因取消了验证!"];
_resultString = @"系统原因取消了验证!";
}
//警告
- (void)presentAlertCtrWithMessage:(NSString *)infoString{
[self.alertCtr setMessage:infoString];
[self presentViewController:self.alertCtr animated:YES completion:nil];
}
#pragma mark - setter;
- (UIAlertController *)alertCtr{
if (_alertCtr){
return _alertCtr;
}else{
_alertCtr = [[UIAlertController alloc]init];
[_alertCtr setTitle:@"温馨提示"];
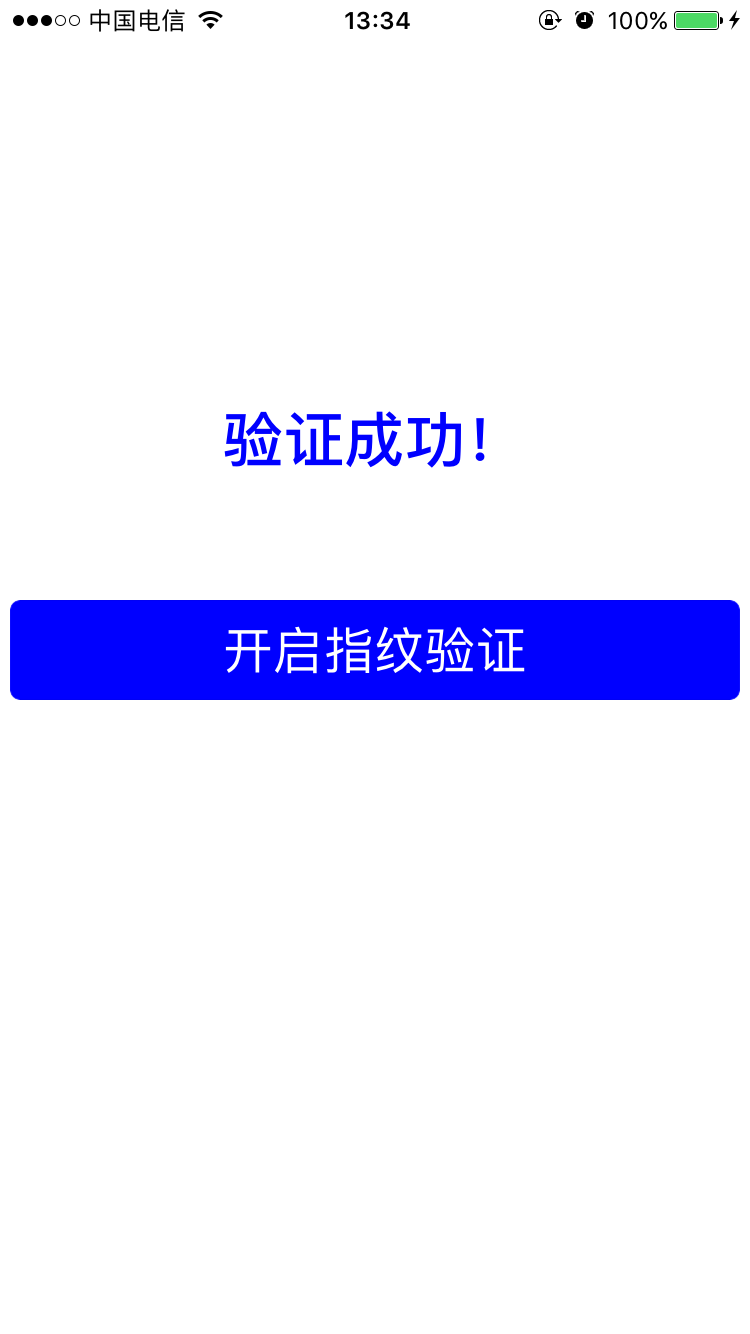
UIAlertAction *action = [UIAlertAction actionWithTitle:@"确定" style:UIAlertActionStyleDefault handler:^(UIAlertAction * _Nonnull action) {
//这里的_resultString可以使用枚举替代,然后在此处使用switch语句对不同的情况做不同的操作,我这里是将验证的结果打印出来。
self.verifyResultLabel.text = _resultString;
}];
[_alertCtr addAction:action];
return _alertCtr;
}
}
- (UILabel *)verifyResultLabel{
if (_verifyResultLabel){
return _verifyResultLabel;
}else{
_verifyResultLabel = [[UILabel alloc]initWithFrame:CGRectMake(0, 200, self.view.bounds.size.width, 40)];
_verifyResultLabel.textColor = [UIColor blueColor];
_verifyResultLabel.font = [UIFont boldSystemFontOfSize:30];
_verifyResultLabel.textAlignment = NSTextAlignmentCenter;
_verifyResultLabel.text = @"Hello world!";
return _verifyResultLabel;
}
}
到这里我们的指纹验证就写完了。希望对大家有所帮助


 5972
5972

 被折叠的 条评论
为什么被折叠?
被折叠的 条评论
为什么被折叠?
 到【灌水乐园】发言


