


使用shiro有段时间了,相比springsecurity,shiro要更轻量化,虽说功能不及springsecurity那么强大,但也足够用了。本次将记录一下springboot2与shiro的集成过程,将分为三篇来进行讲述,第一篇是项目的基础增删改查,第二篇则是使用session进行认证,第三篇则是去除session,采用无状态的jwt进行认证。由于水平有限,所以对于原理不会太深入讲解,有兴趣的大佬可自行上网搜索。
springboot2集成shiro上篇:项目基础环境搭建
1、新建项目
使用Spring Initializr快速新建maven项目,并添加相应的依赖,pom.xml文件如下
<?xml version="1.0" encoding="UTF-8"?>
<project xmlns="http://maven.apache.org/POM/4.0.0" xmlns:xsi="http://www.w3.org/2001/XMLSchema-instance"
         xsi:schemaLocation="http://maven.apache.org/POM/4.0.0 https://maven.apache.org/xsd/maven-4.0.0.xsd">
    <modelVersion>4.0.0</modelVersion>
    <parent>
        <groupId>org.springframework.boot</groupId>
        <artifactId>spring-boot-starter-parent</artifactId>
        <version>2.5.7</version>
        <relativePath/> <!-- lookup parent from repository -->
    </parent>
    <groupId>com.ygr</groupId>
    <artifactId>shiro-boot-session</artifactId>
    <version>0.0.1-SNAPSHOT</version>
    <name>shiro-boot-session</name>
    <description>shiro-boot-session</description>
    <properties>
        <java.version>1.8</java.version>
        <mybatis-plus-boot-starter.version>3.4.3.4</mybatis-plus-boot-starter.version>
        <hutool-all.version>5.7.17</hutool-all.version>
        <knife4j-spring-boot-starter.version>3.0.3</knife4j-spring-boot-starter.version>
    </properties>
    <dependencies>
        <dependency>
            <groupId>org.springframework.boot</groupId>
            <artifactId>spring-boot-starter-web</artifactId>
        </dependency>
        <dependency>
            <groupId>org.springframework.boot</groupId>
            <artifactId>spring-boot-starter-validation</artifactId>
        </dependency>
        <dependency>
            <groupId>com.github.xiaoymin</groupId>
            <artifactId>knife4j-spring-boot-starter</artifactId>
            <version>${knife4j-spring-boot-starter.version}</version>
        </dependency>

        <dependency>
            <groupId>org.springframework.boot</groupId>
            <artifactId>spring-boot-devtools</artifactId>
            <scope>runtime</scope>
            <optional>true</optional>
        </dependency>
        <dependency>
            <groupId>mysql</groupId>
            <artifactId>mysql-connector-java</artifactId>
            <scope>runtime</scope>
        </dependency>
        <dependency>
            <groupId>com.baomidou</groupId>
            <artifactId>mybatis-plus-boot-starter</artifactId>
            <version>${mybatis-plus-boot-starter.version}</version>
        </dependency>
        <dependency>
            <groupId>cn.hutool</groupId>
            <artifactId>hutool-all</artifactId>
            <version>${hutool-all.version}</version>
        </dependency>
        <dependency>
            <groupId>org.projectlombok</groupId>
            <artifactId>lombok</artifactId>
            <optional>true</optional>
        </dependency>
        <dependency>
            <groupId>org.springframework.boot</groupId>
            <artifactId>spring-boot-starter-test</artifactId>
            <scope>test</scope>
        </dependency>
    </dependencies>

    <build>
        <plugins>
            <plugin>
                <groupId>org.springframework.boot</groupId>
                <artifactId>spring-boot-maven-plugin</artifactId>
                <configuration>
                    <excludes>
                        <exclude>
                            <groupId>org.projectlombok</groupId>
                            <artifactId>lombok</artifactId>
                        </exclude>
                    </excludes>
                </configuration>
            </plugin>
        </plugins>
    </build>
</project>
简单解释一下上面用到的依赖,knife4j有些人可能不熟悉,但说到swagger应该都懂吧,注意,这个swagger说的不是Taiwan那个哈,这里说的是swagger-ui,knife4j可以说是swagger-ui的美化增强版。至于其他的依赖,就不多解释了。
新建完成后建议设置一下SDK为JDK1.8,新版的idea中似乎默认是JDK11,会出现找不到核心类库而爆红的情况,快捷键Ctrl + Shift + Alt + S

2、统一返回格式
在前后端分离趋势下,后端接口只需要返回约定格式的JSON即可,包路径为com.ygr.web,代码如下
@Data
public class ApiResult<T> {

    private boolean ok;

    private Integer code;

    private String message;

    private T data;

    private ApiResult() {
        this.code = HttpStatus.OK.value();
    }

    private ApiResult(T data, HttpStatus status, String message, boolean ok) {
        this.data = data;
        this.code = status.value();
        this.message = message;
        this.ok = ok;
    }

    public static <T> ApiResult<T> ok() {
        return new ApiResult<>(null, HttpStatus.OK, null, true);
    }

    public static <T> ApiResult<T> ok(T data) {
        return new ApiResult<>(data, HttpStatus.OK, null, true);
    }

    public static <T> ApiResult<T> ok(T data, String message) {
        return new ApiResult<>(data, HttpStatus.OK, message, true);
    }

    public static <T> ApiResult<T> ok(T data, HttpStatus status, String message) {
        return new ApiResult<>(data, status, message, true);
    }


    public static <T> ApiResult<T> error(String message) {
        return new ApiResult<>(null, HttpStatus.INTERNAL_SERVER_ERROR, message, false);
    }

    public static <T> ApiResult<T> error(HttpStatus status, String message) {
        return new ApiResult<>(null, status, message, false);
    }

    public static <T> ApiResult<T> error(HttpStatus status, String message, T data) {
        return new ApiResult<>(null, status, message, false);
    }
}
对于列表查询,因为可能涉及到分页,所以格式也需要进行约定,代码如下
@Data
@NoArgsConstructor
@AllArgsConstructor
@Builder
public class PageResp<T> {

    private Boolean paging;

    private Long pageNum;

    private Long pageSize;

    private Long pageCount;

    private Long totalCount;

    private List<T> list;
}
3、应用配置
(1)application.yml
配置很简单,不过多解释,代码如下
spring:
  datasource:
    url: jdbc:mysql://${MYSQL_HOST:127.0.0.1}:3306/shiro-boot-session?useUnicode=true&characterEncoding=UTF-8&useSSL=false&autoReconnect=true&failOverReadOnly=false&serverTimezone=GMT%2B8
    username: ${MYSQL_USERNAME:root}
    password: ${MYSQL_PASSWORD:root}
    driver-class-name: com.mysql.cj.jdbc.Driver
    type: com.zaxxer.hikari.HikariDataSource
    hikari:
      minimum-idle: 5
      connection-test-query: SELECT 1 FROM DUAL
      maximum-pool-size: 20
      auto-commit: true
      idle-timeout: 30000
      pool-name: ShiroBootSessionHikariCP
      max-lifetime: 60000
      connection-timeout: 30000

  jackson:
    date-format: yyyy-MM-dd HH:mm:ss
    locale: zh
    time-zone: GMT+8
    serialization:
      WRITE_DATES_AS_TIMESTAMPS: false

mybatis-plus:
  configuration:
    map-underscore-to-camel-case: true
  global-config:
    db-config:
      id-type: auto

logging:
  pattern:
    console: '%date{yyyy-MM-dd HH:mm:ss.SSS} | %highlight(%5level) [%green(%16.16thread)] %clr(%-50.50logger{49}){cyan} %4line -| %highlight(%msg%n)'
  level:
    root: info
    com.ygr: debug
(2)跨域配置
由于是前后端分离项目,所以跨域问题是必须要处理的,跨域的配置方式较多,这里选择如下方式进行配置
@Configuration
public class CorsConfig implements WebMvcConfigurer {

    @Override
    public void addCorsMappings(CorsRegistry registry) {
        // 添加映射路径
        registry.addMapping("/**")
                // 是否发送Cookie
                .allowCredentials(true)
                // 设置放行哪些原始域   SpringBoot2.4.4下低版本使用.allowedOrigins("*")
                .allowedOriginPatterns("*")
                // 放行哪些请求方式
                // .allowedMethods("GET", "POST", "PUT", "DELETE", "PATCH","OPTIONS")
                // 放行全部
                .allowedMethods("*")
                // 放行哪些原始请求头部信息
                .allowedHeaders("*")
                // 暴露哪些原始请求头部信息
                .exposedHeaders("*")
                // 预检请求有效时间
                .maxAge(3600);
    }
}
(3)mybatisplus配置
mybatisplus需要配置的地方不多,在上面的application.yml中已经配了部分了,这里主要配置一下字段填充以及分页插件。字段填充需要配合注解使用,如@TableField(value = "create_time", fill = FieldFill.INSERT),@TableField(value = "update_time", fill = FieldFill.UPDATE, update = "current_timestamp")
@Configuration
public class MybatisPlusConfig {

    /**
     * 分页插件
     *
     * @return mybatisPlusInterceptor
     */
    @Bean
    public MybatisPlusInterceptor mybatisPlusInterceptor() {
        MybatisPlusInterceptor interceptor = new MybatisPlusInterceptor();
        interceptor.addInnerInterceptor(new PaginationInnerInterceptor(DbType.MYSQL));
        return interceptor;
    }

    /**
     * 插入和更新时,自动填充时间字段
     *
     * @return metaObjectHandler
     */
    @Bean
    public MetaObjectHandler metaObjectHandler() {
        return new MetaObjectHandler() {
            @Override
            public void insertFill(MetaObject metaObject) {
                this.strictInsertFill(metaObject, "createTime", Date::new, Date.class);
            }

            @Override
            public void updateFill(MetaObject metaObject) {
                this.strictUpdateFill(metaObject, "updateTime", Date::new, Date.class);
            }
        };
    }
}
(4)knife4j配置
为了便于接口测试,引入了knife4j,配置方式与swagger没太大区别。配置扫描路径时,可以一次性将整个项目的controller都扫描出来,但个人建议还是按模块来进行扫描,有多个模块就配置多个Docket
@EnableSwagger2
@Configuration
public class Knife4jConfig {

    @Bean
    public Docket uaRestApi() {
        return new Docket(DocumentationType.SWAGGER_2)
                .apiInfo(new ApiInfoBuilder()
                        .title("ua模块 api文档")
                        .description("shiro-boot-session api")
                        .version("1.0")
                        .build())
                .select()
                .apis(RequestHandlerSelectors.basePackage("com.ygr.modules.ua.controller"))
                .paths(PathSelectors.any())
                .build();
    }
}
4、表结构
认证授权使用的是经典的RBAC模型,涉及的表结构如下
create database if not exists `shiro-boot-session` default character set utf8mb4 collate utf8mb4_general_ci;
use `shiro-boot-session`;


drop table if exists ua_user_info;
create table ua_user_info
(
    id           bigint auto_increment primary key,
    name         varchar(32)  not null unique comment '用户名',
    password     varchar(256) not null comment '密码',
    history_name varchar(1024) comment '历史名称',
    status       tinyint  default 1 comment '用户状态[1-正常,2-锁定]',
    phone        varchar(32) comment '电话',
    email        varchar(128) comment '邮箱',
    remark       varchar(1024) comment '备注',
    create_time  datetime default current_timestamp comment '创建时间',
    update_time  datetime comment '变更时间'
) comment '用户信息';

drop table if exists ua_role_info;
create table ua_role_info
(
    id          bigint auto_increment primary key,
    code        varchar(32) not null unique comment '角色编号',
    name        varchar(64) not null comment '角色名称',
    status      tinyint     not null default 1 comment '角色状态[1-正常,2-禁用]',
    remark      varchar(1024) comment '备注',
    create_time datetime             default current_timestamp comment '创建时间',
    update_time datetime comment '变更时间'
) comment '角色信息';

drop table if exists ua_authority_info;
create table ua_authority_info
(
    id          bigint auto_increment primary key,
    parent_id   bigint       not null default -1 comment '上级id',
    name        varchar(64)  not null comment '权限名称',
    uri         varchar(256) not null comment 'URI',
    type        tinyint      not null comment '类型[1-菜单,2-按钮/api]',
    perm_tag    varchar(64) comment '权限标识',
    group_name  varchar(32) comment '分组',
    status      tinyint      not null default 1 comment '状态',
    view        varchar(256) comment '视图',
    hide        bit          not null default 0 comment '掩藏',
    icon        varchar(64) comment '图标',
    sort        int                   default 0 comment '排序',
    remark      varchar(1024) comment '备注',
    create_time datetime              default current_timestamp comment '创建时间',
    update_time datetime comment '变更时间'
) comment '权限信息';


drop table if exists ua_user_role_relation;
create table ua_user_role_relation
(
    id          bigint auto_increment primary key,
    user_id     bigint not null comment '用户id',
    role_id     bigint not null comment '角色id',
    create_time datetime default current_timestamp comment '创建时间'
) comment '用户角色关联关系';
create index ua_user_role_relation_user_id on ua_user_role_relation (user_id);
create index ua_user_role_relation_role_id on ua_user_role_relation (role_id);

drop table if exists ua_role_authority_relation;
create table ua_role_authority_relation
(
    id           bigint auto_increment primary key,
    role_id      bigint not null comment '角色id',
    authority_id bigint not null comment '权限id',
    create_time  datetime default current_timestamp comment '创建时间'
) comment '角色权限关联关系';
5、代码生成
使用mybatisplus插件或其他代码生成插件生成相应表的实体类以及对应的增删改查代码,以ua_user_info表为例,代码如下
-
entity
@Data @Accessors(chain = true) @EqualsAndHashCode(callSuper = true) @TableName("ua_user_info") @ApiModel(value = "UaUserInfo", description = "用户信息表实体类") public class UaUserInfo extends Model<UaUserInfo> { @TableId("id") private Long id; /** * 用户名 */ @ApiModelProperty(value = "用户名") @TableField("name") private String name; /** * 密码 */ @ApiModelProperty(value = "密码") @TableField("password") private String password; /** * 历史名称 */ @ApiModelProperty(value = "历史名称") @TableField("history_name") private String historyName; /** * 用户状态[1-正常,2-锁定] */ @ApiModelProperty(value = "用户状态[1-正常,2-锁定]") @TableField("status") private Integer status; /** * 电话 */ @ApiModelProperty(value = "电话") @TableField("phone") private String phone; /** * 邮箱 */ @ApiModelProperty(value = "邮箱") @TableField("email") private String email; /** * 备注 */ @ApiModelProperty(value = "备注") @TableField("remark") private String remark; /** * 创建时间 */ @ApiModelProperty(value = "创建时间") @TableField(value = "create_time", fill = FieldFill.INSERT) private Date createTime; /** * 变更时间 */ @ApiModelProperty(value = "变更时间") @TableField(value = "update_time", fill = FieldFill.UPDATE, update = "current_timestamp") private Date updateTime; /** * 获取主键值 * * @return 主键值 */ @Override public Serializable pkVal() { return this.id; } } -
mapper
@Mapper public interface UaUserInfoMapper extends BaseMapper<UaUserInfo> { } -
service
public interface UaUserInfoService extends IService<UaUserInfo> { /** * 获取加密后的密码 * * @param password 明文密码 * @return 加密后的密码 */ String encryptPassword(String password); } -
serviceImpl
@Service public class UaUserInfoServiceImpl extends ServiceImpl<UaUserInfoMapper, UaUserInfo> implements UaUserInfoService { @Override public String encryptPassword(String password) { Sha256Hash hash = new Sha256Hash(password, AuthConstant.SECRET_SALT, 1024); return hash.toBase64(); } }AuthConstant定义如下public interface AuthConstant { String SECRET_SALT = "my-secret-salt"; } -
controller
@Api(tags = "用户信息")
@Validated
@RequiredArgsConstructor
@RestController
public class UaUserInfoController {

    private final UaUserInfoService service;

    /**
     * 列表查询用户信息
     *
     * @param needPage 是否需要分页
     * @param pageSize 分页大小
     * @param pageNum  分页页码
     * @param params   查询条件
     * @return 查询结果
     */
    @ApiOperation("列表查询")
    @GetMapping("/ua-user-info")
    public ApiResult<PageResp<UaUserInfo>> queryList(@RequestParam(value = "needPage", required = false, defaultValue = "false") boolean needPage,
                                                  @RequestParam(value = "pageSize", required = false, defaultValue = "10") int pageSize,
                                                  @RequestParam(value = "pageNum", required = false, defaultValue = "1") int pageNum,
                                                  @RequestParam(required = false) Map<String, String> params) {
        UaUserInfo entity = BeanUtil.mapToBean(params, UaUserInfo.class, false, new CopyOptions().setIgnoreCase(false).setIgnoreError(true));
        QueryWrapper<UaUserInfo> queryWrapper = new QueryWrapper<>(entity);
        if (needPage) {
            if (pageNum <= 0 || pageSize <= 0) {
                return ApiResult.error(HttpStatus.BAD_REQUEST, "分页参数错误!");
            }
            Page<UaUserInfo> page = this.service.page(new Page<>(pageNum, pageSize), queryWrapper);
            PageResp<UaUserInfo> resp = PageResp.<UaUserInfo>builder()
                    .paging(true)
                    .pageNum(page.getCurrent())
                    .pageSize(page.getSize())
                    .pageCount(page.getPages())
                    .totalCount(page.getTotal())
                    .list(page.getRecords())
                    .build();
            return ApiResult.ok(resp);
        }
        PageResp<UaUserInfo> resp = PageResp.<UaUserInfo>builder()
                .paging(false)
                .list(this.service.list(queryWrapper))
                .build();
        return ApiResult.ok(resp);
    }


    /**
     * 通过主键查询用户信息
     *
     * @param id 主键
     * @return 单条数据
     */
    @ApiOperation("通过主键查询")
    @GetMapping("/ua-user-info/{id}")
    public ApiResult<UaUserInfo> getOne(@PathVariable("id") Serializable id) {
        return ApiResult.ok(this.service.getById(id));
    }

    /**
     * 新增用户信息
     *
     * @param entity 实体对象
     * @return 新增结果
     */
    @ApiOperation("新增")
    @PostMapping("/ua-user-info")
    public ApiResult<UaUserInfo> insert(@RequestBody @Valid UaUserInfo entity) {
        this.service.save(entity);
        return ApiResult.ok(entity);
    }

    /**
     * 通过主键更新用户信息
     *
     * @param entity 实体对象
     * @return 修改结果
     */
    @ApiOperation("通过主键更新")
    @PutMapping("/ua-user-info")
    public ApiResult<UaUserInfo> update(@RequestBody @Valid UaUserInfo entity) {
        ApiResult<Void> checkPkVal = checkPkVal(entity);
        if (!checkPkVal.isOk()) {
            return ApiResult.error(HttpStatus.resolve(checkPkVal.getCode()), checkPkVal.getMessage());
        }
        UaUserInfo oldData = this.service.getById(entity.pkVal());
        if (oldData == null) {
            return ApiResult.error(HttpStatus.NOT_FOUND, "数据不存在!");
        }
        this.service.updateById(entity);
        return ApiResult.ok(this.service.getById(entity.pkVal()));
    }

    /**
     * 通过主键删除用户信息
     *
     * @param id 主键
     * @return 删除结果
     */
    @ApiOperation("通过主键删除")
    @DeleteMapping("/ua-user-info/{id}")
    public ApiResult<Void> delete(@PathVariable("id") Serializable id) {
        if (this.service.getById(id) == null) {
            return ApiResult.error(HttpStatus.NOT_FOUND, "数据不存在!");
        }
        this.service.removeById(id);
        return ApiResult.ok();
    }

    private ApiResult<Void> checkPkVal(UaUserInfo entity) {
        if (entity.pkVal() == null || "".equals(entity.pkVal().toString())) {
            return ApiResult.error(HttpStatus.BAD_REQUEST, "id不能为空!");
        }
        return ApiResult.ok();
    }
}
其他的表的代码与用户表基本上一样,就不贴出来了。项目结构如下所示

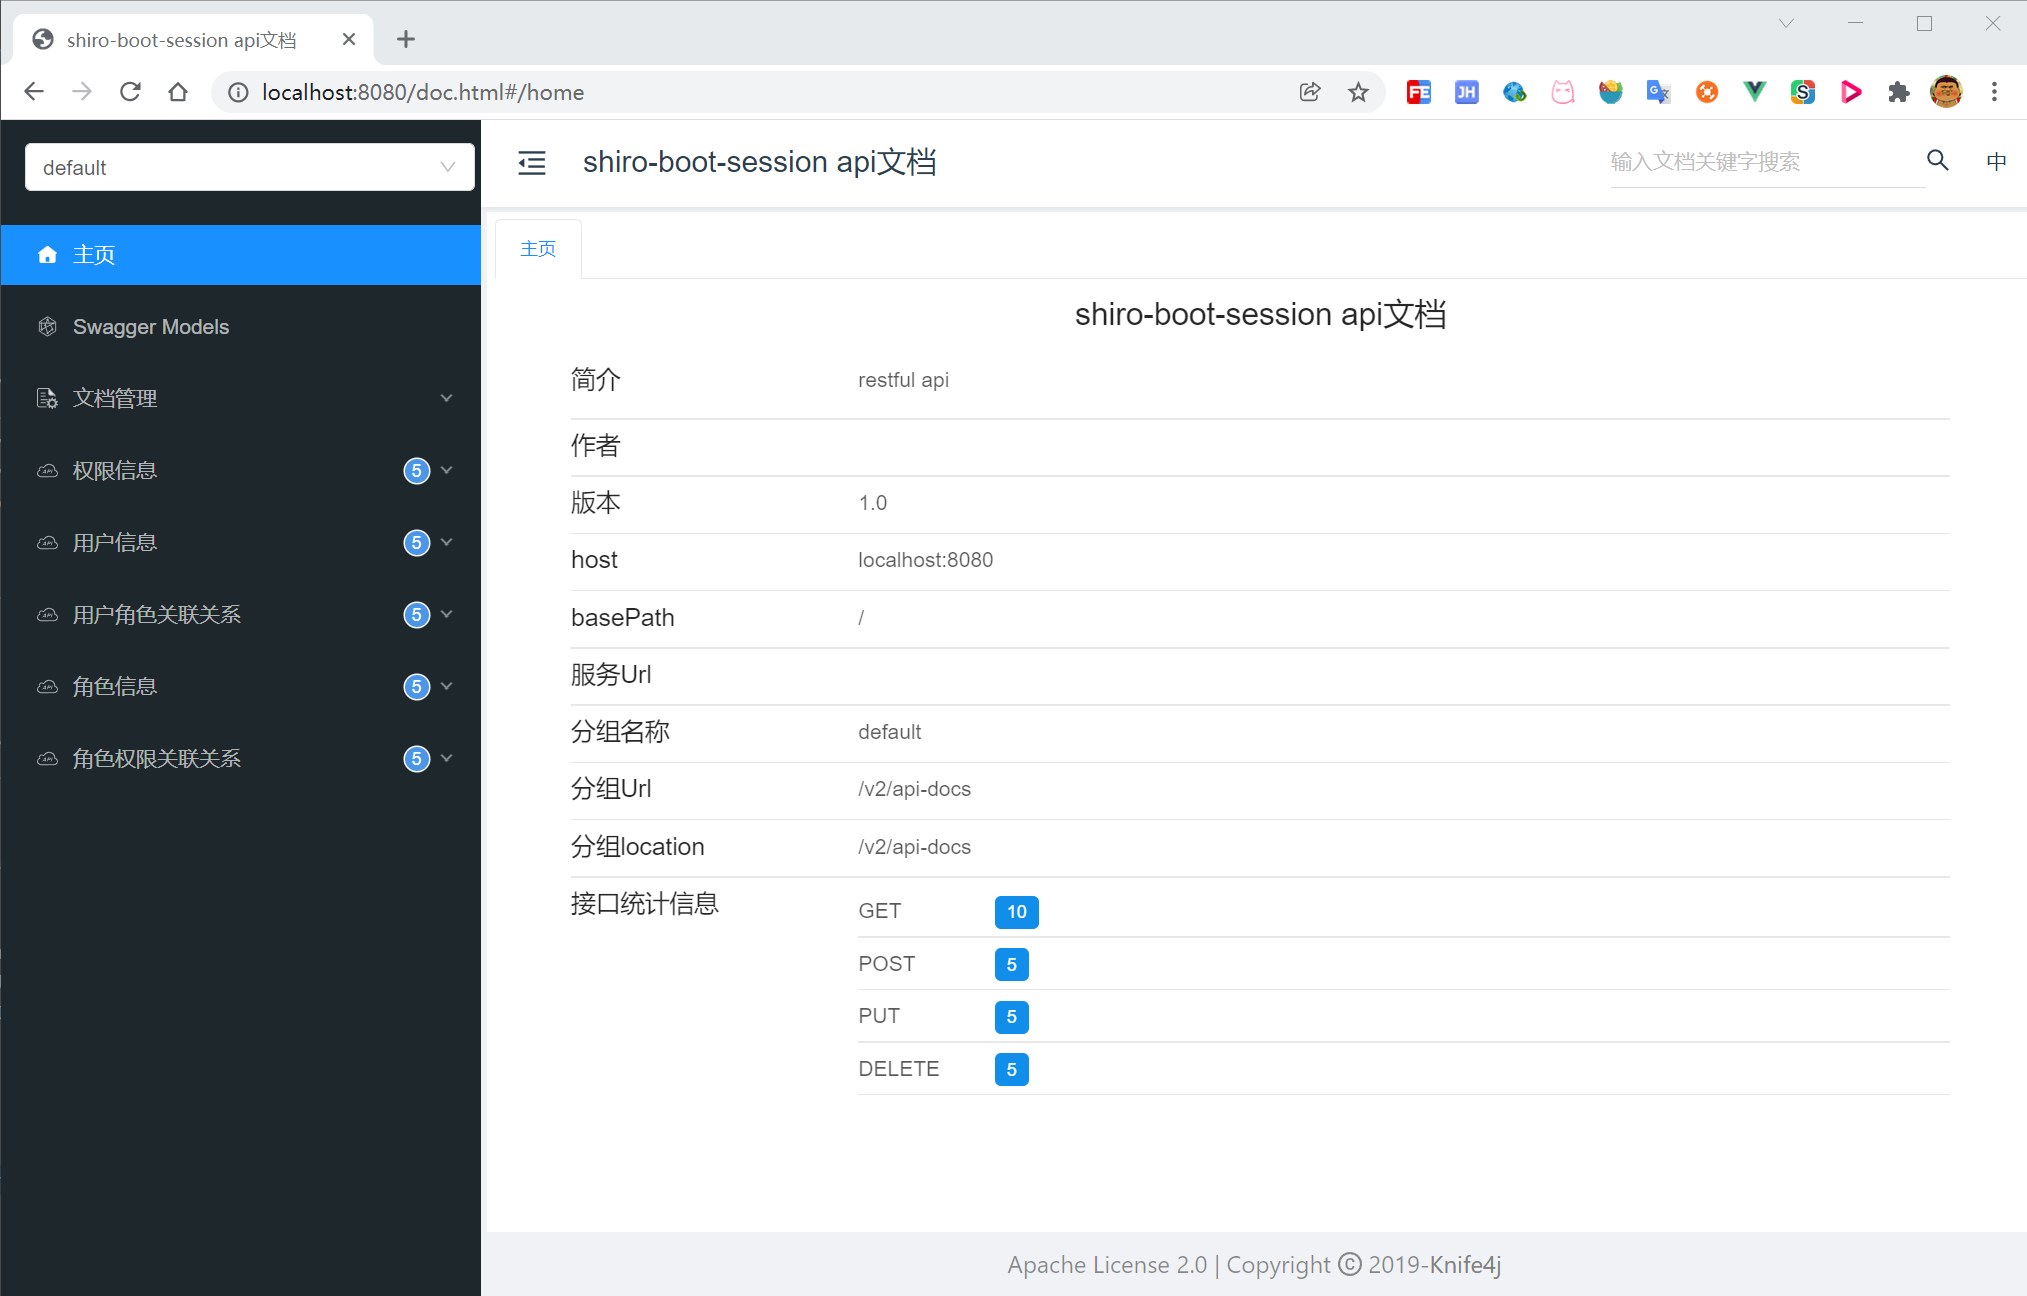
到这里,项目的增删改查就OK了,启动项目,访问 http://localhost:8080/doc.html 后,可以看到如下界面,接下来就可以方便的进行接口测试了。
代码已上传至gitee,见master分支:https://gitee.com/yang-guirong/shiro-boot/tree/master/
下一篇将讲述shiro的集成过程。


 191
191

 被折叠的 条评论
为什么被折叠?
被折叠的 条评论
为什么被折叠?
 到【灌水乐园】发言


