


前言
之前都是在Spring MVC中使用Redis,这里记录在Spring Boot中使用Redis作为数据缓存的过程。参考Spring Boot集成Spring Data Jpa,搭建项目。
启动Redis
本次是在Docker中部署Redis,从https://hub.docker.com/中直接pull官方的redis镜像,启动redis。

使用RedisDesktopManager测试一下。。。
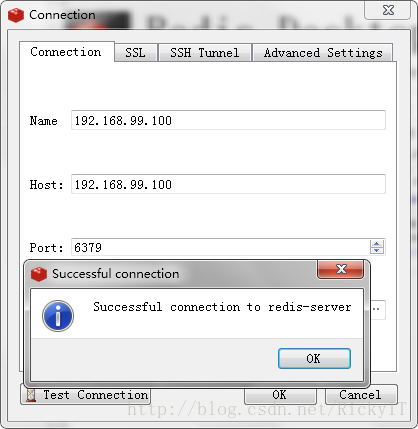
连接成功了。接下来看看Spring Boot中怎么使用Redis。
集成
POM文件
        <dependency>
            <groupId>org.springframework.boot</groupId>
            <artifactId>spring-boot-starter-data-redis</artifactId>
        </dependency>
Redis配置
application.properties
# REDIS (RedisProperties)
# Redis数据库索引(默认为0)
spring.redis.database=0
# Redis服务器地址
spring.redis.host=192.168.99.100
# Redis服务器连接端口
spring.redis.port=6379
# Redis服务器连接密码(默认为空)
spring.redis.password=
# 连接池最大连接数(使用负值表示没有限制)
spring.redis.pool.max-active=8
# 连接池最大阻塞等待时间(使用负值表示没有限制)
spring.redis.pool.max-wait=-1
# 连接池中的最大空闲连接
spring.redis.pool.max-idle=8
# 连接池中的最小空闲连接
spring.redis.pool.min-idle=0
# 连接超时时间(毫秒)
spring.redis.timeout=0
RedisCacheConfig类
@Configuration
@EnableCaching
public class RedisCacheConfig extends CachingConfigurerSupport {
    @Bean
    public RedisTemplate<String, String> redisTemplate(RedisConnectionFactory factory) {
        RedisTemplate<String, String> template = new RedisTemplate<>();
        template.setConnectionFactory(factory);
        Jackson2JsonRedisSerializer jackson2JsonRedisSerializer = new Jackson2JsonRedisSerializer(Object.class);
        ObjectMapper om = new ObjectMapper();
        om.setVisibility(PropertyAccessor.ALL, JsonAutoDetect.Visibility.ANY);
        om.enableDefaultTyping(ObjectMapper.DefaultTyping.NON_FINAL);
        jackson2JsonRedisSerializer.setObjectMapper(om);
        template.setValueSerializer(jackson2JsonRedisSerializer);
        template.afterPropertiesSet();
        return template;
    }

    @SuppressWarnings("rawtypes")
    @Bean
    public CacheManager cacheManager(RedisTemplate redisTemplate) {
        RedisCacheManager rcm = new RedisCacheManager(redisTemplate);
        //设置缓存过期时间,默认是0l
        rcm.setDefaultExpiration(60);//秒
        return rcm;
    }

}
使用
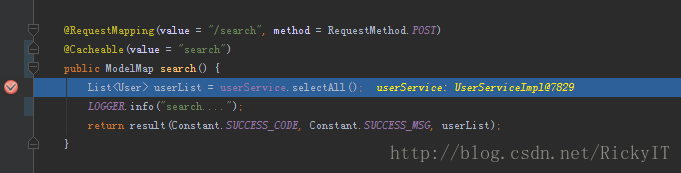
    @RequestMapping(value = "/search", method = RequestMethod.POST)
    @Cacheable(value = "search")
    public ModelMap search() {
        List<User> userList = userService.selectAll();
        LOGGER.info("search....");
        return result(Constant.SUCCESS_CODE, Constant.SUCCESS_MSG, userList);
    }
测试
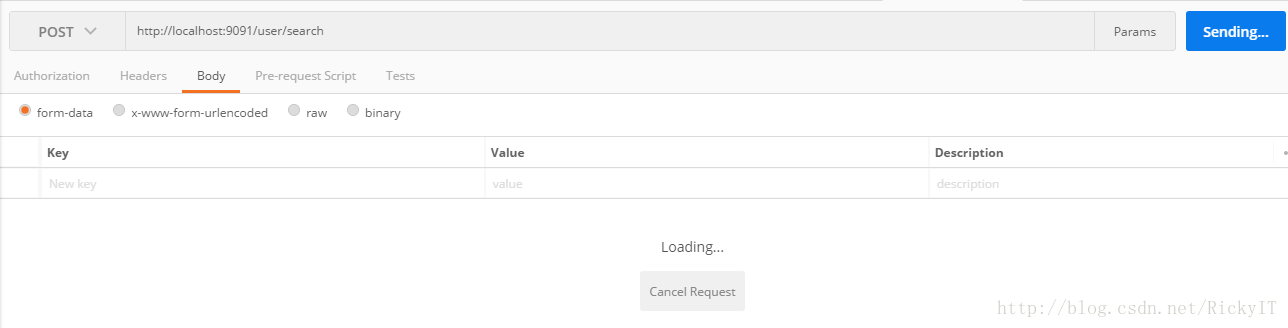
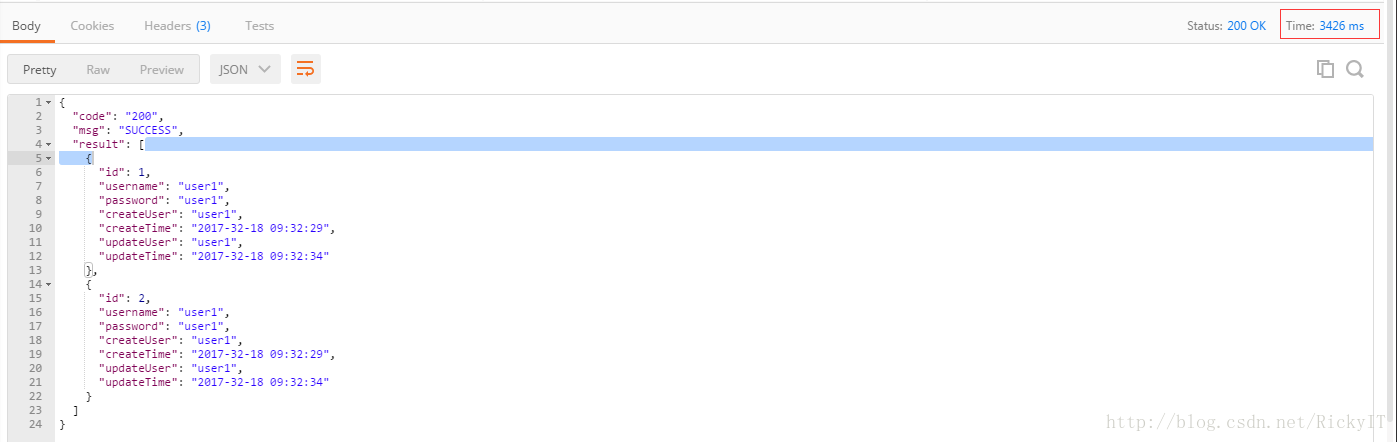
- PostMan发起请求
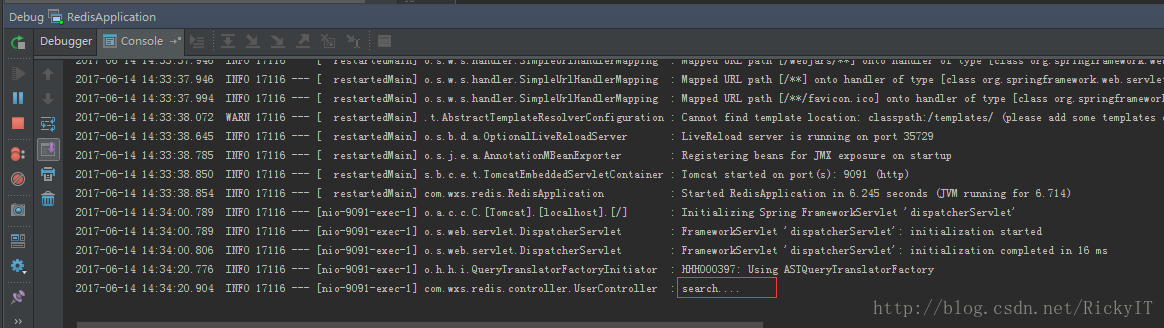
2. 后台接受请求
3. 返回值
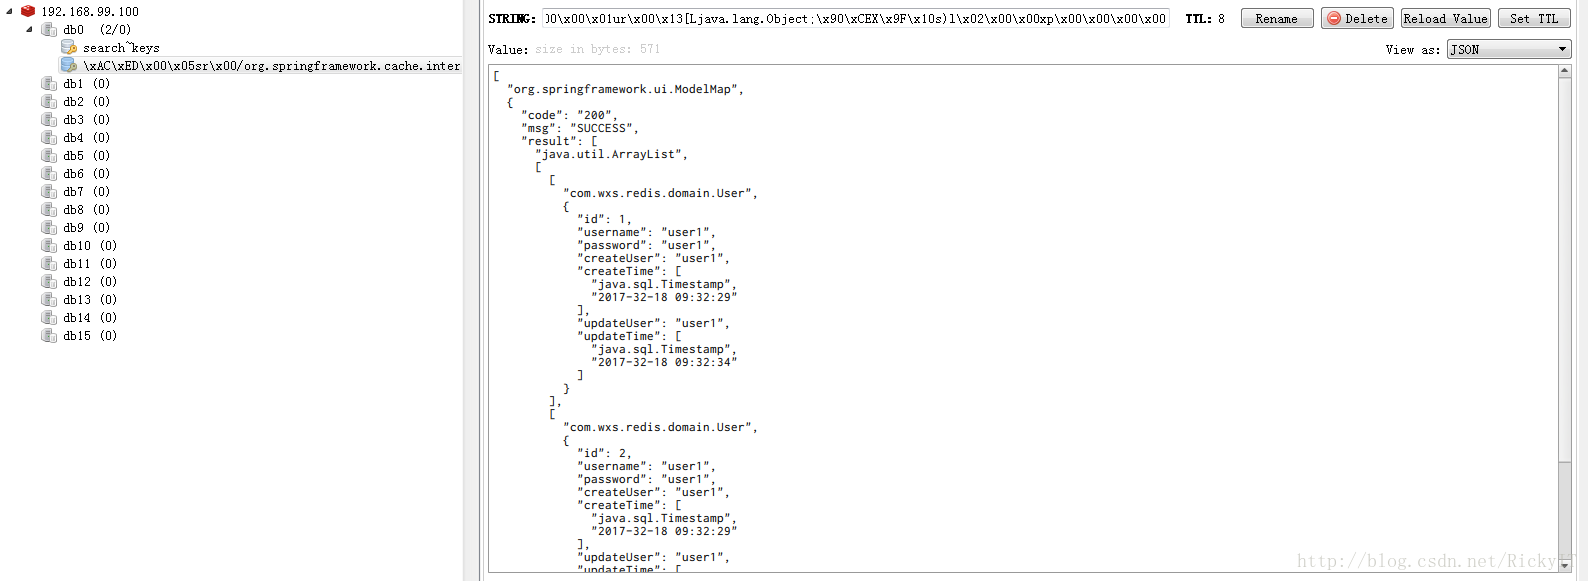
4. 缓存
使用RedisDesktopManager 查看缓存的结果。
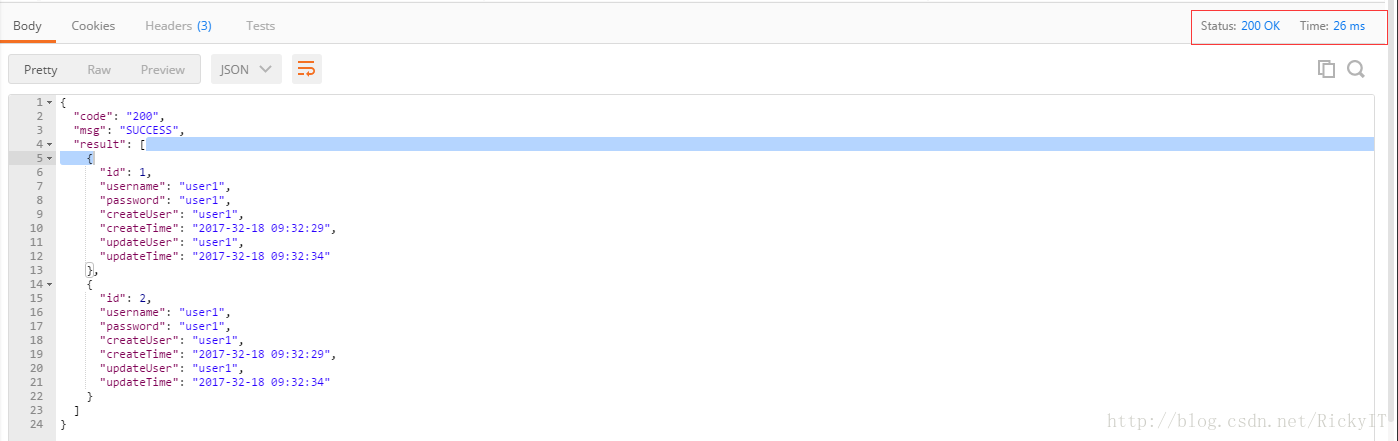
下次请求,会直接从redis返回结果。不会再请求数据库,接口响应的时间大大缩短。


 259
259

 被折叠的 条评论
为什么被折叠?
被折叠的 条评论
为什么被折叠?
 到【灌水乐园】发言


