


搭建单机动态Web应用
目标:使用织梦内容管理系统制作了PHP动态网站,现在构建LAMP架构,将动态网站(PHP)部署运行起来,提供动态网站访问服务。掌握LAMP架构的功能特点,内容管理系统部署方法
任务内容:
(1)安装LAMP服务
(2)安装PHP动态网站应用(在LAMP服务上部署PHP内容管理系统)
一、搭建单机LAMP服务
LAMP架构:对于Apache服务只能提供静态网站服务,要像在服务器上运行动态网站,就要部署相应的架构,使用PHP程序结合MySQL数据库编写的Web网站非常多,要想部署这类的动态网站,需要使用LAMP架构服务,LAMP是现在非常流行的Web服务环境,是Linux、Apache、MySQL(MariaDB)、PHP的缩写。动态内容由PHP处理,数据存储在MySQL(MariaDB)数据库中
1、安装Apache、MySQL(MariaDB)、PHP
在服务器配置好Yum源
拉取网络源
wget -O /etc/yum.repos.d/CentOS-Base.repo https://mirrors.aliyun.com/repo/Centos-7.repo
[root@control ~]# yum repolist
Loaded plugins: fastestmirror, langpacks
Loading mirror speeds from cached hostfile
repo id                                                              repo name                                                                   status
!docker-ce-stable/7/x86_64                                           Docker CE Stable - x86_64                                                        264
!epel/7/x86_64                                                       EPEL for redhat/centos 7 - x86_64                                             13,789
!extras/7/x86_64                                                     Qcloud centos extras - x86_64                                                    518
!os/7/x86_64                                                         Qcloud centos os - x86_64                                                   10,070+2
!updates/7/x86_64                                                    Qcloud centos updates - x86_64                                                 5,367
repolist: 30,008


[root@control ~]# yum install httpd php php-mysql mariadb mariadb-server -y
通过yum安装了Apache服务httpd、php服务、PHP与数据库连接服务php-mysql、MariaDB的客户端和服务端

启动Apache服务,进行访问测试
[root@control ~]# systemctl start httpd

[root@control ~]# firewall-cmd --add-service=http --permanent
success
[root@control ~]# systemctl restart firewalld

启动服务,在防火墙中放行了http服务之后,通过浏览器访问服务器IP的http服务,发现可以正常访问默认的httpd服务网页即可
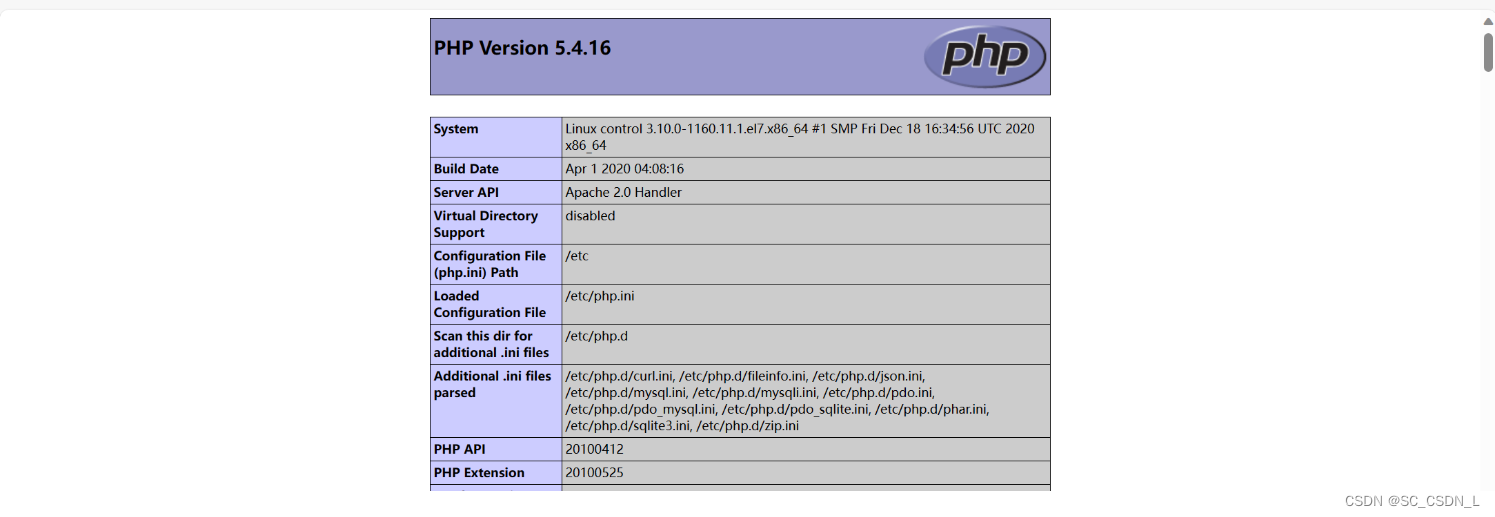
在/var/www/html下创建index.php文件,使用Vi 编辑文件
[root@control ~]# vi /var/www/html/index.php

<?php
        phpinfo();
?>
再次通过主机IP访问服务器的httpd服务,发现已经可以访问index.php的php程序
2、启动配置MariaDB服务
[root@control ~]# systemctl start mariadb
下面的脚本命令可以用Tab键补全,初始化MariaDB配置
[root@control ~]# mysql_secure_installation

NOTE: RUNNING ALL PARTS OF THIS SCRIPT IS RECOMMENDED FOR ALL MariaDB
      SERVERS IN PRODUCTION USE!  PLEASE READ EACH STEP CAREFULLY!

In order to log into MariaDB to secure it, we'll need the current
password for the root user.  If you've just installed MariaDB, and
you haven't set the root password yet, the password will be blank,
so you should just press enter here.

Enter current password for root (enter for none):                #输入数据可密码,没有则默认回车
OK, successfully used password, moving on...

Setting the root password ensures that nobody can log into the MariaDB
root user without the proper authorisation.

Set root password? [Y/n] y                                        #要求设置数据库密码,选择y
New password:                                                     #设置数据库密码
Re-enter new password:                                            #再次设置数据库密码,两次要求一致
Password updated successfully!
Reloading privilege tables..
 ... Success!


By default, a MariaDB installation has an anonymous user, allowing anyone
to log into MariaDB without having to have a user account created for
them.  This is intended only for testing, and to make the installation
go a bit smoother.  You should remove them before moving into a
production environment.

Remove anonymous users? [Y/n] y                                                #询问是否移除匿名用户,若移除,则选择y
 ... Success!

Normally, root should only be allowed to connect from 'localhost'.  This
ensures that someone cannot guess at the root password from the network.

Disallow root login remotely? [Y/n] y                                          #询问是否拒绝root用户远程登录,若不允许设备登录,则选择y
 ... Success!

By default, MariaDB comes with a database named 'test' that anyone can
access.  This is also intended only for testing, and should be removed
before moving into a production environment.

Remove test database and access to it? [Y/n] y                                 #询问是否移除测试数据库,若移除,则选择y
 - Dropping test database...
 ... Success!
 - Removing privileges on test database...
 ... Success!

Reloading the privilege tables will ensure that all changes made so far
will take effect immediately.

Reload privilege tables now? [Y/n] y                                            #询问是否重载数据表权限,选择y
 ... Success!

Cleaning up...

All done!  If you've completed all of the above steps, your MariaDB
installation should now be secure.

Thanks for using MariaDB!
二、部署PHP动态网站
安装了LAMP服务并初始化数据库之后,就可以把动态网站部署到默认的/var/www/html目录了。这里部署比较流行的PHP网站内容管理系统————织梦内容管理系统(织梦 (DedeCMS) 官方网站 - 内容管理系统 - 上海卓卓网络科技有限公司),它本身是一个用PHP制作的动态网站程序,有很多企业都是基于这个管理系统制作的
织梦管理系统
DedeCMS基于PHP和MySQL技术开发,环境需求如下:
版本命名规则:
DedeCMS 5.7.73及后续的版本将采用 Semantic Versioning Specification (SemVer) 进行维护。
WINDOWS 环境:
IIS/Apache/Nginx + PHP5.6+ + MySQL5.7+/MariaDB
LINUX/UNIX 环境:
Apache/Nginx + PHP5.6+ + MySQL5.7+/MariaDB (PHP 必须在非安全模式下运行)
建议使用环境:
OpenBSD + Nginx + PHP5.6+ + MySQL5.7+/MariaDB
推荐理由:
OpenBSD以安全著称,其会对pkg源内的软件进行安全优化,在许多软件开发商未发现漏洞前进行安全补丁;
OpenBSD的PF防火墙非常强大,许多硬件防火墙均使用OpenBSD的PF防火墙进行二次开发;
运行在OpenBSD的chroot模式下的Nginx、PHP即使因漏洞被攻破,也不会影响主系统的安全;
注意事项:
请使用pkg_add来安装Nginx、PHP、MariaDB,确保系统安全;
赋予网站一个低权限系统用户,切勿使用root、www、php等用户;
分配给MariaDB库一个低权限sql用户,切勿使用root等MariaDB系统用户;
上传数据可使用SFTP进行,OpenSSH也是OpenBSD团队开源的优秀系统,在安装OpenBSD时确保SSH开启即可使用SFTP;
SFTP用户为系统用户,对于多用户服务器可在OpenBSD内对低权限系统用户进行目录访问限制;
MariaDB远程控制,同样可以使用SSH方式链接服务器进行GUI化管理,目前大多数的MYSQL GUI管理工具均支持SSH方式远程访问数据库;
PHP 函数库依赖:
allow_url_fopen
GD扩展库
MySQL扩展库
系统函数 —— phpinfo、dir
基本目录结构:
/ 根目录在安装可选模块时需设定可写入文件和创建目录的权限。
..../install 安装程序目录,安装完后可删除[安装时必须有可写入权限]
..../dede 默认后台管理目录(可任意改名)
..../include 类库文件目录
..../plus 附助程序目录
..../member 会员目录
..../images 系统默认模板图片存放目录
..../uploads 默认上传目录[必须可写入]
..../html 默认HTML文件存放目录[必须可写入]
..../templets 系统默认内核模板目录
..../data 系统缓存或其它可写入数据存放目录[必须可写入]
..../special 专题目录[生成一次专题后可以删除special/index.php,必须可写入]
兼容性问题:
data 目录没写入权限,导致系统 session 无法使用,这将导致无法登录管理后台(直接表现为验证码不能正常显示);
php 的上传的临时文件夹没设置好或没写入权限,这会导致文件上传的功能无法使用;
出现莫名的错误,如安装时显示空白,这样能是由于系统没装载 mysql 扩展导致的,对于初级用户,可以下载 dede 的 php 套件包,以方便简单的使用;
常见问题:
上传文件时出现:413 Request Entity Too Large错误,请检查php.ini中upload_max_filesize、post_max_size及Nginx的client_max_body_size设置;
安装步骤:
下载程序解压到本地目录;
上传程序目录中的/uploads 到网站根目录;
运行 http://你的域名或 IP/install/index.php, 按照安装提速说明进行程序安装;
1、上传织梦程序到网站根目录
首先删除在/var/www/html目录下建立的index.php文件
[root@control ~]# rm -rf /var/www/html/index.php

安装lrzsz服务,使用rz上传织梦程序压缩包,上传到/var/www/html目录下
[root@control ~]# yum install lrzsz -y

解压程序

[root@control ~]# cd /var/www/html/
[root@control html]# ls
DedeCMS-V5.7.111-UTF8.zip
[root@control html]# unzip DedeCMS-V5.7.111-UTF8.zip

[root@control html]# ls
DedeCMS-V5.7.111-UTF8.zip  docs  uploads

解压完成后,将解压的uploads目录里的所有文件复制到/var/www/html目录下,复制完后,/var/www/html目录下就包括了织梦程序的所有内容
[root@control html]# mkdir zhimeng
[root@control html]# mv docs/ zhimeng/
[root@control html]# mv uploads/ zhimeng/
[root@control html]# ls
DedeCMS-V5.7.111-UTF8.zip  zhimeng
[root@control html]# cd zhimeng/uploads/
[root@control uploads]# ls
a  assets  data  dede  favicon.ico  images  include  index.php  install  license.txt  m  member  plus  robots.txt  special  tags.php  templets  uploads
[root@control uploads]# cp -r * /var/www/html

[root@control uploads]# cd ..

[root@control zhimeng]# cd ..
[root@control html]# ls
a       data  DedeCMS-V5.7.111-UTF8.zip  images   index.php  license.txt  member  robots.txt  tags.php  uploads
assets  dede  favicon.ico                include  install    m            plus    special     templets  zhimeng
[root@control html]#
2、安装织梦程序
访问服务器的http服务,进入安装界面

安装php-gd,设置文件夹及文件权限。选中“我已经阅读并同意此协议”复选框,单击“继续”按钮,打开界面

其中GD是PHP的一些图片库支持,安装php-gd软件就可以了
对于其他权限设置,把/var/www/html/目录设置成777权限就可以了
[root@control html]# yum install php-gd -y

[root@control html]# setenforce 0
setenforce: SELinux is disabled
[root@control html]# chmod -R 777 /var/www/html
配置权限时需要将SELinux设置成0,安装php-gd后需要重新启动httpd服务,再次刷新,可以发现所有问题解决

[root@control html]# systemctl restart httpd.service

单击“继续”按钮,在“数据库设定”界面中只需要设置数据库密码和管理员密码即可,数据库密码是安装数据库设置的“000000”,管理员密码使用默认的密码admin即可

单击“继续”按钮,就可以看到“安装完成”界面了
默认的后台入口是http://你的域名/dede/
你也可以修改默认的后台管理地址
[root@control html]# mkdir 94

[root@control html]# cd dede/
将dede下的所有东西移动到自己设定的目录
[root@control dede]# mv * ../94

3、访问程序
噔噔噔!!!访问服务器的http服务,就可以看到织梦内容管理系统的首页啦

织梦 提示信息!系统关闭了会员功能,因此你无法访问此页面!
进入后台 -> 系统 -> 系统基本参数 -> 会员设置 -> 是否开启会员功能 改为(是)
注意事项:
1、安装完MariaDB数据库后,要使用mysql_secure_installation初始化数据库数据
2、在修改/var/www/html目录权限时,首先要修改SELinux设置,如果要永久生效配置,要修改/etc/selinux/config文件
至此,搭建单机动态Web应用部署完美完成!!!


 1262
1262


 被折叠的 条评论
为什么被折叠?
被折叠的 条评论
为什么被折叠?
 到【灌水乐园】发言


