


一、获取所需基本资源及资源获取
详细见绑定资源
二、开始安装
1.辅助工具安装:
1.传输工具lrzsz
yum install -y lrzsz
2.安装压缩工具
yum install -y unzip zip
- 输入
rz命令,将文件上传到服务器

2.开始安装
1.添加xmapp可执行权限
chmod +x xampp-linux-x64-7.4.7-0-installer.run
2.运行可执行文件
./xampp-linux-x64-7.4.7-0-installer.run
3.创建安装目录
mkdir /opt/kodexplorer
4.将安装文件中的kodexplorer4.40.zip解压
unzip kodexplorer4.40.zip -d ./kodexplorer
5.添加权限
cd ./kodexplorer
chmod -Rf 777 ./*
6.后续操作
cp -r ../kodexplorer/ /opt/lampp/htdocs/
cd /opt/lampp/htdocs
chmod 777 kodexplorer
chmod -R 777 kodexplorer/data/
- 替换配置文件
cd /opt/lampp/etc/
// 将压缩包中的php.ini,httpd.conf文件替换至该目录下
3.关于php.ini,httpd.conf文件说明
1.php.ini主要是可道云基本配置,无需修改
2.httpd.conf主要是网络请求相关配置,可修改其中的Listen 85修改访问端口
4.防火墙相关配置,开放对应端口使其可以被访问
1.查看防火墙状态 systemctl status firewalld
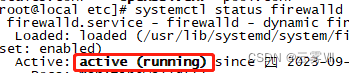
其中如图所示为防火墙开启状态,如果你已经关闭防火墙,并且设置开机不启动,并对防火请无使用需求,可跳过防火墙配置步骤 */
2.开启防火墙 systemctl start firewalld
3.关闭防火墙 systemctl stop firewalld
查看指定端口是否已开:firewall-cmd --query-port=85/tcp
添加指定需要开放的端口:firewall-cmd --add-port=85/tcp --permanent
重载入添加的端口:firewall-cmd --reload
查询指定端口是否开启成功:firewall-cmd --query-port=85/tcp
移除指定端口:firewall-cmd --permanent --remove-port=85/tcp


5.启动服务及启动报错处理
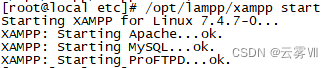
1.启动: /opt/lampp/xampp start
2.停止: /opt/lampp/xampp stop
3.启动: /opt/lampp/xampp restart
问题报错:
httpd: Syntax error on line 522 of /opt/lampp/etc/httpd.conf: Syntax error on line 13 of /opt/lampp/etc/extra/httpd-xampp.conf: Cannot load modules/mod_perl.so into server: libnsl.so.1: cannot open shared object file: No such file or directory
问题解决:
安装缺失模块命令
sudo yum install libnsl.x86_64
问题报错
libc.so.6: cannot open shared object file: No such file or directory
问题解决
vi /opt/lampp/lampp
export LD_ASSUME_KERNEL=2.8.0
如果在安装的过程中出现上述问题,修改lampp文件,如上位置即可
重启启动,显示启动成功
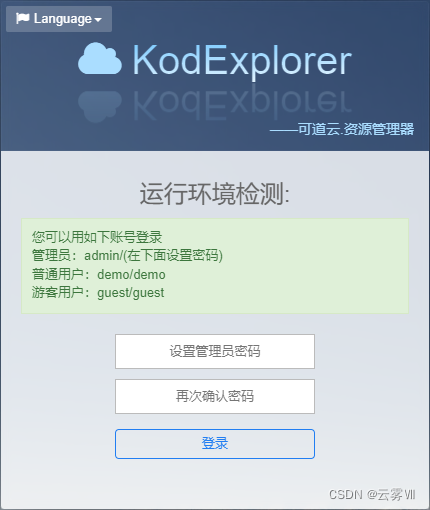
6.服务地址及官方API
服务地址:IP + `:Listen端口(85)` + /kodexplorer -----> http://192.168.72.128:85/kodexplorer
提示更新,点击自动更新,按照提示操作即可
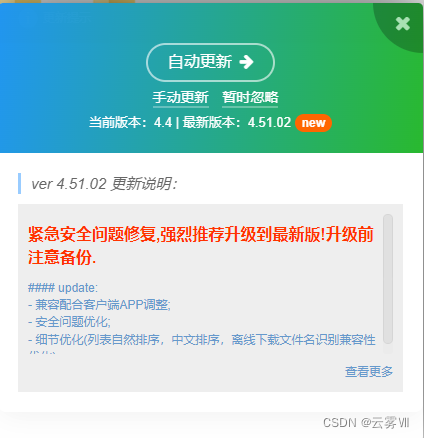
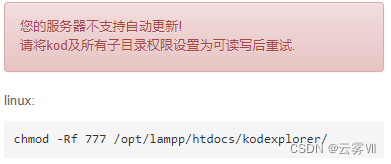
chmod -Rf 777 /opt/lampp/htdocs/kodexplorer/
官方API:http://doc.kodcloud.com/#/api/file
7.程序使用示例
// 已文件上传为示例
1.获取token
public class File {
@Autowired
private RestTemplate restTemplate;
@Value("${file.url}")String Url;//http://192.168.72.128:85/kodexplorer/?user/loginSubmit&isAjax=1&getToken=1&name=admin&password=admin
@RequestMapping(value = "/getToken",method={RequestMethod.GET})
private ApiResult getToken() throws Exception {
HttpHeaders headers = new HttpHeaders();
MediaType type = MediaType.parseMediaType("application/json; charset=UTF-8");
headers.setContentType(type);
headers.add("Accept", MediaType.APPLICATION_JSON.toString());
HttpEntity<String> requestEntity = new HttpEntity<String>(null, headers);
ResponseEntity<String> result = restTemplate.exchange(Url,HttpMethod.GET,requestEntity,String.class);
String token = result.getBody();
JSONObject token _json = JSONUtil.parseObj(token);// token
return ApiResult.success(token _json);
}
}
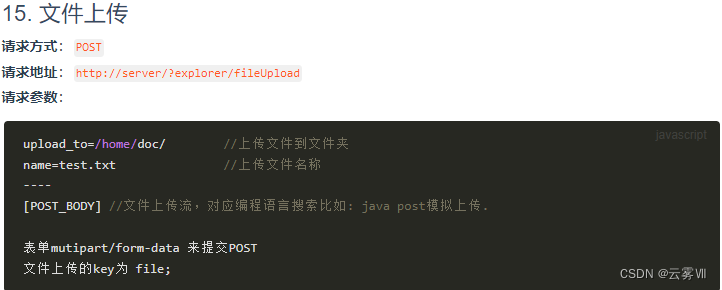
2.文件上传
<el-upload
class="upload-demo"
:action="upload"
:file-list="fileList"
:on-error="fileError"
:on-preview="fileDownload"
:on-remove="fileRemove"
:on-success="fileSuccess"
:on-change="handleChange"
ref="upload"
v-model="value">
upload: http://192.168.72.128:85/kodexplorer/?explorer/fileUpload&accessToken=token&upload_to=path;//opt/lampp/htdocs/kodexplorer/data/User/admin/home/...
到此,上述内容为Linux搭建及使用可道云文件服务器,感谢阅览!


 1万+
1万+


 被折叠的 条评论
为什么被折叠?
被折叠的 条评论
为什么被折叠?
 到【灌水乐园】发言


