


开始学习springboot,在此做记录,有不正确之处,还望读者指正。
springboot框架的设计目的是用来简化新Spring应用的初始环境搭建以及开发过程。主要体现有:1 xml配置文件,使用ssh和ssm等框架,在做整合时有大量的xml文件,特别繁琐,而springboot会自动将这些做整合,不需要我们再去配置相应的xml文件;2 引用jar包版本,以前我们在引用jar时需要查看对应的版本中是不是支持我们需要的功能,而spring会自动帮我们寻找匹配对应版本的jar;3 内置了tomcat,不需要单独部署,4可构建独立的应用程序等。
官网地址:https://projects.spring.io/spring-boot/
java环境:jdk1.7及jdk1.7+
话不多说,我们开始搭建springboot环境,实现输出hello world。
首先创建maven工程命名为springboot_helloworld,打开pom.xml,引入springboot需要基础文件。
<parent>
    <groupId>org.springframework.boot</groupId>
    <artifactId>spring-boot-starter-parent</artifactId>
    <version>1.5.10.RELEASE</version>
  </parent>
引入springboot web模块,以输出信息到浏览器
<dependencies>
	<dependency>
	    <groupId>org.springframework.boot</groupId>
	    <artifactId>spring-boot-starter-web</artifactId>
	</dependency>
  </dependencies>
创建class文件,并写main方法
 1 package com.learn.springboot.App;
 2
 3 import org.springframework.boot.SpringApplication;
 4 import org.springframework.boot.autoconfigure.EnableAutoConfiguration;
 5 import org.springframework.web.bind.annotation.RequestMapping;
 6 import org.springframework.web.bind.annotation.RestController;
 7
 8 /**
 9  * @author admin
10  *
11  */
12 @RestController
13 @EnableAutoConfiguration
14 public class Application {
15
16     /**
17      * @param args
18      */
19     public static void main(String[] args) {
20         SpringApplication.run(Application.class, args);
21     }
22
23     @RequestMapping("/hello")
24     public String hello(){
25         return "hello world!";
26     }
27
28 }
在这个class中,我们加入了两个注解@RestController和@EnableAutoConfiguration,@RestController指明了此class文件下的方法,返回的数据格式为json格式,不同于注解@Controller,Controller注解下的方法中,我们的返回值可以是json格式数据,也可以是页面;@EnableAutoConfiguration说明使用自动配置。至此代码已经写完,我们执行main方法,可以看到控制台输出一下内容
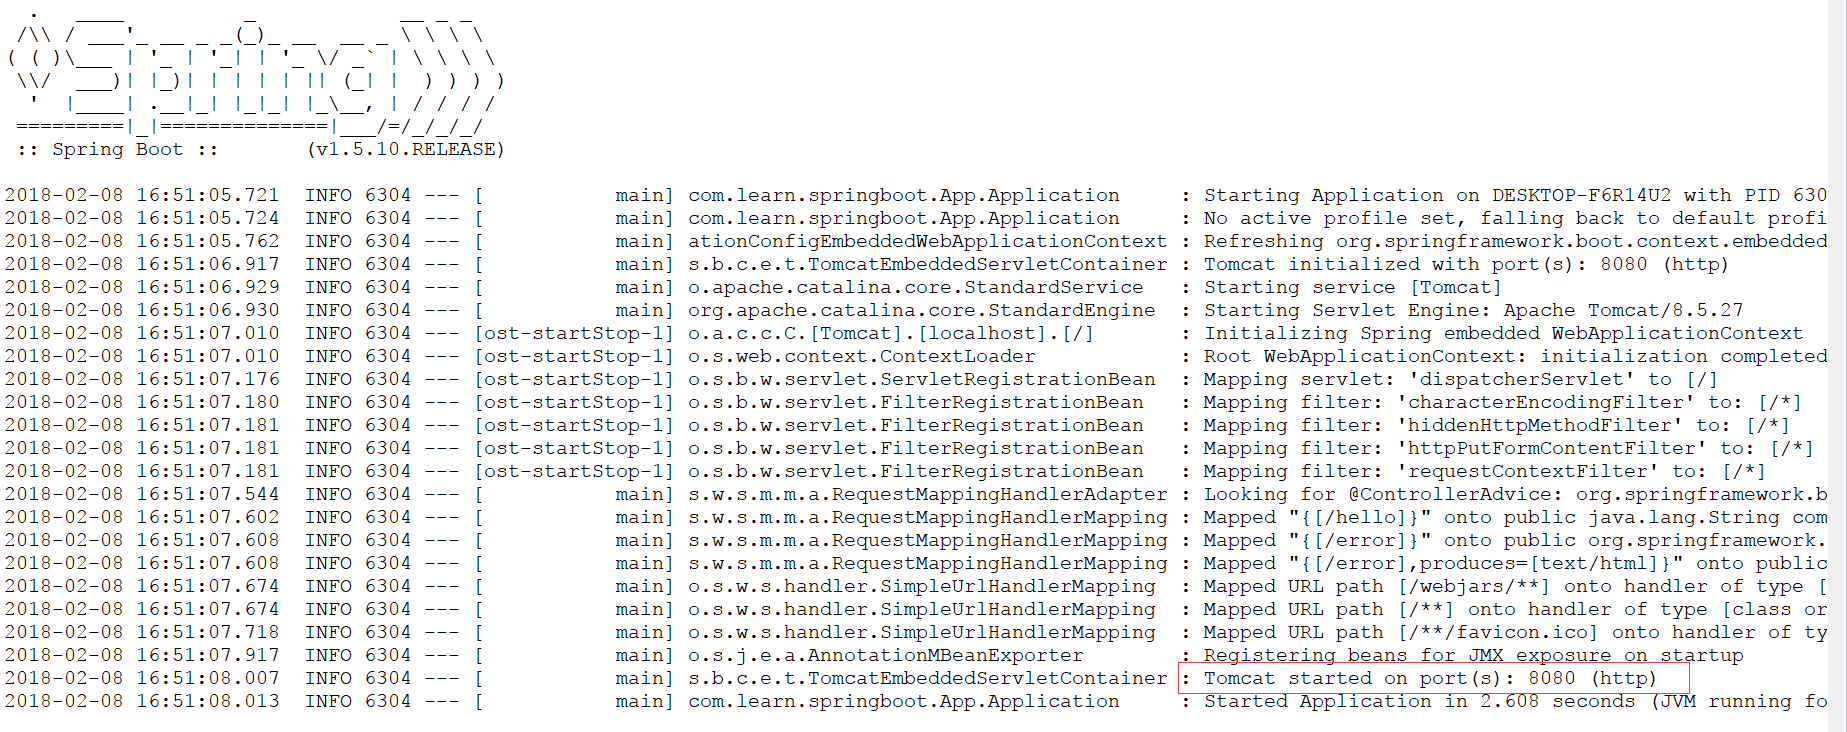
倒数第二行的内容向我们说明tomcat已经启动,端口为8080,这时我们就可以访问http://localhost:8080/hello(springboot项目在访问时不需要在输入项目名称),看到浏览器端出现
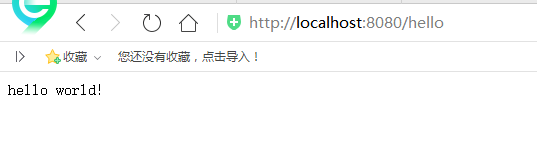
说明程序已经成功执行。
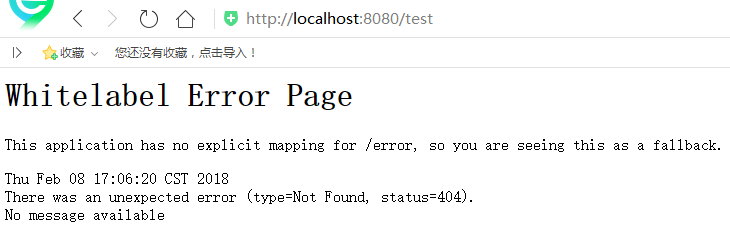
上边的代码中,main方法和其他要访问方法在同一个class文件中,实际中我们可能会分开写,所以在其他class中我们需要使用注解@Component对资源进行说明,否则会提示错误,如下图
 1 package com.learn.springboot.App;
 2
 3 import org.springframework.web.bind.annotation.RequestMapping;
 4 import org.springframework.web.bind.annotation.RestController;
 5
 6 /**
 7  * @author admin
 8  *
 9  */
10 @RestController
11 public class TestController {
12
13     @RequestMapping("/test")
14     public String test(){
15         return "hello World!";
16     }
17
18 }


 236
236


 被折叠的 条评论
为什么被折叠?
被折叠的 条评论
为什么被折叠?
 到【灌水乐园】发言


