


布局文件有一个listview就行
public class ConnectActivity extends Activity{
@Override
protected void onCreate(Bundle savedInstanceState) {
super.onCreate(savedInstanceState);
initView();
initBT();
listView.setAdapter(adapter);
}
void initView(){
setContentView(R.layout.activity_connect);
listView= (ListView) findViewById(R.id.lv_connect);
int layout=android.R.layout.simple_list_item_1;
//注意这个构造函数,别忘了<>
adapter=new ArrayAdapter<>(context,layout,name);
}
//打开蓝牙和启动扫描
void initBT(){
btA=BluetoothAdapter.getDefaultAdapter();
if (!btA.isEnabled()){//需要权限
String string=BluetoothAdapter.ACTION_REQUEST_ENABLE;
Intent intent=new Intent(string);
startActivityForResult(intent,0);
}
String found_bt=BluetoothDevice.ACTION_FOUND;
registerReceiver(br, new IntentFilter(found_bt));
name.clear();
mac.clear();
btA.startDiscovery();//要蓝牙权限
}
//启动这个活动的方法
public static void startCA(Context context){
Intent intent=new Intent(context,ConnectActivity.class);
//注意这一句
context.startActivity(intent);
}
Context context=this;
ListView listView;
ArrayAdapter<String> adapter;
BluetoothAdapter btA;
List<String> name=new ArrayList<>();
List<BluetoothDevice> mac=new ArrayList<>();
//在这里为集合添加数据
BroadcastReceiver br=new BroadcastReceiver() {
@Override
public void onReceive(Context context, Intent intent) {
String bt_name=BluetoothDevice.EXTRA_NAME;
String bt_mac=BluetoothDevice.EXTRA_DEVICE;
name.add(intent.getStringExtra(bt_name));
BluetoothDevice bd=intent.getParcelableExtra(bt_mac);
mac.add(bd);
adapter.notifyDataSetChanged();
}
};
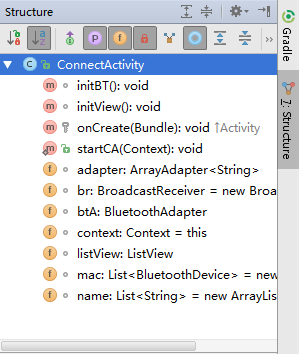
}我写代码习惯照AS的structure格式写,就是类,然后方法,最后常量或变量


 2万+
2万+

 被折叠的 条评论
为什么被折叠?
被折叠的 条评论
为什么被折叠?
 到【灌水乐园】发言


