


1 CentOS/RHEL 系列
1.1 CentOS6/RHEL 6:基于 ifcfg-ethX 文件(传统方式)
配置文件路径:
/etc/sysconfig/network-scripts/ifcfg-eth0
主要配置及注释:
DEVICE=eth0              # 网络接口名称,通常为 ethX,必须指定
HWADDR=00:0C:29:3E:53:7E # 网卡 MAC 地址(可选),可用于绑定特定设备
TYPE=Ethernet            # 连接类型,通常为 Ethernet
UUID=xxxxxxxx-xxxx-xxxx-xxxx-xxxxxxxxxxxx # 唯一标识符(可选)

ONBOOT=yes               # 是否在系统启动时自动启用该接口
BOOTPROTO=static         # 启动时使用的协议类型:static(静态IP)、dhcp、none
IPADDR=10.0.0.100     # 静态 IP 地址
NETMASK=255.255.255.0    # 子网掩码
GATEWAY=10.0.0.2      # 默认网关
DNS1=8.8.8.8             # 主 DNS 服务器
DNS2=114.114.114.114            # 备 DNS 服务器(可选)
重启网卡信息
service network restart
查看网卡状态:该命令适用所有Linux系统
ifconfig
1.2 CentOS 7 / RHEL 7:仍支持 ifcfg-*,也支持 nmcli 管理
配置文件路径:
/etc/sysconfig/network-scripts/ifcfg-ens33
接口名已使用 predictable network names,如 ens33, enp0s3 等。
主要配置及注释:
TYPE=Ethernet           # 网络类型
BOOTPROTO=none          # 启动协议方式,none 表示不使用 DHCP,也可以static
NAME=ens33              # 接口名称
DEVICE=ens33            # 同上,必须匹配网卡名称
ONBOOT=yes              # 开机自动启动网络
IPADDR=10.0.0.100    # 静态 IP 地址
PREFIX=24               # 子网前缀长度(等价于子网掩码 255.255.255.0)
GATEWAY=10.0.0.2    # 默认网关
DNS1=8.8.8.8            # 主 DNS
DNS2=1.1.1.1            # 备 DNS
启用配置:
systemctl restart network
1.3 CentOS 8 / RHEL 8:推荐使用 nmcli 或 nmtui 配置(仍支持 ifcfg)
使用 nmcli 命令配置静态 IP:
nmcli con add con-name <连接名> ifname <网卡名> type <连接类型> ipv4.method manual ipv4.addresses <ipv4地址> ipv4.gateway <ipv4网关地址> ipv4.dns <ipv4 dns服务器>

nmcli con mod static-ens33 ipv4.dns "8.8.8.8 1.1.1.1"
nmcli con mod static-ens33 ipv4.method manual
nmcli con up static-ens33
nmcli con down static-ens33
参数解释:
- con-name:连接名称,可自定义
- type:网络类型,如 ethernet, wifi
- ifname:网卡接口名(如 ens33)
- ipv4.addresses:静态 IP 地址 + 子网前缀
- ipv4.gateway:IPv4 网关
- ipv4.dns:DNS 服务器地址
- ipv4.method manual:设置为静态 IP
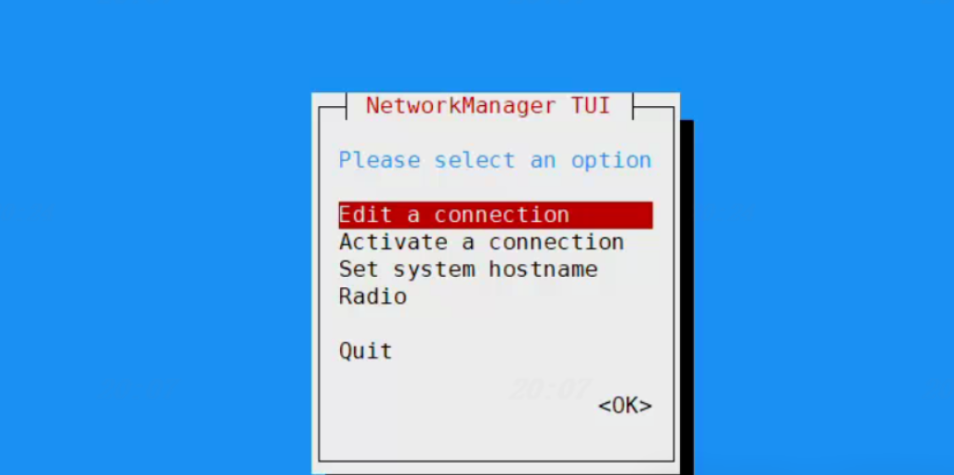
使用nmtui可以直接进入图形化界面配置
2 Debian / Ubuntu 系列
2.1 Ubuntu 16.04 及 Debian 9 及以前:使用 /etc/network/interfaces
配置文件路径:
/etc/network/interfaces
主要配置及注释:
auto eth0                  # 设置 eth0 在开机时自动启用
iface eth0 inet static     # 为 eth0 指定 IPv4 静态配置,dhcp为自动获取,下面的就不用配置了
    address 10.0.0.100  # 静态 IP 地址
    netmask 255.255.255.0  # 子网掩码
    gateway 10.0.0.2    # 默认网关
    dns-nameservers 8.8.8.8 114.114.114.114  # DNS 服务器(空格分隔多个)
启用配置:
sudo systemctl restart networking
2.2 Ubuntu 18.04+ / Debian 10+:使用 netplan
配置文件路径:
/etc/netplan/01-netcfg.yaml
Ubuntu 18.04开始是使用yaml格式的配置,需要遵循yaml格式规范,注意缩进
YAML 主要配置及注释:
network:
  version: 2                # netplan 配置语法版本,固定为 2
  renderer: networkd        # 使用 systemd-networkd 作为后台渲染器(也可为 NetworkManager)
  ethernets:
    ens33:                  # 网卡接口名
      dhcp4: no             # 不启用 DHCP(启用时为 yes)
      addresses:
        - 10.0.0.100/24  # 静态 IP 地址及子网前缀
      gateway4: 10.0.0.2 # 默认网关
      nameservers:
        addresses:
          - 8.8.8.8         # 主 DNS
          - 223.5.5.5         # 备用 DNS
应用配置:
sudo netplan apply
2.3 Ubuntu 22.04+ :使用 netplan
network:
  version: 2                # netplan 配置语法版本,固定为 2
  renderer: networkd        # 使用 systemd-networkd 作为后台渲染器(也可为 NetworkManager)
  ethernets:
    ens33:
      dhcp4: false   # 禁用 dhcp
      addresses:
        - 192.168.12.15/24   # 静态IP
      routes:
        - to: default
          via: 192.168.12.254   # 网关
      nameservers:
        addresses: [192.168.12.254]  # DNS服务器
应用配置:
sudo netplan apply
3 使用 ip 命令临时配置(适用于所有版本)
ip addr add 192.168.1.100/24 dev ens33  # 添加 IP 地址
ip link set ens33 up                    # 启用网卡
ip route add default via 192.168.1.1    # 设置默认路由
⚠️ 临时生效,重启后失效,常用于测试。
4 总结对比表
| 系统版本 | 配置方式 | 配置文件或工具 |
|---|---|---|
| CentOS/RHEL 6 | ifcfg | /etc/sysconfig/network-scripts/ifcfg-* |
| CentOS/RHEL 7 | ifcfg + NetworkManager | 同上 +nmcli/nmtui |
| CentOS/RHEL 8 | 推荐使用 NetworkManager | nmcli /nmtui+ 可选 ifcfg 文件 |
| Ubuntu <=16.04 | interfaces | /etc/network/interfaces |
| Ubuntu >=18.04 | netplan | /etc/netplan/*.yaml |
| Debian <=9 | interfaces | /etc/network/interfaces |
| Debian >=10 | netplan | /etc/netplan/*.yaml |


 被折叠的 条评论
为什么被折叠?
被折叠的 条评论
为什么被折叠?
 到【灌水乐园】发言


