Linux 搭建与使用yolov5训练和检验自建模型的步骤
硬件设备

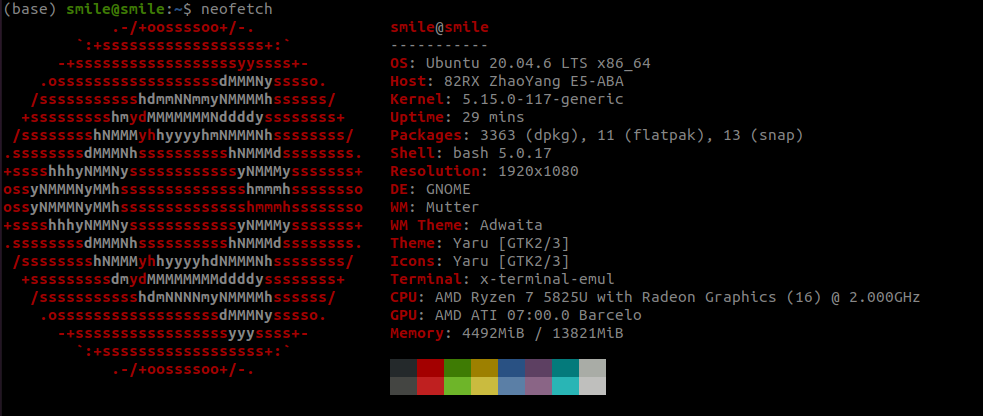
环境搭建(无cuda)
下载anaconda
wget https://repo.anaconda.com/archive/Anaconda3-2024.06-1-Linux-x86_64.sh
bash Anaconda3-2024.06-1-Linux-x86_64.sh
# 看完许可证后, yes, 后面选择安装路径, 可以按默认路径/home/[用户名]/anaconda3
当看到后面的内容, 可以选择是否自动初始化conda, 如果选择默认no, 则需要手动先source [path/to/anaconda]/bin/activate
WARNING:
    You currently have a PYTHONPATH environment variable set. This may cause
    unexpected behavior when running the Python interpreter in Anaconda3.
    For best results, please verify that your PYTHONPATH only points to
    directories of packages that are compatible with the Python interpreter
    in Anaconda3: /home/smile/anaconda3
Do you wish to update your shell profile to automatically initialize conda?
This will activate conda on startup and change the command prompt when activated.
If you'd prefer that conda's base environment not be activated on startup,
   run the following command when conda is activated:

conda config --set auto_activate_base false

You can undo this by running `conda init --reverse $SHELL`? [yes|no]
[no] >>>
激活anaconda
如果是一路敲回车
source ~/anaconda3/bin/activate
如果修改了默认路径, 则需要将上面的路径修改为新路径
当看到在用户名以及主机名前面出现(base)就说明安装完成了

创建虚拟环境
这里的代码只能复制 $ 后面的, 前面只是为了显示当前的环境
# 创建以python38为基础的虚拟环境
(base) smile@smile: ~/$ conda create -n yolo python=3.8

# 查询是否创建成功
(base) smile@smile:~/$ conda env list
# conda environments:
#
base                     /home/smile/anaconda3
yolo                  *  /home/smile/anaconda3/envs/yolo

# 激活yolo虚拟环境
(base) smile@smile: ~/$ conda activate yolo

# 执行完以后, 终端应该以(yolo)开头
(yolo) smile@smile: ~/$
下载yolo源码
注: 以下操作均在虚拟环境(yolo)中进行, 尤其是下载依赖时, 一定要在虚拟环境, 否则会影响系统的python环境, 可能发生系统异常或程序异常
mkdir ~/MachineLearning
git clone https://github.com/ultralytics/yolov5.git #注这里的是yolov5
cd yolov5
which pip # 检查当前使用的pip是否


 最低0.47元/天 解锁文章


 被折叠的 条评论
为什么被折叠?


