


1、前言
在上一篇我的Spring之旅(一)中,我们只是利用不带参数的请求返回一个网页或一段json,在实际的B/S、C/S网络交互中,请求中需要自定义的参数。本篇将简单地为之前的请求添加参数。
2、参数说明
①method:API名称,用于区分服务端调用方法
②name:请求参数名称,将作为method方法的实参
3、改写HelloController.java
package com.nextgame.web;
import java.io.IOException;
import net.sf.json.*;
import org.springframework.stereotype.Controller;
import org.springframework.ui.Model;
import org.springframework.web.bind.annotation.RequestMapping;
import org.springframework.web.bind.annotation.RequestParam;
import javax.servlet.http.*;
@Controller
public class HelloController {
@RequestMapping("/view")
public String hello(@RequestParam(value="hello", required=false, defaultValue="World") String name, Model model) {
model.addAttribute("hello", name);
return "helloworld";
}
@RequestMapping("/json")
public void json(HttpServletRequest req,HttpServletResponse res,String method,String name) throws IOException
{
JSONObject obj = new JSONObject();
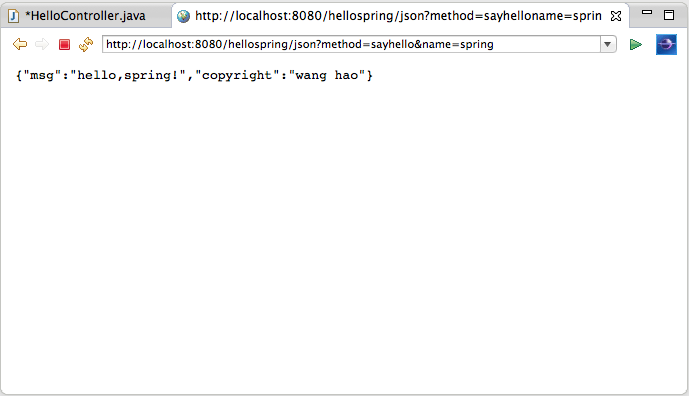
if(method.equals("sayhello"))
{
obj = this.sayhello(name);
}
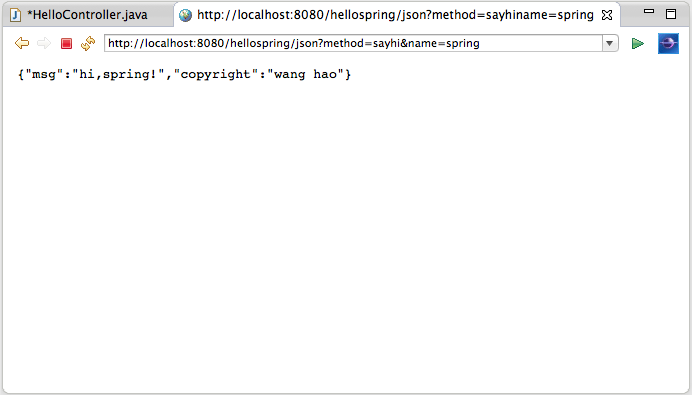
else if(method.equals("sayhi"))
{
obj = this.sayhi(name);
}
obj.put("copyright", "wang hao");
res.getWriter().print(obj);
}
/*
* API:sayhello
*/
private JSONObject sayhello(String name)
{
JSONObject obj = new JSONObject();
obj.put("msg", "hello," + name +"!");
return obj;
}
/*
* API:sayhi
*/
private JSONObject sayhi(String name)
{
JSONObject obj = new JSONObject();
obj.put("msg", "hi," + name +"!");
return obj;
}
}4、run as server
5、利用Json传递参数
将name的参数类型改为json,用于自定义通讯协议。
6、服务端解析Json
 public void json(HttpServletRequest req,HttpServletResponse res,String method,JSONObject name) throws IOException
 {
	JSONObject obj = new JSONObject();
	if(method.equals("sayhello"))
	{
		obj = this.sayhello(name.getString("name"));
	}
	else if(method.equals("sayhi"))
	{
		obj = this.sayhi(name.getString("name"));
	}
	obj.put("copyright", "wang hao");
	res.getWriter().print(obj);
 }
7、运行
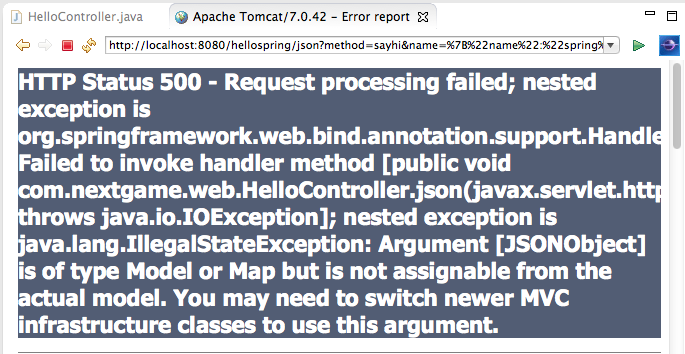
(- - 天真的客户端程序员!!!)


 758
758


 被折叠的 条评论
为什么被折叠?
被折叠的 条评论
为什么被折叠?
 到【灌水乐园】发言


