


1、前言
增加业务逻辑层,将控制器中的业务逻辑转移到业务逻辑层。
2、HelloService
使用@Service注解,将类声明为服务。
将HelloController中的sayhi和sayhello函数转移到该类中:
package com.nextgame.service;
import org.springframework.stereotype.Service;

import net.sf.json.JSONObject;
@Service
public class HelloService {
	/*
	 * API:sayhello
	 */
	 public JSONObject sayhello(String name)
	 {
		 JSONObject obj = new JSONObject();
		 obj.put("msg", "hello," + name +"!"+"from service");
		 return obj;
	 }
	 /*
	  * API:sayhi
	  */
	 public JSONObject sayhi(String name)
	 {
		 JSONObject obj = new JSONObject();
		 obj.put("msg", "hi," + name +"!"+"from service");
		 return obj;
	 }
}
3、调用服务
使用@Autowired进行自动装配:
@Autowired
private HelloService helloService;
使用helloService调用服务方法:
if(method.equals("sayhello"))
	{
		obj = helloService.sayhello(name);
	}
	else if(method.equals("sayhi"))
	{
		obj = helloService.sayhi(name);
	}
4、配置服务
在WEB-INF目录下新建applicationContext.xml:
<?xml version="1.0" encoding="UTF-8" ?>
<beans xmlns="http://www.springframework.org/schema/beans"
	xmlns:xsi="http://www.w3.org/2001/XMLSchema-instance" xmlns:p="http://www.springframework.org/schema/p"
	xmlns:context="http://www.springframework.org/schema/context"
	xmlns:aop="http://www.springframework.org/schema/aop" xmlns:tx="http://www.springframework.org/schema/tx"
	xsi:schemaLocation="http://www.springframework.org/schema/beans
       http://www.springframework.org/schema/beans/spring-beans-3.1.xsd
       http://www.springframework.org/schema/context
       http://www.springframework.org/schema/context/spring-context-3.1.xsd
       http://www.springframework.org/schema/tx
       http://www.springframework.org/schema/tx/spring-tx-3.1.xsd
       http://www.springframework.org/schema/aop
       http://www.springframework.org/schema/aop/spring-aop-3.1.xsd">

    <!-- 扫描类包,将标注Spring注解的类自动转化Bean,同时完成Bean的注入 -->
    <context:component-scan base-package="com.nextgame.service"/>
</beans>
配置web.xml:
<context-param>
<param-name>contextConfigLocation</param-name>
<param-value>/WEB-INF/dispatcher-servlet.xml,/WEB-INF/applicationContext.xml</param-value>
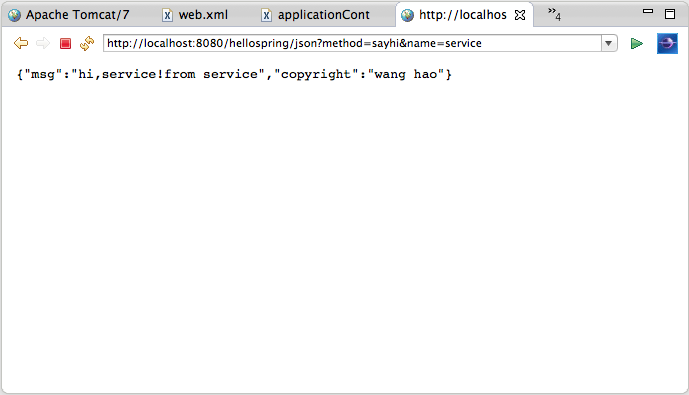
</context-param>5、运行


 438
438


 被折叠的 条评论
为什么被折叠?
被折叠的 条评论
为什么被折叠?
 到【灌水乐园】发言


