


此应用的代码地址在我的github
此应用已上线,下载地址http://shouji.baidu.com/software/23371524.html
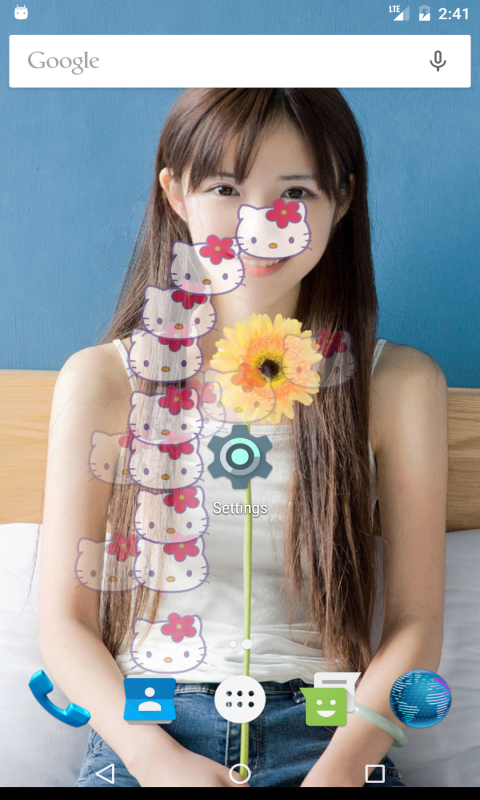
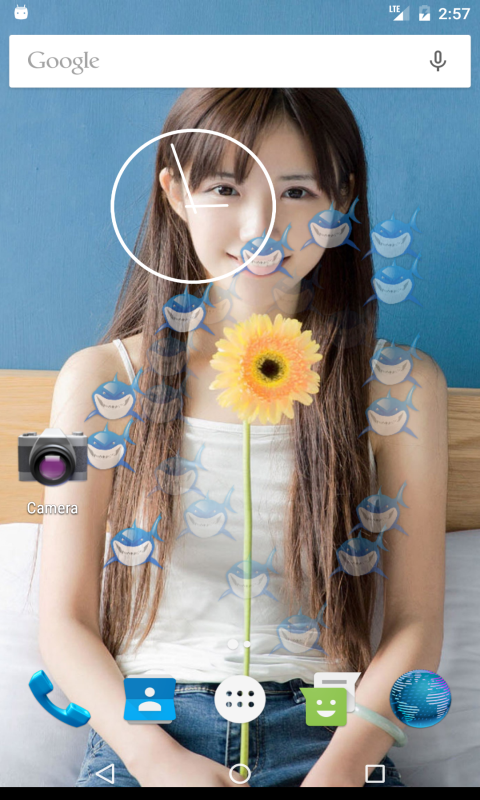
最近看了一个水波纹效果的案例视频,大家可以看看。这个案例实现的效果就是点击或滑动屏幕,在点击和滑动过的地方就会画圆,同时画的圆会慢慢变小,慢慢变淡,直至消失。看着挺好看也挺好玩,然而前一阵子又发布了一个透明壁纸的博客。所以就想能不能把这个水波纹弄到壁纸上,于是这个水印壁纸就诞生了。
因为是新手,所以遇到了很多问题,有些甚至是很基础的问题,但是好在百度了一大堆,基本问题都解决了,总的来说自己的基础还是太差了。
好了看代码,首先要先做壁纸,壁纸的制作可以看我的上一个博客手机透明壁纸,这里就不细说了。
接下来就是在壁纸服务里加入画图的操作。
 Handler mHandler = new Handler();
        // 重复执行的一个方法
        private final Runnable drawTarget = new Runnable() {
            public void run() {
                drawFrame();
            }
};这里面定义了一个handler,利用它来重复的调用画图方法,来不断地绘制水印。需要注意的是,在这里绘图我们是直接在surfaceview上进行绘图的,这是另外一个线程,不同于只能在主线程更新UI的那个线程。并且它在底层实现机制中实现了双缓冲机制,所以一般不会阻塞线程。更多的关于surfaceview的知识可以去百度,因为我也是百度的。
接下来就是画图方法了。
private void drawFrame() {
            // 获取该壁纸的SurfaceHolder
            final SurfaceHolder holder = getSurfaceHolder();
            Canvas c = null;
            try {
                // 获取Canvas
                c = holder.lockCanvas();
                if (c != null) {
                    isRuning = true;
                    c.save();
                        Paint paint1 = new Paint();
                    paint1.setAlpha(255);
                    paint1.setAntiAlias(true);
                    paint1.setStyle(Paint.Style.FILL);
                    c.drawBitmap(res,0,0,paint1);
                    // 在触碰点绘制图像
                    drawTouchPoint(c);
                    for (int i = 0; i < wList.size(); i++) {
                        Wave w = wList.get(i);
                        int alpha = w.p.getAlpha();
                        if (alpha == 0) {
                            wList.remove(i);
                            //删除i以后,总数会减少一,否则会漏掉一个对象
                            i--;
                            continue;
                        }
                        alpha -= 10;
                        if (alpha < 10) {
                            alpha = 0;
                        }
                        w.p.setAlpha(alpha);
                    }
                    if (wList.size() == 0) {
                        isRuning = false;
                    }


                }
            } finally {
                if (c != null)
                    holder.unlockCanvasAndPost(c);
            }
            mHandler.removeCallbacks(drawTarget);
            // 调用重绘
            if (mVisible && isRuning) {


                //重复画图
                mHandler.postDelayed(drawTarget,50);
            }
        }
private void drawTouchPoint(Canvas c) {
for (int i = 0; i < wList.size(); i++) {
Wave wave = wList.get(i);
if (waterId == 0) {
bitmap1 = BitmapFactory.decodeResource(getResources(), R.mipmap.heart_icon);
}else{
bitmap1 = BitmapFactory.decodeResource(getResources(),waterId);
}
c.drawBitmap(bitmap1,wave.cx,wave.cy,wave.p);
}
}绘图的坐标点可以通过onTouchEvent方法获得,点击屏幕画出水印的效果基本完成了,接下来就是遇到的问题了。
首先这样壁纸背景只能是个单色,但是壁纸怎么能这样呢。所以我就又百度了好长时间,最后找出一个方法就是在这个基础上再在画布上画一个图,利用这张图当背景。代码如下
@Override
        public void onSurfaceChanged(SurfaceHolder holder, int format, int width, int height) {
            super.onSurfaceChanged(holder, format, width, height);

            if (path == null){
                bitmap = BitmapFactory.decodeResource(getResources(), R.drawable.ic_back);
            }else {
                bitmap = BitmapFactory.decodeFile(path);
            }

            WindowManager wm = (WindowManager) getApplicationContext().getSystemService(Context.WINDOW_SERVICE);
            int width2 = wm.getDefaultDisplay().getWidth();
            int height2 = wm.getDefaultDisplay().getHeight();
            int width1 = bitmap.getWidth();
            int height1 = bitmap.getHeight();
            Matrix matrix = new Matrix();
            if (width1 >= width2 && height1 >= height2){
                float scaleWight1 = ((float)width2)/width1;
                float scaleHeight1 = ((float)height2)/height1;
                float Scale;
                if (scaleWight1 - scaleHeight1 >= 0){
                    Scale = scaleWight1;
                }else {
                    Scale = scaleHeight1;
                }
                matrix.preScale(Scale,Scale);
                res = Bitmap.createBitmap(bitmap,0,0,width1,height1,matrix,true);
            }
            if (width1 < width2 && height1 < height2){
                float scaleWight = ((float)width2)/width1;
                float scaleHeight = ((float)height2)/height1;
                float Scale2;
                if (scaleWight - scaleHeight >= 0){
                    Scale2 = scaleWight;
                    matrix.preScale(Scale2,Scale2);
                    int y2 = (int)(height1 - height1/Scale2);
                    Bitmap FirstBi = Bitmap.createBitmap(bitmap,0,0,width1,height1,matrix,true);
                    int FirstWid = FirstBi.getWidth();
                    int FirstHei = FirstBi.getHeight();
                    res = Bitmap.createBitmap(FirstBi,0,y2/2,FirstWid,FirstHei-y2/2);
                }else {
                    Scale2 = scaleHeight;
                    matrix.preScale(Scale2,Scale2);
                    int x2 = (int)(width1 - width1/Scale2);
                    Bitmap FirstBit = Bitmap.createBitmap(bitmap,0,0,width1,height1,matrix,true);
                    int FirstWidth = FirstBit.getWidth();
                    int FirstHeight = FirstBit.getHeight();
                    res = Bitmap.createBitmap(FirstBit,x2/2,0,FirstWidth-x2/2,FirstHeight);
                }
            }
            if (width1 >= width2 && height1 < height2){
                float scale3 = ((float)height2)/height1;
                matrix.preScale(scale3,scale3);
                int x3 = (int)(width1 - width1/scale3);
                Bitmap Bitmap3 = Bitmap.createBitmap(bitmap,0,0,width1,height1,matrix,true);
                int FirstWidth3 = Bitmap3.getWidth();
                int FirstHeight3 = Bitmap3.getHeight();
                res = Bitmap.createBitmap(Bitmap3,x3/2,0,FirstWidth3-x3/2,FirstHeight3);
            }
            if (width1 < width2 && height1 >= height2){
                float scale4 = ((float)width2)/width1;
                matrix.preScale(scale4,scale4);
                int y3 = (int)(height1 - height1/scale4);
                Bitmap Bit4 = Bitmap.createBitmap(bitmap,0,0,width1,height1,matrix,true);
                int FirstWidth4 = Bit4.getWidth();
                int FirstHeight4 = Bit4.getHeight();
                res = Bitmap.createBitmap(Bit4,0,y3/2,FirstWidth4,FirstHeight4-y3/2);
            }


            Canvas ca = holder.lockCanvas();
            Paint paint1 = new Paint();
            paint1.setAlpha(255);
            paint1.setAntiAlias(true);
            paint1.setStyle(Paint.Style.FILL);
            ca.drawBitmap(res,0,0,paint1);
            holder.unlockCanvasAndPost(ca);
        }
其实画图的方法还和上面一样,但是又多出了好多判断代码,这就是我遇到的另一个问题。那就是我们可以随便拿一张图片来当壁纸,但是我们的图片尺寸基本和自己的手机屏幕尺寸是不配合的。所以我们就得裁剪图片,使图片适应屏幕。其中matrix.prescale方法只是缩放了图片,但是对于有些图片并不能得到主要的部分,所以我们还要对图片进行偏移。我采用的是先缩放,再偏移的方法也就是上面看到的两次使用createBitmap方法了。代码写的很乱,也懒得改了,因为想这个办法想了好长时间。
最后就是我们要能自己选择手机里的图片作为壁纸,这样可用性会更高。这也就遇到了一个新的问题,那就是如何把我们选择的图片传到我们的壁纸服务中。一开始我就想的是用intent传递数据,这是标准的用法。但是利用启动服务的方法根本传不进去,因为这个壁纸服务根本不是我去启动的,而是手机内部的壁纸管理器去启动的,具体内部的实现我也不知道是怎么回事,所以这个方法就行不通了。后来在看了鸿洋的一个博客,是视频做壁纸的,他上面是用的广播来控制声音开启的。所以我就也仿着去弄,结果是能传递数据进去了,但是只有当壁纸启动起来,才能进行壁纸的更换。具体的情况大家可以试试,这是因为注册的是动态广播只有当服务启动了,才能接收广播。再后来我改了改就直接利用了静态方法来传递数据,以前还真不知道这个方法。不过百度了一下,这个方法好像容易造成传递的数据为空,所以这并不能算最好的方法,还是得慎用。但是我目前还没遇到过为空的时候。
public static void ImagePath(Context context, String data){
        path = data;
}最后完整代码我的github
应用已上线,下载地址http://shouji.baidu.com/software/23371524.html


 4995
4995


 被折叠的 条评论
为什么被折叠?
被折叠的 条评论
为什么被折叠?
 到【灌水乐园】发言


