


目录
项目介绍
基于开发: Visual Studio 2019
数据库:SQL Server2019
项目的色系以粉白为主
桌面图标
这个桌面快捷方式是用代码生成的 接下来一步步 教大家怎么实现这个功能
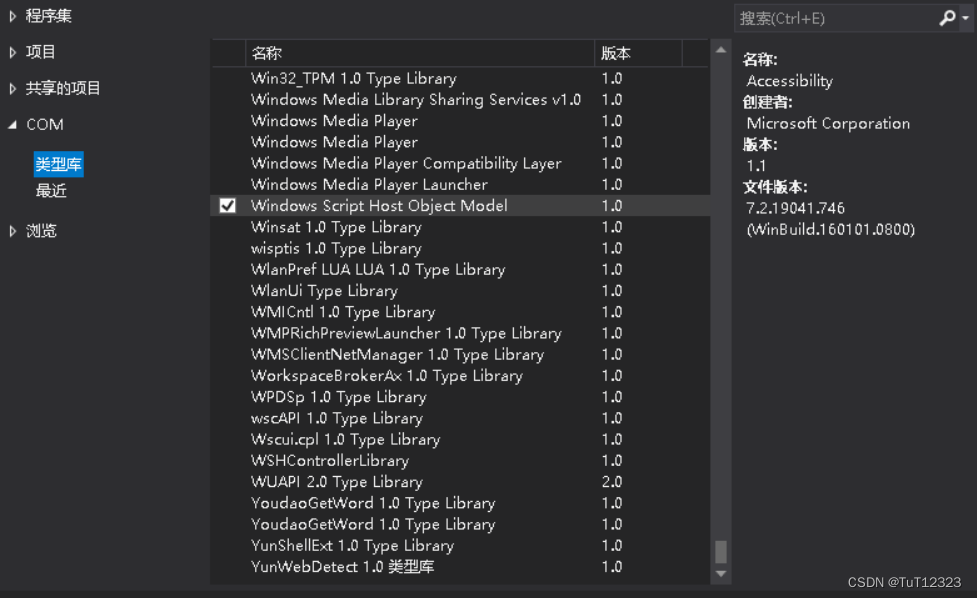
一、添加引用,COM 里的 :Windows Script Host Object Model
二、创建桌面快捷方式帮助类
using IWshRuntimeLibrary;
using System;
using System.IO;

namespace webpackge
{
    public class ShortCutHelper
    {
        //需要引入IWshRuntimeLibrary,搜索Windows Script Host Object Model
        //需要引用Microsoft.Csharp

        /// <summary>
        /// 创建快捷方式
        /// </summary>
        /// <param name="directory">快捷方式所处的文件夹</param>
        /// <param name="shortcutName">快捷方式名称</param>
        /// <param name="targetPath">目标路径</param>
        /// <param name="description">描述</param>
        /// <param name="iconLocation">图标路径,格式为"可执行文件或DLL路径, 图标编号",
        /// 例如System.Environment.SystemDirectory + "\\" + "shell32.dll, 165"</param>
        /// <remarks></remarks>
        public static void CreateShortcut(string directory, string shortcutName, string targetPath,
        string description = null, string iconLocation = null)
        {
            try
            {
                if (!System.IO.Directory.Exists(directory))
                {
                    System.IO.Directory.CreateDirectory(directory);
                }

                string shortcutPath = Path.Combine(directory, string.Format("{0}.lnk", shortcutName));
                WshShell shell = new WshShell();
                IWshShortcut shortcut = (IWshShortcut)shell.CreateShortcut(shortcutPath);//创建快捷方式对象
                shortcut.TargetPath = targetPath;//指定目标路径
                shortcut.WorkingDirectory = Path.GetDirectoryName(targetPath);//设置起始位置
                shortcut.WindowStyle = 1;//设置运行方式,默认为常规窗口
                shortcut.Description = description;//设置备注
                shortcut.IconLocation = string.IsNullOrWhiteSpace(iconLocation) ? targetPath : iconLocation;//设置图标路径
                shortcut.Save();//保存快捷方式
            }
            catch { }
        }

        /// <summary>
        /// 创建桌面快捷方式
        /// </summary>
        /// <param name="shortcutName">快捷方式名称</param>
        /// <param name="targetPath">目标路径</param>
        /// <param name="description">描述</param>
        /// <param name="iconLocation">图标路径,格式为"可执行文件或DLL路径, 图标编号"</param>
        /// <remarks></remarks>
        public static void CreateShortcutOnDesktop(string shortcutName, string targetPath, string description = null, string iconLocation = null)
        {
            string desktop = Environment.GetFolderPath(Environment.SpecialFolder.DesktopDirectory);//获取桌面文件夹路径
            CreateShortcut(desktop, shortcutName, targetPath, description, iconLocation);
        }
    }
}
三、在Form1_Load事件里面执行创建快捷方式
using System;
using System.Windows.Forms;

namespace webpackge
{
    public partial class Form1 : Form
    {
        public Form1()
        {
            InitializeComponent();
        }

        private void Form1_Load(object sender, EventArgs e)
        {
            string shortcutName = this.Text;//快捷方式名称
            string targetPath = AppDomain.CurrentDomain.BaseDirectory.ToString() + "webpackge.exe";//目标可执行文件
            string iconLocation = AppDomain.CurrentDomain.BaseDirectory.ToString() + "default.ico";//ico图标路径
            ShortCutHelper.CreateShortcutOnDesktop(shortcutName, targetPath, shortcutName, iconLocation);
        }
    }
}
四、ico 图标文件要放在 Debug文件夹中:

找到项目的文件位置 把你想要的图标 改成后缀为.ico的形式 放到在Debug文件夹中
如果ico图标不清晰 或者无法转换形式 可以去下面这个网站在线ICO图标制作,图片转换ICO图标Pro版 - 吱吱工具箱butterPig
回到vs中 点击运行 桌面就出现图标啦
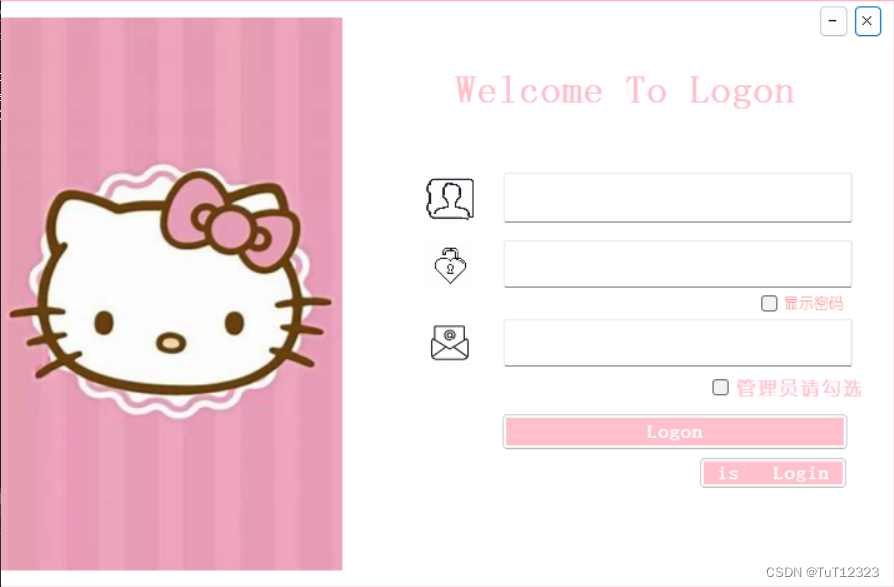
程序加载效果

双击桌面图标 启动程序时 会有一个加载效果 当下面的进度条读取完毕时 弹出登录与注册界面
首先新建一个窗体 找到img属性 放你喜欢的背景图 调节大小之后 拉一个panel 作为进度条读取完毕的状态 再拉一个panel 作为进度条开始读取的状态 (设置进度条读取时的颜色)第二个panel设置dock属性

最后拉个 timer控件 如图
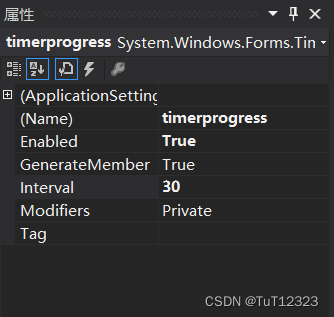
以下是 timer里的tick事件代码
private void timerprogress_Tick(object sender, EventArgs e)
        {
            panelprogressBar.Width += 5;//每次计时溢出进度条进5
            if (panelprogressBar.Width >= 669)
            {
                timerprogress.Stop();//计时器停止
                this.DialogResult = DialogResult.OK;//当进度条跑到头时对话框设为OK状态!
            }
        }
登录注册
登录支持管理员和用户登录 由于短信验证是后续完善功能时加上的 图上没有这个功能 下次写用户系统的时候再来改吧

点击is Login 跳转到注册界面 点击checkbox 可以实现管理员注册 管理员注册的邮箱一栏 建议设个默认值(你的邮箱地址)并且设置成只读 因为管理员只需要一个邮箱 (注意!!如果后续你想完善系统 是点击管理员注册时 才显示默认邮箱 用户注册则不需要!)
管理员界面
打开管理员界面之后 左边是菜单栏区 右边是我们的功能区域
功能分为:消费 会员 物遗 商品 消息 刷新 退出

给大家看看完整的界面
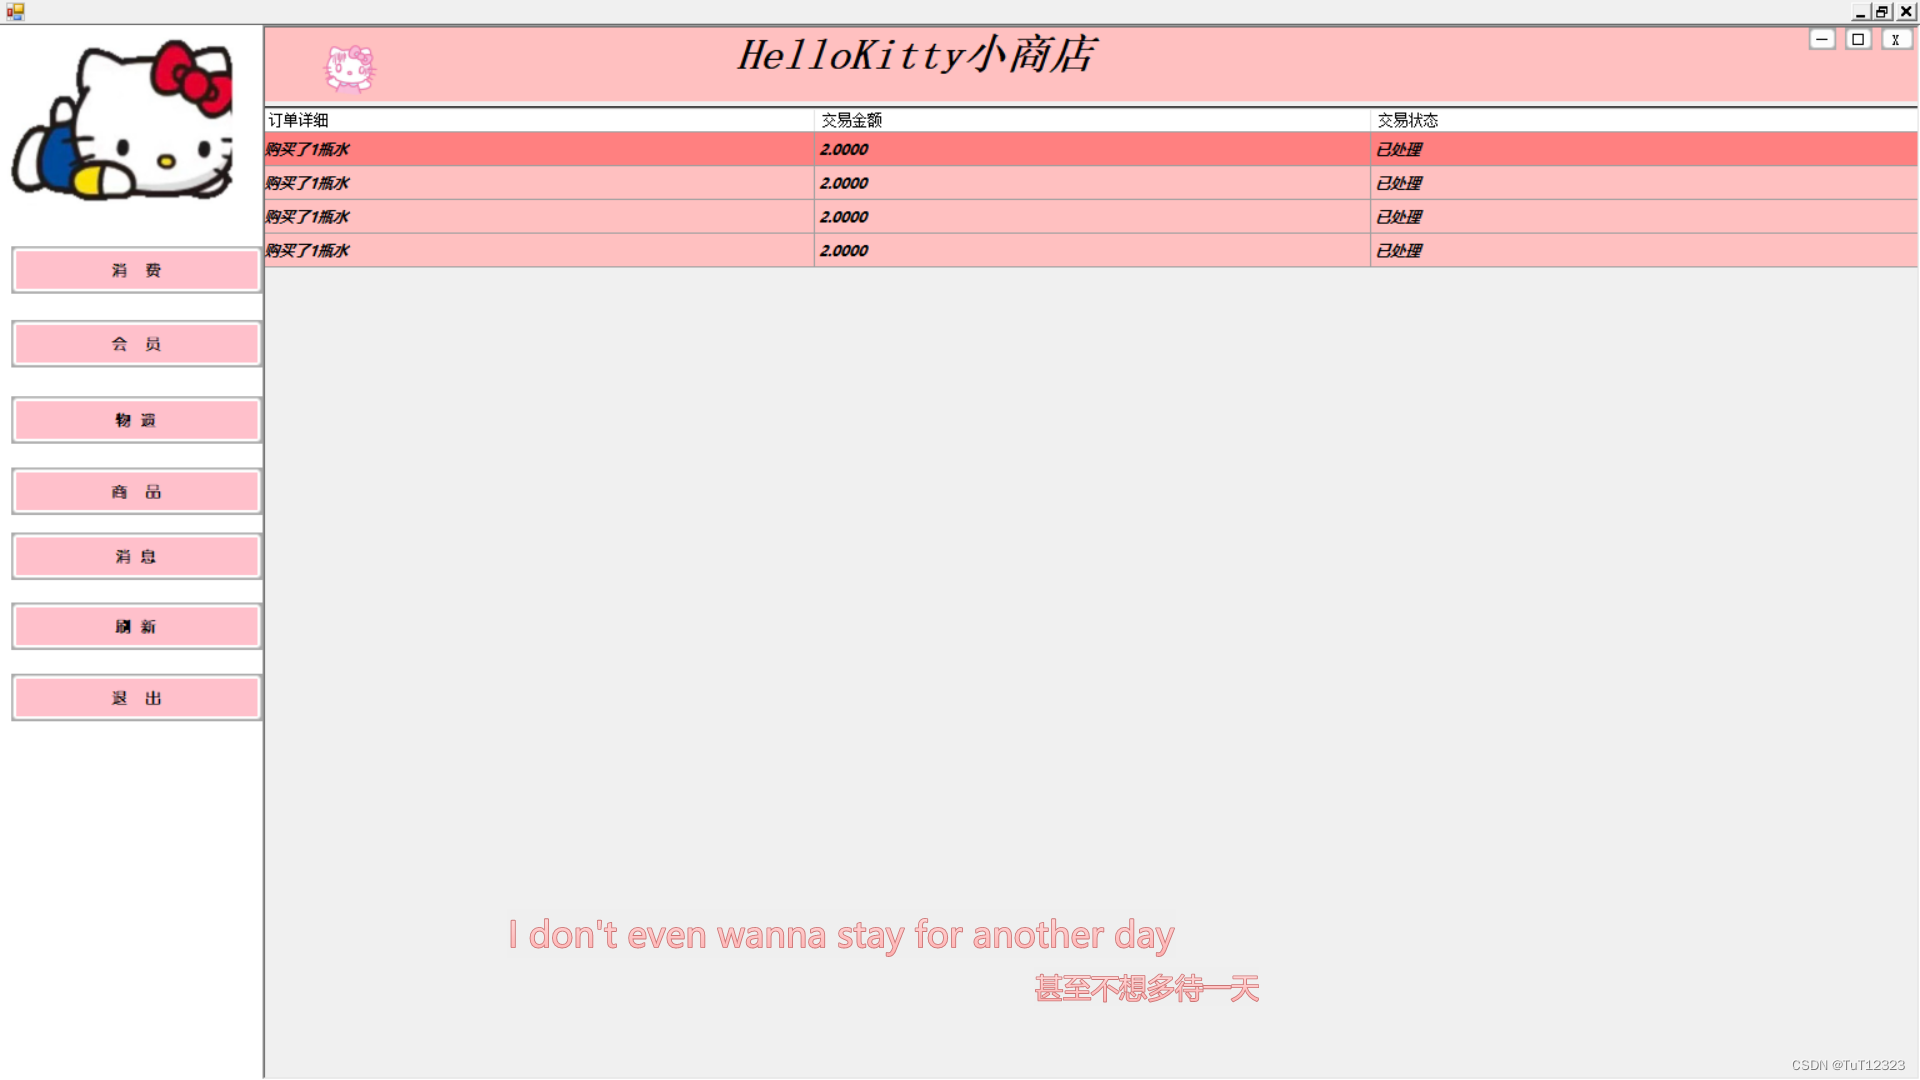
这个消费对接前台 用户系统 购买了什么东西 管理员系统就能收到订单信息

 datagridview好像有一个属性 可以把下面的灰色部分去掉 我在商品里面用了这个属性 其他的界面没用
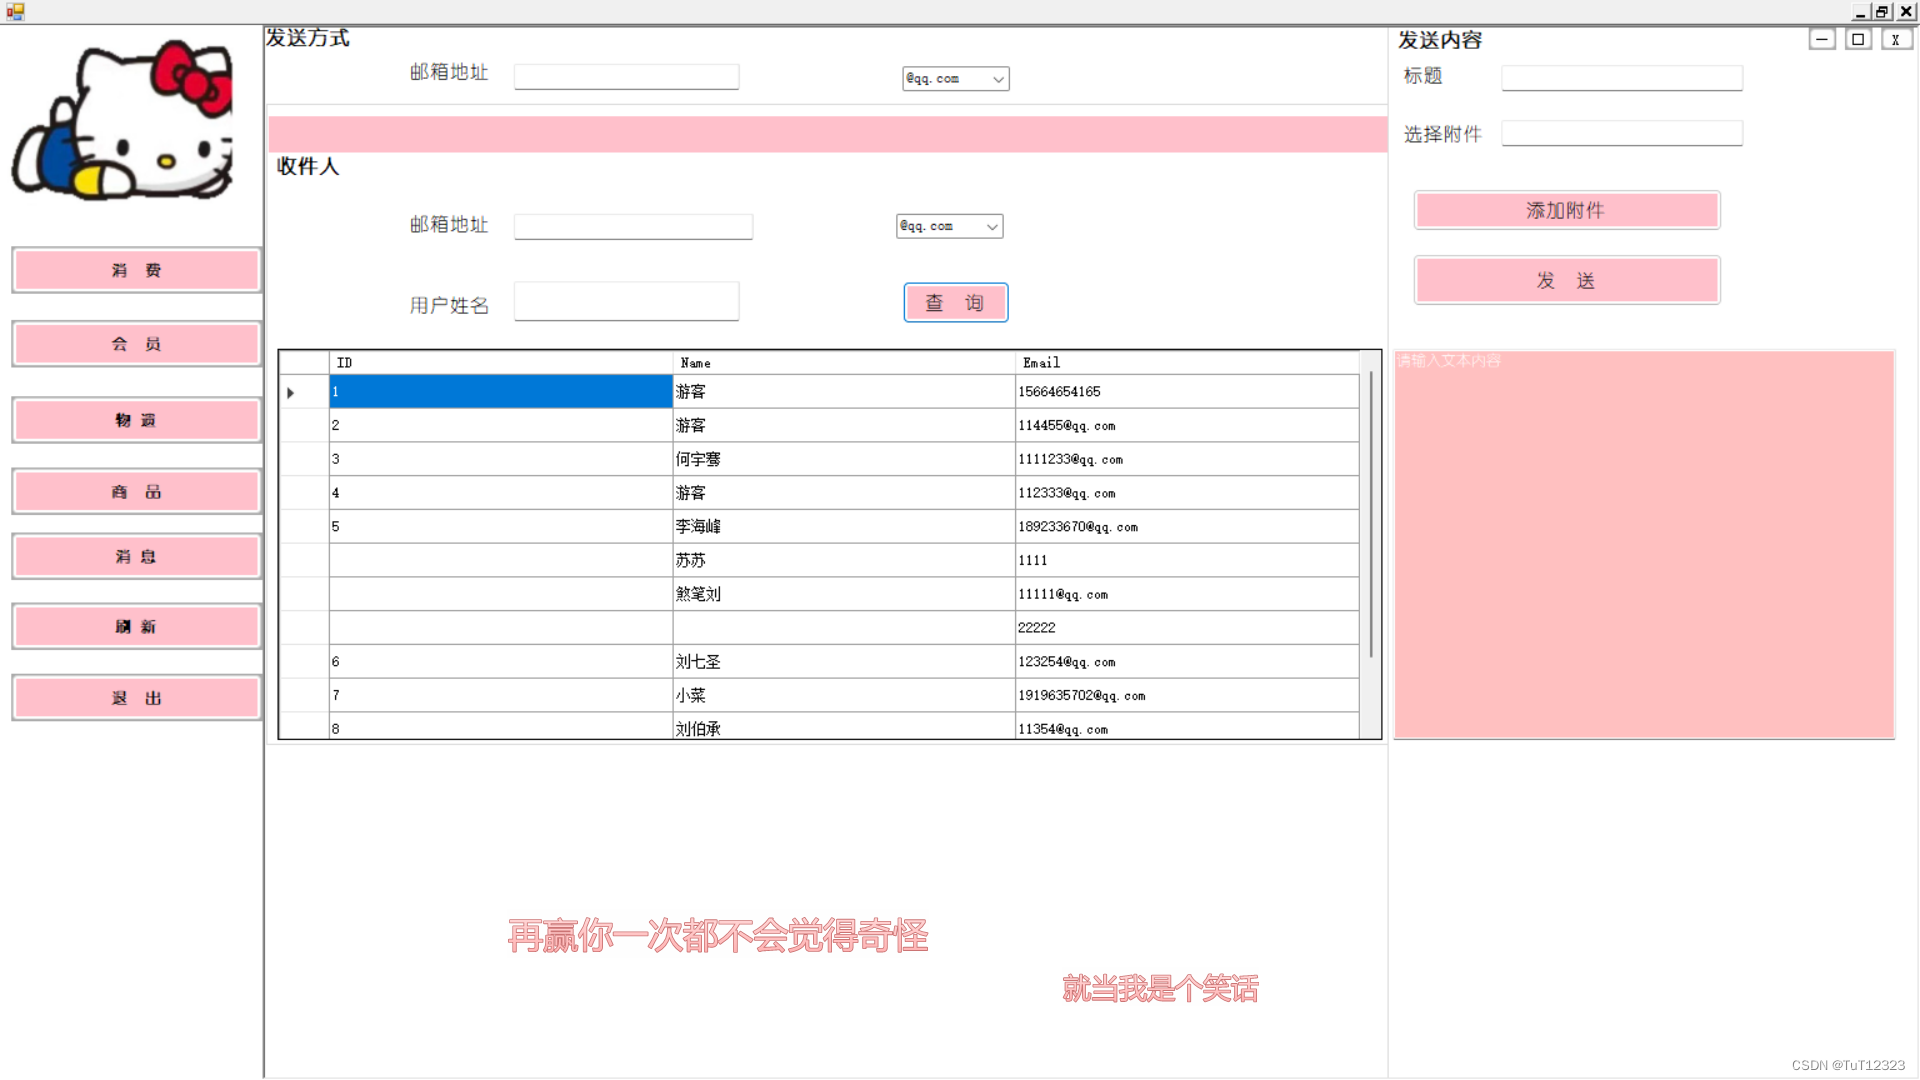
这是邮件发送功能

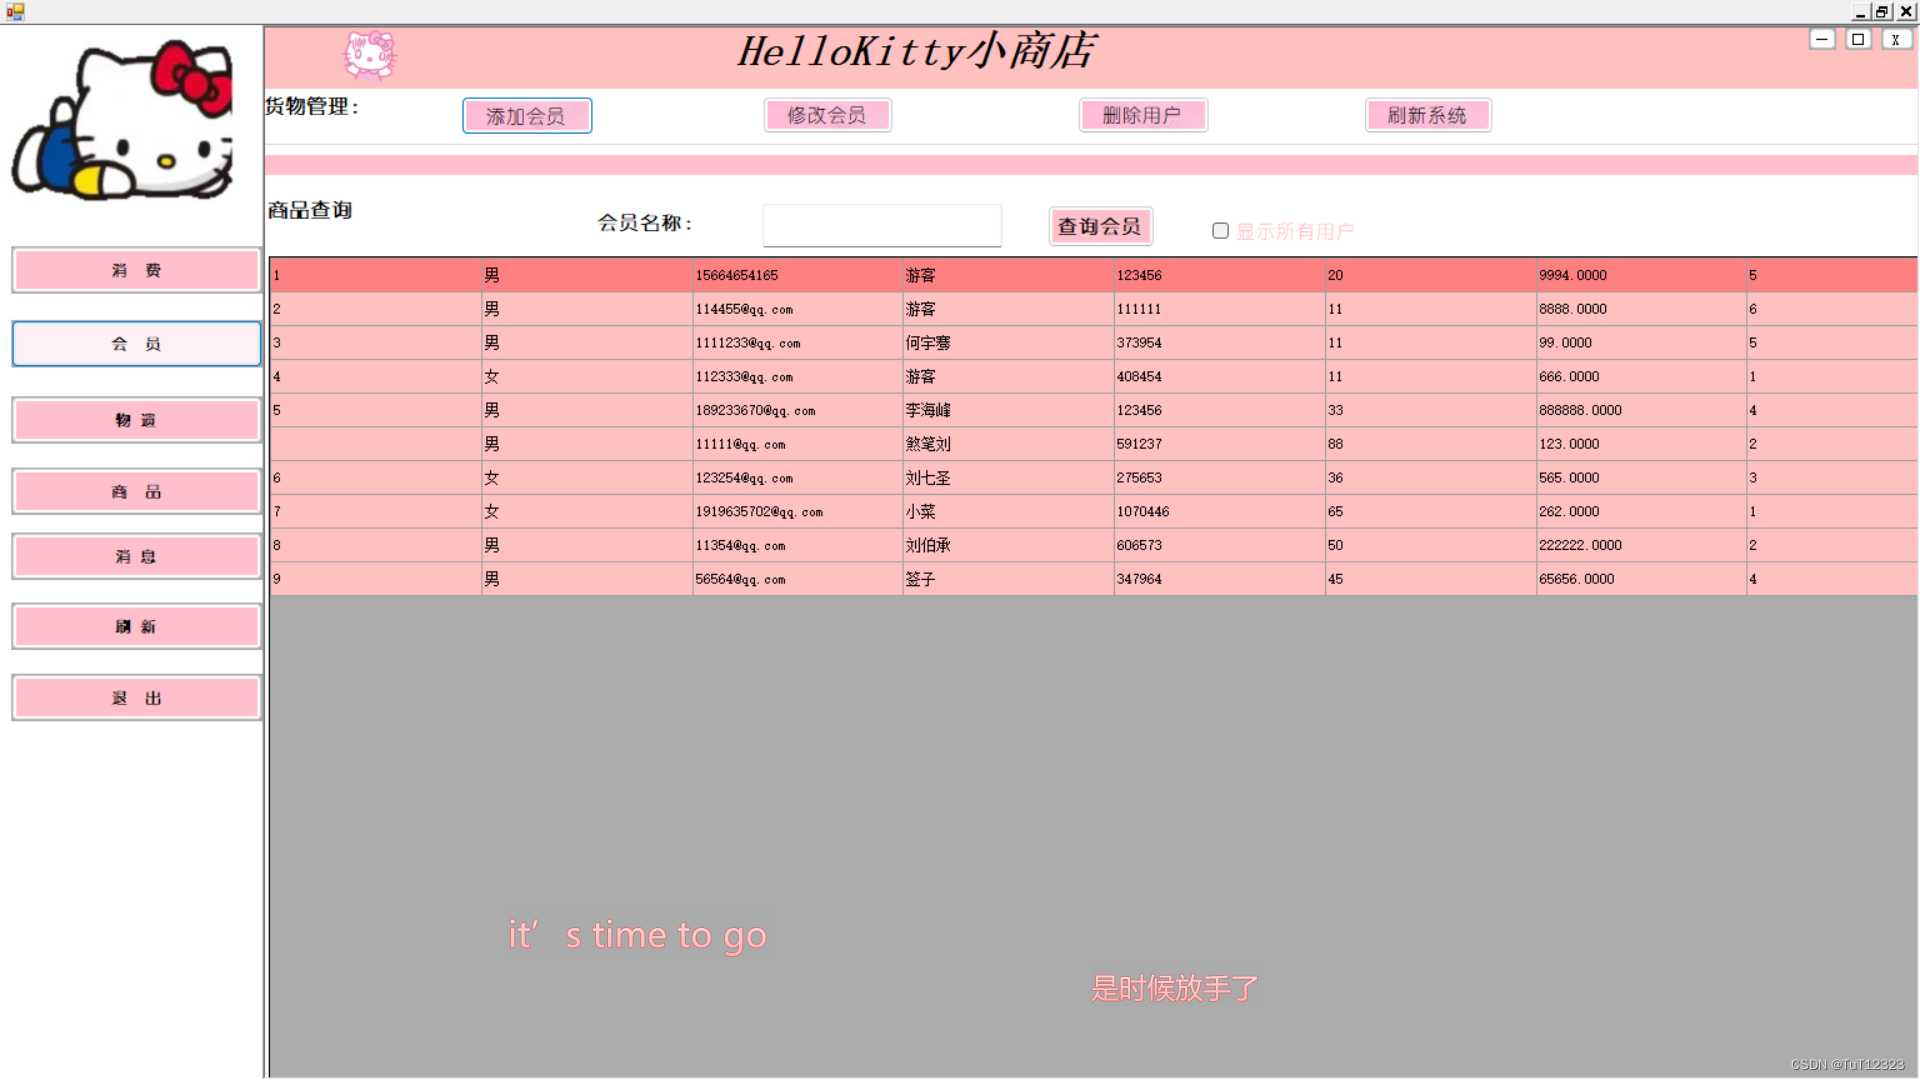
这是新增会员功能
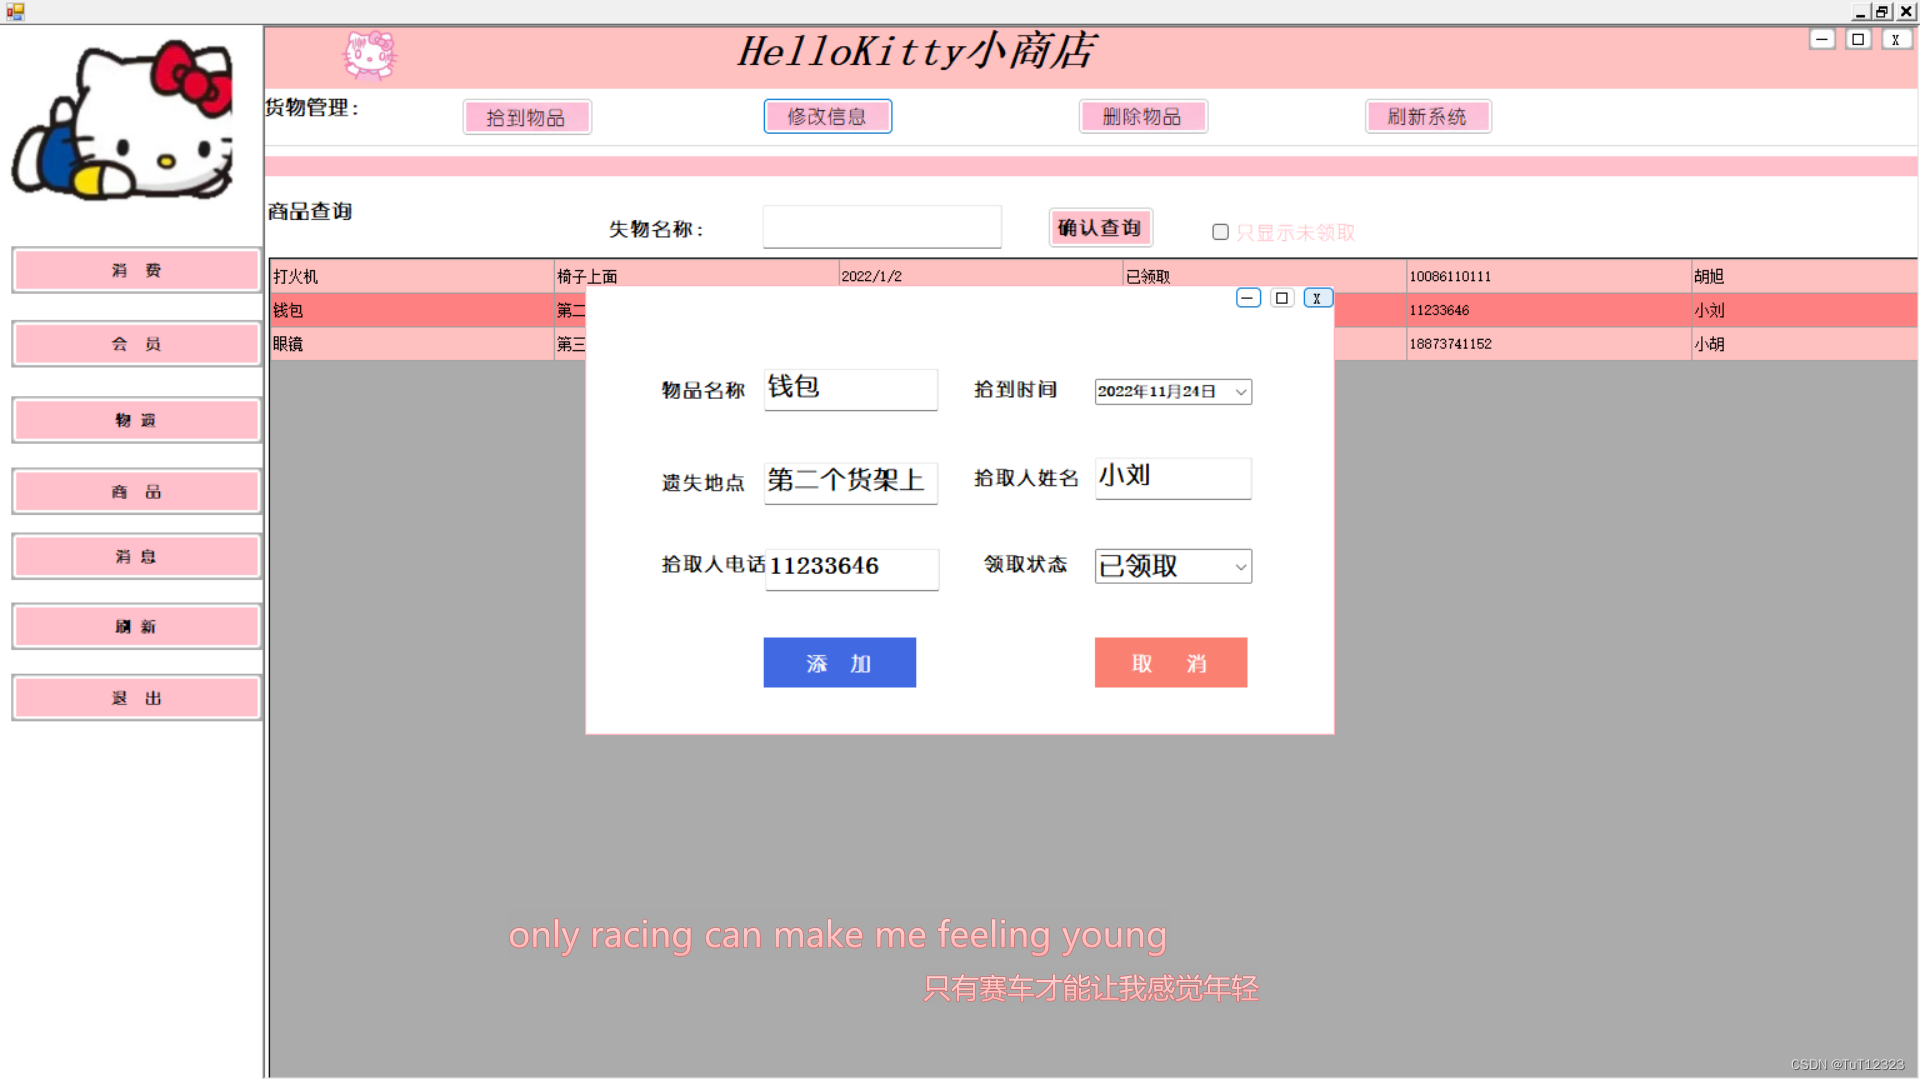
这个是修改物品遗失的信息 点一下修改就能弹出来你选中的物品 把信息自动填充text框 方便修改
管理员系统一共三套增删改查 在每个有增删改查的界面 都做了刷新功能 方便及时查看修改过的数据
下面详细的讲讲 怎么实现的邮箱发送功能
首先登陆电脑QQ
登陆邮箱 找到邮箱设置

找到账户这栏往下拉

开启第一个 以下是具体代码
 private void uiButton3_Click(object sender, EventArgs e)
        {
            if (txtReceive.Text.Equals(string.Empty))
            {
                MessageBox.Show("QQ邮箱地址不能为空");
            }
            MailMessage msg = new MailMessage();
            string connectpath = uiRichTextBox1.Text;
            string mailpath = txtSent.Text;       //发送人QQ号
            string mailnextpath = comboBox1.Text; //发送人选择的邮箱
            string recipien = txtReceive.Text;  //收件人QQ号
            string recipiennextpath = comboBox2.Text; //收件人选择的邮箱
            string titlepath = txtTitle.Text; //文章的标题
            msg.From = new MailAddress(mailpath.ToString() + mailnextpath); //   发送的邮件地址(主机)
            msg.Body = connectpath;
            //msg.Sender = new MailAddress("");
            msg.To.Add(recipien.ToString() + recipiennextpath);      //要接受的邮件地址
            msg.Subject = titlepath;
            msg.IsBodyHtml = true;                         //邮件内容默认是纯文本!如果指定html内容,需要使用isbodyHtml
            SmtpClient sc = new SmtpClient();
            sc.Host = "smtp.qq.com";                 //这个不一定是163,看你的主机的邮箱型号,还可以是smtp.qq.com, smtp.126.com , smtp.yahoo.com 等等
            sc.Port = 25;
            //sc.Timeout = 10000;   //超时时间
            NetworkCredential nc = new NetworkCredential();
            nc.UserName = "1919635702@qq.com";       //主机的邮箱名称
            nc.Password = "keagptlsjoxhcdgi";     //主机的邮箱密码
            sc.Credentials = nc;
            if (this.txtFuJian.Text != "")
            {
                Attachment att = new Attachment(this.txtFuJian.Text);
                msg.Attachments.Add(att);
            }
            else
            {
            }
            sc.Send(msg);
            MessageBox.Show("发送成功!");
        }
主机的邮箱密码 就是开通邮箱服务之后 拿到的一串密码
上传附件:
 private void uiButton2_Click(object sender, EventArgs e)
        {
            //添加按钮
            if (this.openFileDialog.ShowDialog() == System.Windows.Forms.DialogResult.OK)
            {
                this.txtFuJian.Text = this.openFileDialog.FileName;           //上传附件,打开对话框,得到客户端的文件
            }
        }
以上就是邮件发送功能的实现过程


 4243
4243


 被折叠的 条评论
为什么被折叠?
被折叠的 条评论
为什么被折叠?
 到【灌水乐园】发言


