


说在前面
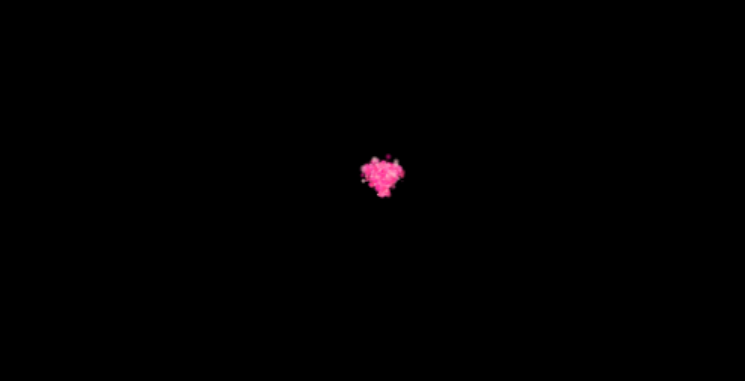
520快到了,又到一年一度画爱心的时候了,今天一起来实现一个粒子爱心动画,说不定你可以用得上😁
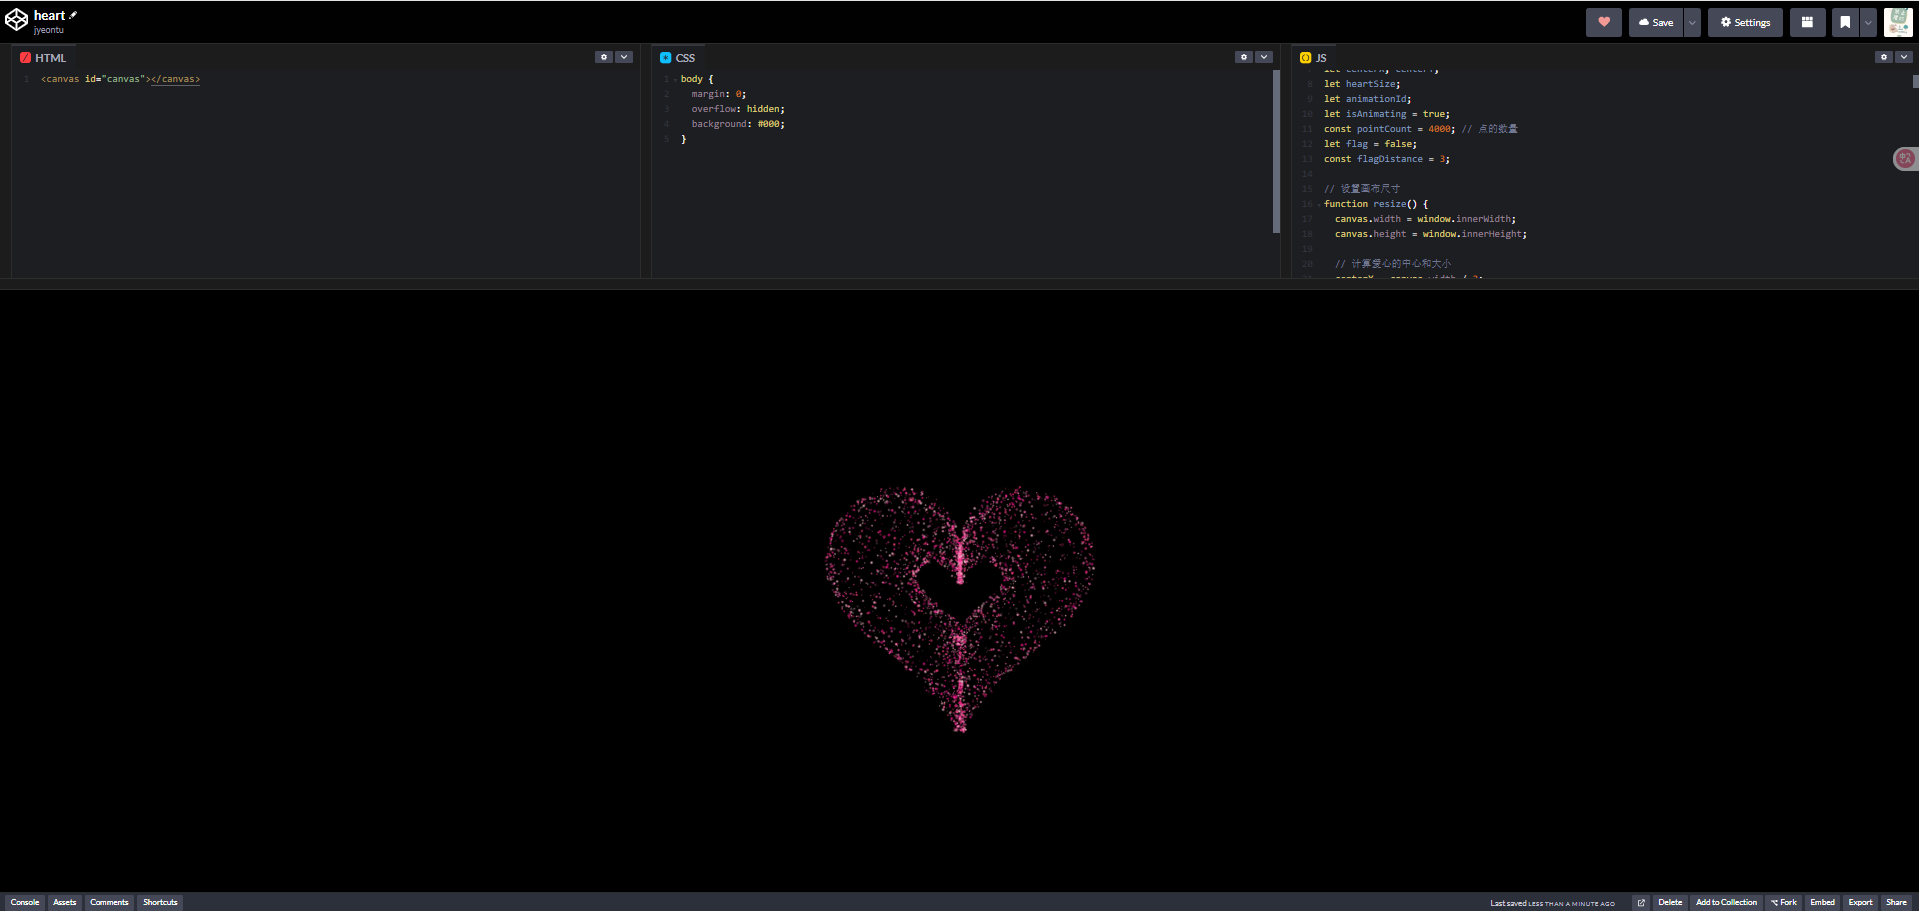
效果预览
码上掘金
https://code.juejin.cn/pen/7504587367895564327

CodePen
https://codepen.io/yongtaozheng/pen/GggzGmz
代码实现
初始化
画布初始化
const canvas = document.getElementById("canvas");
const ctx = canvas.getContext("2d");
canvas.width = window.innerWidth;
canvas.height = window.innerHeight;
配置数据
let particles = [];  //粒子示例
let heartPoints = [];  //粒子坐标点
let centerX, centerY;//画布中心点
let animationId;
let isAnimating = true;  //是否开启动画
const pointCount = 2000; // 粒子的数量
let flag = false;  //标记,判断粒子是否已经聚集到中心
const flagDistance = 3;  //粒子是否已经聚集中心的判断距离
let heartSize= Math.min(canvas.width, canvas.height) * 0.3;
生成爱心形状的点
爱心参数方程
直接用这个经典的心形曲线参数方程

function generateHeartPoints() {
  heartPoints = [];
  const points = pointCount; // 点的数量
  for (let i = 0; i < points; i++) {
    const t = (i * Math.PI * 2) / points;
    const x = 16 * Math.pow(Math.sin(t), 3);
    const y =
      13 * Math.cos(t) -
      5 * Math.cos(2 * t) -
      2 * Math.cos(3 * t) -
      Math.cos(4 * t);
    // 缩放并平移到中心
    heartPoints.push({
      x: centerX + (x * heartSize) / 30,
      y: centerY - (y * heartSize) / 30, // y坐标取负,因为Canvas的Y轴向下
    });
  }
}
t 从 0 到 2π 变化,生成连续的爱心点。
随机生成爱心点的颜色
预设几个粉色系的颜色,随机抽取其中的颜色作为新生成的粒子颜色。
function getRandomHeartColor() {
  const colors = [
    { r: 255, g: 64, b: 129 }, // 粉红色
    { r: 255, g: 105, b: 180 }, // 热粉色
    { r: 255, g: 20, b: 147 }, // 深粉色
    { r: 255, g: 192, b: 203 }, // 浅粉色
  ];
  return colors[Math.floor(Math.random() * colors.length)];
}
创建粒子类
构造函数
- 初始位置随机分散在目标点附近
先看看不随机分散的效果
this.x = this.target.x;
this.y = this.target.y;
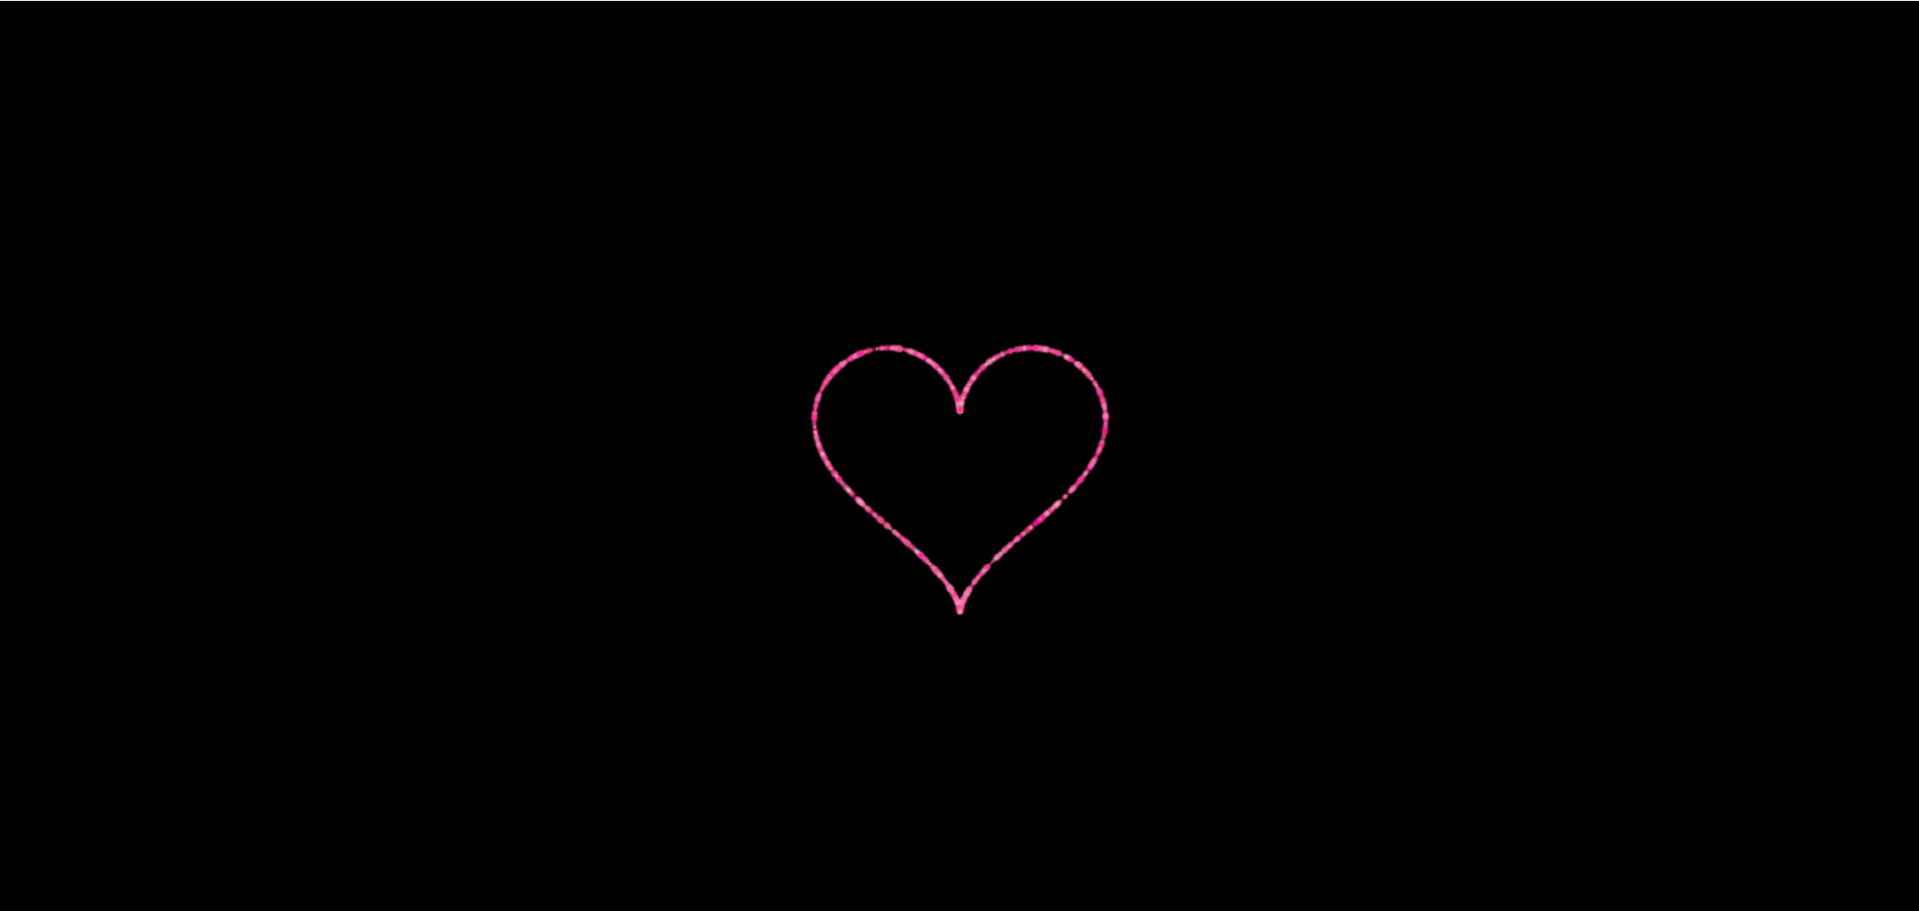
这样的效果明显不够粒子化,都成线条了,那么我们为了突出它的粒子性,我们可以将其坐标进行一个随机分散。
this.x = this.target.x + (Math.random() - 0.5) * heartSize * 0.3;
this.y = this.target.y + (Math.random() - 0.5) * heartSize * 0.3;
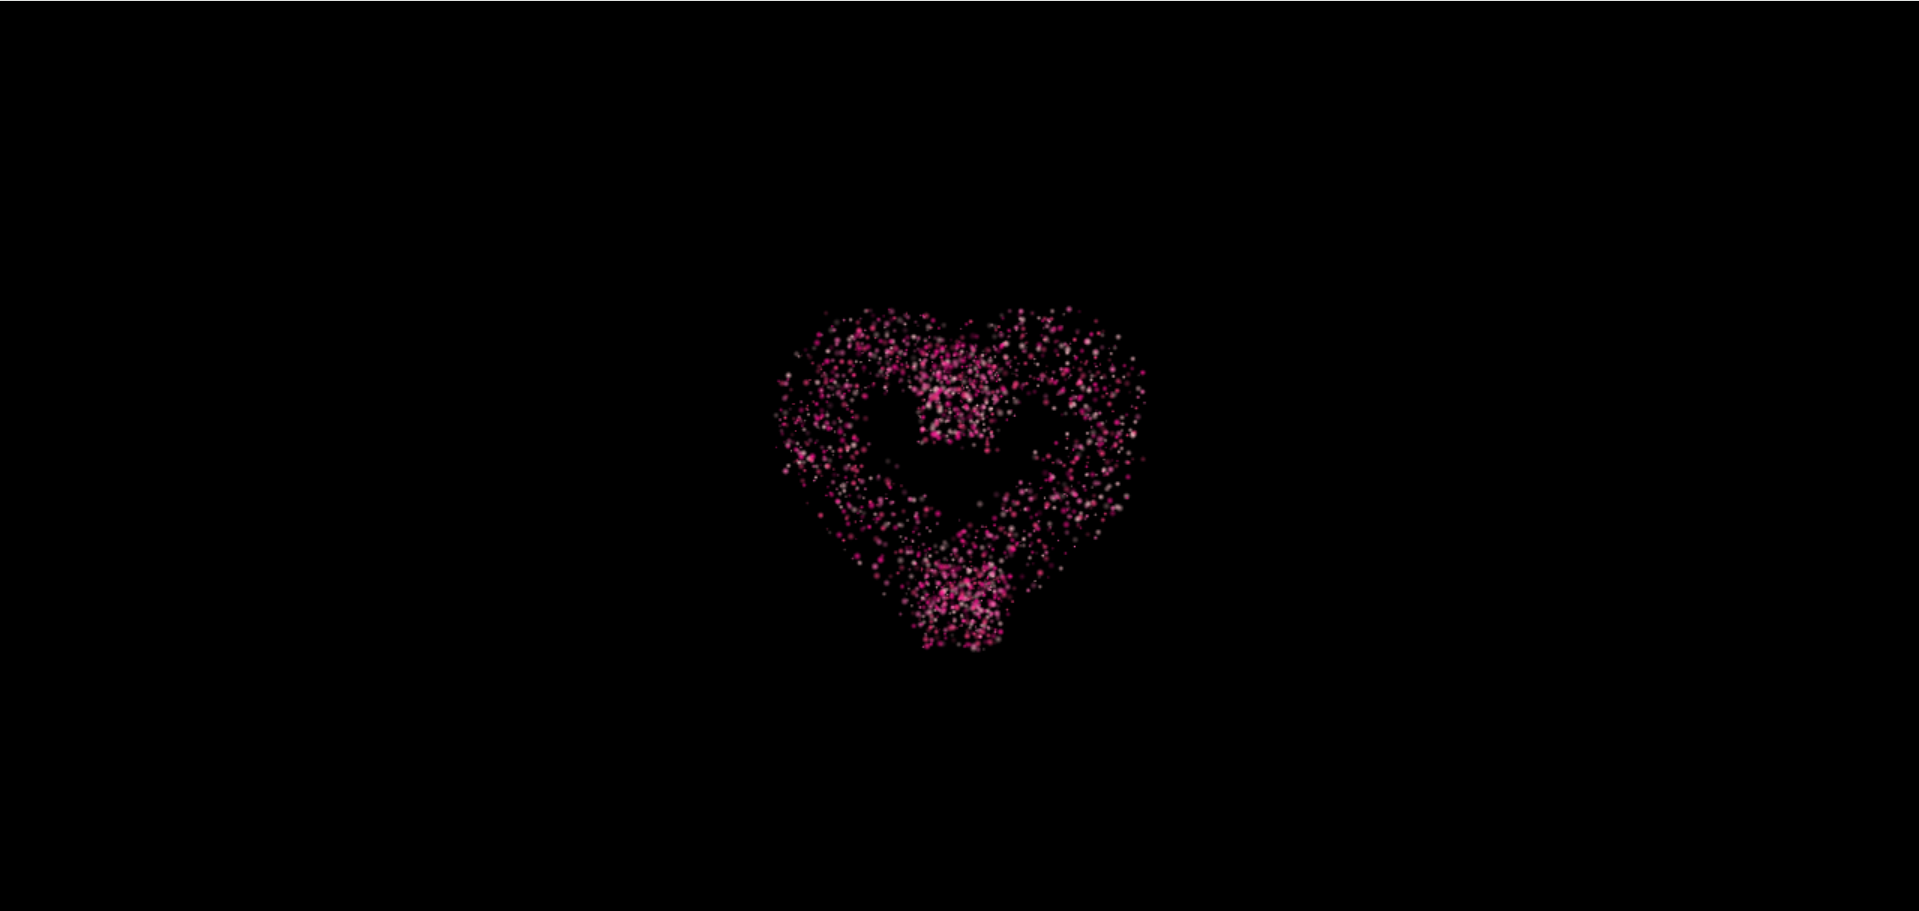
这样看起来效果是不是好点了?
- 完整代码
constructor(targetPoint) {
  this.target = { ...targetPoint };
  this.basePoint = { ...targetPoint };
  this.x = this.target.x + (Math.random() - 0.5) * heartSize * 0.3;
  this.y = this.target.y + (Math.random() - 0.5) * heartSize * 0.3;
  // 速度和加速度
  this.vx = 0;
  this.vy = 0;
  this.ax = 0;
  this.ay = 0;
  // 粒子属性
  this.size = 1 + Math.random() * 2;
  this.alpha = 0.2 + Math.random() * 0.8;
  this.color = getRandomHeartColor();
  // 用于动画的随机相位
  this.phase = Math.random() * Math.PI * 2;
  this.pointsStack = [];
}
粒子跳动效果
- 计算移动距离
const dx = this.target.x - this.x;
const dy = this.target.y - this.y;
const distance = Math.sqrt(dx * dx + dy * dy);
- 物理特性模拟
// 模拟加速度(距离越远,加速度越大)
const force = distance * 0.0005;
this.ax = dx * force;
this.ay = dy * force;

// 添加一些随机性,使粒子有轻微的抖动
this.ax += (Math.random() - 0.5) * 0.1;
this.ay += (Math.random() - 0.5) * 0.1;

// 更新速度
this.vx += this.ax;
this.vy += this.ay;

// 添加阻力
this.vx *= 0.96;
this.vy *= 0.96;
- 周期性改变目标点位置
正弦波生成器
//this.phase = Math.random() * Math.PI * 2
const pulseFactor =
    1 + 0.03 * Math.sin(Date.now() * 0.002 + this.phase);
this.target.x = centerX + (this.target.x - centerX) * pulseFactor;
this.target.y = centerY + (this.target.y - centerY) * pulseFactor;
时间驱动:Date.now()获取当前时间戳(毫秒),*0.002将时间单位转换为每 500ms 完成一次完整周期(频率=1/(2π/(0.002))≈0.318Hz)
相位控制:phase为粒子个体相位差,避免所有粒子同步跳动,产生自然波动效果。例如相位差为 π/2 时,粒子运动轨迹相差 1/4 周期
这里有一个问题,在跳动过一段时间之后,粒子会聚集到中心点,跳动幅度就缩小在了中心点一个范围
那这里我们得来分析一下原因:
- 1、 pulseFactor 的值域
我们都知道 sin 的值域是 [-1, 1] ,所以 pulseFactor 的取值范围是 [0.97, 1.03]
- 2、偏移量的长期变化
设当前偏移量为 d = this.target.x - centerX,则更新后的偏移量为 d_new = d * pulseFactor。
每次更新时,偏移量会被乘以 pulseFactor。由于 |pulseFactor - 1| < 0.03,即每次偏移量会以约 3% 的幅度衰减或放大。
由于 pulseFactor 围绕 1 波动,放大和缩小的幅度相近,因为缩小后想要变回原来大小需要的偏移量要更大,所以最终偏移量在反复缩放中逐渐衰减至接近 0
这里举个直白点的例子,比如现在有个值为 100,看下下面这两种场景:
- (1)先放大再缩小
100 * 103% = 103
103 * 97% = 99.91
- (2)先缩小再放大
100 * 97% = 97
97 * 103% = 99.91
通过上面两个场景,你发现了什么?
放大后再回归原本大小的概率 > 比变小后再回归原本大小的概率
所以偏移量在一个长期的运动过程后会逐渐衰减至接近 0
- 3、解决偏移量趋于0的问题
这里我使用了一个简单的方法,就是先把趋于0的过程中的位置点都先保存起来,等到偏移量达到我们设定的一个偏小的阈值的时候,直接取出保存的点来做一个循环运动即可
保存粒子位置点
this.target.x = centerX + (this.target.x - centerX) * pulseFactor;
this.target.y = centerY + (this.target.y - centerY) * pulseFactor;
this.pointsStack.push({ ...this.target });
判断偏移量是否到达阈值
if (
  Math.abs(this.target.x - centerX) < flagDistance &&
  Math.abs(this.target.y - centerY) < flagDistance
) {
  flag = true;
}
取出保存的点进行循环运动
if (flag) {
  const point = this.pointsStack.pop();
  this.pointsStack.unshift(point);
  this.target = point;
  return;
}
粒子绘制
draw() {
    const gradient = ctx.createRadialGradient(
      this.x,
      this.y,
      0,
      this.x,
      this.y,
      this.size
    );

    // 设置渐变颜色
    gradient.addColorStop(
      0,
      `rgba(${this.color.r}, ${this.color.g}, ${this.color.b}, ${this.alpha})`
    );
    gradient.addColorStop(
      1,
      `rgba(${this.color.r}, ${this.color.g}, ${this.color.b}, 0)`
    );

    ctx.fillStyle = gradient;
    ctx.beginPath();
    ctx.arc(this.x, this.y, this.size, 0, Math.PI * 2);
    ctx.fill();
  }
}
动画循环
function animate() {
  if (!isAnimating) return;
  ctx.clearRect(0, 0, canvas.width, canvas.height);

  // 更新和绘制所有粒子
  particles.forEach((particle) => {
    particle.update();
    particle.draw();
  });

  animationId = requestAnimationFrame(animate);
}
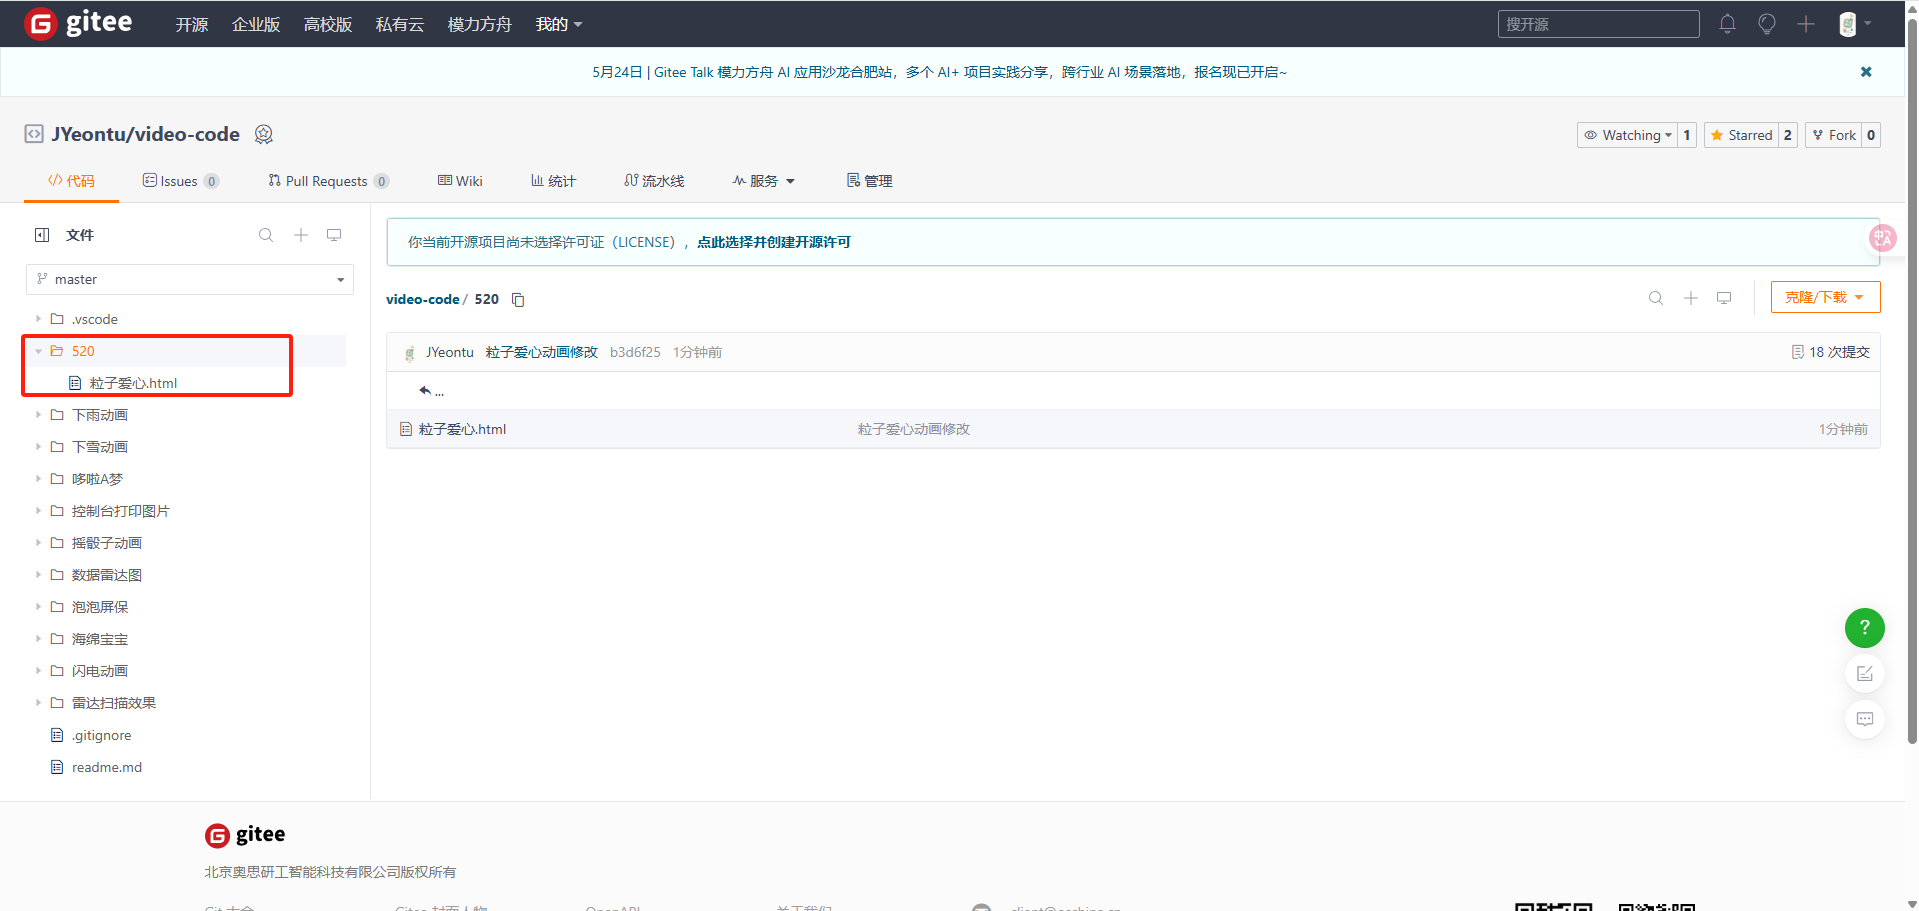
源码
gitee
https://gitee.com/zheng_yongtao/video-code.git
- 🌟 觉得有帮助的可以点个 star~
- 🖊 有什么问题或错误可以指出,欢迎 pr~
- 📬 有什么想要实现的功能或想法可以联系我~
公众号
关注公众号『 前端也能这么有趣 』,获取更多有趣内容。
发送 加群 还可以加入群聊,一起来学习(摸鱼)吧~
说在后面
🎉 这里是 JYeontu,现在是一名前端工程师,有空会刷刷算法题,平时喜欢打羽毛球 🏸 ,平时也喜欢写些东西,既为自己记录 📋,也希望可以对大家有那么一丢丢的帮助,写的不好望多多谅解 🙇,写错的地方望指出,定会认真改进 😊,偶尔也会在自己的公众号『
前端也能这么有趣』发一些比较有趣的文章,有兴趣的也可以关注下。在此谢谢大家的支持,我们下文再见 🙌。


 被折叠的 条评论
为什么被折叠?
被折叠的 条评论
为什么被折叠?
 到【灌水乐园】发言


