


刚刚简单学习了GestureDetector进行手势识别,这里给大家做一个分享。首先讲一下它的逻辑:
一、对一个view实现监听OnTouchListener;
二、在实现触摸监听事件的onTouch(View v, MotionEvent event)里面,我们将MotionEvent对象转发给GestureDetector
三、GestureDetector获得MotionEvent封装的信息,根据反馈的信息作出相应的反馈。
OK,我们现在来实现一下这个手势识别,首先,我们写一个布局,里面写一个ImageView就可以了,
<LinearLayout xmlns:android="http://schemas.android.com/apk/res/android"
    xmlns:tools="http://schemas.android.com/tools"
    android:layout_width="match_parent"
    android:layout_height="match_parent"
    android:orientation="vertical"
    android:layout_margin="5dp"
    android:id="@+id/layout"
    tools:context="com.example.testviewpager.MainActivity" >

   <ImageView
       android:id="@+id/img"
       android:layout_width="wrap_content"
       android:layout_height="476dp"
       android:src="@drawable/image" />

</LinearLayout>
接下来我们在java代码里面需要将ImageView初始化,得到一个view,然后对它设置触摸监听的事件,然后我们声明一个GestureDetector对象,然后写一个类继承SimpleOnGestureListener并重写onFling的方法,实现对手势的识别及识别后执行相应的业务,我们这里弹出一个信息,然后对布局背景设置不同的颜色。最后我们需要在ImageView的onTouch方法里将将MotionEvent对象转发给GestureDetector,就可以了,代码如下:
package com.example.testviewpager;
import android.annotation.SuppressLint;
import android.graphics.Color;
import android.os.Bundle;
import android.support.v4.app.FragmentActivity;
import android.view.GestureDetector;
import android.view.GestureDetector.SimpleOnGestureListener;
import android.view.MotionEvent;
import android.view.View;
import android.view.View.OnTouchListener;
import android.widget.ImageView;
import android.widget.Toast;
public class MainActivity extends FragmentActivity {
private ImageView image;
private View layout;
private GestureDetector myGestureDetector;
class myGestureDetectorListener extends SimpleOnGestureListener
{
@Override
public boolean onFling(MotionEvent e1, MotionEvent e2, float velocityX, float velocityY) {
// TODO Auto-generated method stub
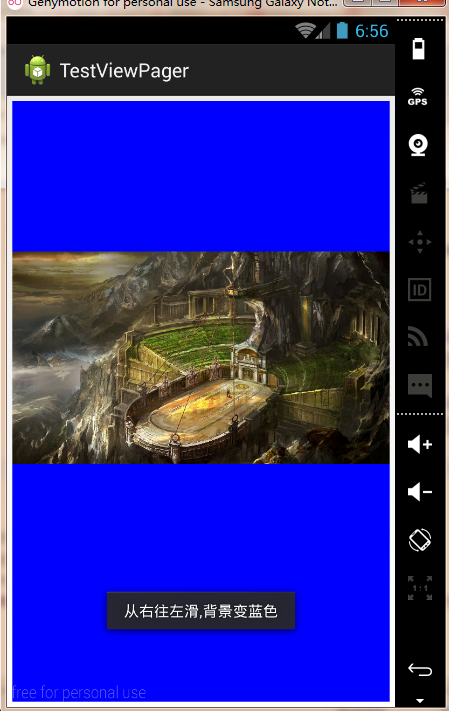
if(e1.getX()-e2.getX()>50){
Toast.makeText(MainActivity.this, "从右往左滑,背景变蓝色", Toast.LENGTH_SHORT).show();
layout.setBackgroundColor(Color.rgb(0, 0, 255));
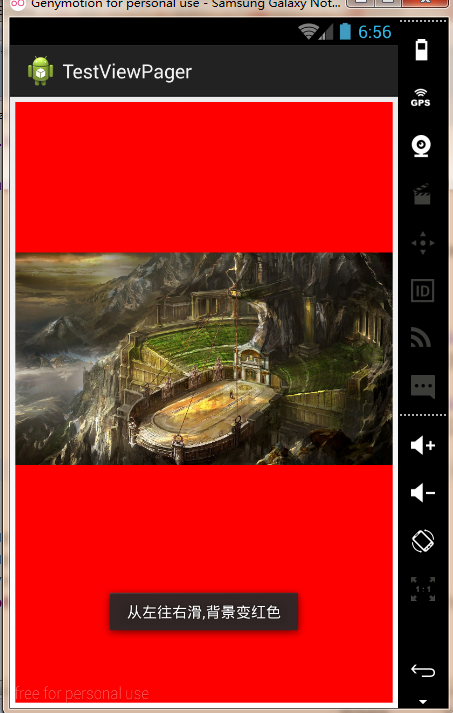
}else if(e2.getX()-e1.getX()>50){
Toast.makeText(MainActivity.this, "从左往右滑,背景变红色", Toast.LENGTH_SHORT).show();
layout.setBackgroundColor(Color.rgb(255, 0, 0));
}
return super.onFling(e1, e2, velocityX, velocityY);
}
}
@SuppressLint("ClickableViewAccessibility")
@SuppressWarnings("deprecation")
@Override
protected void onCreate(Bundle savedInstanceState) {
super.onCreate(savedInstanceState);
setContentView(R.layout.activity_main);
image = (ImageView) findViewById(R.id.img);
layout = findViewById(R.id.layout);
myGestureDetector = new GestureDetector(new myGestureDetectorListener());
image.setOnTouchListener(new OnTouchListener() {
@Override
public boolean onTouch(View v, MotionEvent event) {
myGestureDetector.onTouchEvent(event);
return true;
}
});
}
}
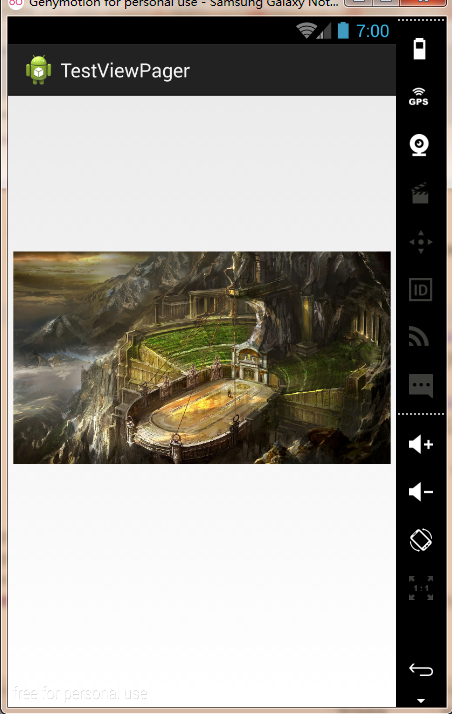
实现效果
初始化:
滑动:
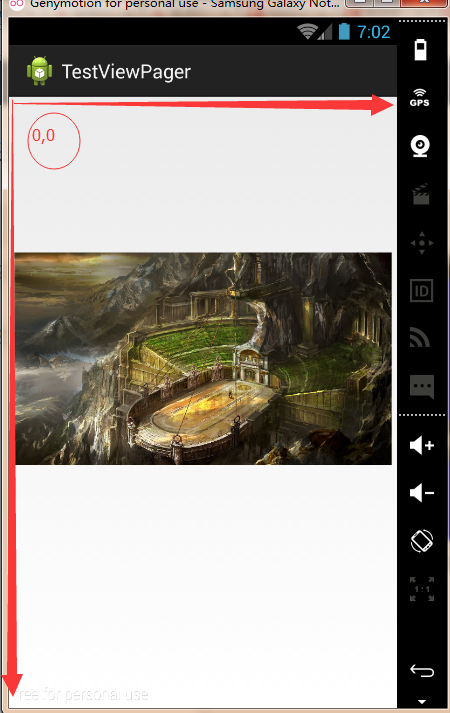
这里最后讲一下判断的逻辑,如图!在左上角为平面坐标的中心点(0,0)从左往右意味着X在不断增大,从上往下也一样意味着Y在不断增大,所以我们如果从落入点MotionEvent.ACTION_DOWN获取X值减去抬起点MotionEvent.ACTION_UP获取的X值,如果TA大于50像素的话,我们就判定为它是从右往左滑动,然后将背景色修改,反之,如果MotionEvent.ACTION_UP获取的值比MotionEvent.ACTION_DOWN还要大,这就是从左往右滑动。
以上部分内容来自网络,更详细内容。


 1244
1244

 被折叠的 条评论
为什么被折叠?
被折叠的 条评论
为什么被折叠?
 到【灌水乐园】发言


