


初次体验了一下微信小程序,大体上明白了微信小程序的开发流程。算是简单入门。
本文参考自微信官方的api文档:https://mp.weixin.qq.com/debug/wxadoc/dev/framework/view/wxml/?t=20161122
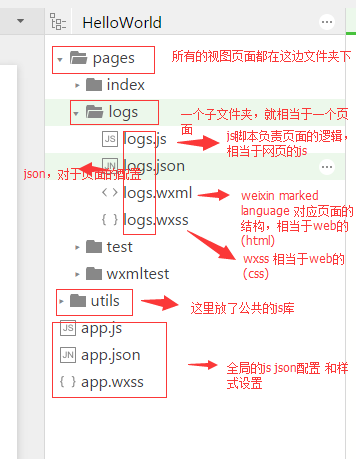
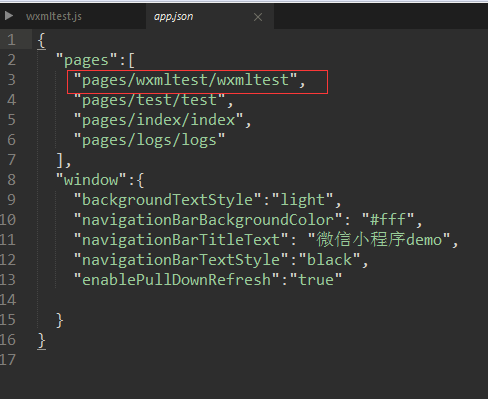
查看app.json

下面是添加一个视图的开发流程。
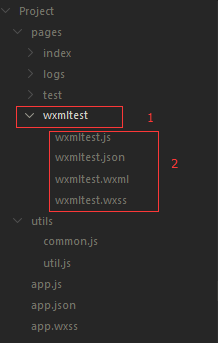
a.首先在page文件夹下添加文件夹,然后添加对应的wxml wxss 和json配置文件以及js文件,这里我使用的是sublime
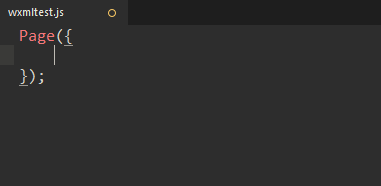
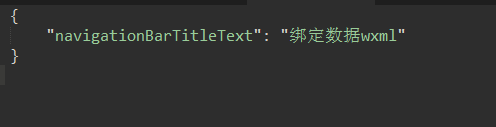
b.打开js文件添上,然后在wxmltest.json上加{}(如果没有配置也必须要加{},否则页面显示不出来内容!)
c.在app.json中注册页面(相关的配置参照官方文档)
d.定义页面布局
<!-- 数据绑定 -->
<view>{{message}}</view>

<!-- 列表渲染 -->
<view wx:for="{{array}}">
	{{item}}
</view>

<!-- 条件渲染 -->
<view wx:if="{{view=='WEBVIEW'}}">
	WEBVIEW
</view>
<view wx:elif="{{view=='APP'}}">
	APP
</view>
<view wx:else="{{view=='MINA'}}">
	MINA
</view>

<!-- 模板 -->
<template name="staffName">
	<view>
		FirstName:{{firstName}},LastName:{{lastName}}
	</view>
</template>

<template is="staffName" data="{{...staffA}}"></template>
<template is="staffName"
 data="{{...staffB}}"></template>
<template is="staffName"
 data="{{...staffC}}"></template>

 <!-- 事件 -->
 <view bindtap="add">
 	{{count}}
 </view>
e.定义页面逻辑
Page({
data:{
message:'Hello chepeng!',
array:[1,2,3,4,5,6,7,8],
view:'MINA',
staffA:{
firstName:'Chen',
lastName:'Peng'
},
staffB:{
firstName:'Li',
lastName:'xiaoLong'
},
staffC:{
firstName:'Yang',
lastName:'Zi'
},
count:1
},
add:function(e){
this.setData({
count:this.data.count+1
});
}
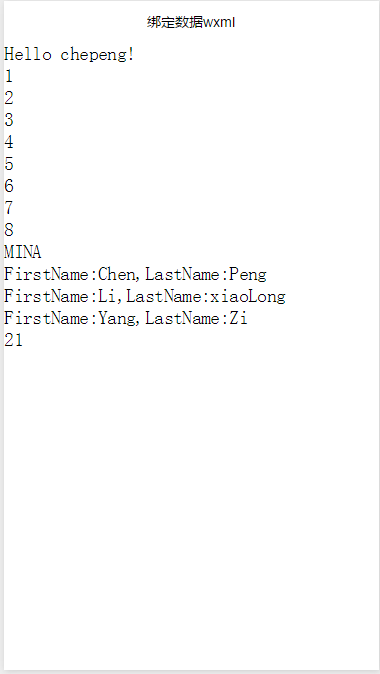
});f:页面效果:


 2万+
2万+

 被折叠的 条评论
为什么被折叠?
被折叠的 条评论
为什么被折叠?
 到【灌水乐园】发言


