


1.安装
pip install pytest
pytest官网:https://docs.pytest.org/en/stable/
2.编写规则
1.测试文件已test开头(或以test结尾)
2.测试类以Test开头,并且不能带有init方法
3.测试函数以test开头
4.断言使用基本的assert即可
3.pytest使用
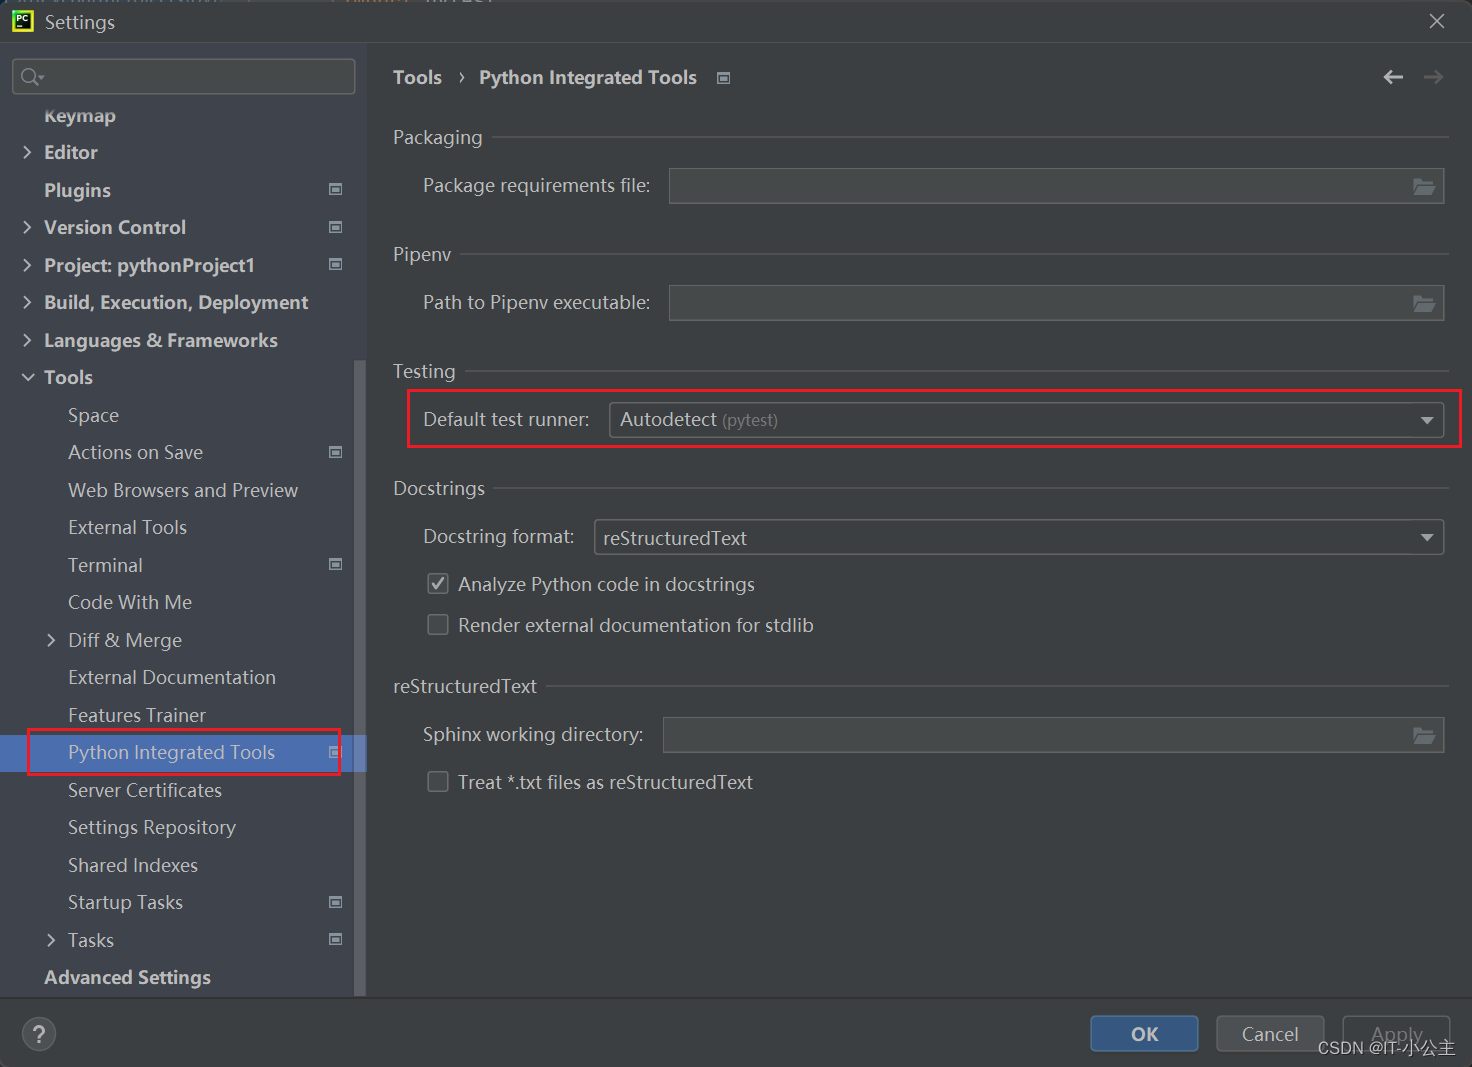
1.运行
需要在pycharm设置界面配置
- 用绿色执行箭头
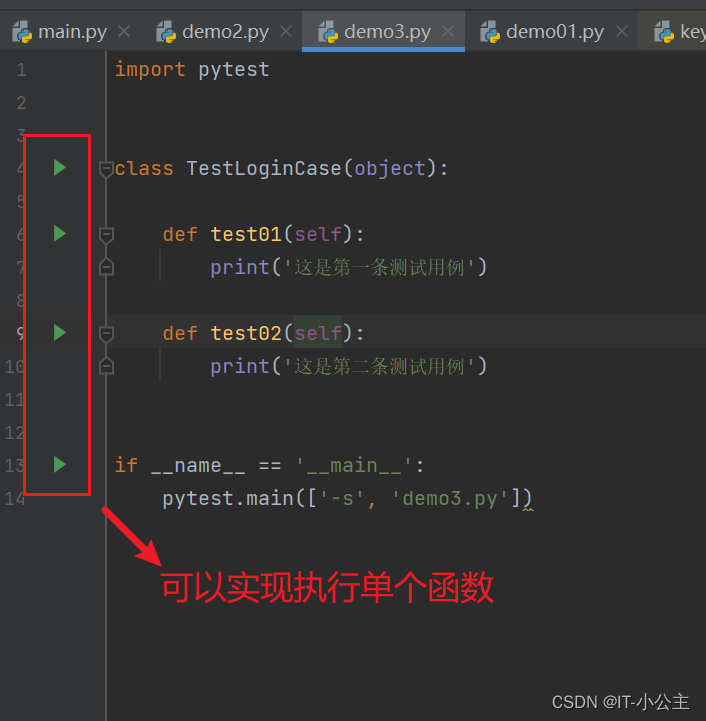
- 用main 方法执行
if __name__ == '__main__':
    pytest.main(['demo3.py'])
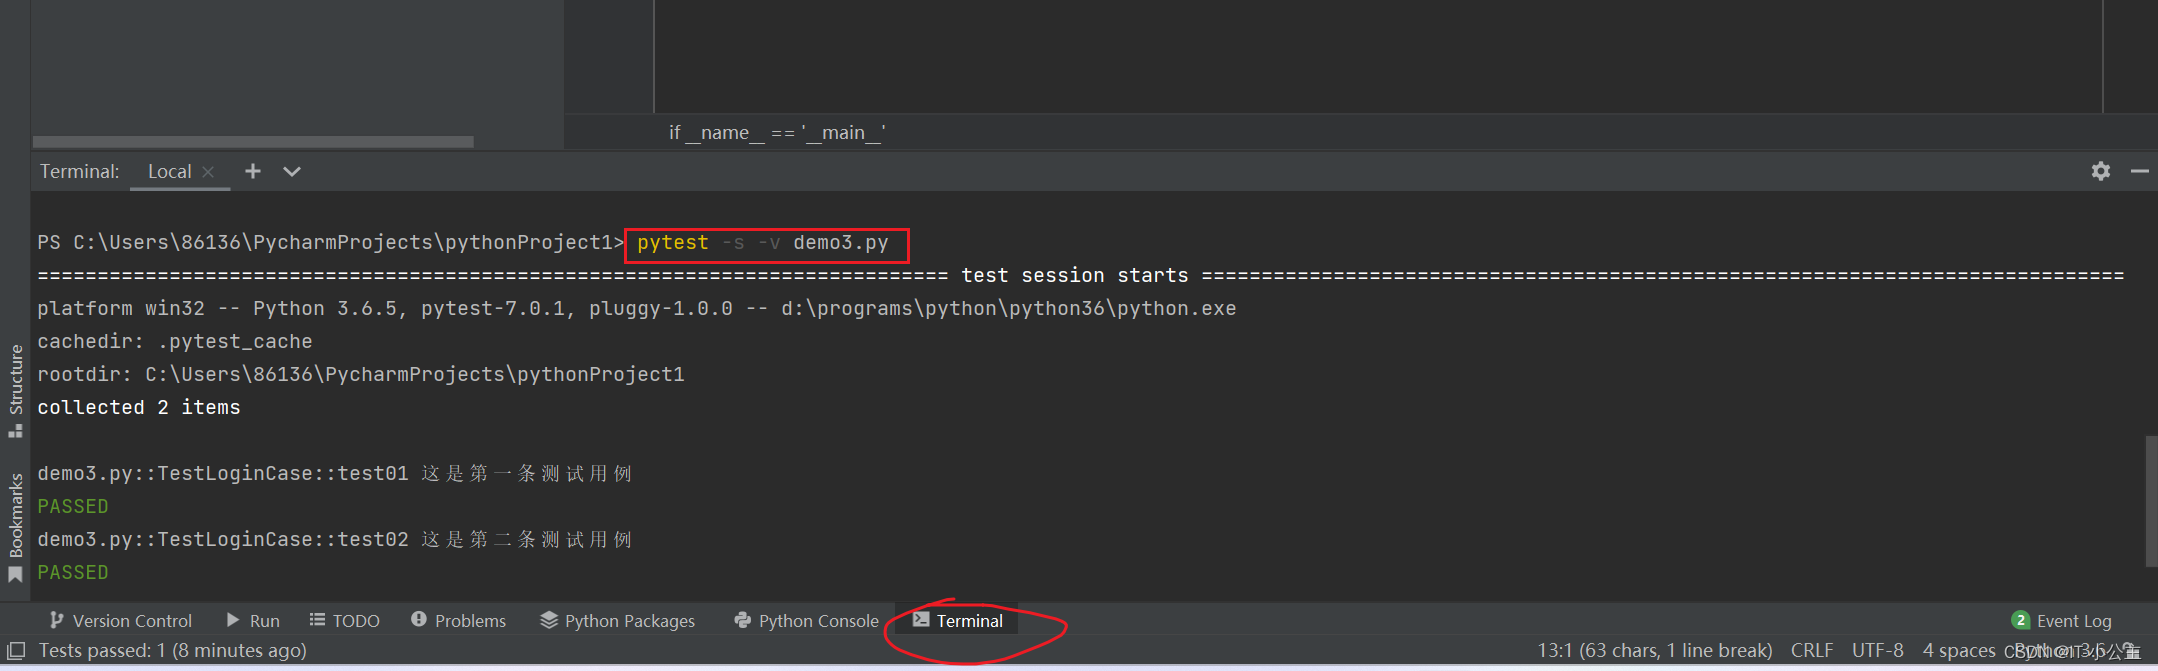
- 用命令行
# 1.执行xxx.py文件里面的所有方法
pytest -v -s xxx.py
# 2.执行xxx.py文件里面指定的方法test_func1
pytest xxx.py::test_func1
pytest -k func1 xxxx.py  # 使用模糊匹配,使用-k选项标识
- 使用pytest.mark在函数上进行标记
首先写个配置文件pytest.ini
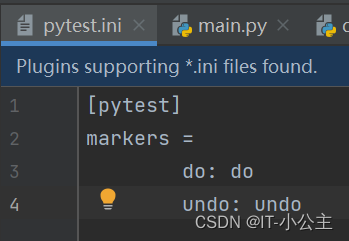
在测试用例注释执行或不执行
import pytest


class TestLoginCase(object):
    @pytest.mark.do
    def test01(self):
        print('这是第一条测试用例')

    @pytest.mark.undo
    def test02(self):
        print('这是第二条测试用例')
# 命令执行xxx.py文件里标准执行的测试用例
pytest -m do xxx.py
2.pytest参数化
pytest.mark.parametrize(argnames,argvalues)
argvalues可以是列表,元组,字典
# 列表
data = ['123', '456']


@pytest.mark.parametrize('pwd', data)
def test1(pwd):
    print(pwd)
# 元组
data1 = [('admin', '123', 'mbzx'), ('amdin', '456', 'm24x')]


@pytest.mark.parametrize('username, password, vector', data1)
def test2(username, password, vector):
    print(username, password, vector)
# 字典
data2 = (
    {
        'user': 1,
        'pwd': 2
    },
    {
        'age': 3,
        'email': 'fg@qq.com'
    }
)


@pytest.mark.parametrize('dic', data2)
def test3(dic):
    print(dic)
data3 = [
    pytest.param(1, 2, 3, id="(a+b):pass"),  # id的值可以自定义,只要方便理解每个用例是干什么的即可
    pytest.param(4, 5, 10, id="(a+b):fail")
]


def add(a, b):
    return a + b


@pytest.mark.parametrize('a,b,expect', data3)
def test04(a, b, expect):
    assert add(a, b) == expect
3.pytest.fixture实现用例之间的调用
1.定义fixture跟定义普通函数差不多,唯一区别就是在函数上加个装饰器@pytest.fixture
2.fixture命名不要以test开头,跟用例区分开。fixture是有返回值,没有返回值默认为None。
3.用例调用fixture的返回值,直接就是把fixture的函数名称当做变量名称。
可作用于function\module\class\session中
@pytest.fixture()
def demo():
    print('这是一个例子')
    return 1
def test05(demo):
    print('这是一个测试')
4.setup和teardown
1.模块级(setup_module/teardown_module)开始于模块始末,全局的
2.函数级(setup_function/teardown_fuction)只对函数用例生效(不在类中)
import pytest


def setup_module():
    print('setup_module')


def teardown_module():
    print('teardown_module')


def setup_function():
    print('setup_function')


def teardown_function():
    print('teardown_function')

def test1():
    print('test1')


def test2():
    print('test2')

3.类级(setup_class/teardown_class)只在类中前后运行一次(在类中)
4.方法级(setup_method/teardown_method)开始于方法始末(在类中)
5.类里面的(setup/teardown)运行在调用方法的前后
import pytest

class TestCase01(object):
    @classmethod
    def setup_class(cls):
        print('setup_class')

    @classmethod
    def teardown_class(cls):
        print('teardown_class')

    @classmethod
    def setup_method(cls):
        print('setup_method')

    @classmethod
    def teardown_method(cls):
        print('teardown_method')

    @classmethod
    def setup(cls):
        print('setup')

    @classmethod
    def taerdown(cls):
        print('teardown')

    def test1(self):
        print('test1')

    def test2(self):
        print('test2')

    def test3(self):
        print('test3')

4.生成测试报告
1.安装allure-pytest
pip install allure-pytest
2.官方文档:https://docs.qameta.io/
3.下载allure
地址:https://github.com/allure-framework/allure2/releases
解压下载的安装包,配置环境变量:将allure的 bin 目录配置的系统环境变量 path 中
在cmd中输入:allure
不提示allure不是内部或外部命令,说明allure已经配置 好了
4.allure报告装饰器
| 使用方法 | 参数值 |
|---|---|
| @allure.epic() | 当有多个项目时使用,定义项目 |
| @allure.feature() | 模块名称 |
| @allure.story() | 用例名称 |
| @allure.title() | 用例标题 |
| @allure.testcase() | 自动化用例对应的功能用例存放系统的地址 |
| @allure.issue() | 对应缺陷管理系统里边的缺陷地址 |
| @allure.description() | 用例描述 |
| @allure.step() | 操作步骤 |
| @allure.severity() | 用例等级:blocker,critical,normal,minor.trivial |
| @allure.link() | 定义连接 |
| @allure.attachment() | 附件 |
5.allure使用案例
import pytest
import allure


@allure.epic("项目1")
@allure.feature('创建订单')
class Test_Ordering:
    @pytest.mark.hello
    @pytest.mark.login
    @pytest.mark.Fail_retry
    @allure.story('创建订单成功')
    @allure.title("成功的用例")
    def test_c(self):
        print("查询订单")
        raise Exception("失败测试用例重试1")

    @allure.story("创建订单失败")
    def test_a(self):
        print("这是一个测试失败重试10次的测试用例")


@allure.feature('查询订单')
class Test_GetOrdering:
    @pytest.mark.hello
    @pytest.mark.login
    @pytest.mark.Fail_retry
    @allure.story('查询订单失败')
    def test_003(self):
        print("查询订单失败")
        raise Exception("失败测试用例重试1")

    @allure.story('查询订单成功')
    def test_002(self):
        print("这是一个测试失败重试10次的测试用例")

@allure.feature('失败重试')
class Test_Rerunfailure:

    @allure.story('失败重试1')
    def test_001(self):
        print("这是一个测试通过的测试用例")
        with allure.step("重试用例1"):
            raise Exception("失败测试用例重试1")

    @allure.story('失败重试2')
    @pytest.mark.login
    def test_002(self):
        print("这是一个测试失败重试3次的测试用例")
        with allure.step("重试用例2"):
            raise Exception("失败测试用例重试2")
6.运行

5.使用pytest依赖插件
安装
pip install pytest-dependency
import pytest

# 登录成功
@pytest.mark.dependency(name="login") # 被依赖关系,登录这个测试用例命令login
def test_loginSuccess(self):
    print("登录成功")
# 查看个人信息
@pytest.mark.dependency(depends=["login"], scope="module") # 依赖登录,要登录进去才能查看个人信息
def test_personal(self):
    print("登录后查看个人信息")
6.跳过测试用例
@pytest.mark.skipif(reason=‘无条件,只有跳过原因’)
@pytest.mark.skipif(条件1==1,reason=‘跳过原因’)


 321
321


 被折叠的 条评论
为什么被折叠?
被折叠的 条评论
为什么被折叠?
 到【灌水乐园】发言


