


命名视图
同时 (同级) 展示多个视图,而不是嵌套展示,例如创建一个布局,有 sidebar (侧导航) 和 main (主内容) 两个视图,这个时候命名视图就派上用场了。
可以在界面中拥有多个单独命名的视图,而不是只有一个单独的出口。
如果 router-view 没有设置名字,那么默认为 default。一个视图使用一个组件渲染,因此对于同个路由,多个视图就需要多个组件。
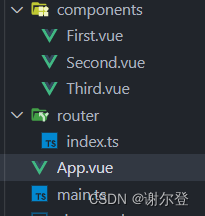
First.vue
<template>
  <h1>First Seciton</h1>
</template>
Second.vue
<template>
  <h1>Second Seciton</h1>
</template>
Third.vue
<template>
  <h1>Third Seciton</h1>
</template>
index.ts
import { createRouter, createWebHistory } from 'vue-router'
import First from '../components/First.vue'
import Second from '../components/Second.vue'
import Third from '../components/Third.vue'
export const router = createRouter({
history: createWebHistory(),
routes: [
{
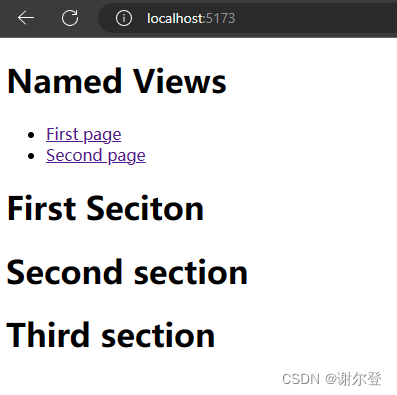
path: '/',
components: {
default: First,
a: Second,
b: Third,
},
},
{
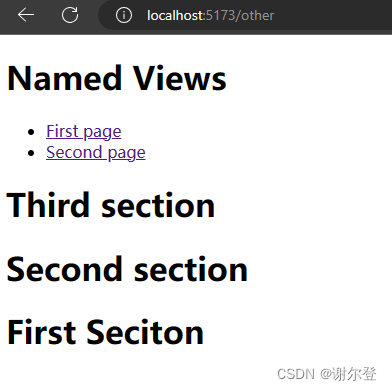
path: '/other',
components: {
default: Third,
a: Second,
b: First,
},
},
],
})
App.vue
<template>
  <h1>Named Views</h1>
  <ul>
    <li>
      <router-link to="/">First page</router-link>
    </li>
    <li>
      <router-link to="/other">Second page</router-link>
    </li>
  </ul>
  <router-view></router-view>
  <router-view name="a"></router-view>
  <router-view name="b"></router-view>
</template>

<script setup lang="ts">

</script>

<style scoped></style>
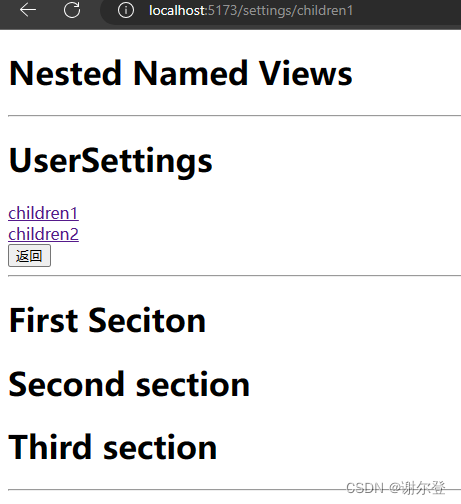
嵌套命名视图
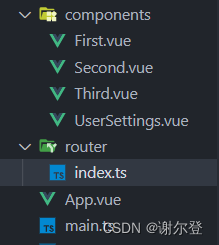
First.vue
<template>
  <h1>First Seciton</h1>
</template>
Second.vue,Third.vue代码同理
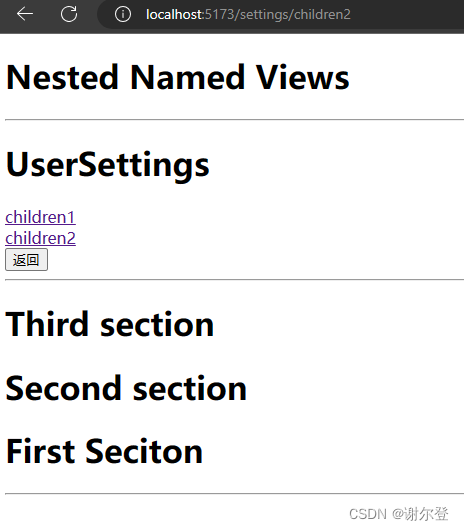
UserSettings.vue
<template>
  <h1>UserSettings</h1>
  <router-link to="/settings/children1">children1</router-link>
  <br />
  <router-link to="/settings/children2">children2</router-link>
  <br>
  <button @click="toBackPage">返回</button>
  <hr>
  <router-view></router-view>
  <router-view name="a"></router-view>
  <router-view name="b"></router-view>
</template>

<script setup lang="ts">
import { useRouter } from 'vue-router';
const router = useRouter();
const toBackPage = () => {
  router.go(-1);
}
</script>

<style scoped></style>
index.ts
import { createRouter, createWebHistory } from 'vue-router'
import First from '../components/First.vue'
import Second from '../components/Second.vue'
import Third from '../components/Third.vue'
import UserSettings from '../components/UserSettings.vue'

export const router = createRouter({
  history: createWebHistory(),
  routes: [
    {
      path: '/settings',
      component: UserSettings,
      children: [
        {
          path: 'children1',
          components: {
            default: First,
            a: Second,
            b: Third,
          },
        },
        {
          path: 'children2',
          components: {
            default: Third,
            a: Second,
            b: First,
          },
        },
      ]
    },

  ],
})
App.vue
<template>
  <h1>Nested Named Views</h1>
  <hr>
  <router-view></router-view>
  <hr>
</template>

<script setup lang="ts">

</script>

<style scoped></style>


 1202
1202


 被折叠的 条评论
为什么被折叠?
被折叠的 条评论
为什么被折叠?
 到【灌水乐园】发言


