


Rabbion+RestTemplate实现负载均衡
1 过程
本次博客借助我另一篇博客搭的SpringCloud架子做:
SpringBoot-SpringCloud Netflix——基于idea的简单架构
首先负载均衡,需要至少两个提供者,这些提供者完全一样!
配置Rabbion负载均衡
修改配置文件
2 新建Ribbon消费者
2.1 新建springboot项目
勾选依赖:
ribbon、web、eureka client
2.2 配置yml配置文件
server:
  port: 8901
eureka:
  client:
    service-url:
      defaultZone: http://10.8.157.32:8761/eureka/ #对应注册中心配置中的defaultZone
    instance:
      lease-renewal-interval-seconds: 3 #心跳连接
spring:
  application:
    name: HelloConsumerRibbon #显示在注册中心需要喊的名字
2.3 配置负载均衡
- config配置文件
新建配置类RibbonConfig
import com.netflix.loadbalancer.*;
import org.springframework.cloud.client.loadbalancer.LoadBalanced;
import org.springframework.context.annotation.Bean;
import org.springframework.context.annotation.Configuration;
import org.springframework.web.client.RestTemplate;

@Configuration
public class RibbonConfig {
    @Bean
    @LoadBalanced
    public RestTemplate createRT() {
        return new RestTemplate();
    }

    @Bean
    public IRule createRule() {
//        //随机
//        new RandomRule();
//        //轮询
//        new RoundRobinRule();
//        //权重
//        new WeightedResponseTimeRule();
//        //最小并发
//        new BestAvailableRule();
//        //区域感知——就近原则
//        new ZoneAvoidanceRule();

        return new RoundRobinRule();
    }
}
- service层
Ribbon调用服务提供者的方法:
restTemplate.getForObject();		--Get请求
restTemplate.postForObject();		--Post请求
restTemplate.put();					--Put请求
restTemplatee.delete();				--Delete请求
service层:
import org.springframework.beans.factory.annotation.Autowired;
import org.springframework.context.annotation.Bean;
import org.springframework.stereotype.Service;
import org.springframework.web.client.RestTemplate;

@Service
public class HelloService {
    @Autowired
    private RestTemplate restTemplate;

    public String first() {
        /**
         * 发送GET请求
         * 参数说明
         * 1. 请求的服务提供者的方法路径组成:http协议 提供者的名称 具体的接口路径
         * 2. 返回值的类型:Class
         * 3. 请求参数
         */
        return restTemplate.getForObject("http://haogo-userprovider//provider/hello/first.do",String.class);
    }
}
- controller层
我配置了Swagger2,你可以自行添加,这次没用到,也可以去掉
import com.lanc.app.haogo_ribbanconsumer.service.HelloService;
import io.swagger.annotations.Api;
import io.swagger.annotations.ApiOperation;
import org.springframework.beans.factory.annotation.Autowired;
import org.springframework.web.bind.annotation.GetMapping;
import org.springframework.web.bind.annotation.RestController;

@RestController
@Api("controller层")
public class HelloController {
    @Autowired
    HelloService helloService;

    @ApiOperation("这个是用于外部调用的")
    @GetMapping("api/hello/first.do")
    public String hello() {
        return helloService.first();
    }
}
2.4 启动类添加注解
@EnableDiscoveryClient
@RibbonClients
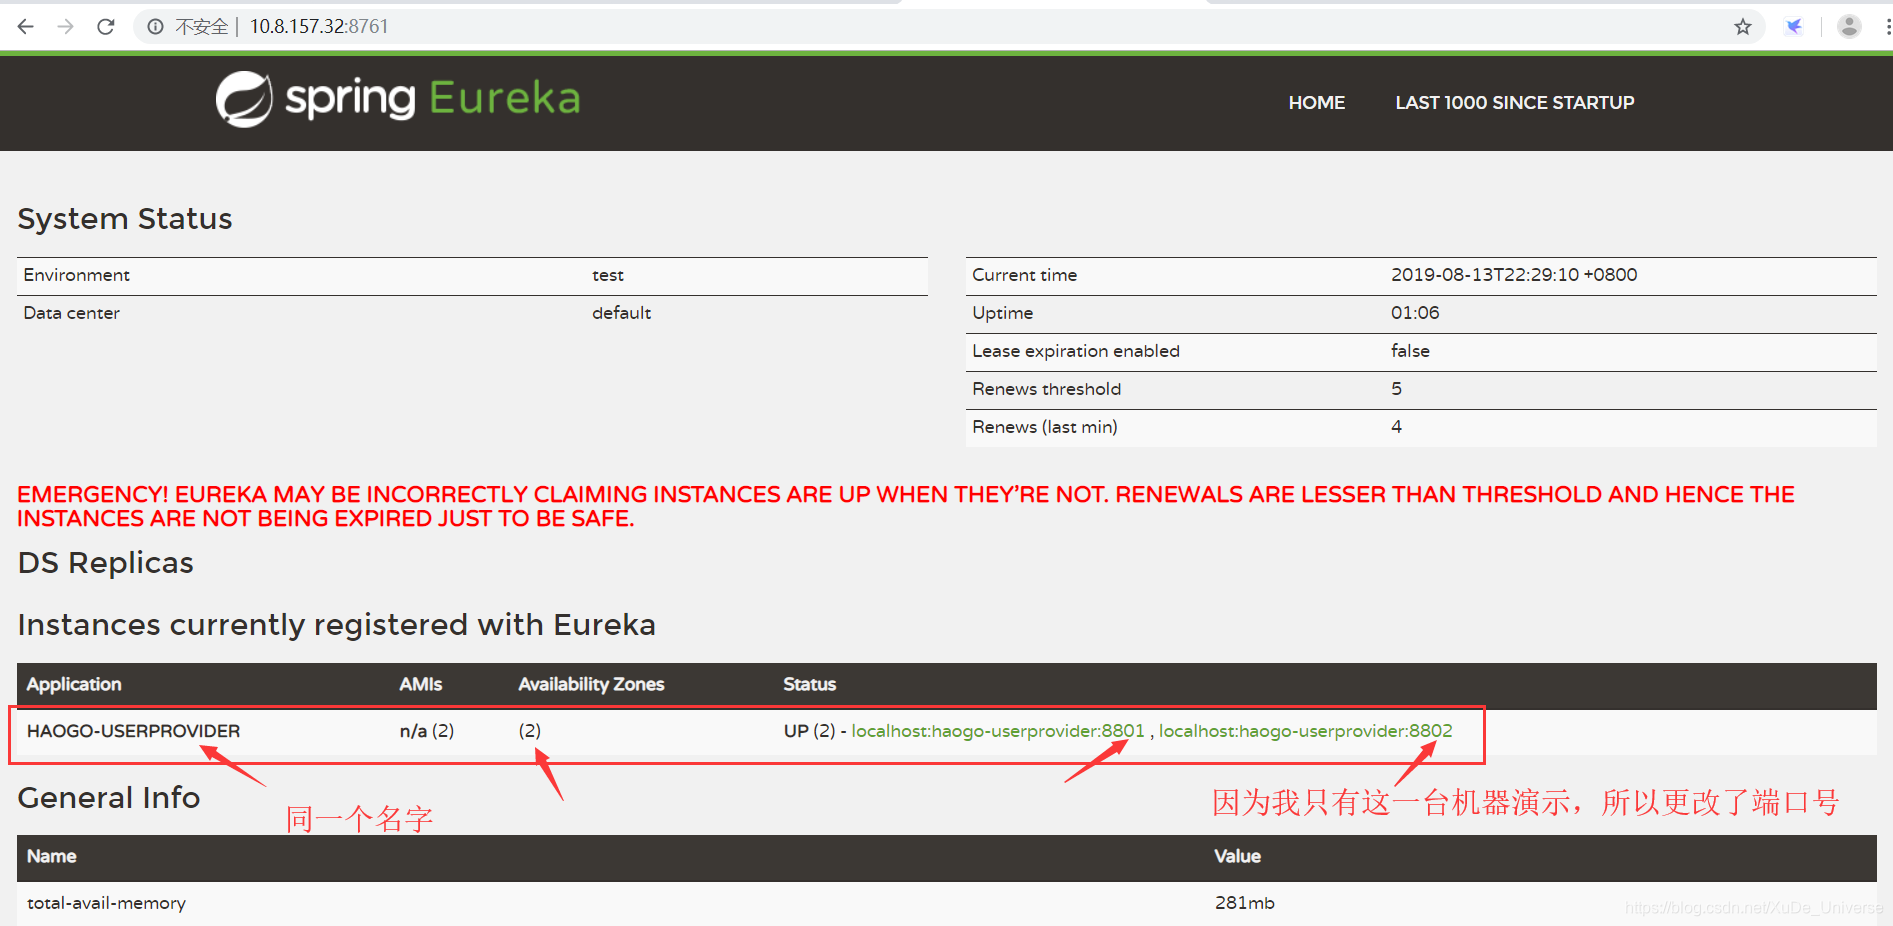
3 做多个提供者
正如前面所说,这些提供者需要一模一样,因为将来时部署到不同的服务器上的。
但是,我只有一台机器!
所以我只能完全照搬一份提供者(根据开头提供的地址,我的另一篇博客),然后更改他的端口号;
为了能看出来效果,我更改了controller层打印的内容,以便于区分。
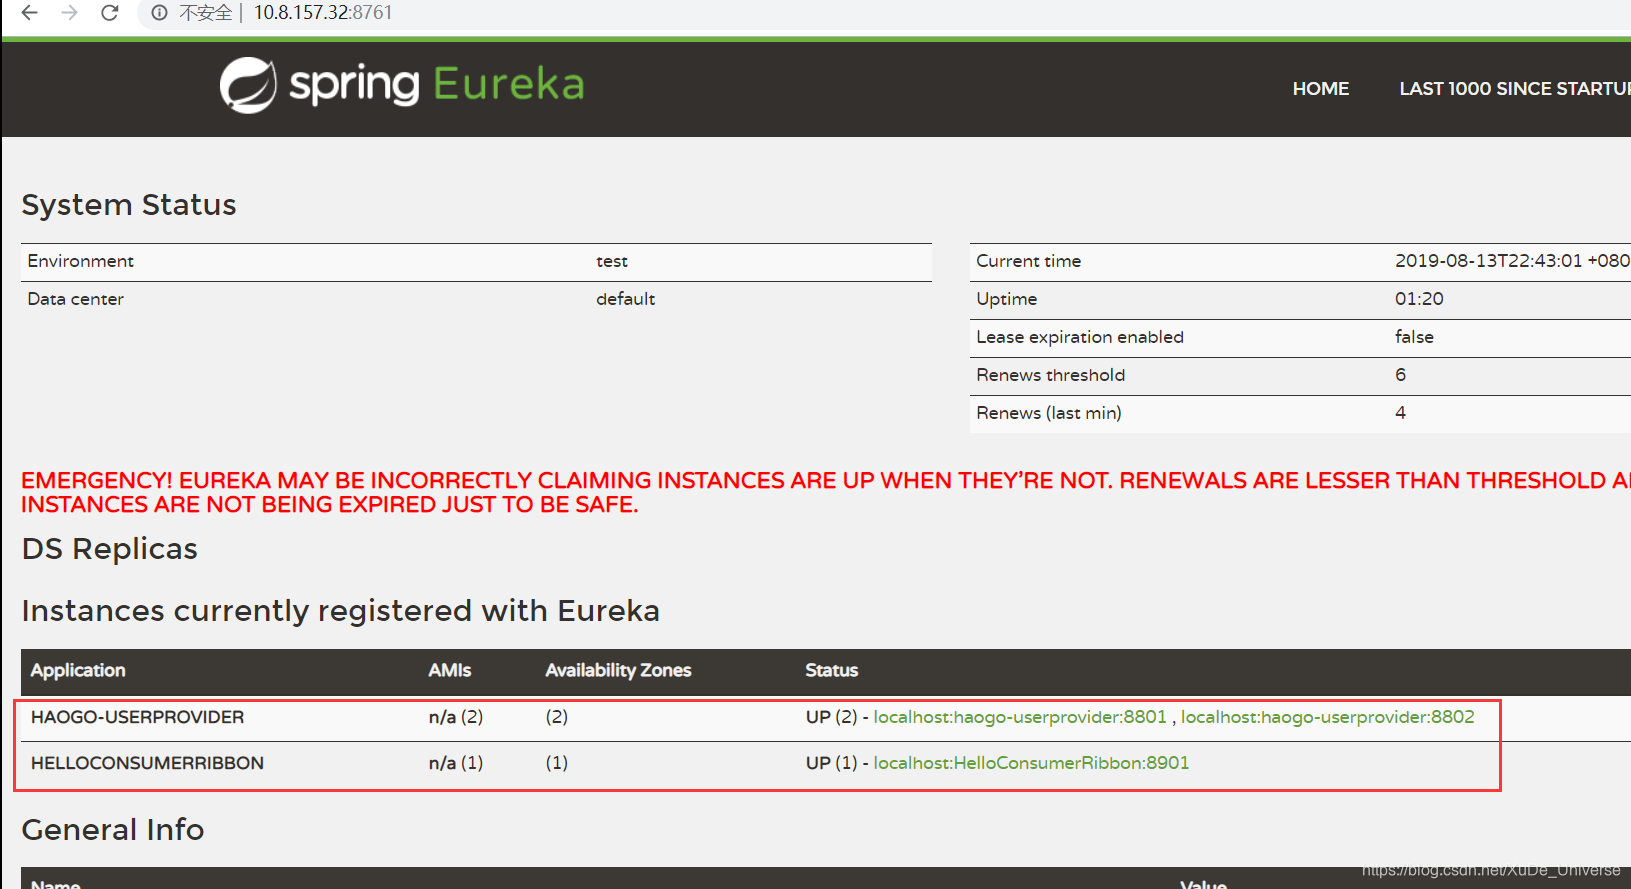
然后启动这个提供者
效果如图:
启动ribbon消费者
4 测试
访问


 752
752


 被折叠的 条评论
为什么被折叠?
被折叠的 条评论
为什么被折叠?
 到【灌水乐园】发言


